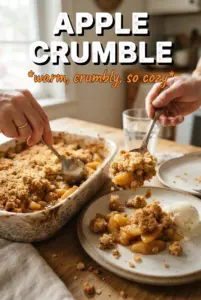
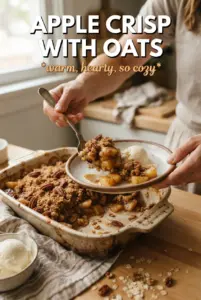
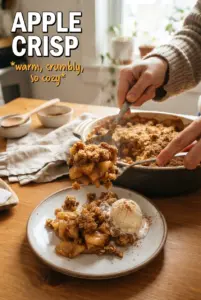
Apple Crisp Pie gives you the best parts of two desserts in one pan: a flaky crust, tender baked apples, and a thick oat crumble that turns crisp on top while the fruit underneath goes soft and jammy. The caramel in the filling melts into the apples as it bakes, so every slice tastes layered instead of one-note. It’s the kind of pie that disappears fast because the topping stays craggy and buttery, not sandy or flat.
What makes this version work is the balance of moisture and structure. Cornstarch keeps the apple juices from flooding the crust, and the lemon juice keeps the filling bright enough to cut through all that brown sugar and caramel. Cold butter matters in the topping too. That’s what gives you those big golden clumps instead of a uniform crumb that bakes up dry.
Below, I’ll walk through the part that matters most: how to get a bubbling filling without burning the crumble, plus the swaps that still keep the texture right if you need them.
The filling set up beautifully and didn’t run all over the plate, and the oat topping stayed crisp even after sitting for dessert. The caramel in the apples gave it that bakery-style taste without making it too sweet.
Save this Apple Crisp Pie for the kind of dessert where bubbling caramel, tender apples, and a thick oat crumble all need to come out of one pie dish.
The Trick to Keeping the Crumble Crisp While the Apples Finish
Apple crisp pie fails in one of two ways: the topping browns before the apples soften, or the apples cook down so much that the filling turns watery and the crust gets soggy. This version avoids both problems by building in enough starch for the fruit juices and enough fat in the topping to brown without drying out. The foil tent after about 40 minutes is not cosmetic. It keeps the crumble from overbaking while the apples finish underneath.
The other detail that matters is how high you mound the filling. Apples shrink as they bake, and if you leave the pie flat, you end up with a shallow center and a sparse topping. A generous mound looks full going into the oven and bakes down into the right sliceable texture.
- Cornstarch — This thickens the apple juices as they bubble, which keeps the filling from running into the crust. Flour won’t set as cleanly here, and the pie will slice loose.
- Caramel sauce — It adds depth and a soft buttery note that plain sugar can’t give. Use a smooth sauce, not a very thin ice cream topping, or the filling can get too loose.
- Cold butter — Cubes straight from the fridge create the clumps in the crumble. If the butter is soft, the topping turns pasty before it ever gets crisp.
- Deep-dish pie shell — This pie needs the height. A standard shallow shell can overflow once the apples start collapsing and bubbling.
What Each Ingredient Is Doing in This Pie
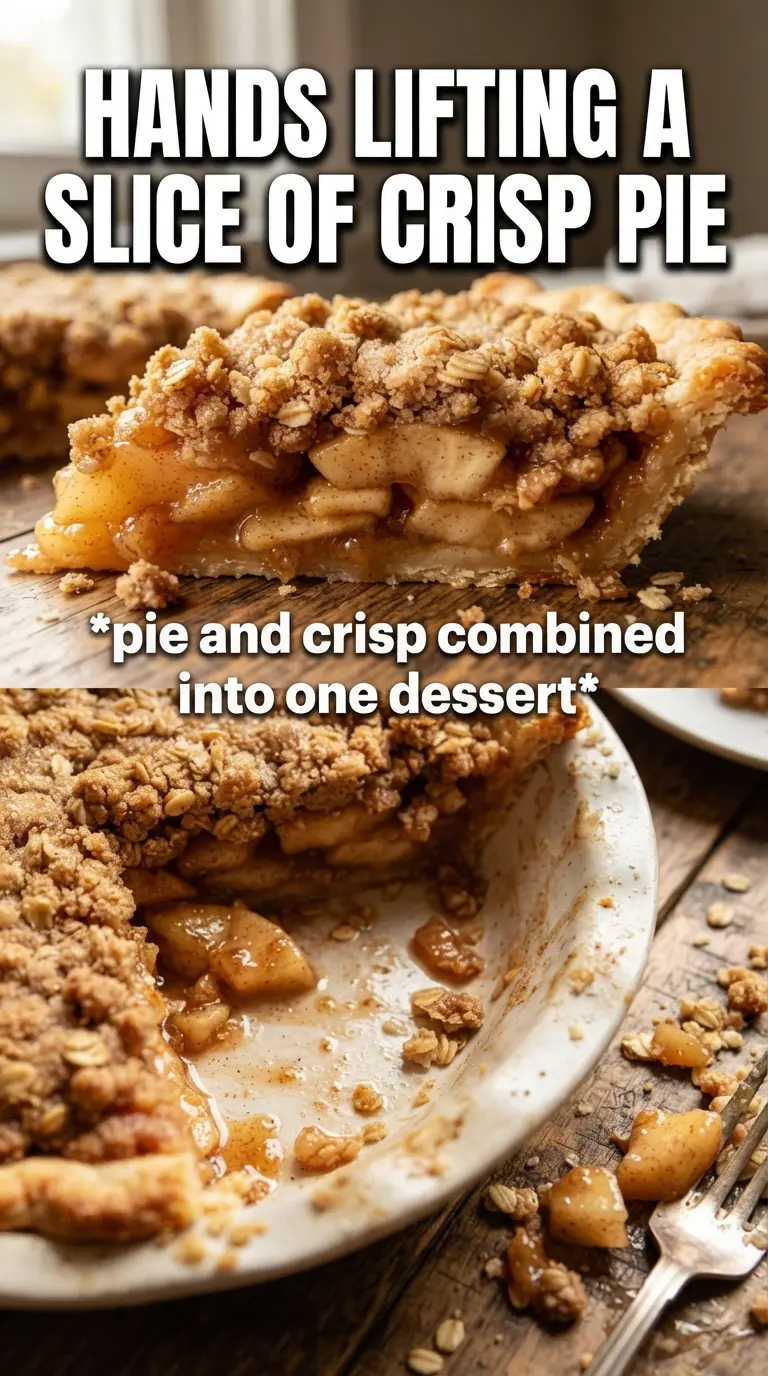
The apples carry the whole dessert, so the variety matters. A firm baking apple holds its shape better and gives you distinct slices instead of applesauce. If yours are very tart, the sugar in the filling balances them. If they’re already sweet, the lemon juice keeps the pie from tasting heavy.
Rolled oats are what make the topping taste like a crisp instead of a streusel. Quick oats will work in a pinch, but the texture gets finer and less rustic. Brown sugar does more than sweeten here; it helps the topping bake into those crunchy, caramelized edges. The flour gives the crumble structure, and the salt keeps the whole topping from tasting flat.
- Apples — Use a firm baking apple or a mix of firm sweet and tart apples. Softer apples break down too much and make the filling mushy.
- Brown sugar plus granulated sugar — The granulated sugar helps the apples release juice, while the brown sugar adds a deeper caramel note. Using only brown sugar makes the filling heavier.
- Lemon juice — This keeps the apples bright and slows down browning while you assemble the pie. It also keeps the caramel from tasting cloying.
- Rolled oats — They give the topping its crisp, nubby texture. Instant oats absorb too quickly and bake up softer.
Building the Filling and Topping in the Right Order
Coating the Apples Until They Look Glossy
Toss the sliced apples with the sugars, spices, cornstarch, lemon juice, and caramel until every slice is coated and the bowl looks glossy. The cornstarch needs to hit the fruit before baking, not after, or it won’t thicken the juices evenly. If you see dry patches of cinnamon or starch, keep tossing. Those clumps can bake into bitter little pockets.
Making the Crumble in Big Clumps
Mix the oats, flour, brown sugar, cinnamon, and salt, then cut in the cold butter until the mixture forms uneven clumps. Stop before it becomes fine crumbs. The larger pieces bake into crunchy ridges, which is what gives this pie its crisp top. If the butter starts softening while you work, chill the bowl for 10 minutes before topping the pie.
Baking Until the Center Is Bubbling
Pull the pie only when the filling bubbles thickly through the topping, especially around the edges and near the center. That bubbling means the cornstarch has activated, which is what sets the filling once it cools. If the top is getting dark before you see those bubbles, tent the pie loosely with foil and keep baking. A pie that looks done but isn’t bubbling will turn runny on the plate.
Use Pears for a Softer, Honeyed Filling
Replace part or all of the apples with firm pears if you want a softer, more delicate filling. Pears bake down faster, so keep an eye on the pie during the last 10 minutes and don’t skip the cornstarch. The result is less tart and a little more perfumed, with the same crisp topping.
Make It Gluten-Free
Use a gluten-free pie shell and swap the all-purpose flour in the topping for a 1:1 gluten-free baking blend. The crumble will still brown nicely, though it may be a touch more delicate when you slice it. Check that your oats are certified gluten-free if that matters for your kitchen.
Dairy-Free Version
Swap the butter for a plant-based stick butter that stays firm when cold. That matters more than the brand name. A tub-style spread usually softens too fast and won’t create the same clumpy topping, but a baking-style vegan butter holds up well in the oven.
Storage and Reheating
- Refrigerator: Store covered for up to 4 days. The topping softens a bit as it sits, but the flavor holds well.
- Freezer: Freeze baked slices tightly wrapped for up to 2 months. The crust and topping both freeze better after the pie has fully cooled.
- Reheating: Warm slices in a 325F oven until heated through. The oven brings the crumble back to life; the microwave makes it soft and steamy.
Questions I Get Asked About This Recipe
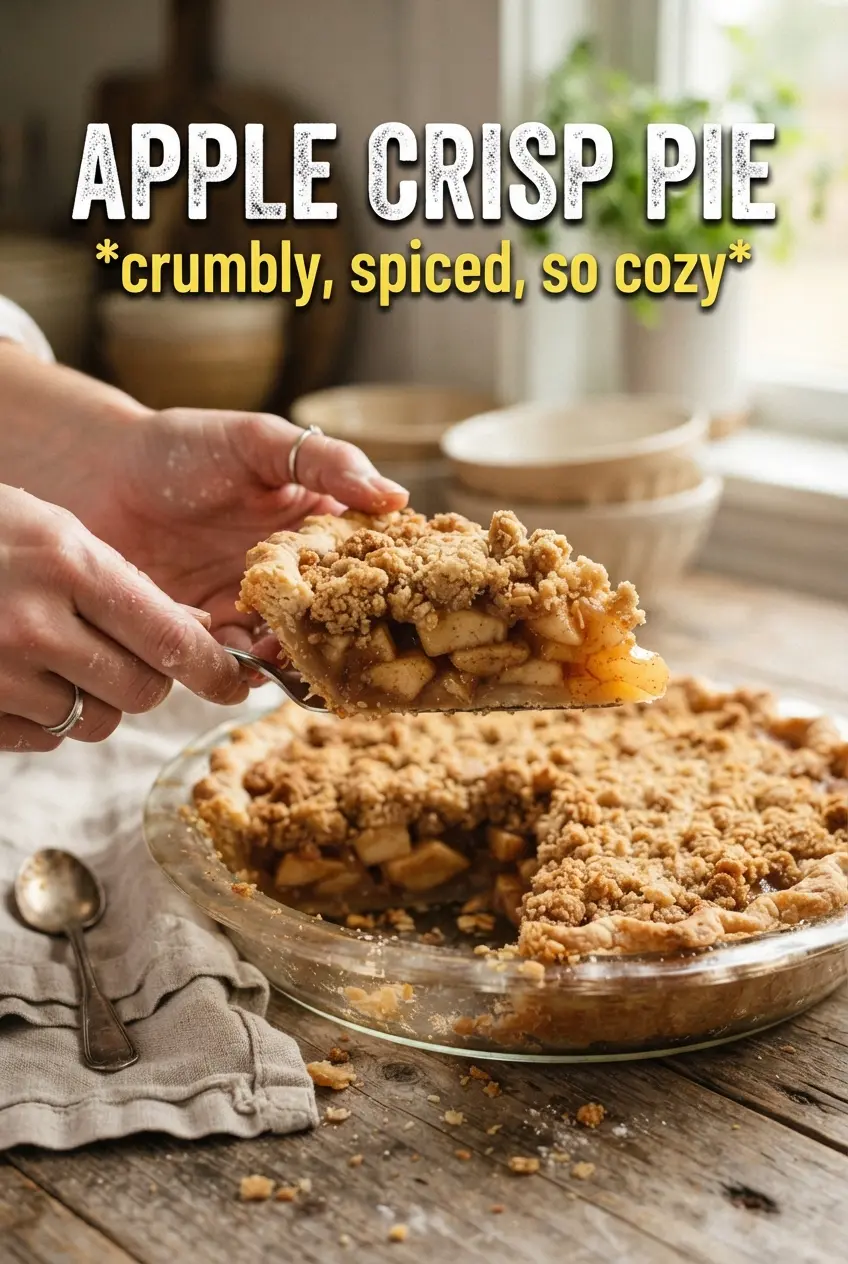
Apple Crisp Pie
Ingredients
Equipment
Method
- Preheat the oven to 375F, then fit the pie shell into a deep-dish pie plate and crimp the edge decoratively. Place the pie plate on a sheet pan for easier handling if filling bubbles over.
- Toss the apple slices with granulated sugar, brown sugar, cinnamon, nutmeg, cornstarch, lemon juice, and caramel sauce until evenly coated. Pile the apples into the shell, mounding well.
- Combine rolled oats, all-purpose flour, packed brown sugar, cinnamon, and salt, then cut in cold cubed butter until large clumps form. Pile the crumble generously over the apples and press very gently.
- Bake at 375F for 60 to 65 minutes until the crumble is deeply golden and the filling bubbles. After 40 minutes, tent with foil if browning too quickly.
- Drizzle with extra caramel and serve. The topping should look set and the filling should be actively bubbling at the edges when you slice.