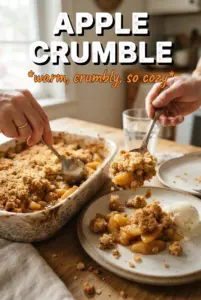
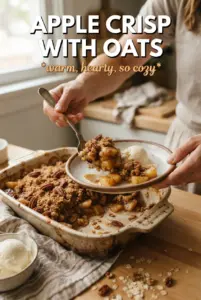
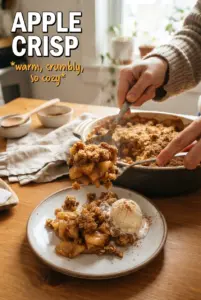
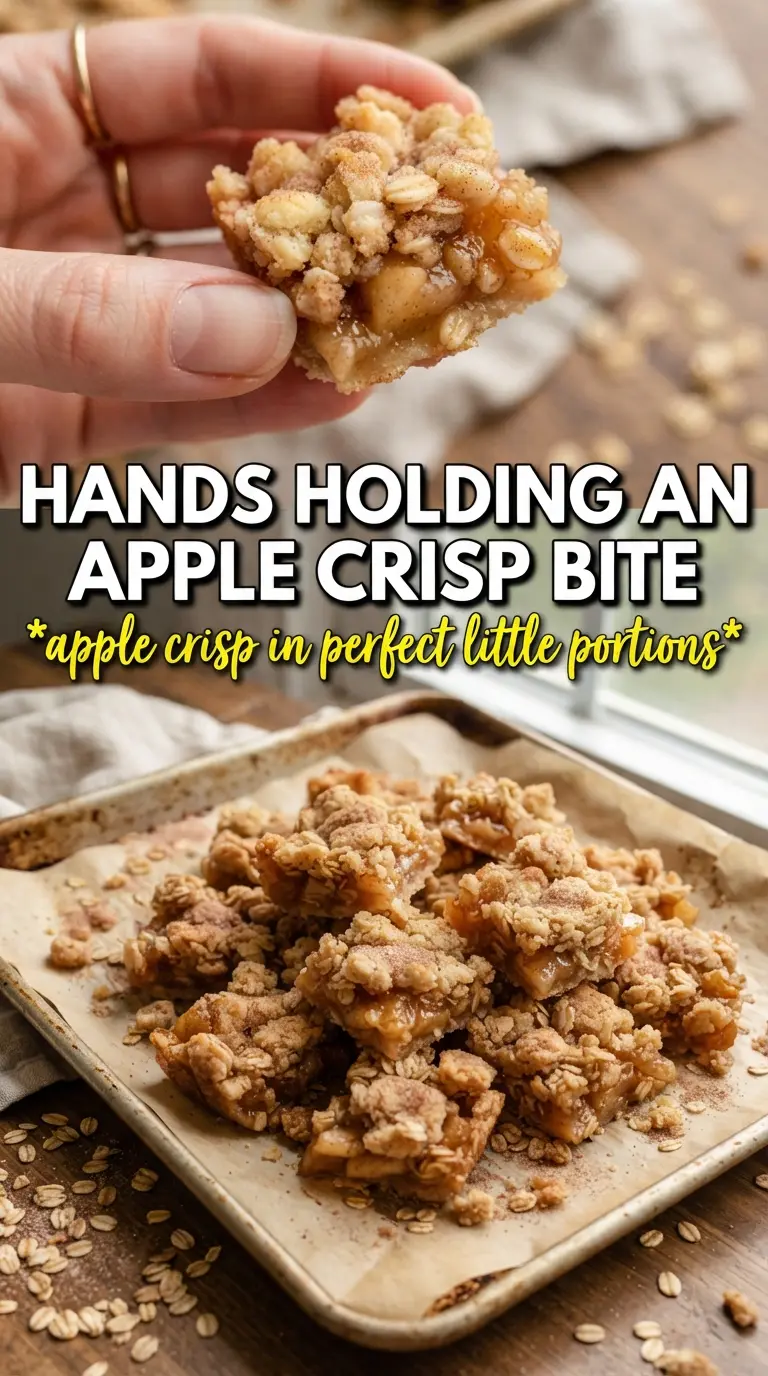
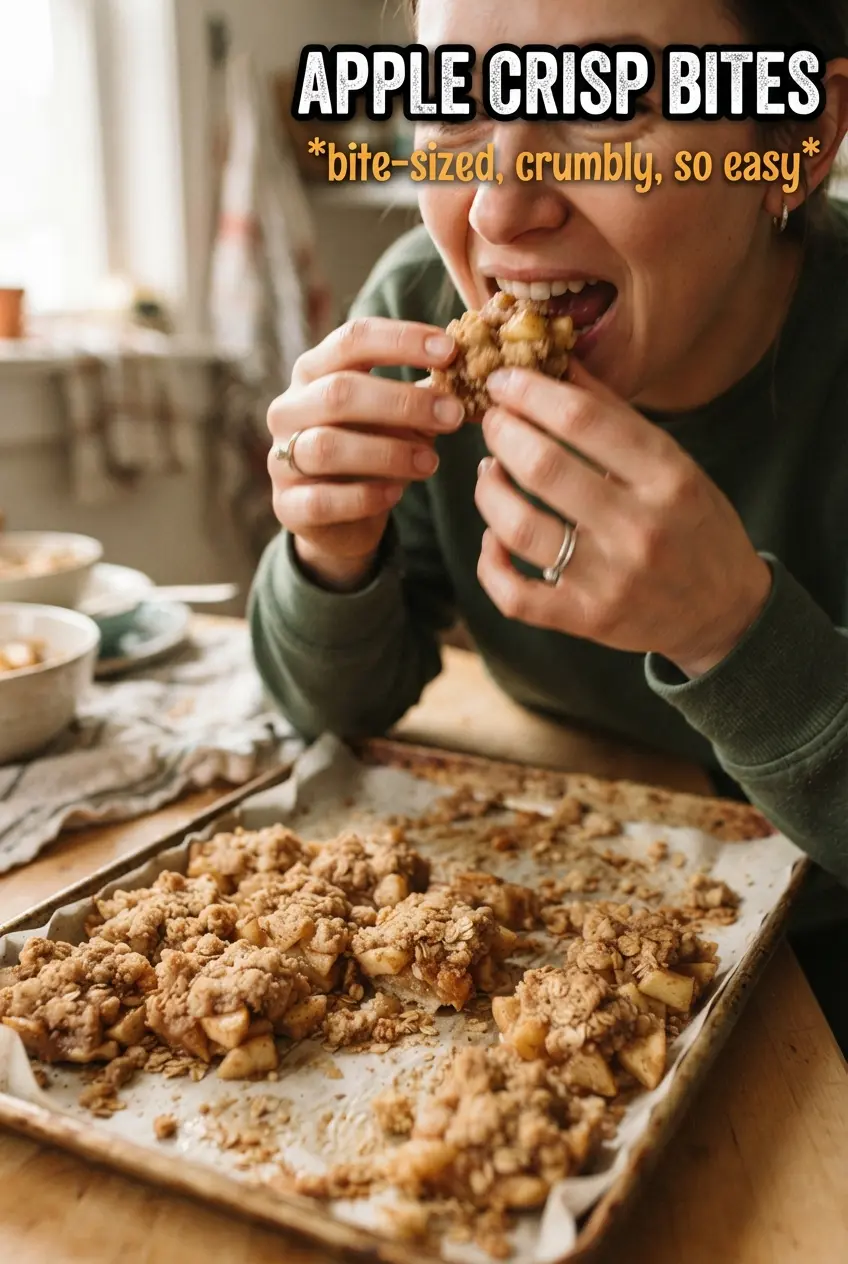
Apple Crisp Bites bake up with three things working together at once: a tender shortbread shell, cinnamon-spiced apple filling, and a buttery oat crumble that turns crisp on top. You get the flavor of apple crisp in a neat little two-bite dessert, with enough structure to hold its shape and enough softness in the center to taste like something pulled straight from a dessert buffet.
The shortbread cups matter here. They keep the filling contained and add that buttery, sandy bite that stops the dessert from turning mushy. Cooking the apples first is the other key move. Raw diced apples shrink and leak juice in the oven, but a quick stovetop cook thickens the filling before it goes into the cups, so the bottoms stay crisp instead of soggy.
Below, I’ve included the small details that make these mini tarts work the way they should, plus the swaps that still keep the texture on track. If you want a dessert that looks polished without asking much from you, this is the one to keep handy.
The apple filling thickened up before baking and the shortbread cups stayed crisp all the way through. I drizzled caramel on top and they disappeared before dinner was even over.
Save these Apple Crisp Bites for the nights when you want a caramel-drizzled mini dessert with crisp oat topping and tender spiced apples.
The Part That Keeps the Bottoms from Going Soft
The biggest mistake with mini apple desserts is treating the fruit like it can go in raw and sort itself out in the oven. It won’t. Raw diced apples release juice while they bake, and in a small cup like this, that liquid has nowhere to go. The result is a crust that looks done but eats damp. Cooking the filling first with cornstarch takes the guesswork out of it because the juices thicken before they ever reach the shell.
That shortbread base does the other half of the work. It should feel sandy before the water goes in, then hold together when pressed, not turn sticky like cookie dough. If the dough gets warm, the butter melts and the cups lose their shape. Cold butter and a gentle press into the tin are what give you those clean little tart shells that release instead of crumbling apart.
What Each Ingredient Is Actually Doing in These Apple Crisp Bites
- All-purpose flour — It builds both the shortbread cups and the oat topping, but the flour in the shell is especially important because it gives structure without turning tough. A 1:1 gluten-free baking blend works here if it includes xanthan gum; the cups may be a little more delicate, but they still hold.
- Powdered sugar — This keeps the shortbread tender and smooth instead of gritty. Granulated sugar won’t give the same fine, sandy texture.
- Cold unsalted butter — This is the backbone of both the shell and the crumble. Cold butter creates pockets as it bakes, which is what gives the topping a crisp, layered finish. Salted butter works in a pinch, but cut the added salt slightly.
- Apples — Choose a firm baking apple so the filling stays in small, defined pieces instead of turning to applesauce. Honeycrisp, Granny Smith, or a mix of sweet and tart varieties all work well.
- Cornstarch — This is what thickens the cooked filling so it settles into the cups instead of running out as soon as you bite in. Flour can thicken too, but it won’t set as cleanly or stay as glossy.
- Rolled oats — They give the topping that classic crisp texture. Quick oats will work, but the crumble will be softer and finer.
- Caramel sauce — It’s the finish that ties the whole dessert together. Homemade or store-bought both work, but warm it slightly so it drizzles instead of sitting in thick ribbons on top.
Building the Filling and Topping So the Texture Stays Balanced
Pressing the Shortbread Shells
Mix the flour, powdered sugar, and salt, then cut in the butter until the mixture looks like damp crumbs with some pea-size bits still visible. That uneven texture is a good sign. Add the ice water a little at a time, just until the dough starts to clump when pressed. If it turns smooth and soft, it’s already too warm, and the cups will bake up dense instead of crisp.
When you press the dough into the mini muffin tin, keep the layer even and don’t build the walls too thick. Thick shells can hide a little underbaking in the center, which means a gummy bite at the bottom. A light, even press gives the filling room without making the crust heavy.
Cooking the Apples Until the Juice Thickens
Sauté the diced apples with butter, brown sugar, cinnamon, nutmeg, and cornstarch for 5 to 7 minutes. You’re looking for softened apples and a filling that looks glossy, not watery. The cornstarch needs heat to activate, so the mixture should start to cling to the spoon before you pull it off the stove. If liquid pools in the pan, keep cooking for another minute or two.
Let the filling cool before spooning it into the shells. Hot filling softens the shortbread too early and makes the cups more fragile before they even hit the oven.
Making the Crumble That Bakes Up Crisp
Use cold butter again for the oat topping and cut it in until the mixture forms clumps. Those clumps are what bake into crisp, craggy bits. If the topping looks powdery and dry, it won’t brown in a satisfying way. If it starts to feel paste-like, the butter has warmed too much and the topping will melt instead of crisp.
Spoon the crumble over the filled cups generously. You want enough topping to cover the apples without packing it down. Loose crumbs bake into a better texture than a compressed layer.
Watching for the Final Color
Bake the filled cups until the topping is golden and the edges of the shortbread look set. The centers should look firm, not wet, and the oat crumble should smell nutty before it turns dark. If the tops brown too quickly, the oven is running hot, so start checking a couple minutes early. Let the bites cool in the pan first; they finish setting as they sit, and that rest helps them release cleanly.
How to Adapt These Mini Tarts Without Losing the Crisp Texture
Gluten-Free Mini Apple Crisp Bites
Use a cup-for-cup gluten-free flour blend in both the shell and the topping. The texture will be a touch more delicate, but the cornstarch-thickened filling and cold-butter crumble still give you a crisp, bakery-style bite.
Dairy-Free Version
Swap in a solid plant-based butter stick, not a soft tub spread. The firmer the butter substitute, the better the shells and crumble hold their shape. The flavor changes a little, but the texture stays close to the original.
Swap the Apple Blend
If you like a sharper filling, use Granny Smith apples only. For a sweeter, softer filling, mix Granny Smith with Honeycrisp or Fuji. The key is keeping at least one firm apple in the mix so the filling doesn’t go mushy.
Storage and Reheating
- Refrigerator: Store in an airtight container for up to 4 days. The topping softens a little, but the flavor holds.
- Freezer: These freeze well after baking. Freeze in a single layer, then move to a container or freezer bag for up to 2 months.
- Reheating: Warm in a 325°F oven for 8 to 10 minutes. The oven brings the crumble back to life; the microwave will soften the shell and take away the crisp edges.
Answers to the Questions Worth Asking
Apple Crisp Bites
Ingredients
Equipment
Method
- Preheat the oven to 375F and grease a 24-cup mini muffin tin.
- Set the tin aside so it’s ready for filling.
- Combine all-purpose flour, powdered sugar, and salt, then cut in cold unsalted butter until the mixture looks crumbly.
- Add ice water, then press the dough into the mini muffin cups to form a shell.
- Sauté diced apples with butter, brown sugar, cinnamon, nutmeg, and cornstarch for 5-7 minutes until thickened.
- Cool the apple filling before assembling the bites.
- Combine rolled oats, flour, brown sugar, and cinnamon, then cut in cold butter until clumpy.
- Fill the shortbread cups with the cooled apple filling.
- Top each cup with the oat crumble.
- Bake for 18-20 minutes at 375F until golden.
- Drizzle caramel sauce over the hot bites.