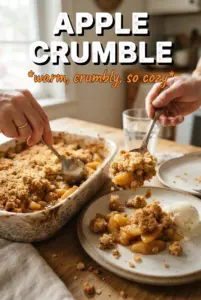
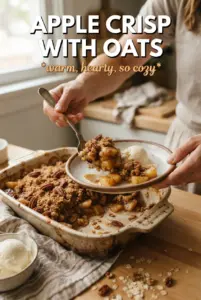
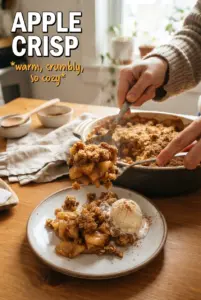
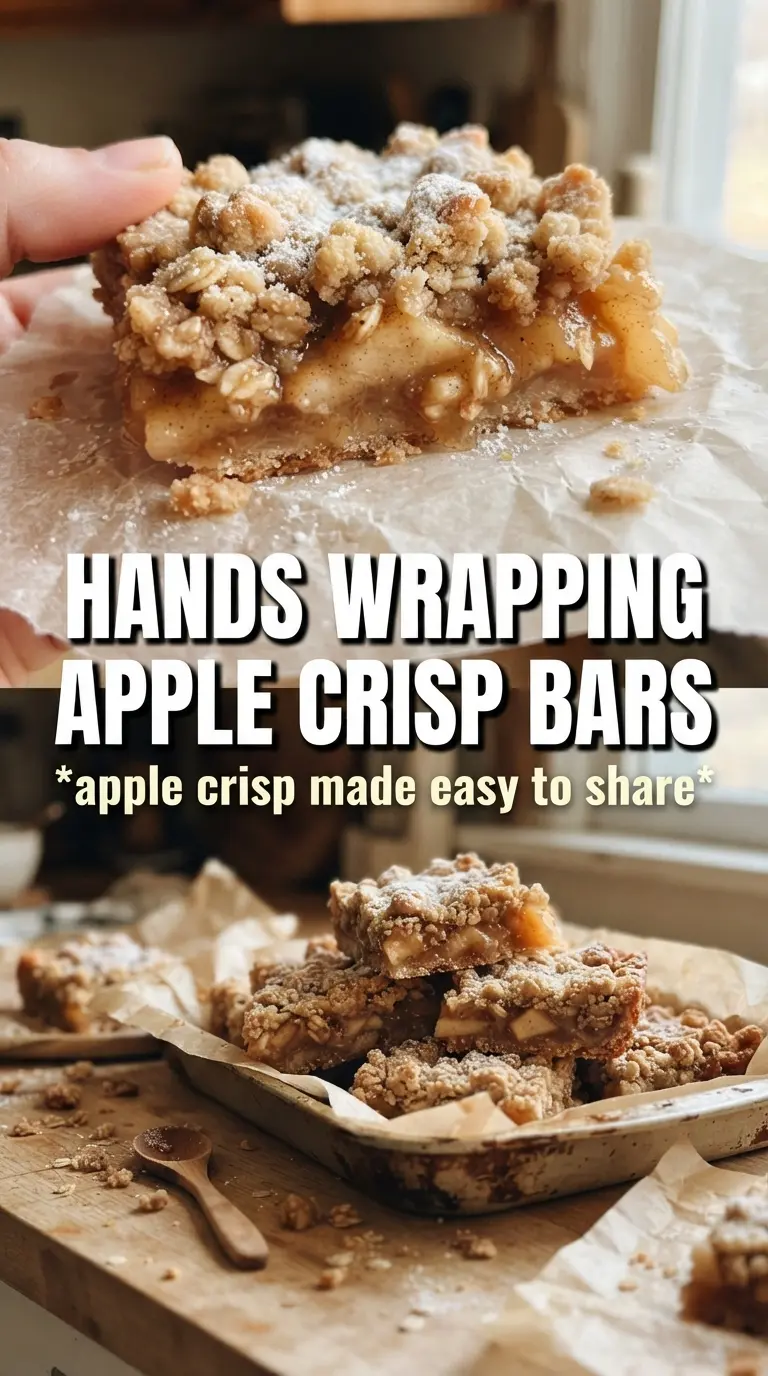
Apple crisp bars deliver everything people love about a baked apple dessert in a form you can slice, stack, and pack up without losing the crunch. The bottom bakes into a sturdy oat layer, the center turns soft and spiced, and the crumb on top stays sandy and golden instead of sinking into the filling. That contrast is what keeps these bars on repeat.
The trick is in the bake-and-fill sequence. Pressing most of the oat mixture into the pan and giving it a short head start keeps the base from turning soggy once the apples go in. Cornstarch thickens the juices as the apples bake, so the filling sets cleanly after cooling instead of oozing across the cutting board. Letting the bars cool all the way down matters more than people think; that’s when the filling finishes tightening and the layers hold together.
You’ll find a practical note on the apple texture that works best, a few useful swaps, and the exact point where the bars need to come out of the oven for the best crumb.
The bottom stayed crisp even after the apple layer baked, and the bars held together once they cooled. I liked that the filling tasted like real apples, not pie filling, and the crumble stayed buttery all the way through.
Save these apple crisp bars for a dessert with a crisp oat top, soft spiced apple filling, and neat slices every time.
The Bake Time That Keeps the Bottom Crisp Instead of Soggy
The first bake on the oat mixture is what separates a bar that slices cleanly from one that collapses under the filling. That short head start sets the base just enough so it can handle the moisture from the apples without turning pasty. The filling goes onto a hot crust for a reason: it helps the bottom layer keep its structure while the top finishes baking into a proper crumble.
The other thing that matters is cooling. These bars can look done before the center has finished setting, especially when the apples are juicy. If you cut them warm, the filling will run and the layers will smear; once they cool completely, the cornstarch does its job and the bars hold their shape.
What Each Ingredient Is Actually Doing in These Bars
- Rolled oats — These give the bars their nubby, crisp texture. Quick oats turn softer and tighter, so use rolled oats if you want a crumb that stays distinct after baking.
- Brown sugar — This brings molasses depth and helps the crumble brown without drying out. Light or dark brown sugar both work; dark sugar gives a deeper caramel note.
- Butter — Melted butter coats the dry ingredients evenly and helps the mixture press into the pan without crumbling apart. If you use cold butter here, the base won’t pack as smoothly and the topping will bake up more unevenly.
- Apples — Peel them and dice them finely so the filling softens at the same rate and slices cleanly. A mix of tart and sweet apples gives the best balance, but any firm baking apple works.
- Cornstarch — This thickens the apple juices as they bubble. Flour won’t set the filling as cleanly, and you’ll notice more looseness after slicing.
- Lemon juice — Just enough to brighten the filling and keep the apples from tasting flat. It also helps the diced apples hold their color while you mix everything together.
Building the Layers So the Bars Hold Together
Mixing the Crumble
Stir the oats, flour, brown sugar, cinnamon, and salt until they’re evenly combined, then drizzle in the melted butter and toss until every dry bit looks moistened. The mixture should clump when squeezed but still look crumbly, not wet like dough. If you leave dry flour patches, they’ll bake up powdery and won’t bind into a solid base.
Pressing and Prebaking the Base
Use about two-thirds of the mixture for the bottom layer and press it firmly and evenly into the parchment-lined pan. Don’t pack it so hard that it turns dense; just enough pressure to make a flat, cohesive layer. Ten minutes in the oven is enough to start setting the structure and give it a head start before the apples go on.
Cooking the Apples on Top
Toss the diced apples with sugar, cinnamon, nutmeg, cornstarch, and lemon juice until the pieces are evenly coated and look glossy. Spread them across the hot base in an even layer so the filling bakes at the same rate across the pan. If the apples are cut too large, the bars will slice unevenly and the filling won’t soften fully by the time the topping is done.
Finishing to a Golden Top
Scatter the remaining crumble over the apples and bake until the top is deep golden and the filling bubbles at the edges. Those bubbling edges tell you the cornstarch has activated and the fruit juices have thickened. Pull the pan at that point, not when the top merely looks pale golden, or the center may stay loose after cooling.
How to Adapt These Bars for Different Kitchens and Different Cravings
Make Them Gluten-Free
Swap the all-purpose flour for a 1:1 gluten-free baking blend that includes xanthan gum. The bars will still slice well, though the crumble may be a little more delicate when warm. Let them cool completely before lifting them from the pan.
Use Pears for a Softer, Gentler Filling
Replace the apples with firm pears if that’s what you have. Pears soften faster, so keep the dice small and watch the bake closely in the last 10 minutes. The filling will taste milder and less tart, which works well if you want a softer spice profile.
Make the Bars More Nutty
Stir 1/2 cup chopped pecans or walnuts into the crumble mixture. They add extra crunch and a toasted edge, especially once the butter bakes around them. Keep the pieces small so the bars still cut neatly.
Storage and Reheating
- Refrigerator: Store covered for up to 5 days. The topping softens a little in the fridge, but the bars still hold together well.
- Freezer: These freeze nicely. Wrap individual bars tightly and freeze for up to 2 months, then thaw in the fridge before serving.
- Reheating: Warm a bar in a 300°F oven for 8 to 10 minutes if you want the crumble to crisp again. The common mistake is microwaving too long, which makes the topping soft and the filling runnier.
Answers to the Questions Worth Asking
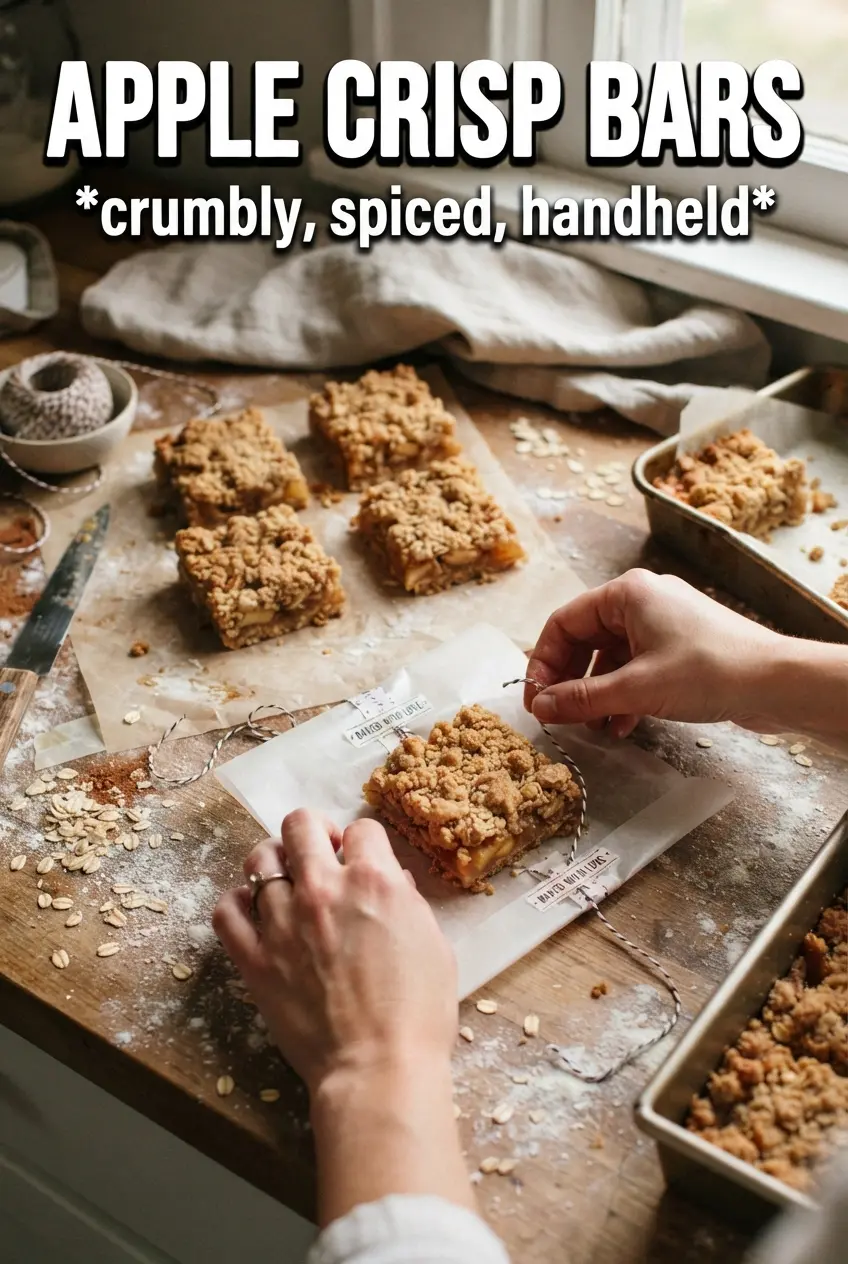
Apple Crisp Bars
Ingredients
Equipment
Method
- Preheat the oven to 375F and line a 9x13 pan with parchment so the bars lift out easily.
- Combine rolled oats, all-purpose flour, brown sugar, cinnamon, and salt, then drizzle in melted butter and toss until evenly moistened.
- Press 2/3 of the oat mixture firmly into the prepared pan, then bake for 10 minutes to set the base.
- Toss diced apples with granulated sugar, cinnamon, nutmeg, cornstarch, and lemon juice, then spread evenly over the hot base.
- Scatter the remaining oat crumble over the apples to cover them completely for even browning.
- Bake for 30 more minutes at 375F until the topping is golden and the filling bubbles across the surface.
- Cool completely before slicing into bars to keep the layers from crumbling.