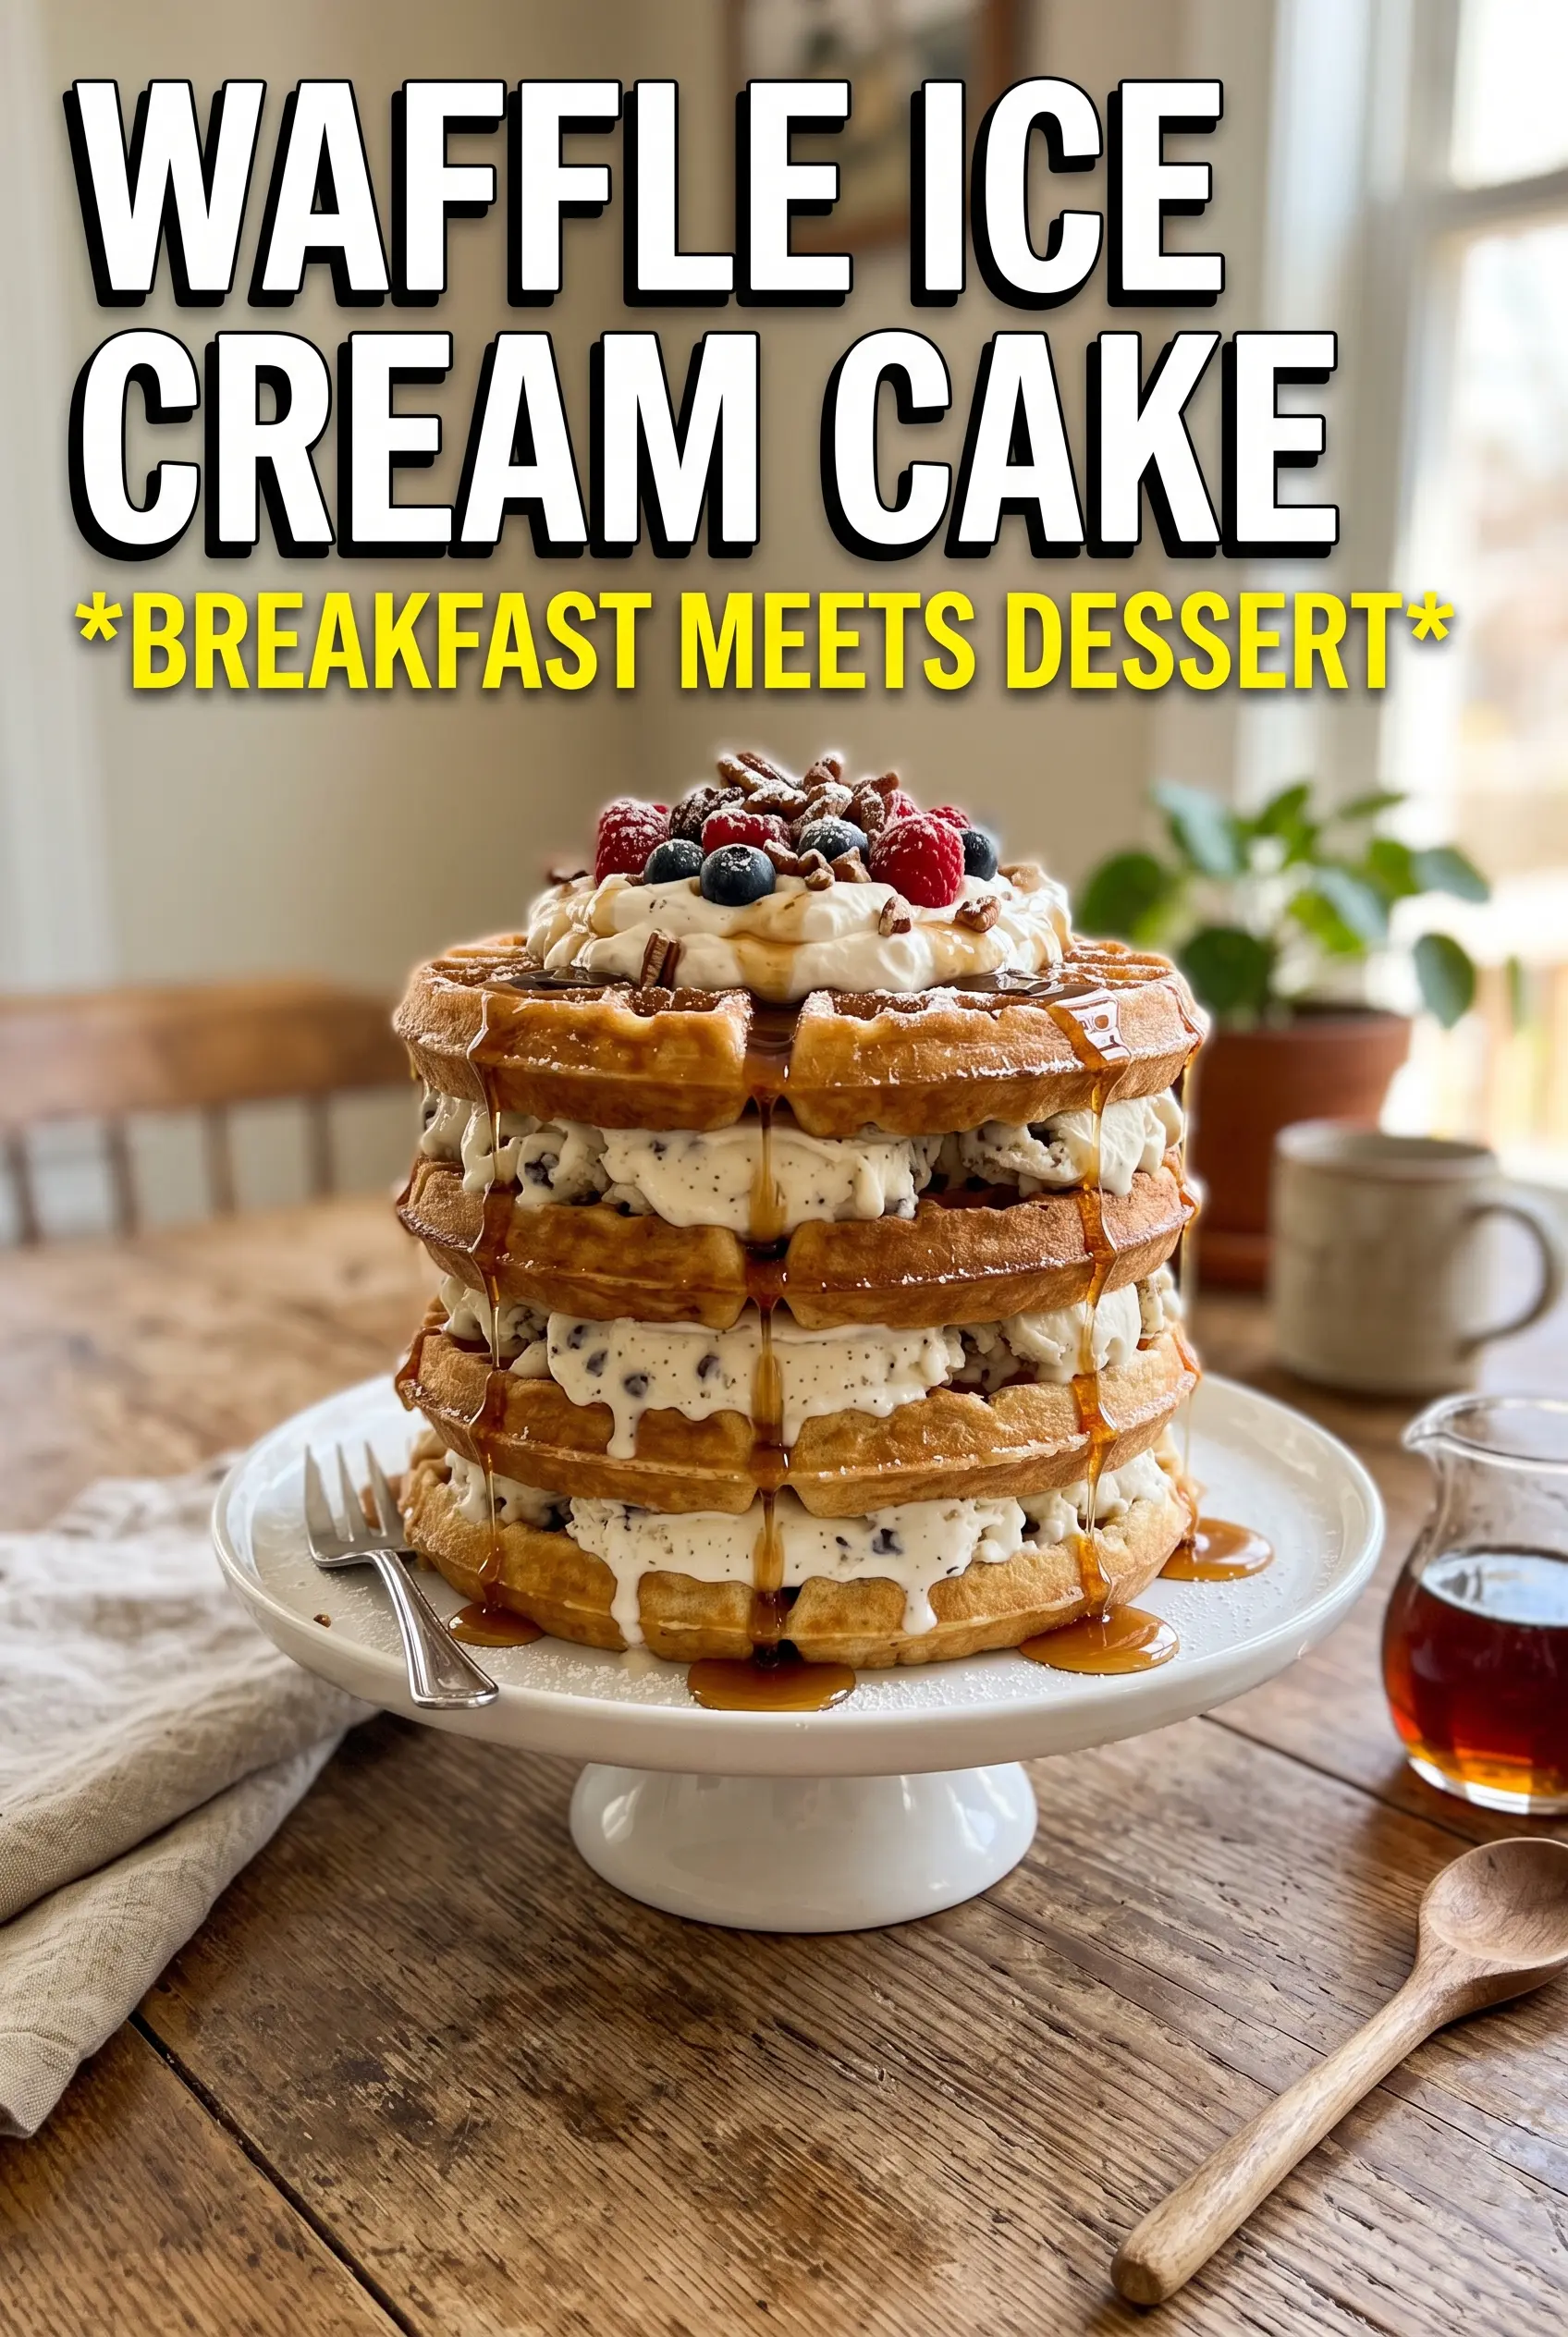
Golden, crispy-edged waffles turn into a surprisingly sturdy frozen cake when they’re stacked with softened vanilla ice cream and brushed with maple syrup between each layer. The waffles keep their character instead of turning soggy, and the finished dessert slices into clean, dramatic layers with a little crunch still left at the edges. The maple caramel on top ties everything together with that breakfast-meets-dessert sweetness that makes people pause for a second bite.
The trick is treating the waffles like a real cake structure, not just a base. They need to be completely cooled before layering, or they’ll melt the ice cream too fast and collapse the stack. Softened ice cream spreads evenly without tearing the waffles, and a springform pan keeps the sides neat while everything firms up in the freezer.
Below, I’ve included the one detail that keeps the layers from sliding, plus a few smart swaps and make-ahead notes for the easiest possible sliceable cake.
The waffle layers stayed crisp at the edges and the ice cream set up into perfect slices after freezing overnight. The maple syrup between layers gave it a nice caramel note without making it soggy.
Save this waffle ice cream cake for a birthday dessert with crisp waffle layers, vanilla ice cream, and maple caramel.
The Part That Keeps the Waffle Layers From Turning Limp
The biggest risk here isn’t flavor. It’s structure. Waffles absorb moisture fast, and if they go into the freezer warm or soft, they lose that crisp edge and the whole cake turns dense instead of layered. Letting the waffles cool completely before you build the cake gives them a head start, and the brief brush of maple syrup adds flavor without soaking them through.
Using softened ice cream matters just as much. If it’s too hard, you’ll tear the waffles while spreading it; if it’s melted, the layers slide and you end up with a puddle. The sweet spot is scoopable and spreadable, like thick frosting. A springform pan helps keep the stack neat while the freezer does the real work.
What Each Ingredient Is Actually Doing In This Cake
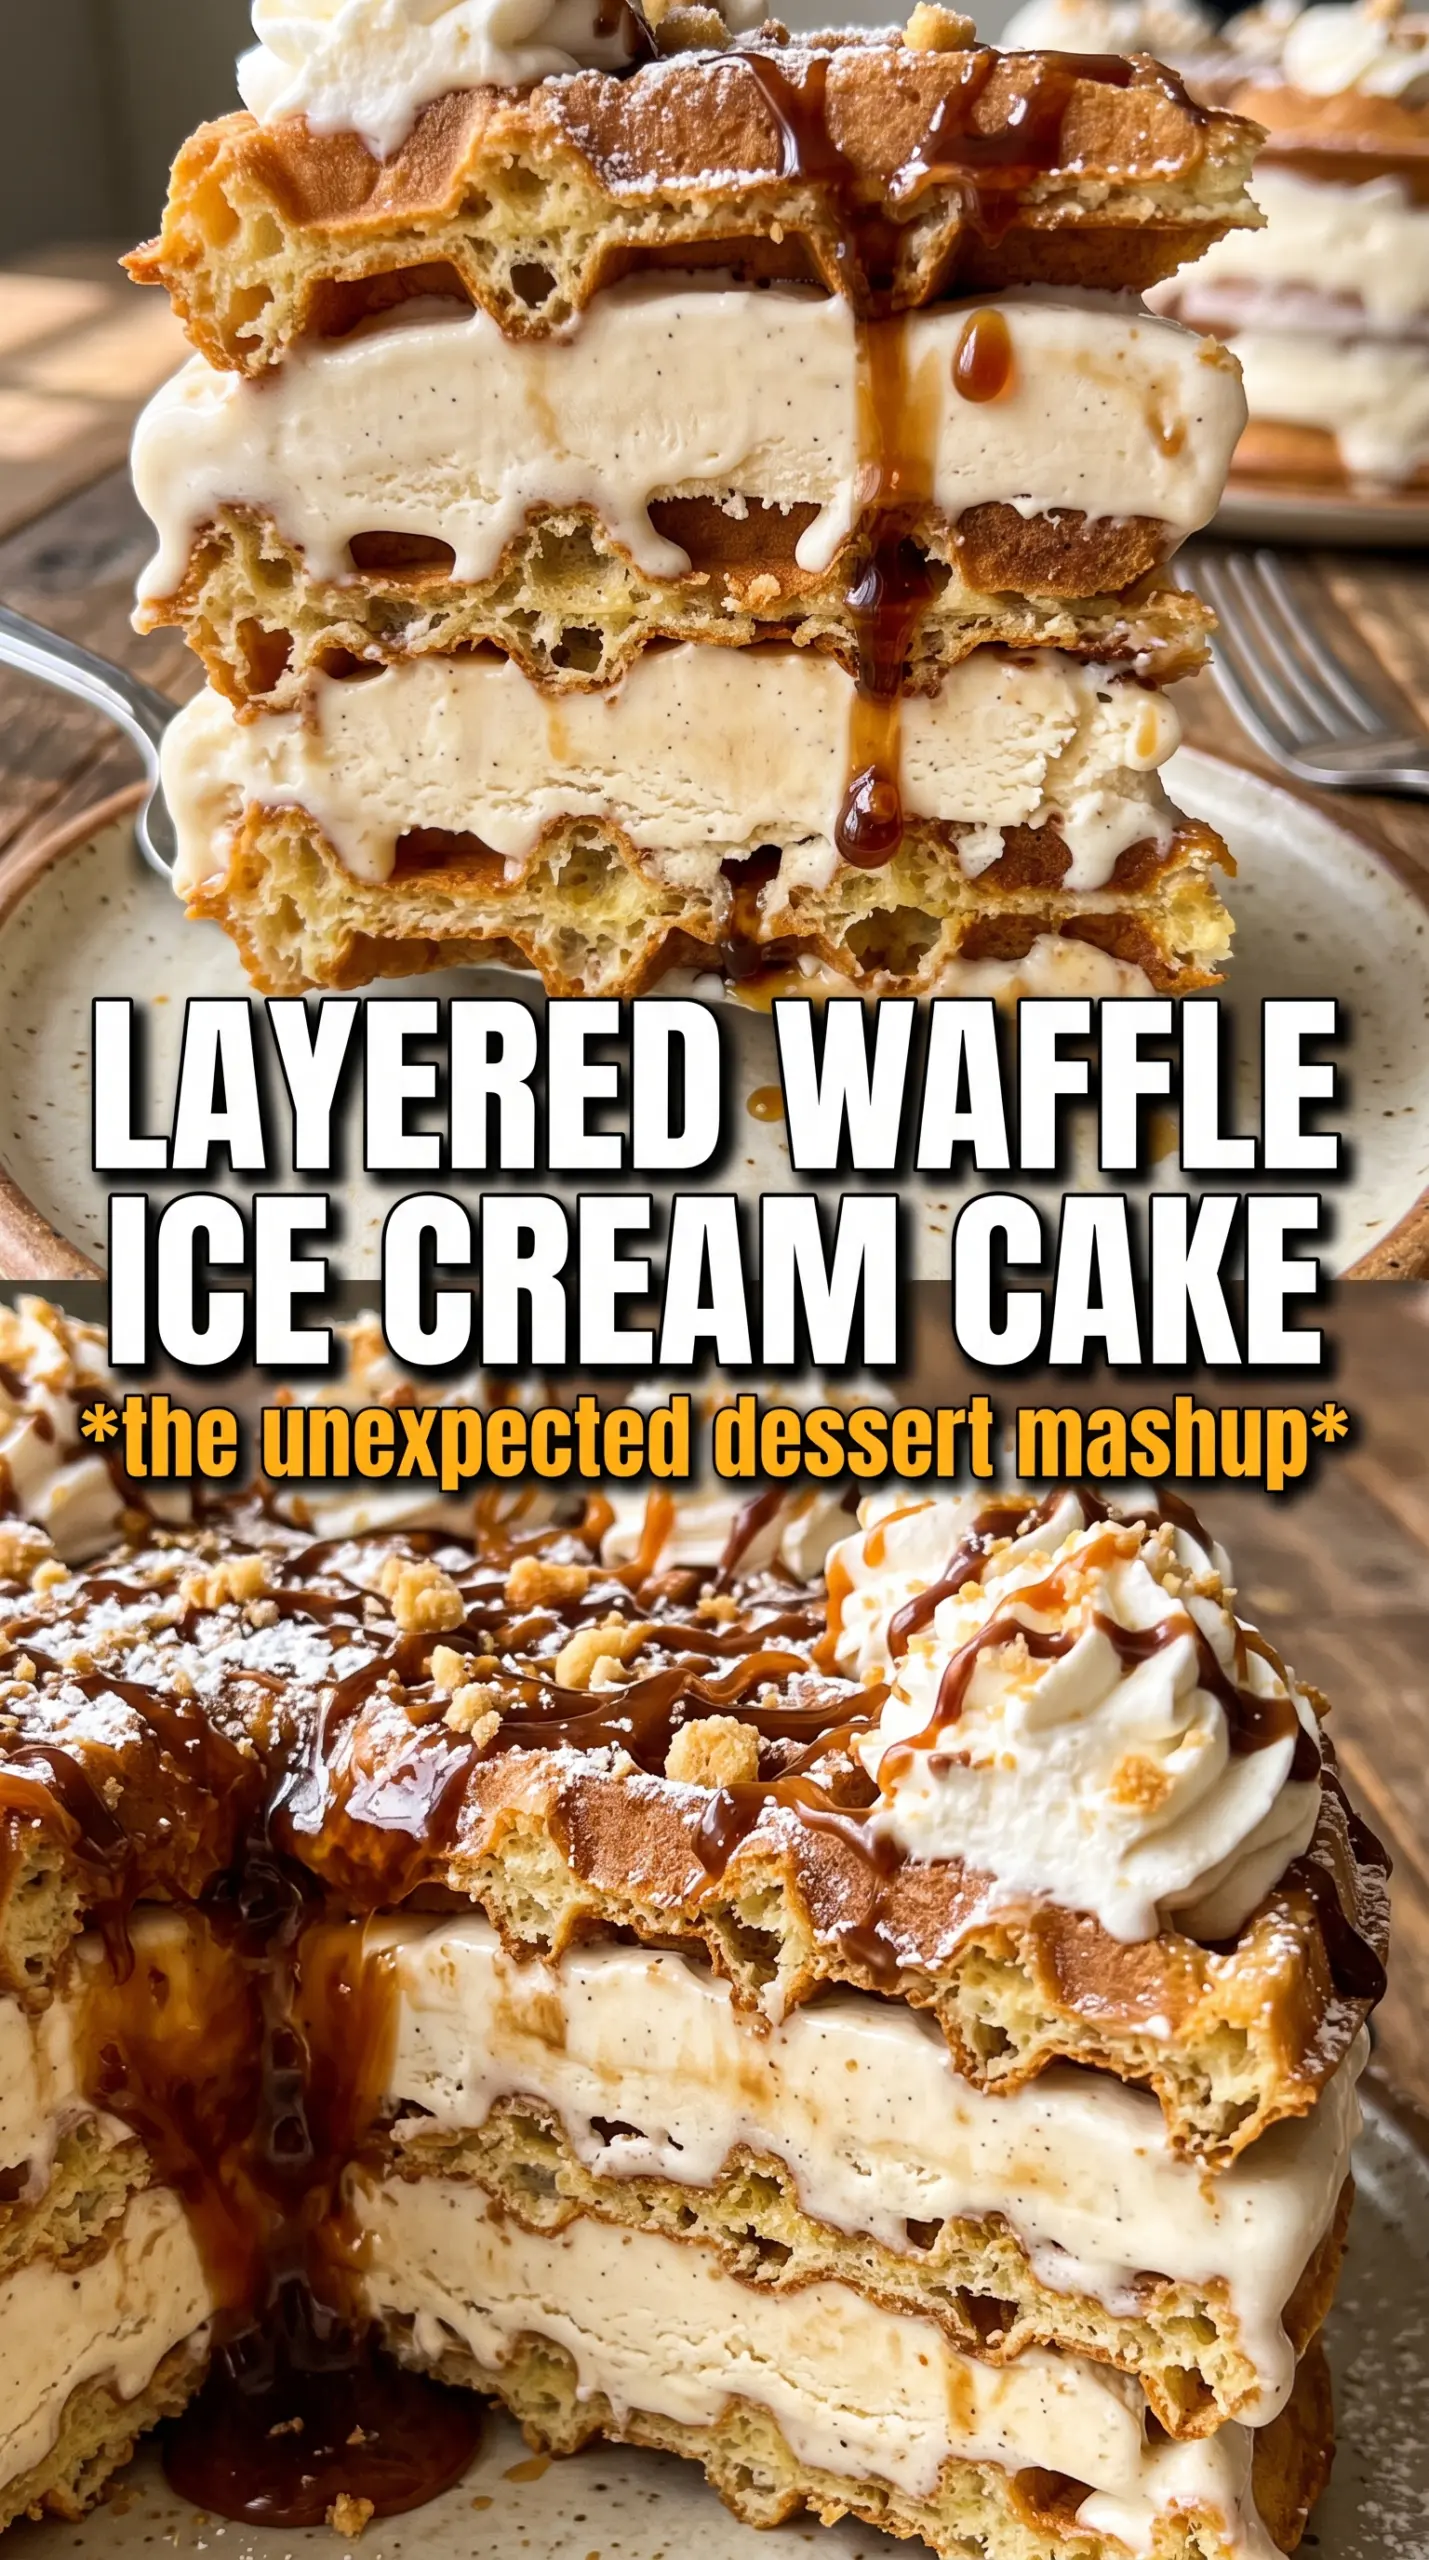
- Waffles — These are the cake layers, so texture matters more than you might think. Homemade waffles give you the best crisp edges, but store-bought works fine if they’re sturdy and fully cooled. Thin, soft waffles won’t hold up as well once the ice cream goes in.
- Vanilla ice cream — This is the filling and the glue. Vanilla keeps the cake balanced and lets the maple and caramel stand out, but any premium-style ice cream with a firm, creamy body will work. Soften it in the fridge or on the counter until it spreads without melting.
- Maple syrup — Brushing each waffle layer with maple syrup gives the cake that breakfast-dessert personality and adds sweetness where the waffles need it most. Don’t pour it on. A light brush is enough to add flavor without making the layers slippery.
- Caramel sauce — Caramel goes on top where it can stay glossy and dramatic. A thick sauce is best here because it drapes over the whipped cream instead of disappearing into it.
- Whipped cream — This soft topping finishes the cake and gives the caramel and berries something to cling to. Homemade or store-bought both work, but it should be stable enough to pipe if you want clean swirls.
- Fresh berries — They cut through the sweetness and make the cake look finished. Use them right before serving so they stay bright and don’t bleed onto the whipped cream.
How to Build the Stack So It Slices Cleanly
Start With a Flat, Cold Base
Set the first waffle in the bottom of a springform pan and brush it lightly with maple syrup. The pan needs to fit the waffles closely enough that the layers stay centered, but not so tight that you have to force anything in. If the waffle is oversized, trim it rather than bending it, because a bent layer cracks once the ice cream firms around it.
Spread the Ice Cream While It’s Soft, Not Melted
Scoop on a thick layer of softened vanilla ice cream and spread it all the way to the edges in an even layer. Work fast here, but don’t rush so much that you leave gaps, because those gaps freeze into weak spots that make the cake tip when sliced. If the ice cream starts to lose shape on the spoon, it’s too warm and needs a few minutes in the freezer before you keep going.
Repeat the Layers With Steady Pressure
Keep stacking waffles and ice cream until the pan is full, ending with a waffle on top. Press each waffle down very gently as you go so the layers settle together without squeezing the ice cream out the sides. If you see filling oozing up, stop and scrape it level before adding the next layer; that keeps the top from sliding once frozen.
Freeze Until the Center Feels Solid
Give the cake at least 6 hours in the freezer, and overnight is even better if you want cleaner slices. The cake is ready when it feels firm all the way through and the top no longer gives under light pressure. The final hour after topping it with whipped cream and berries helps everything set so the garnish doesn’t smear when you release the pan.
Three Ways to Adjust the Cake Without Losing the Point
Make it dairy-free
Use a dairy-free vanilla ice cream that freezes firm, plus coconut whipped topping in place of the whipped cream. The texture will be a little softer and the flavor will pick up a light coconut note, which works well with maple and berries. Just check that your waffles are dairy-free too if you need the whole dessert to fit.
Use chocolate or strawberry ice cream
Swap the vanilla for another full-fat ice cream flavor if you want a stronger dessert profile. Chocolate gives the cake an almost sundae-like feel, while strawberry makes the berries taste even brighter. Avoid light ice creams, which can freeze icier and don’t spread as smoothly between the waffles.
Make it ahead for a crowd
Build the cake a full day ahead and keep it frozen until just before serving. That extra time makes the layers easier to cut and gives the waffles a chance to firm up around the ice cream. Add the whipped cream, caramel, and berries after the cake has had its final freeze so the top stays neat.
Storage and Reheating
- Refrigerator: Don’t store this in the fridge. It will soften too fast and the waffle layers lose their structure.
- Freezer: Wrap the assembled cake well and keep it frozen for up to 3 days for the best texture. After that, the waffles start to get icy and less crisp.
- Reheating: There’s no reheating here. Let the cake sit at room temperature for 8 to 12 minutes before slicing so the knife goes through cleanly without cracking the top layer.


