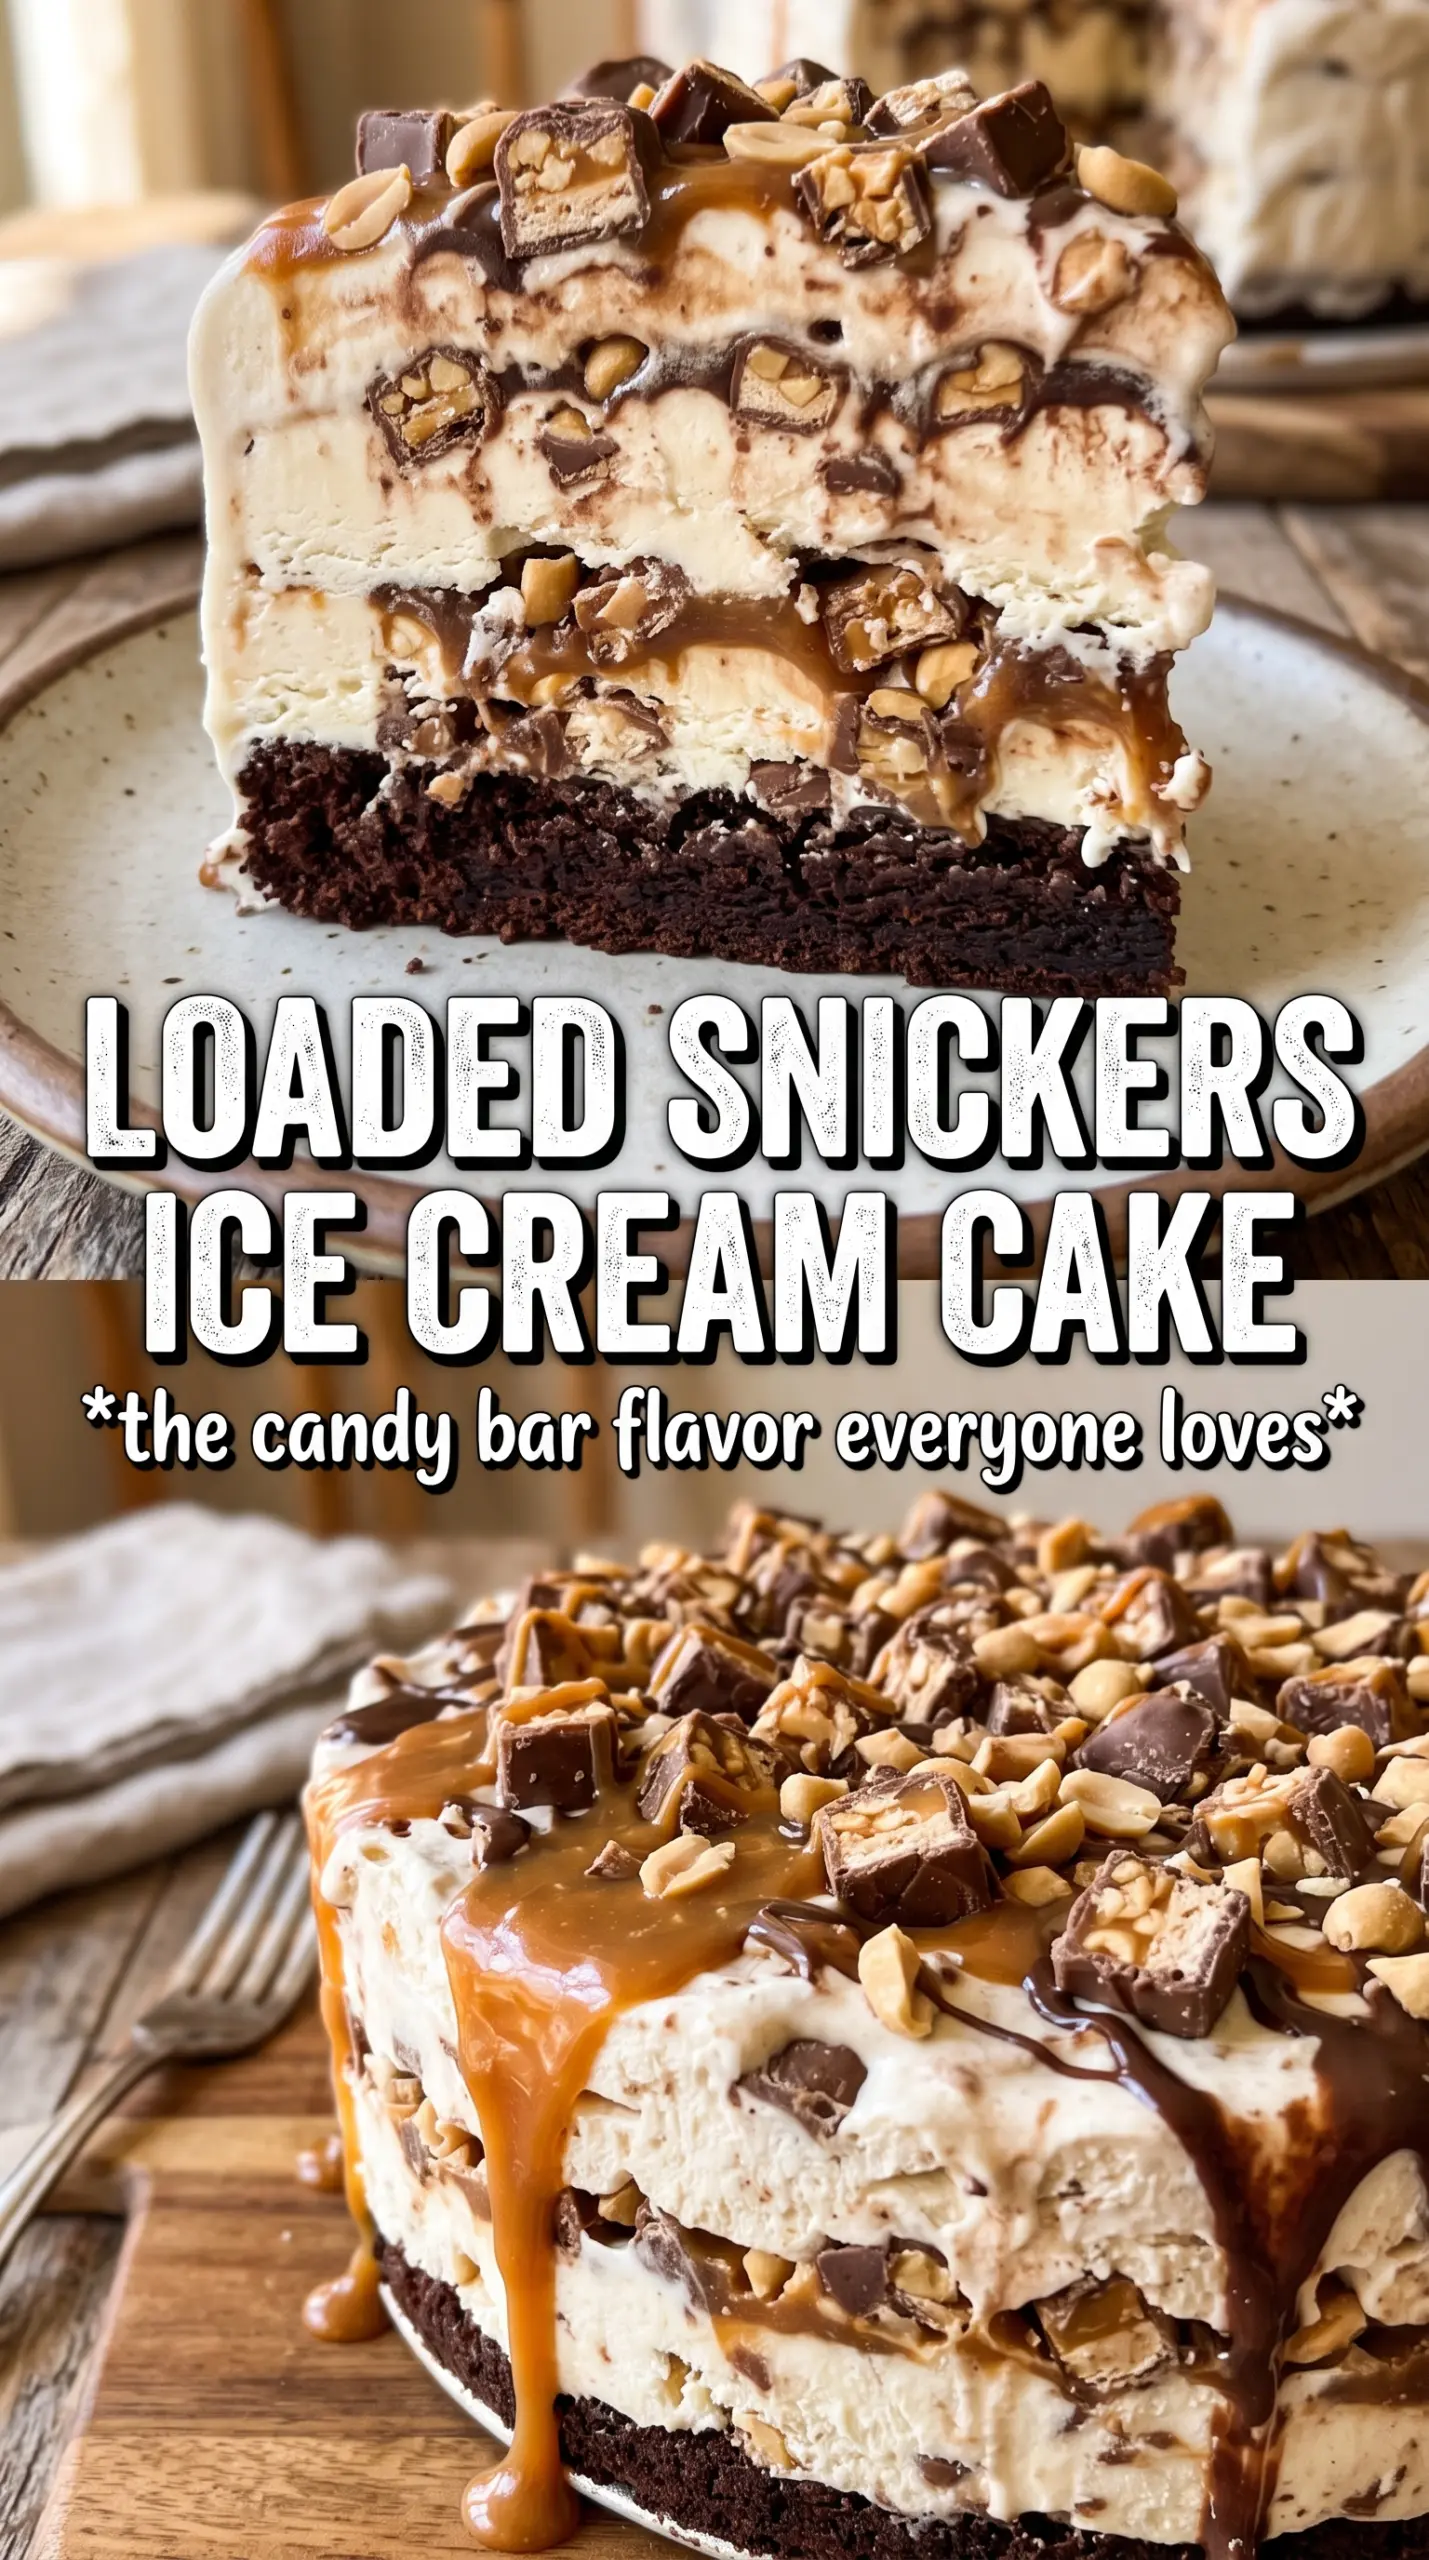
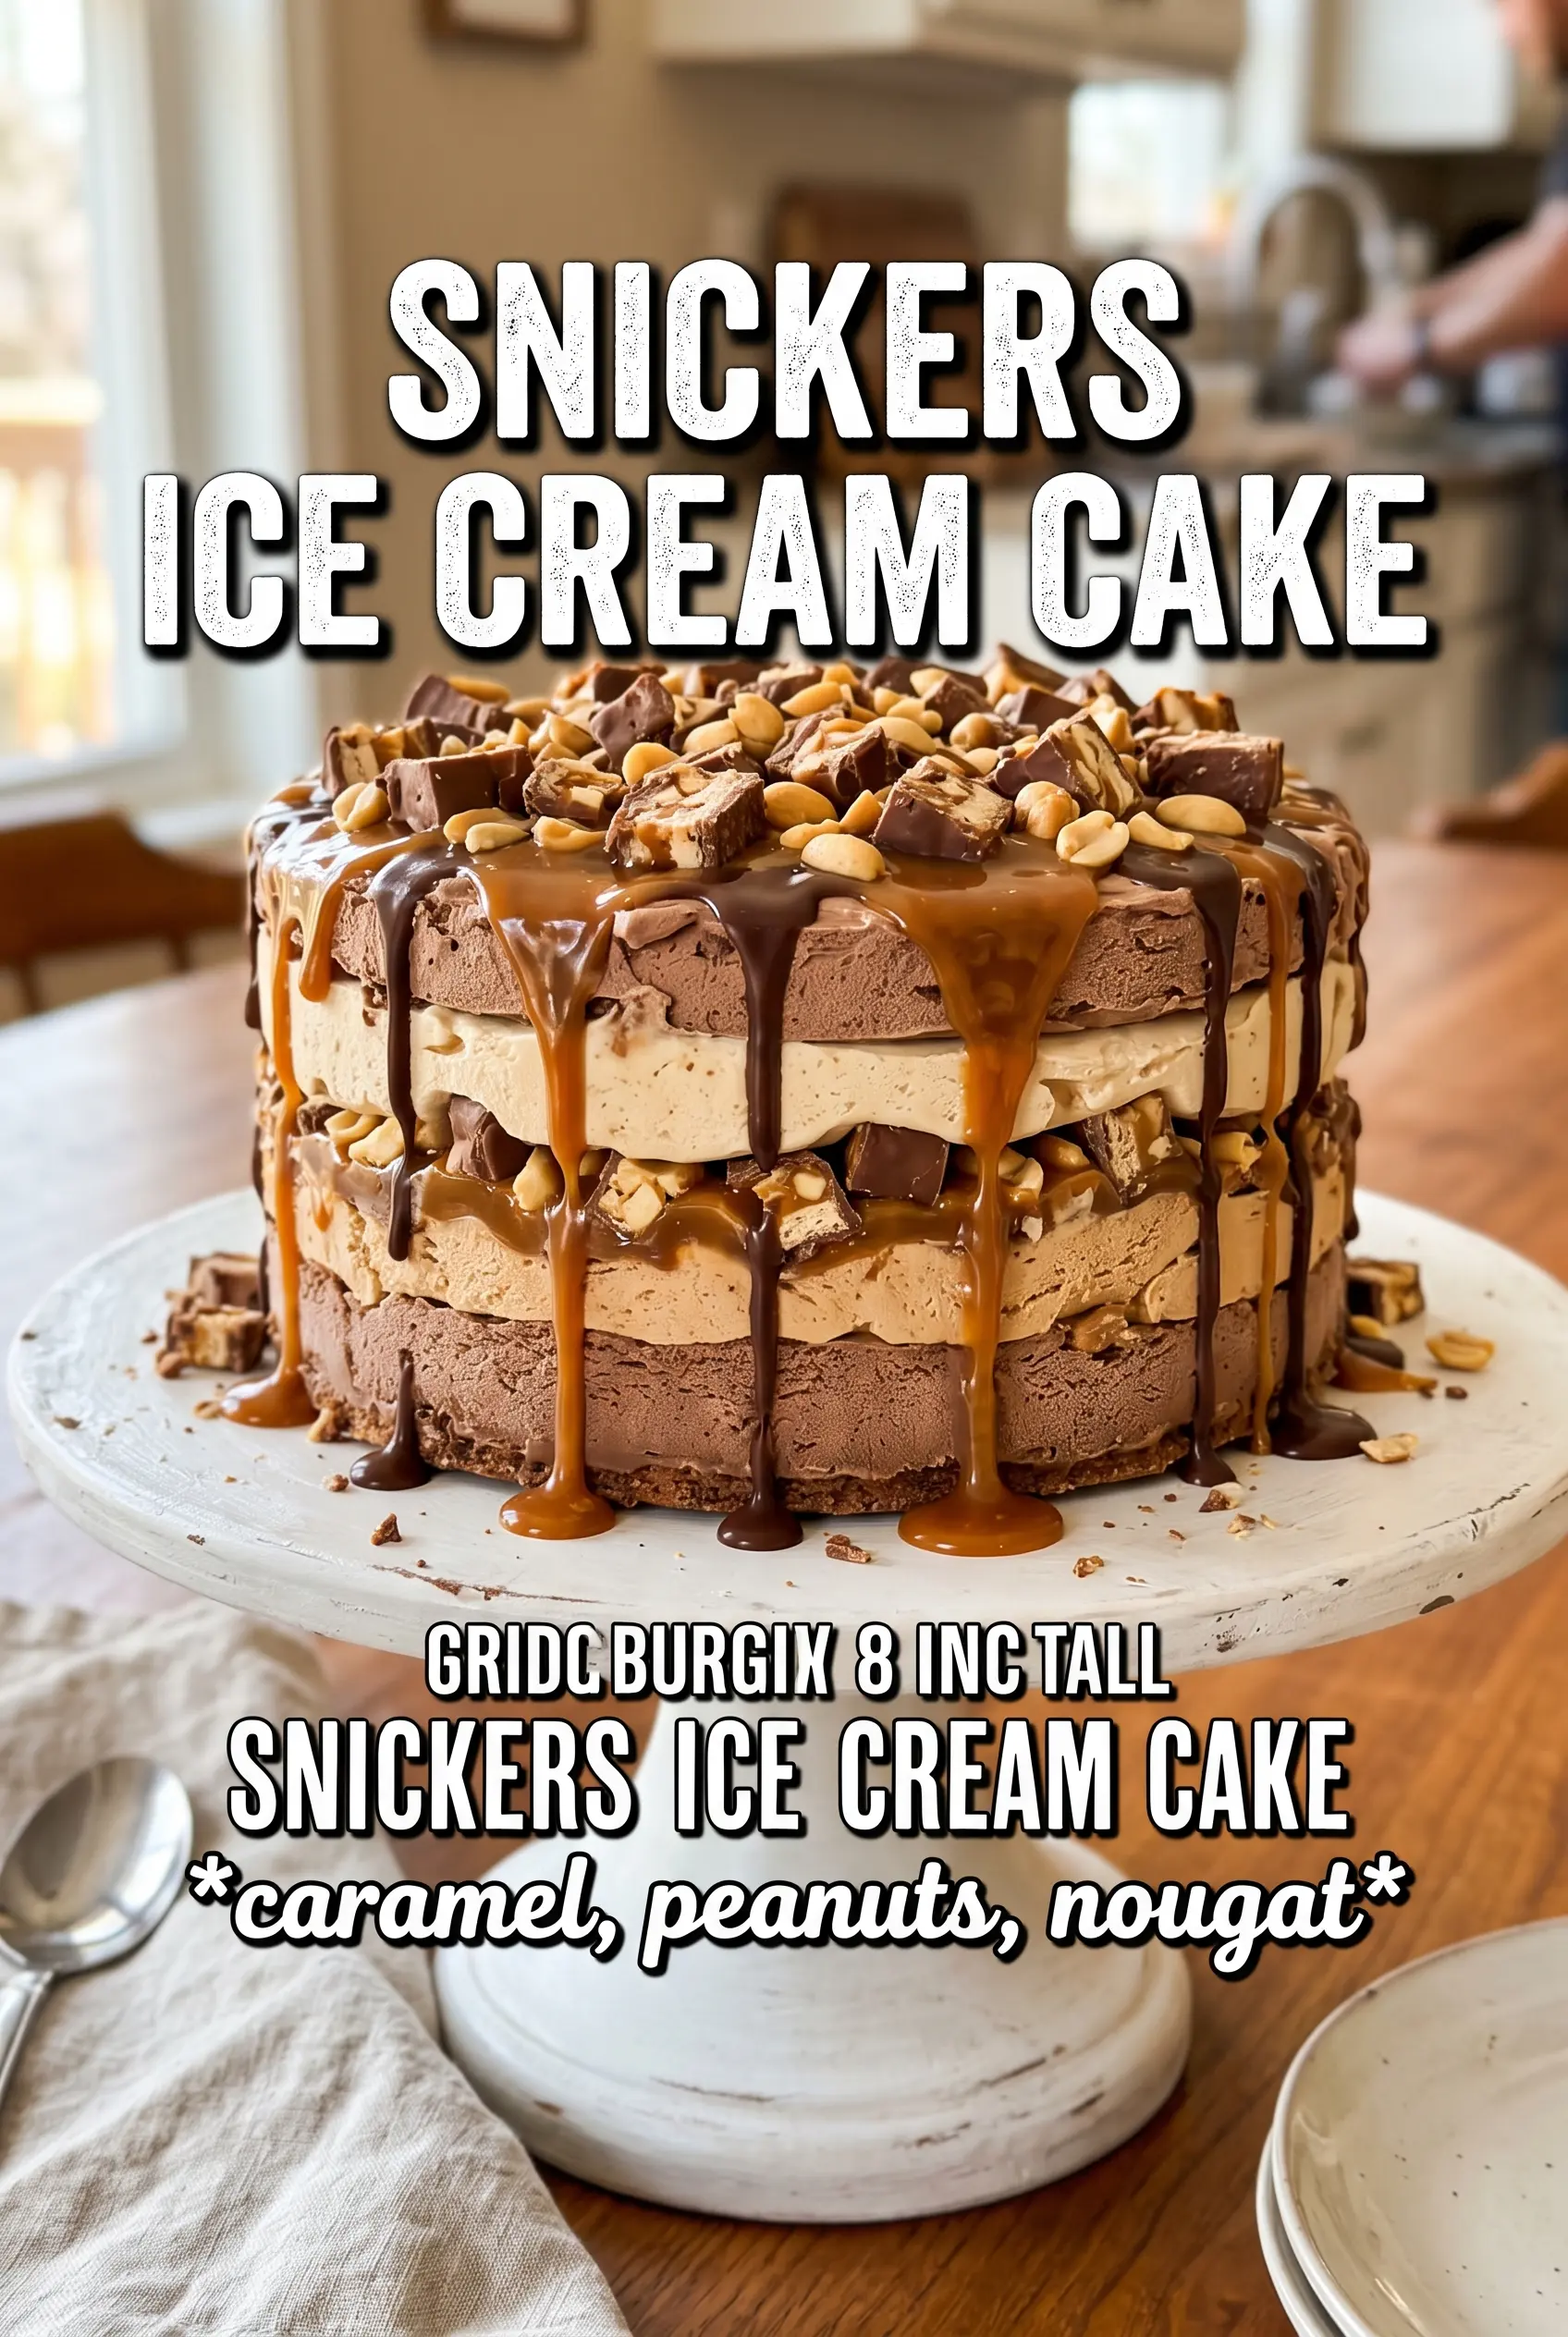
Snickers ice cream cake hits the table with the kind of payoff that makes people pause before the first bite. You get a crisp chocolate cookie crust, cold chocolate ice cream, sticky caramel ribbons, salted peanuts, and just enough Snickers to make every slice feel loaded without turning heavy. The ganache on top gives it that clean, dramatic finish, but the real draw is the mix of textures once the knife goes through.
This version works because each layer is built to freeze at the right moment. The crust gets a short head start so it sets firmly before the ice cream goes in, and the ice cream itself needs to be softened just enough to spread without melting into the pan. The caramel and peanuts go between layers instead of all at the bottom, which keeps the cake from eating like a single frozen block.
Below you’ll find the small details that keep the layers neat, plus a few swaps that help if you want to make it ahead for a party or adapt it for what you’ve got on hand.
The ganache set up beautifully and the caramel stayed in ribbons instead of soaking into the crust. I let it sit 10 minutes before slicing and got clean pieces every time.
Save this Snickers ice cream cake for the birthday dessert that needs caramel, chocolate, and peanut crunch in every slice.
The Freezer Timing That Keeps the Layers Distinct
The mistake with ice cream cakes is rushing the freeze between layers. If the crust isn’t firm before the ice cream goes in, it smears. If the ice cream is too soft, the caramel and peanuts sink instead of sitting in neat pockets. The goal is not just to chill the cake; it’s to let each layer set enough to carry the next one.
This recipe also avoids the common problem of a hard, icy center by using softened ice cream only at the mixing stage and then freezing the cake in two stages. That first long freeze locks in the middle so the ganache can go on cleanly later, and the final freeze gives the top enough structure for slicing. Let it stand a few minutes before cutting, or the knife will drag through the ganache and crack the crust.
What Each Layer Is Doing in the Cake
- Chocolate wafer cookies — These make a drier, crisper crust than a standard cookie crust, which matters because the cake stays frozen. Oreos work in a pinch, but they bring a sweeter, denser base that can read heavier under all the caramel and chocolate.
- Butter — Just enough to bind the crumbs so the crust slices cleanly without crumbling. If the mixture looks sandy and won’t hold when pressed, it needs a little more melted butter; if it looks greasy, you’ve gone too far.
- Chocolate ice cream — This is the body of the cake, so use a brand you actually like eating plain. The softer and airier the ice cream, the easier it spreads. Let it sit on the counter until it yields under a spoon, not until it turns soupy.
- Caramel sauce — A thick, pourable caramel gives you those ribbons through the ice cream instead of disappearing into it. Thin ice cream topping gets lost fast; jarred caramel or homemade caramel sauce holds its shape much better.
- Salted peanuts — The salt sharpens the sweetness and gives you the crunch that makes this taste like a frozen candy bar. Chop them roughly so some pieces stay chunky; powder-fine peanuts disappear into the ice cream.
- Snickers bars — Fold some into the middle and save the rest for the top so you get both hidden bites and a clear candy-bar finish. Chop them while they’re still cold; room-temperature bars get sticky and smear into the ice cream.
- Chocolate ganache — This creates the smooth top layer that sets the whole cake off. It should be cool and thick enough to pour slowly; if it’s warm, it’ll melt the ice cream surface and run down the sides too fast.
Building the Cake So the Ice Cream Never Turns Sloppy
Pressing the Crust
Mix the crushed chocolate wafers with the melted butter until every crumb looks evenly coated, then press it firmly into the bottom of a 10-inch springform pan. Use the bottom of a measuring cup to pack it down hard enough that it feels compact, not loose. Freeze it for 15 minutes before adding anything else. That short chill gives the crust enough structure to stay put when the ice cream layer goes on.
Folding in the Candy and Nuts
Stir the chopped Snickers and half the peanuts into the softened chocolate ice cream just until they’re distributed. Don’t overmix or the ice cream will lose too much air and turn dense once frozen. Spread it over the crust in an even layer, working quickly so the base doesn’t melt beneath it. If the ice cream starts streaking too much, stop and let the bowl sit for a minute before continuing.
Adding the Caramel Layer
Drizzle the caramel over the ice cream, then scatter on the remaining peanuts. The caramel should sit in visible lines and pools, not disappear completely. A thick sauce gives you those distinct bites; a thin one disappears into the ice cream and the cake tastes flatter. Freeze this layer for 4 hours so the top is firm enough to take the ganache.
Finishing and Slicing
Pour the chocolate ganache over the frozen surface and spread it gently to the edges. Add the remaining Snickers pieces and a final drizzle of caramel before the ganache fully sets. Freeze for 2 more hours, then let the cake stand at room temperature for 10 to 15 minutes before slicing. A hot knife helps too: wipe it clean between cuts so the layers stay neat instead of dragging the toppings across the top.
How to Adapt This for a Bigger Party or a Different Pantry
Make it gluten-free
Use certified gluten-free chocolate sandwich cookies or wafer cookies for the crust. The texture stays crisp and the rest of the cake doesn’t need changing, which makes this the easiest swap in the whole recipe.
Make it peanut-free
Skip the peanuts and use chopped pretzel sticks or toasted sunflower seeds for crunch. The cake loses the classic peanut-butter-candy-bar taste, but you keep the sweet-salty contrast and the texture that makes each bite interesting.
Turn it into a cleaner birthday slice
For neater party servings, line the springform pan with a parchment round on the bottom and chill the finished cake overnight. The extra time gives the ganache a firmer set, so slices hold their shape better when the cake is moved from table to plate.
Storage and Reheating
- Refrigerator: Not the best choice for storage; this cake softens fast and the layers lose their clean edges. Keep leftovers in the freezer instead.
- Freezer: Wrap the cake tightly or store slices in an airtight container for up to 1 week. After that, the texture starts to pick up freezer flavor and the ganache can look dull.
- Reheating: No reheating needed. For the best slice, let it sit at room temperature for 10 to 15 minutes before serving so the knife can pass through the ganache and ice cream without cracking the crust.
Answers to the Questions Worth Asking
Snickers Ice Cream Cake
Ingredients
Equipment
Method
- Combine crushed chocolate wafer cookies and melted butter, then press firmly into a 10-inch springform pan to form an even crust. Freeze for 15 minutes.
- Fold half the salted peanuts and 3 chopped Snickers bars into softened chocolate ice cream, then spread the mixture over the crust. Tap the surface smooth for an even layer.
- Drizzle caramel sauce over the ice cream and sprinkle with the remaining salted peanuts. Freeze for 4 hours.
- Pour chocolate ganache over the fully frozen cake and spread to cover the top. Keep it level so the ganache forms a smooth layer.
- Top with the remaining chopped Snickers pieces and drizzle with a little extra caramel. Freeze for 2 more hours.
- Pipe whipped cream around the edge before serving to create a finished border. Slice with a warm knife for cleaner edges.


