Rainbow Ice Cream Cake lands with that first clean slice: dark cookie crust underneath, a smooth white whipped topping shell, and sharp stripes of berry, citrus, and lime sherbet hiding inside. It looks like a bakery cake, but the best part is how the flavors stay bright and distinct instead of turning into one muddy frozen layer.
The trick is keeping each sherbet layer thin and firm before adding the next one. If you rush the freezing, the colors blend at the edges and the cake loses that striped look. A springform pan helps too, because you can release the sides without wrestling the whole dessert apart.
Below, I’ve included the small timing details that matter most, plus a few swaps if you want to change the flavors or make this work for a different birthday crowd.
The layers froze up beautifully and the colors stayed so clean when I sliced it. I thought the whipped topping would smudge the sherbet, but it spread on like a dream after the cake had fully set.
Save this rainbow sherbet cake for the next birthday when you want those clean, colorful layers to steal the whole table.
The Freeze Time Is What Keeps the Layers Sharp
Rainbow ice cream cake looks simple, but the whole dessert depends on patience between layers. Each sherbet stripe needs to firm up before the next one goes in, or the colors will smear together and the cake will collapse into a pastel blur when you slice it. Thin layers freeze faster and hold their lines better than thick ones, which is why this cake works best when you keep spreading, freezing, and repeating without rushing the process.
The crust matters too. A cold, compact cookie base gives the cake enough structure to release from the springform pan cleanly. If the crust is soft, the whole dessert shifts when you remove the ring, and that makes the sides messy before you even get to the topping.
What Each Layer Is Actually Doing Here
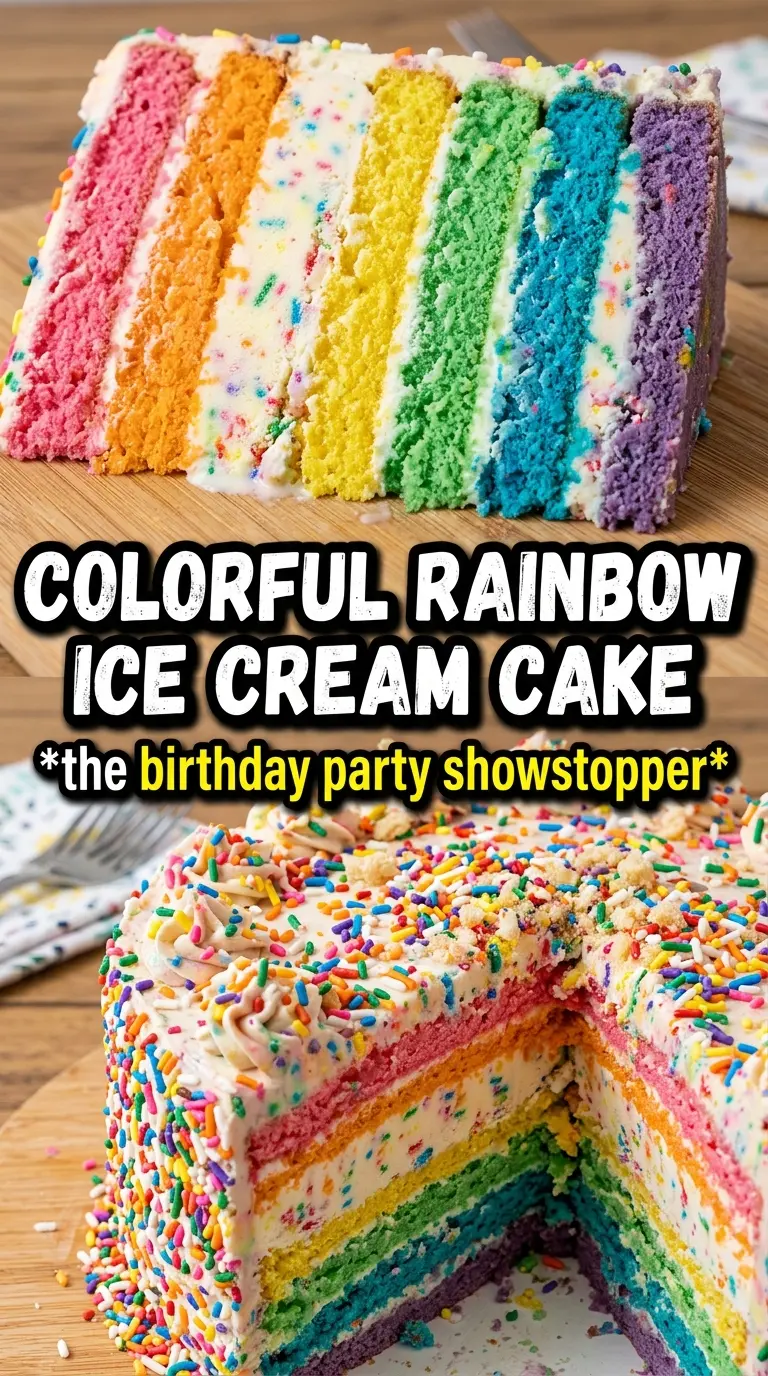
- Oreo cookies — These make a firm, chocolatey crust that tastes better than a plain crumb base and gives the cake a strong footing. Use the whole cookie, cream filling and all; it helps the crust hold together once the butter is mixed in.
- Butter — Melted butter binds the crumbs so the base slices cleanly. Don’t cut it back too much, or the crust turns sandy and falls apart when you release the pan.
- Raspberry sorbet, orange sherbet, lemon sorbet, and lime sherbet — These are the whole point of the cake. Sherbet and sorbet freeze firm enough to stack in distinct bands, and the different fruit flavors stay bright against the cookie crust and whipped topping. You can swap in other frozen fruit flavors, but keep the textures similar so the layers freeze evenly.
- Whipped topping — This gives the cake its smooth white exterior and keeps the decoration light instead of heavy. It’s much easier to spread than whipped cream on a frozen cake, and it holds up better while you work.
- Rainbow sprinkles — They add color on the outside and hint at what’s inside. Add them after the whipped topping is on, while the coating is still soft enough for them to stick.
How to Build the Cake So the Colors Stay Separate
Pressing the Crust Into Place
Mix the crushed Oreos with the melted butter until every crumb looks evenly damp, then press the mixture firmly into the bottom of a 9-inch springform pan. The crust should feel compact, not loose or crumbly, because that bottom layer has to support a tall frozen dessert. Freeze it for 15 minutes so it firms up before the first sherbet layer goes in.
Spreading One Thin Layer at a Time
Work with one flavor at a time and spread it quickly into a thin, even layer. If the sherbet is too soft, it will melt into the layer below it instead of sitting on top in a clean stripe, so keep the pan cold and move fast. After each layer, freeze until firm to the touch before adding the next one; that pause is what gives you the stacked rainbow look.
Freezing the Cake Solid
Once all the layers are in, freeze the cake until it’s completely solid before you even think about removing the ring. If the center still gives when you press it, the layers will shift and the sides can slump as soon as the pan comes off. Four hours is the minimum here, but longer is fine if you’re making it ahead.
Covering It Without Smearing the Stripes
Spread the whipped topping over the top and sides only after the cake is firm all the way through. If the sherbet is still soft, the topping will drag color into the white coating and you’ll lose that crisp contrast. Use an offset spatula or the back of a spoon, then finish with sprinkles and return the cake to the freezer so the outside sets before slicing.
How to Adapt This for Different Crowds and Freezers
Swap the sherbet flavors for a custom color theme
Keep the same layering method, but use other bright sorbets or sherbets if you want a different look. Mango, pineapple, blueberry, or black cherry all work well as long as the flavors freeze firm and the colors stay distinct.
Make it dairy-free with the right topping
Use dairy-free whipped topping and choose sorbet flavors that don’t contain dairy. The cake still sets up well because the structure comes from the frozen layers and crust, not from cream filling.
Use a different cookie crust for a sweeter finish
Graham crackers or vanilla sandwich cookies both work, but they give a lighter, sweeter base than Oreos. You’ll lose the cocoa contrast underneath the fruit layers, so the dessert tastes a little softer and more classic.
Storage and Reheating
- Refrigerator: Don’t store this in the fridge; it melts and loses its structure within minutes.
- Freezer: Wrap the cake well and freeze for up to 1 week for the best texture. After that, the sherbet can start picking up ice crystals and the whipped topping may lose its smooth look.
- Reheating: There isn’t any reheating here. Let the cake sit at room temperature for 5 to 10 minutes before slicing so the knife cuts through cleanly instead of cracking the top.
Questions I Get Asked About This Recipe
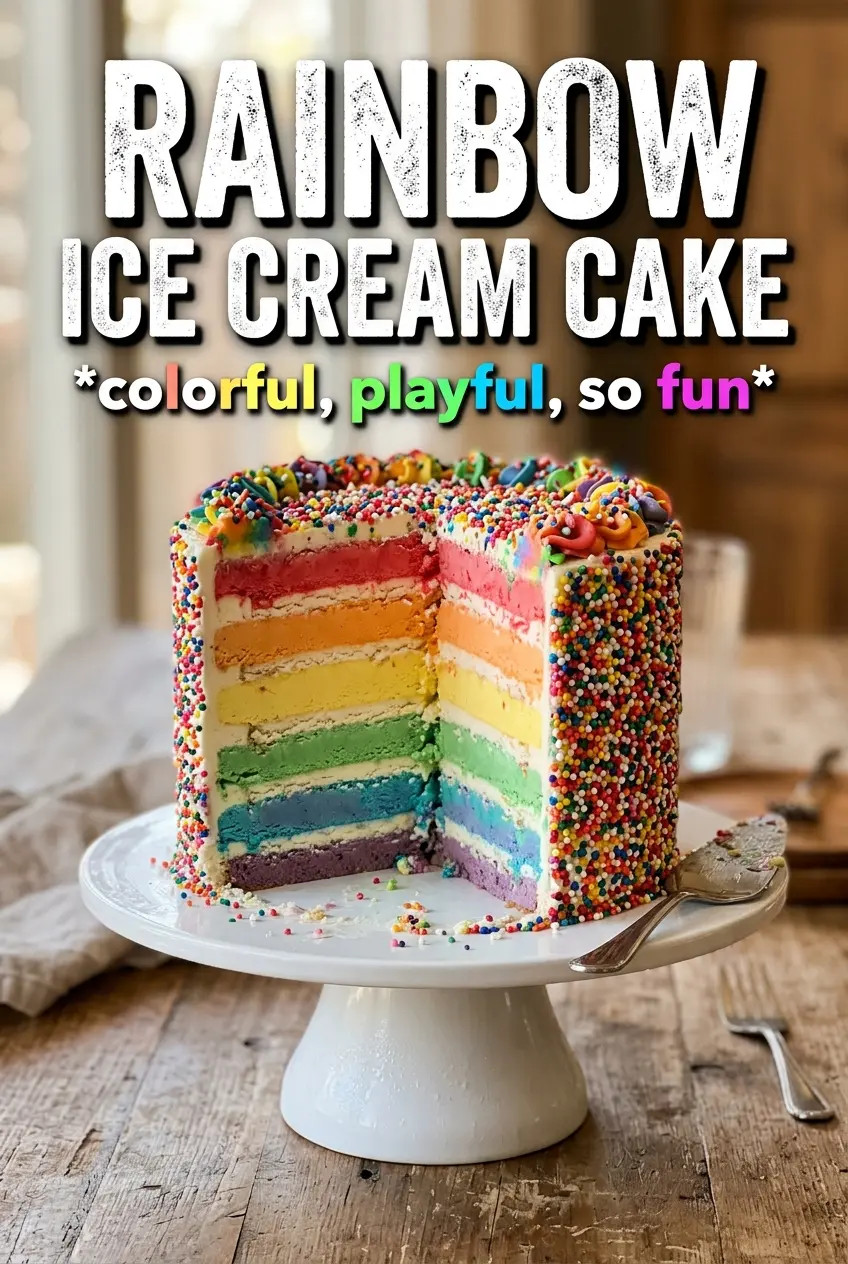
Rainbow Ice Cream Cake
Ingredients
Equipment
Method
- Press the crushed Oreo cookies mixed with melted butter into a 9-inch springform pan to form an even crust, then freeze for 15 minutes until set.
- Work quickly: spread the raspberry sorbet in a thin, even layer over the crust, then freeze for 30 minutes until firm.
- Repeat by spreading the orange sherbet in a thin, even layer over the firm raspberry layer, then freeze for 30 minutes until firm.
- Repeat by spreading the lemon sorbet in a thin, even layer over the firm orange layer, then freeze for 30 minutes until firm.
- Repeat by spreading the lime sherbet in a thin, even layer over the firm lemon layer, then freeze for 30 minutes until firm.
- Freeze the completed layered cake for 4 hours until completely solid.
- Cover the top and sides with whipped topping, then decorate generously with rainbow sprinkles.
- Return the cake to the freezer for 2 more hours until the whipped topping is firm.
- Slice the rainbow ice cream cake to reveal the vivid sherbet layers inside the whipped topping exterior.


