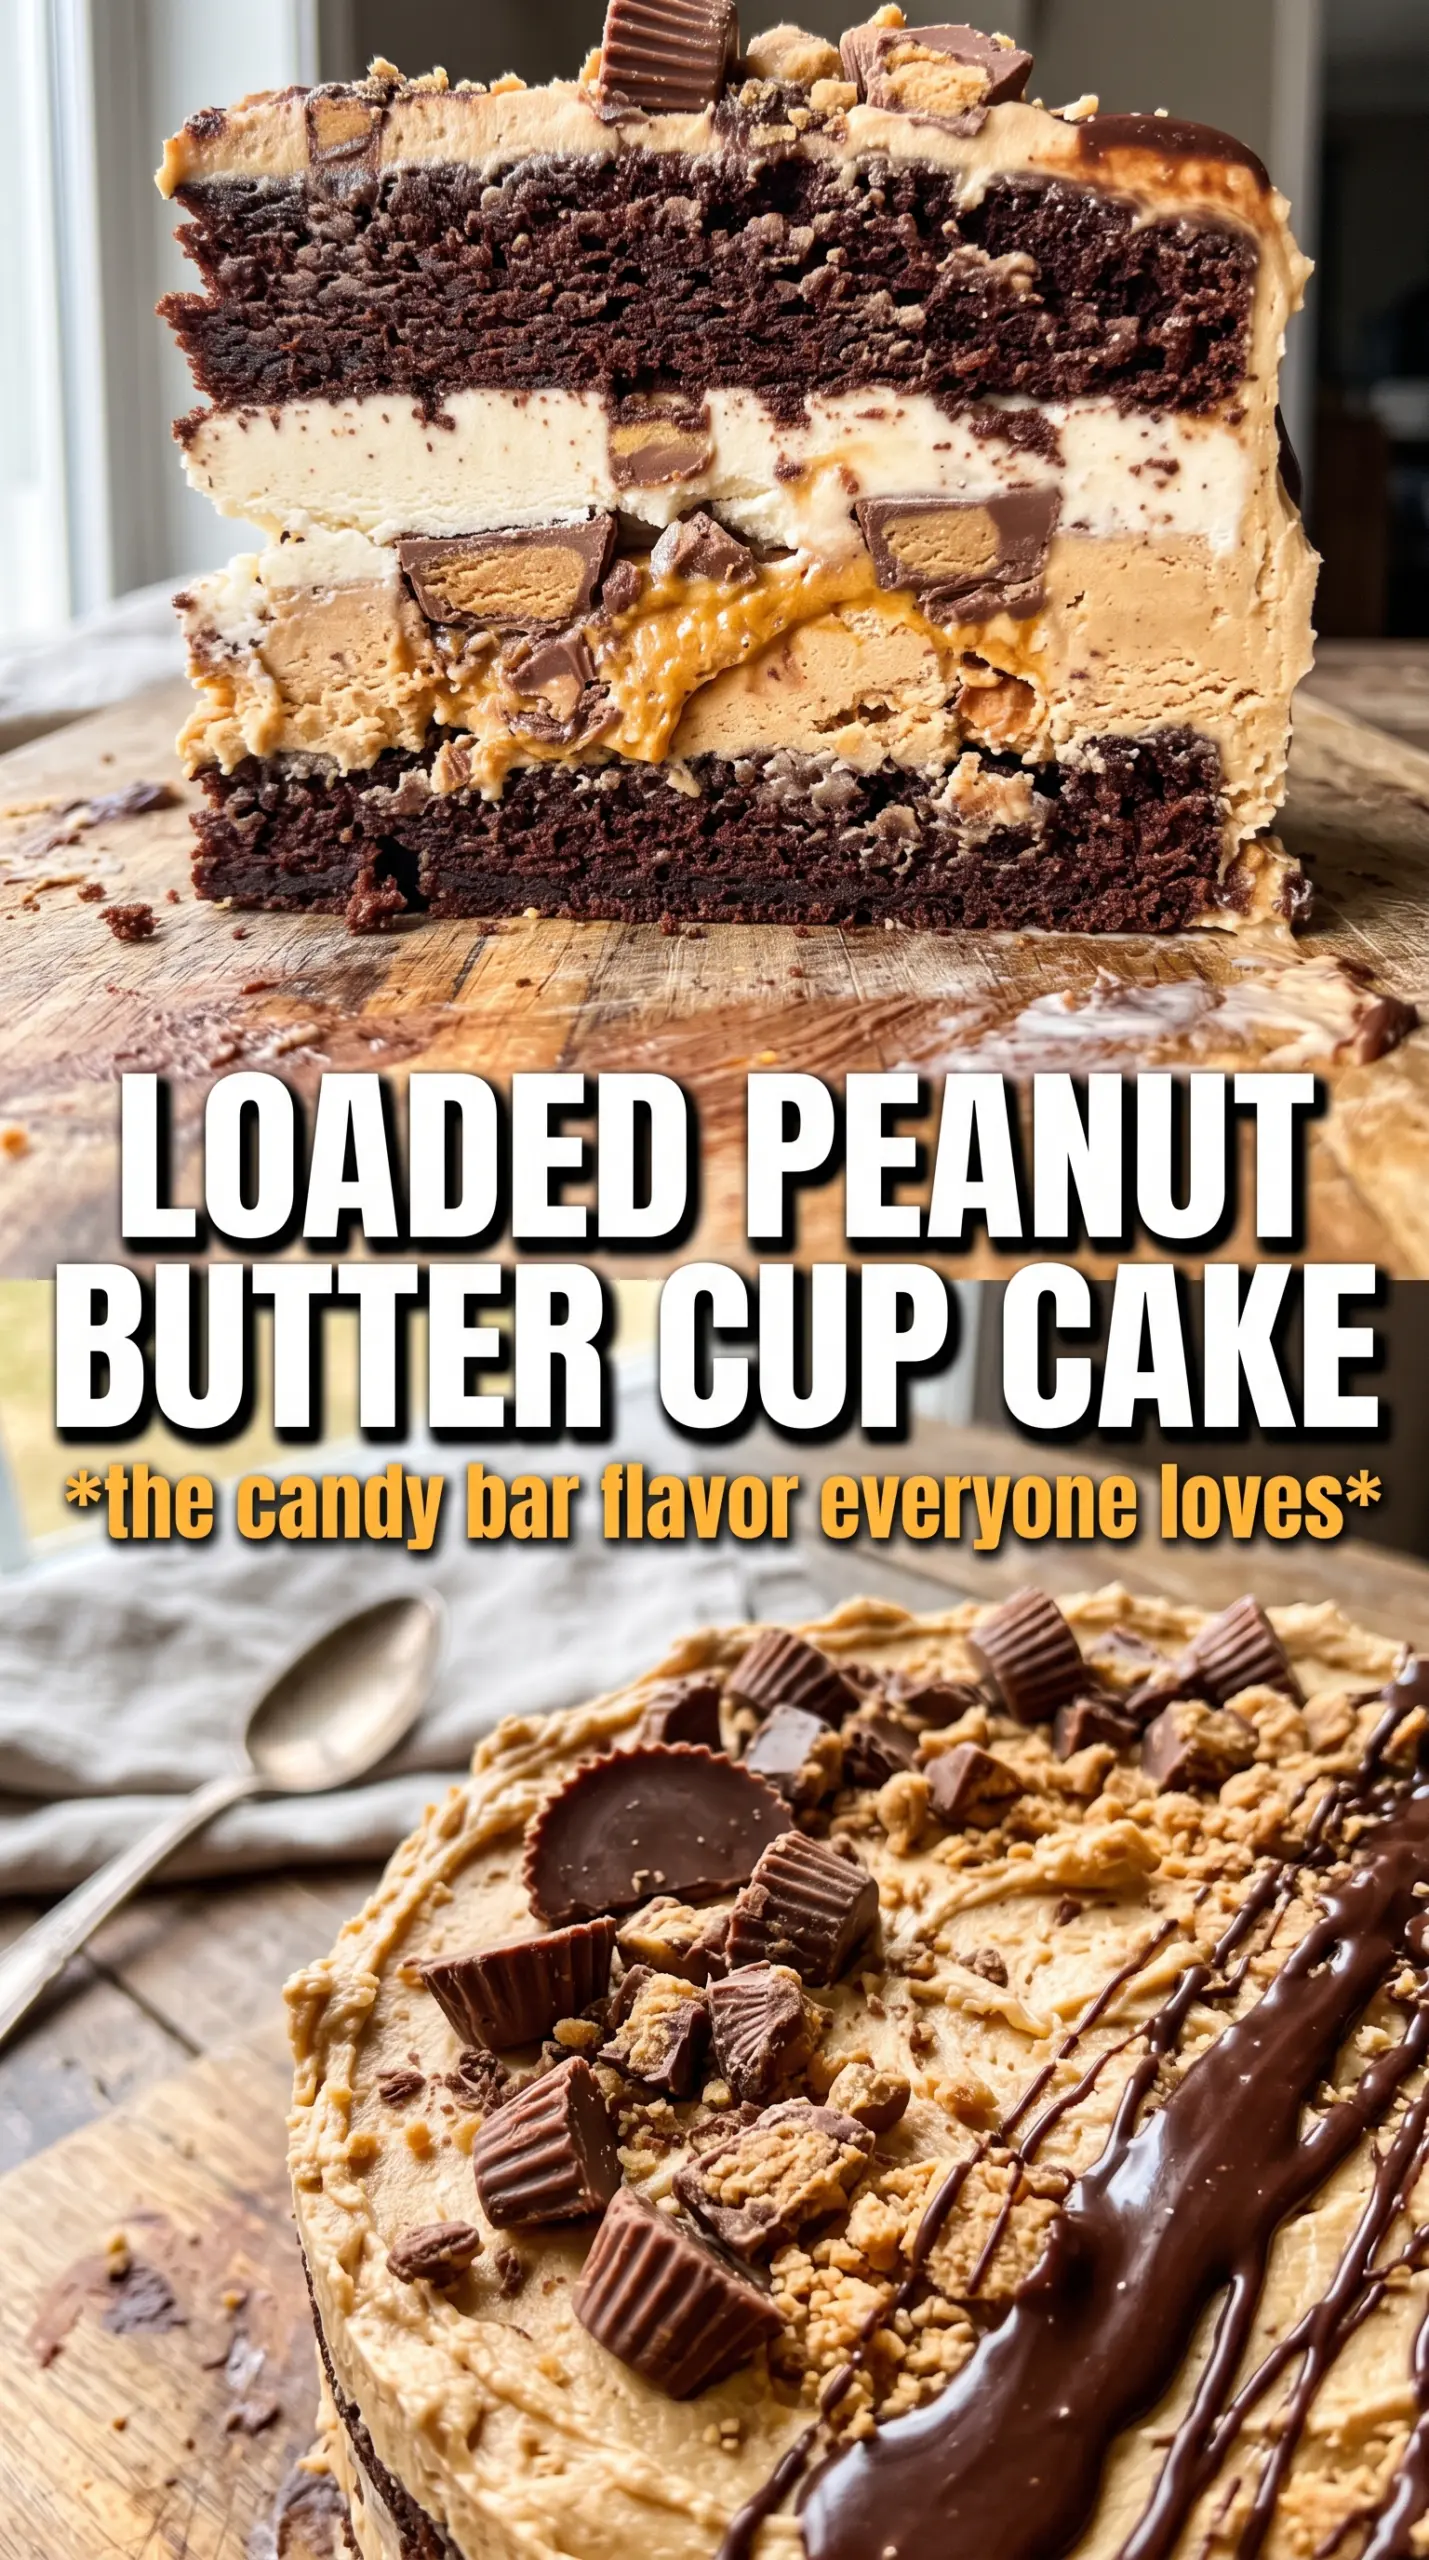
Chocolate ice cream, peanut butter, and peanut butter cups stack up into a frozen cake that slices cleanly and tastes like the best part of an ice cream shop birthday cake. The Oreo crust keeps the whole thing grounded with a dark, crunchy base, while the peanut butter swirl cuts through the richness so each bite lands with contrast instead of just sweetness.
What makes this version work is the order. The crust gets a short freeze before the ice cream goes in, which helps it hold together when you cut into it later. The peanut butter is warmed just enough to drizzle and swirl, not so hot that it melts the ice cream underneath. That small detail keeps the layers distinct and gives you those clean ribbons of peanut butter through the center.
Below you’ll find the little timing cues that matter, plus a few ways to adapt the cake if you’re making it ahead, serving a crowd, or want to swap in a different ice cream flavor without losing the structure.
The peanut butter swirl stayed distinct instead of disappearing into the ice cream, and the Oreo crust sliced cleanly after six hours in the freezer. My kids asked for the same cake again for the next birthday.
Save this Peanut Butter Cup Ice Cream Cake for the next birthday when you want a frozen dessert with a thick peanut butter swirl and a clean chocolate slice.
The Part That Keeps the Ice Cream Layer from Sliding
Ice cream cake fails when the base is too soft before the filling goes in. A crushed cookie crust looks simple, but it needs that first 15-minute freeze so the butter can firm up and lock the crumbs together. Skip that pause and the ice cream starts to melt into the crust, which gives you a muddy bottom instead of a clean layered slice.
The other thing worth respecting is the texture of the ice cream itself. It should be softened enough to spread without tearing the crust, but still cold enough to hold its shape once it goes into the pan. If it looks glossy and loose like milkshake consistency, it has gone too far and the final cake will freeze in a denser, icier layer.
What Each Ingredient Is Actually Doing in This Cake
- Oreo cookies — They bring the deep chocolate crunch that keeps this cake from tasting flat. A regular chocolate cookie crumb works in a pinch, but Oreos give you more structure because of the cream filling and finer crumb once crushed.
- Unsalted butter — This is the glue for the crust. Salted butter works if that’s what you have, but unsalted gives you better control because peanut butter cups already bring plenty of sweetness and salt.
- Chocolate ice cream — Use a rich, dense ice cream here. Light or low-fat versions freeze harder and can turn icy, which makes the cake slice less clean and taste less creamy.
- Creamy peanut butter — Warm it just until loose and pourable. Natural peanut butter can work, but it needs extra stirring and tends to set less smoothly; the stabilized supermarket style gives you the best swirl.
- Reese’s peanut butter cups — These are more than garnish. Folding some into the ice cream gives you little pockets of peanut butter texture inside the cake, while the rest on top make the finished cake look intentional instead of plain.
- Chocolate ganache — Ganache sets into a glossy top that slices neatly. A loose frosting won’t give you the same clean finish, and a straight chocolate sauce will run instead of holding the toppings in place.
Freezing the Layers in the Right Order
Build the crust first
Mix the crushed Oreos with the melted butter until every crumb looks damp, then press it firmly into the springform pan. You want an even layer with a packed edge, not a loose sandy base, because that’s what gives you the clean cut later. The 15-minute freeze matters here; it turns the crust from crumbly to stable before the ice cream goes on.
Spread the ice cream before it softens too much
Fold one cup of chopped peanut butter cups into the softened chocolate ice cream, then spread it over the chilled crust. Work quickly and use a spatula to push the ice cream all the way to the edge so there aren’t air pockets hiding near the pan wall. If the ice cream starts slumping, stop and return the bowl to the freezer for a few minutes before continuing.
Swirl the peanut butter without melting the layer
Drizzle the warmed peanut butter over the top and run a knife through it in slow figure-eights. The goal is a visible ribbon, not a fully mixed layer, so keep the knife strokes shallow. If the peanut butter sinks straight down, it was too hot; let it cool for a minute before trying again.
Finish with ganache after the cake is firm
Freeze the assembled cake until it’s fully set, then pour the ganache over the top and arrange the remaining peanut butter cups right away. The cake needs to be hard enough that the ganache sits on top instead of melting a trench into the surface. Pipe the whipped cream edge at the very end, after the ganache has settled, or the decorations will slide.
How to Adapt This Cake Without Losing the Structure
Make it gluten-free with a different cookie base
Use gluten-free chocolate sandwich cookies in place of the Oreos and keep the butter amount the same. The crust will still press and freeze well, but some gluten-free cookies crush a little more finely, so pack the pan firmly to avoid a loose bottom.
Make it dairy-free with the right frozen base
Use a dairy-free chocolate ice cream and a plant-based butter for the crust. The texture will still work, but the cake may freeze a little harder, so let it sit at room temperature for 8 to 10 minutes before slicing.
Swap the chocolate ice cream for peanut butter cup ice cream
If you find peanut butter cup ice cream, use it in place of the chocolate base and cut back slightly on the chopped cups folded in. The result is richer and sweeter, with less contrast, so it tastes more like a candy-bar cake than a balanced frozen dessert.
Storage and Reheating
- Refrigerator: Not recommended; this is best kept frozen, and the layers will soften too much in the fridge.
- Freezer: Store covered for up to 1 week for the best texture. After that, the crust starts to pick up freezer flavor and the ice cream gets a little icy around the edges.
- Reheating: No reheating needed. For clean slices, let the cake stand at room temperature for 8 to 12 minutes before cutting with a sharp knife dipped in hot water and wiped dry between cuts.
Questions I Get Asked About This Recipe
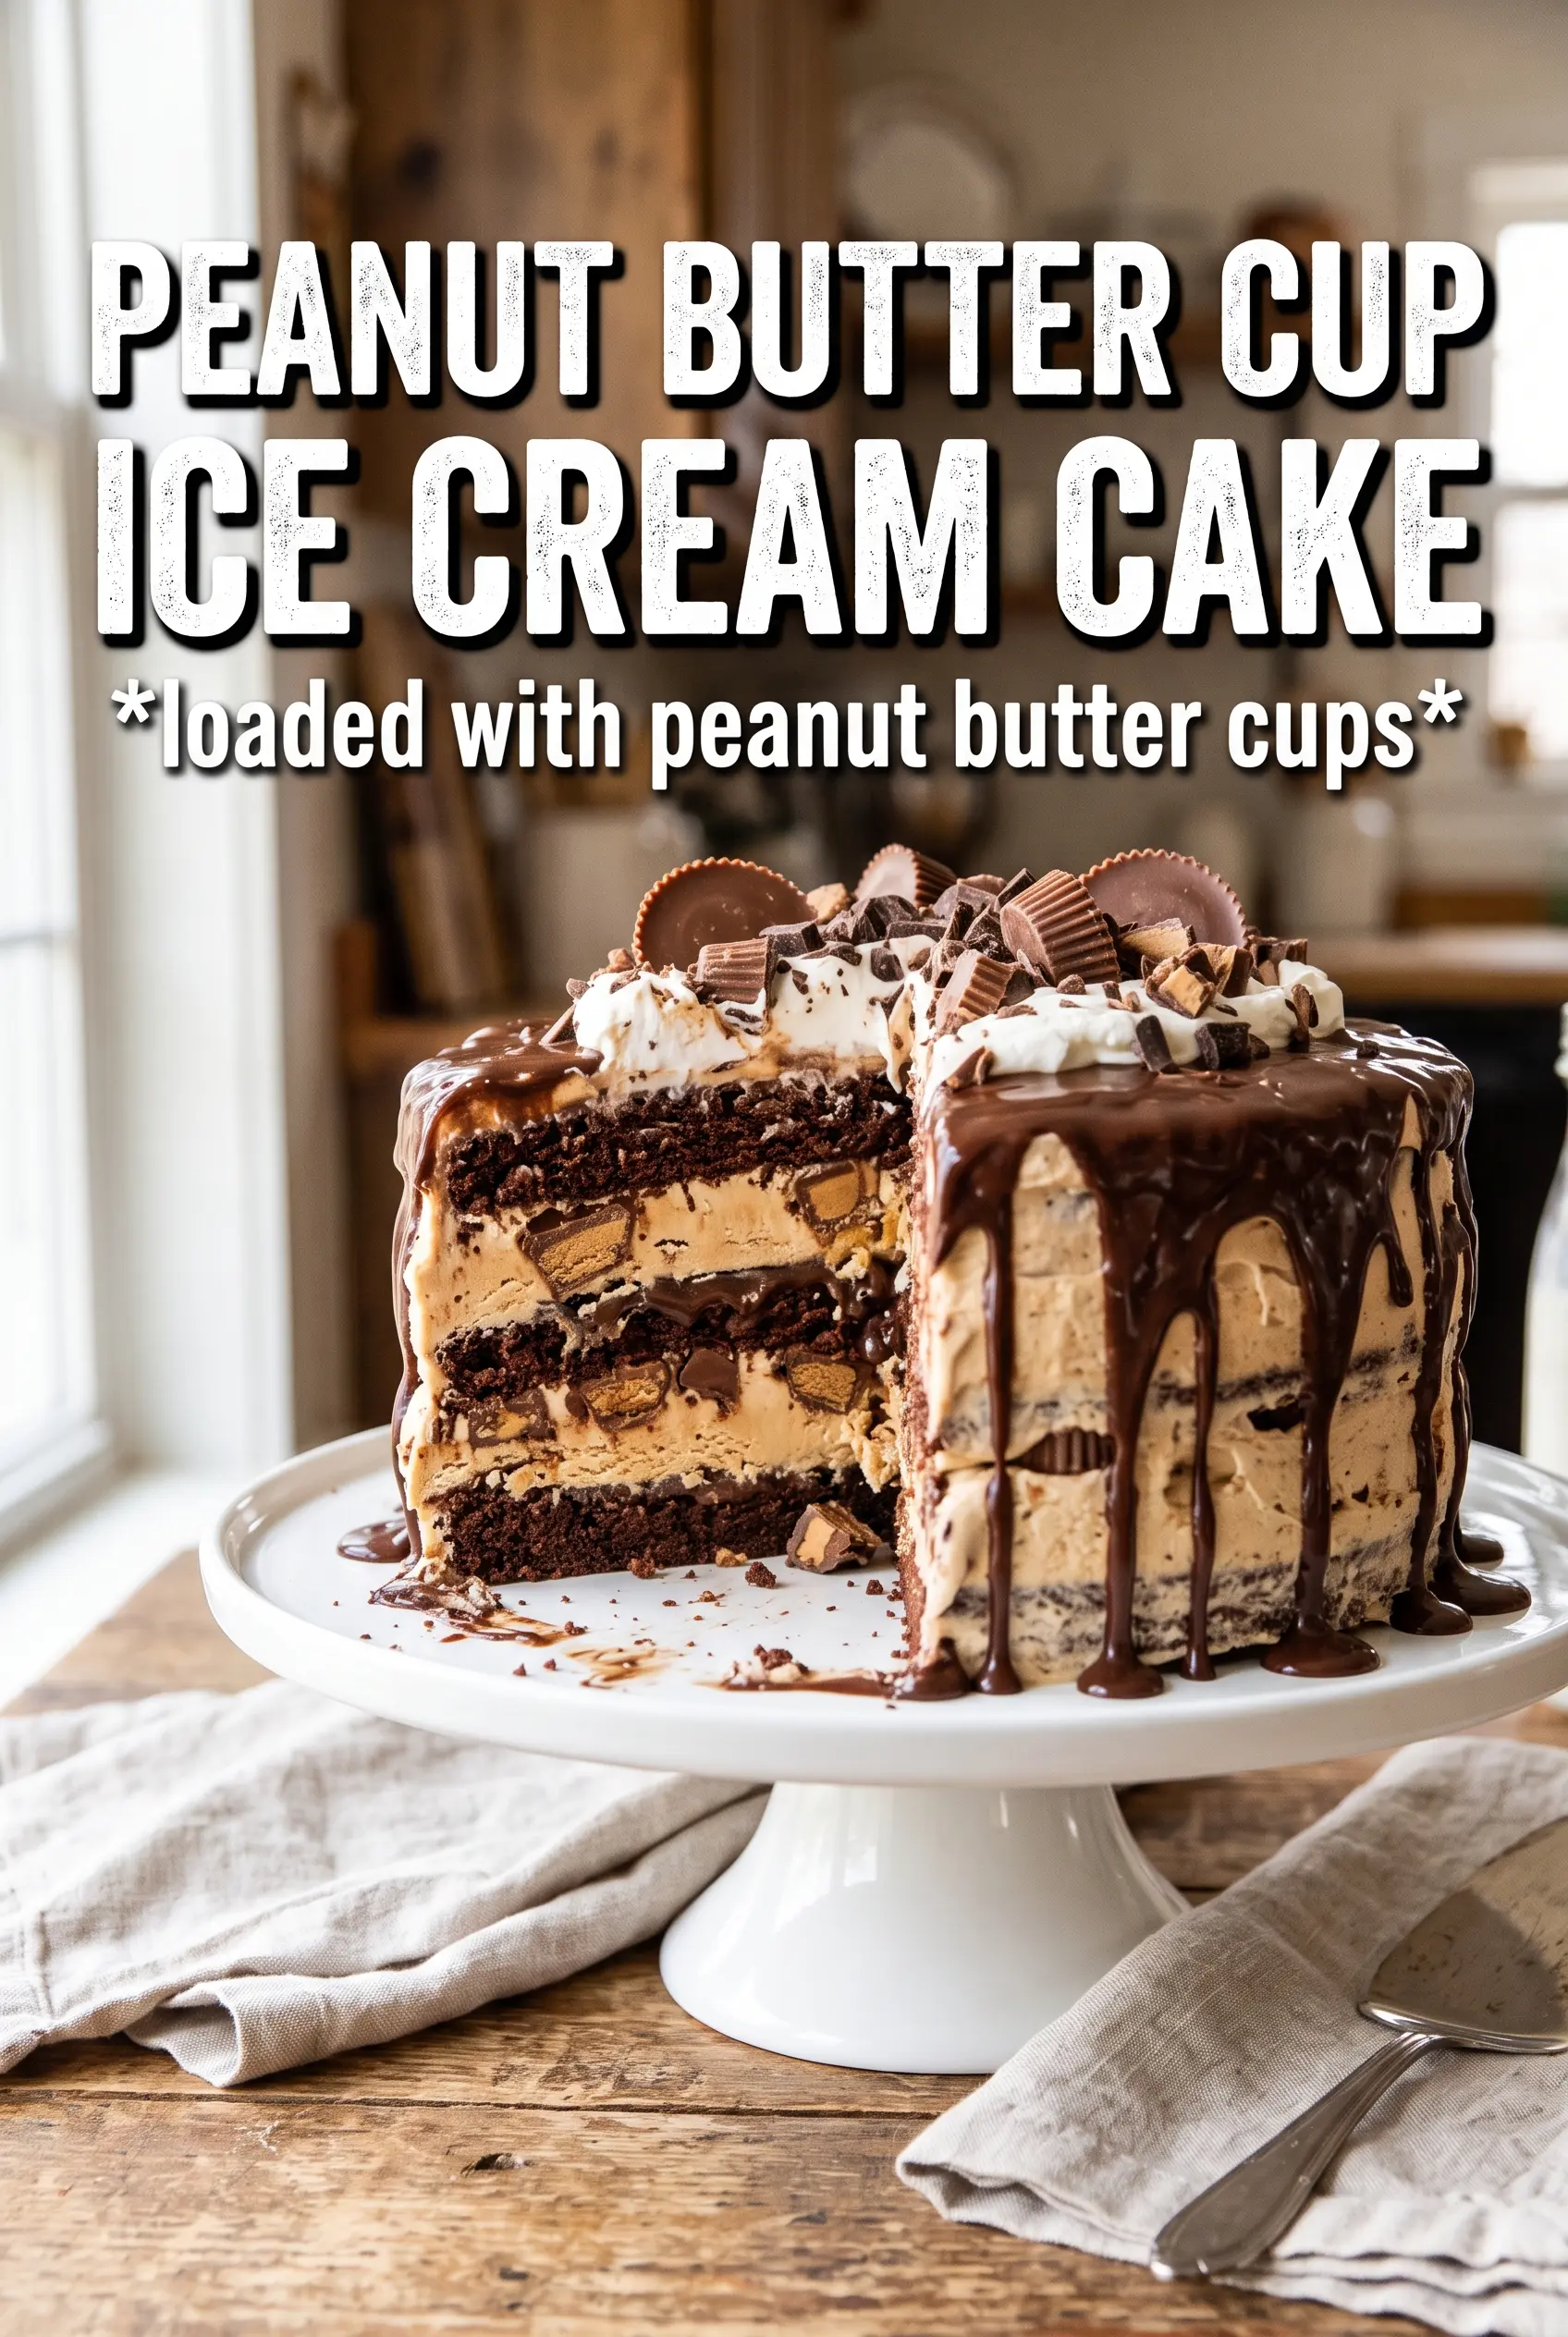
Peanut Butter Cup Ice Cream Cake
Ingredients
Equipment
Method
- Mix crushed Oreo cookies with melted unsalted butter until evenly combined, then press firmly into a 9-inch springform pan to form an even crust. Freeze for 15 minutes to set, and look for the crust to feel solid when touched.
- Fold 1 cup of the roughly chopped Reese’s peanut butter cups into the softened chocolate ice cream until distributed. Spread the ice cream over the crust in an even layer, making sure the surface is smooth.
- Drizzle the warmed creamy peanut butter over the ice cream in ribbons, then swirl with a knife to create thick marbled streaks. Use a few controlled passes, and keep the swirl visible on top.
- Freeze for 4 hours until firm. The cake is ready when you can press gently and it holds shape without indentation.
- Pour the chocolate ganache over the top and smooth it to cover, then arrange the remaining chopped Reese’s peanut butter cups on top. Aim for concentric-looking coverage, and let the ganache settle.
- Freeze for 2 more hours until set. Pipe whipped cream around the edge right before serving, and slice cleanly to show the chocolate ice cream and peanut butter swirl inside.