Layers of vanilla wafers and orange cream settle into the kind of chilled dessert that disappears fast because it tastes like a creamsicle and slices like a proper cake. The wafers soften in the fridge, the cream sets up around them, and the whole pan turns into something cool, plush, and light on the fork without losing that nostalgic orange-vanilla flavor.
The trick here is balance. Frozen orange juice concentrate brings sharp citrus flavor without watering down the filling, and folding whipped cream into the cream cheese base keeps the texture airy instead of heavy. If you’ve ever had an icebox cake that turned soupy or tasted flat, it usually needed more concentration in the filling and more time in the fridge.
Below you’ll find the exact layering rhythm that gives this dessert its clean slices, plus a few swaps that still keep the creamsicle flavor front and center.
The orange cream layer set up beautifully overnight and the wafers softened into that cake-like texture I was hoping for. My kids said it tasted just like a creamsicle bar.
Save this Orange Creamsicle Icebox Cake for the chilled dessert that layers orange zest, vanilla wafers, and creamy filling into a sliceable no-bake treat.
The Step That Keeps the Creamsicle Filling Light Instead of Dense
The filling works because the cream cheese and whipped cream are treated like two separate jobs. Cream cheese gives structure and tang, but if you beat the whipped cream into it too hard, you’ll knock out the air that gives this dessert its cloudlike texture. The result should be spreadable and pillowy, not stiff or grainy.
Frozen orange juice concentrate is the ingredient that keeps the orange flavor bold. Fresh juice tastes nice, but it’s too watery here and makes the filling looser. The wafers also need the full chill time; if you cut in too early, they stay too crisp and the dessert tastes more like layered pudding than cake.
What Each Ingredient Is Really Doing Here

- Vanilla wafers — These soften into the cake layers, which is the whole point of an icebox cake. Nilla wafers give the best nostalgic flavor and texture, but any crisp vanilla wafer-style cookie will work. Don’t swap in soft cookies; they’ll collapse instead of turning tender.
- Cream cheese — This is the backbone of the filling. It keeps the dessert from tasting like flavored whipped cream and helps the layers slice cleanly after chilling. Soften it fully before mixing or you’ll end up with tiny lumps that never blend out.
- Heavy cream — Whipped separately, it turns the filling light enough to feel like a true creamsicle dessert. Half-and-half or milk won’t whip and can’t replace what heavy cream does here. Stop at stiff peaks so the filling holds its shape between the wafers.
- Frozen orange juice concentrate — This brings concentrated orange flavor without thinning the filling. It’s the ingredient that makes the dessert taste like the classic popsicle instead of a generic citrus cream. Thaw it first so it blends in smoothly.
- Orange zest — Zest adds the fresh citrus oil that makes the orange flavor pop. You can get by with one tablespoon, but two gives the filling a brighter finish. Zest the oranges before slicing them for the top.
- Powdered sugar — It sweetens without graininess and helps the filling stay smooth. Granulated sugar leaves the mixture a little gritty and doesn’t dissolve as nicely in a no-bake dessert.
Layering the Dessert So It Slices Cleanly Later
Smoothing the Base First
Beat the cream cheese until it looks completely smooth before anything else goes in. If the base still has lumps at this stage, they’ll stay in the finished cake. Add the powdered sugar, thawed orange concentrate, orange zest, and vanilla, and keep mixing until the filling looks thick and glossy. The bowl should smell like orange creamsicle before you even fold in the whipped cream.
Whipping the Cream Separately
Whip the heavy cream in a clean bowl until stiff peaks hold their shape when you lift the beater. If it’s underwhipped, the filling will slump; if it’s overwhipped, it can look dry and grainy once folded in. Use a spatula and fold gently in broad strokes so the air stays in the cream. The mixture should lighten in color and turn billowy, not loose.
Building the Pan in Even Layers
Line the bottom of a 9×13 pan with vanilla wafers, then spread about a third of the orange cream over them. Repeat twice more, ending with cream on top. Keep the layers even so the cake chills into a tidy slab instead of a lopsided mound. If the wafers crack a little as you press them in, that’s fine; they’ll soften in the fridge.
Letting the Fridge Do the Work
Chill the cake for at least 6 hours, though overnight gives the best slice. This is when the wafers absorb moisture and turn cake-like. If the dessert still seems loose after chilling, it needs more time, not more stirring. Add the orange slices and extra zest right before serving so the top stays fresh and bright.
How to Tweak It Without Losing the Orange-Vanilla Balance
Gluten-Free Version
Use a gluten-free vanilla cookie or wafer that stays crisp. The texture will be slightly different, but the layered effect still works as long as the cookie can soften without turning mushy.
Dairy-Free Version
Swap in dairy-free cream cheese and a whipped coconut topping in place of the heavy cream. The filling will taste a little less rich and more coconut-forward, but it still slices well if you chill it overnight.
More Citrus, Less Sweet
Add a little extra orange zest and hold back a spoonful of powdered sugar if you want a brighter, sharper finish. Don’t add more juice concentrate than the recipe calls for; too much can make the filling loose.
Mini Dessert Cups
Layer the same filling and wafers in small jars or dessert cups for parties. They chill faster and serve neatly, though they won’t have the same dramatic slice as the full pan.
Storage and Reheating
- Refrigerator: Store covered for up to 4 days. The wafers continue to soften, so the texture becomes more pudding-like after day two.
- Freezer: Freeze slices tightly wrapped for up to 1 month. Thaw in the refrigerator, not at room temperature, so the filling doesn’t weep.
- Reheating: No reheating needed. Serve it cold straight from the fridge; letting it sit out too long makes the filling lose its clean edges.
Questions I Get Asked About This Recipe
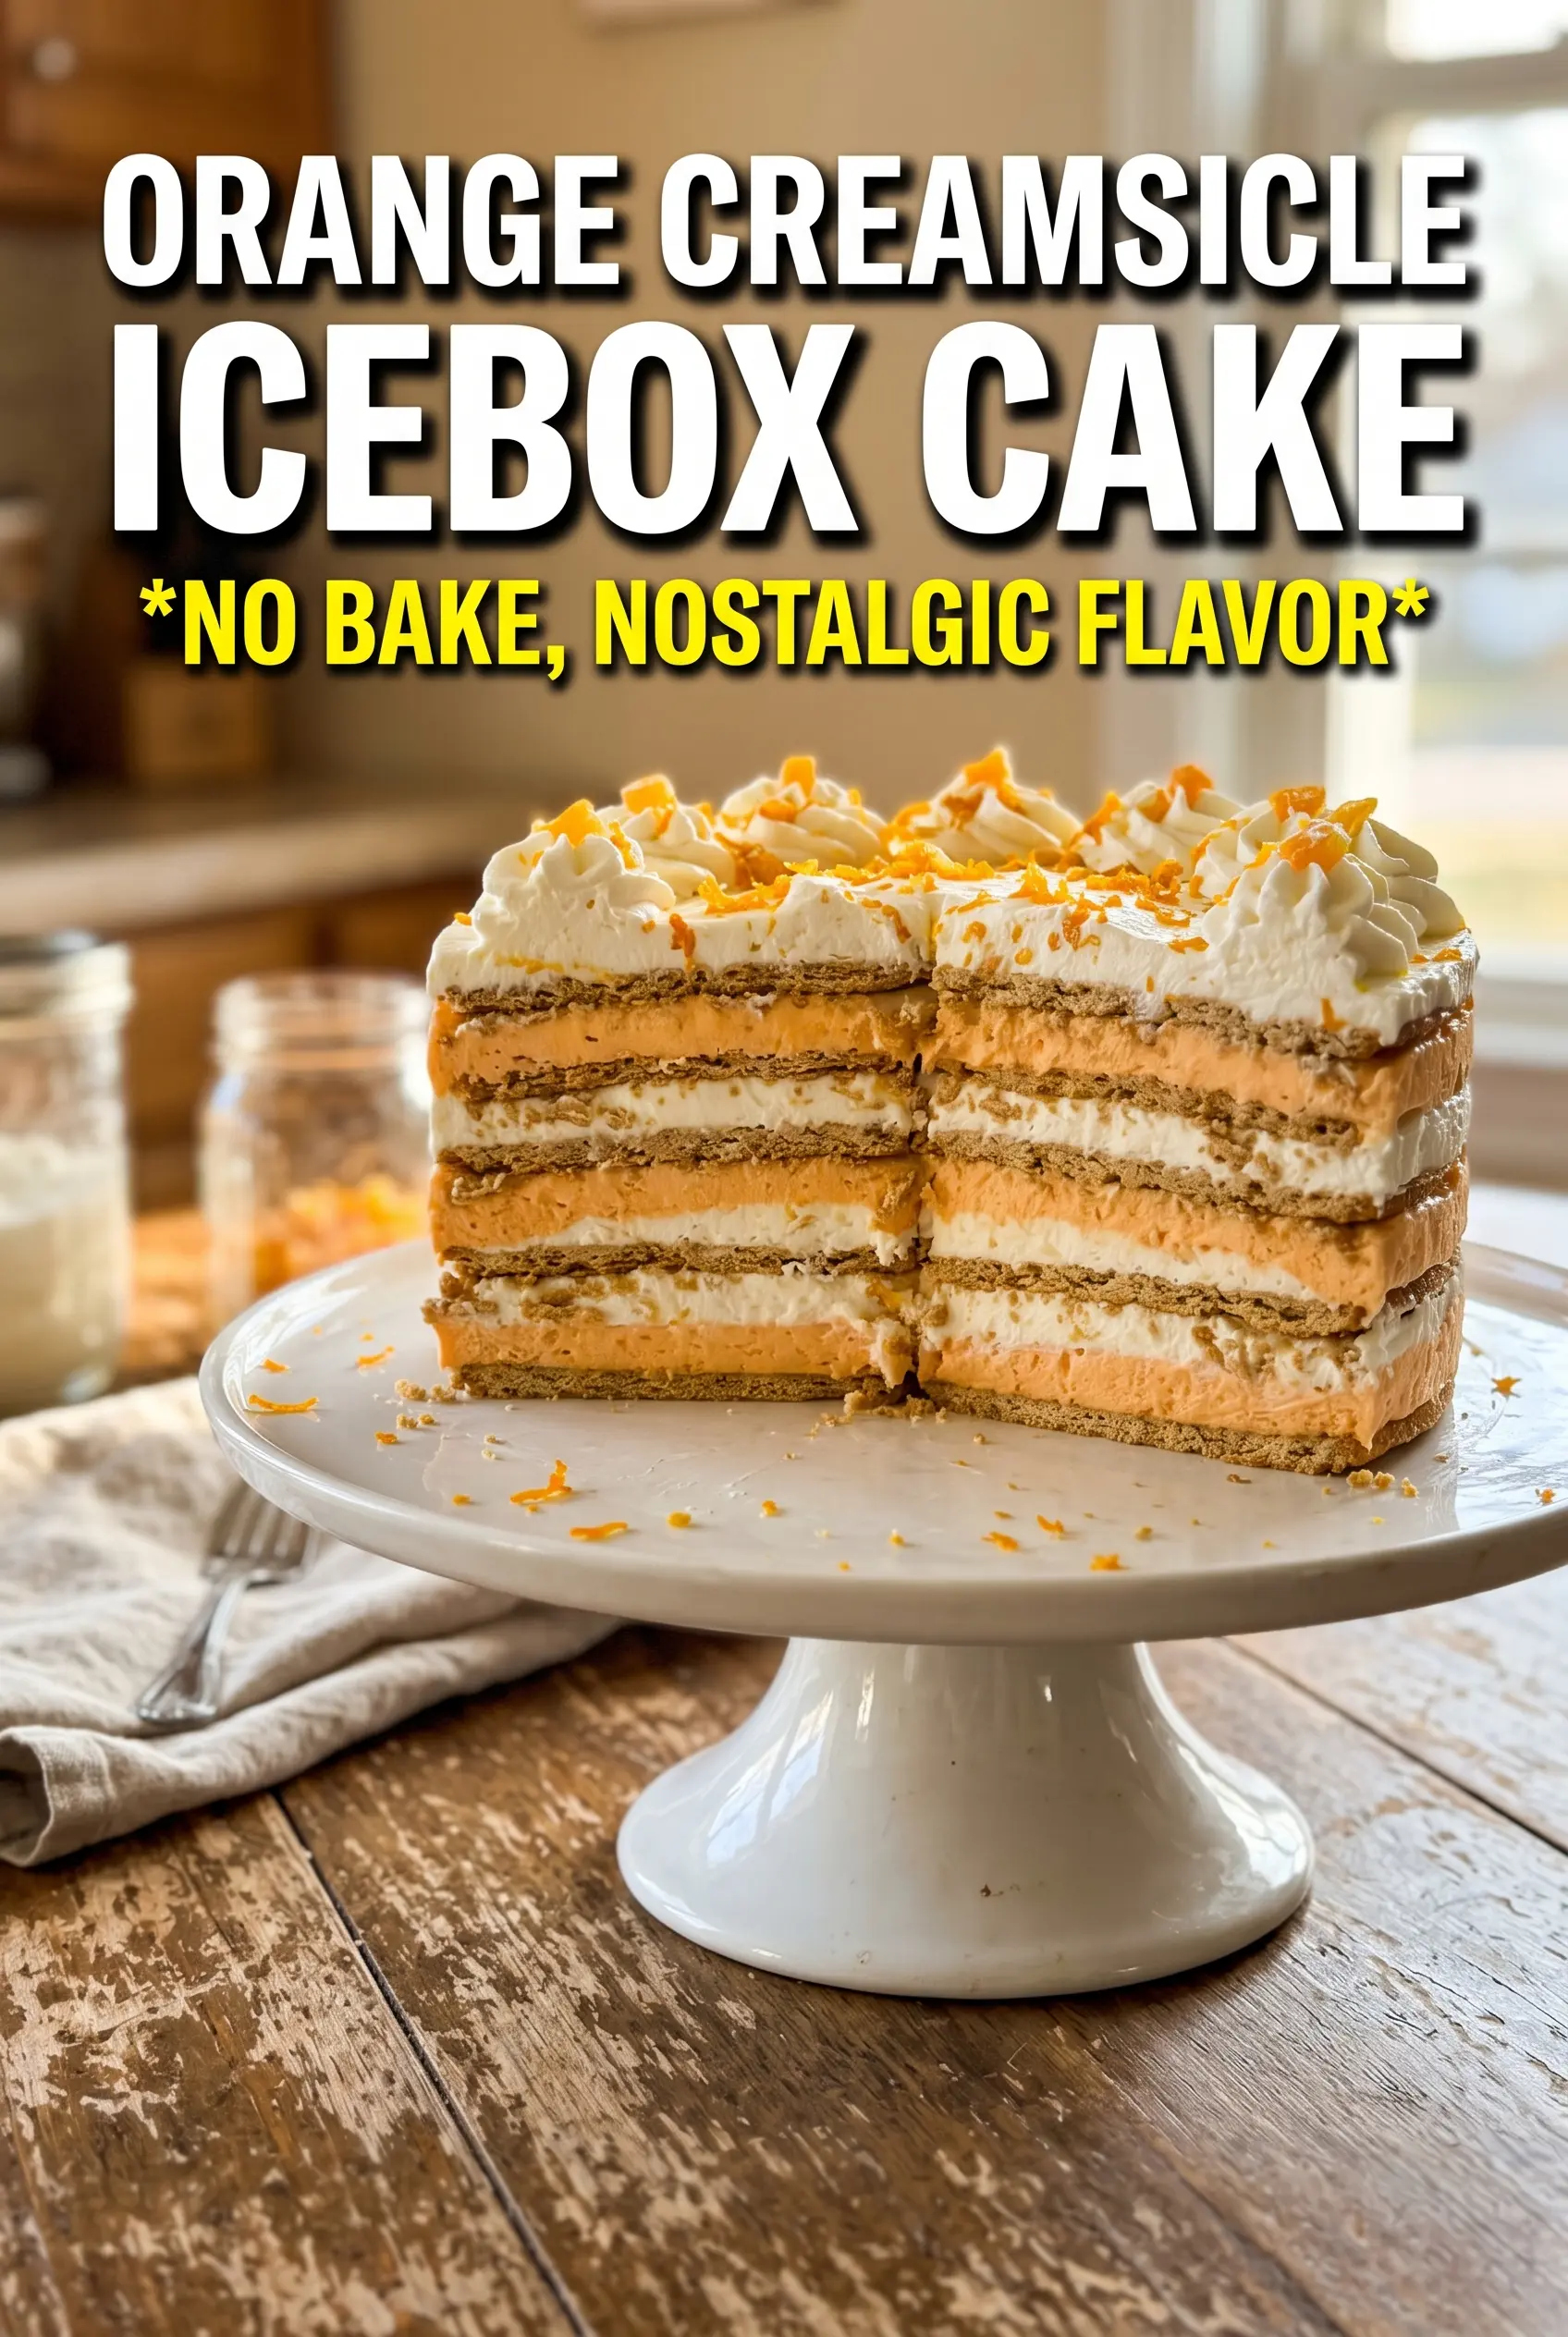
Orange Creamsicle Icebox Cake
Ingredients
Equipment
Method
- Beat the softened cream cheese until smooth, then mix in powdered sugar, thawed orange juice concentrate, orange zest, and vanilla extract until evenly combined, with the mixture looking pale and creamy.
- Taste and adjust by adding a little more orange zest if you want a brighter creamsicle flavor, keeping the texture smooth and lump-free.
- In a separate bowl, whip the heavy cream until stiff peaks form, meaning the peaks stand straight up when you lift the whisk.
- Fold the whipped cream into the cream cheese mixture just until no streaks remain, keeping the filling airy and light.
- Line a 9x13 pan with vanilla wafers in a single layer so the bottom is fully covered.
- Spread 1/3 of the orange cream mixture over the wafers in an even layer, leaving no dry wafer spots.
- Add a second layer of vanilla wafers and press lightly so they adhere to the cream.
- Spread another 1/3 of the orange cream mixture over the second wafer layer until smooth.
- Add a third layer of vanilla wafers, then spread the remaining orange cream mixture over the top so it covers completely.
- Refrigerate the cake for at least 6 hours (or overnight), until the wafers soften and the layers slice cleanly.
- Right before serving, top with fresh orange zest and orange slices for a bright, fresh finish.


