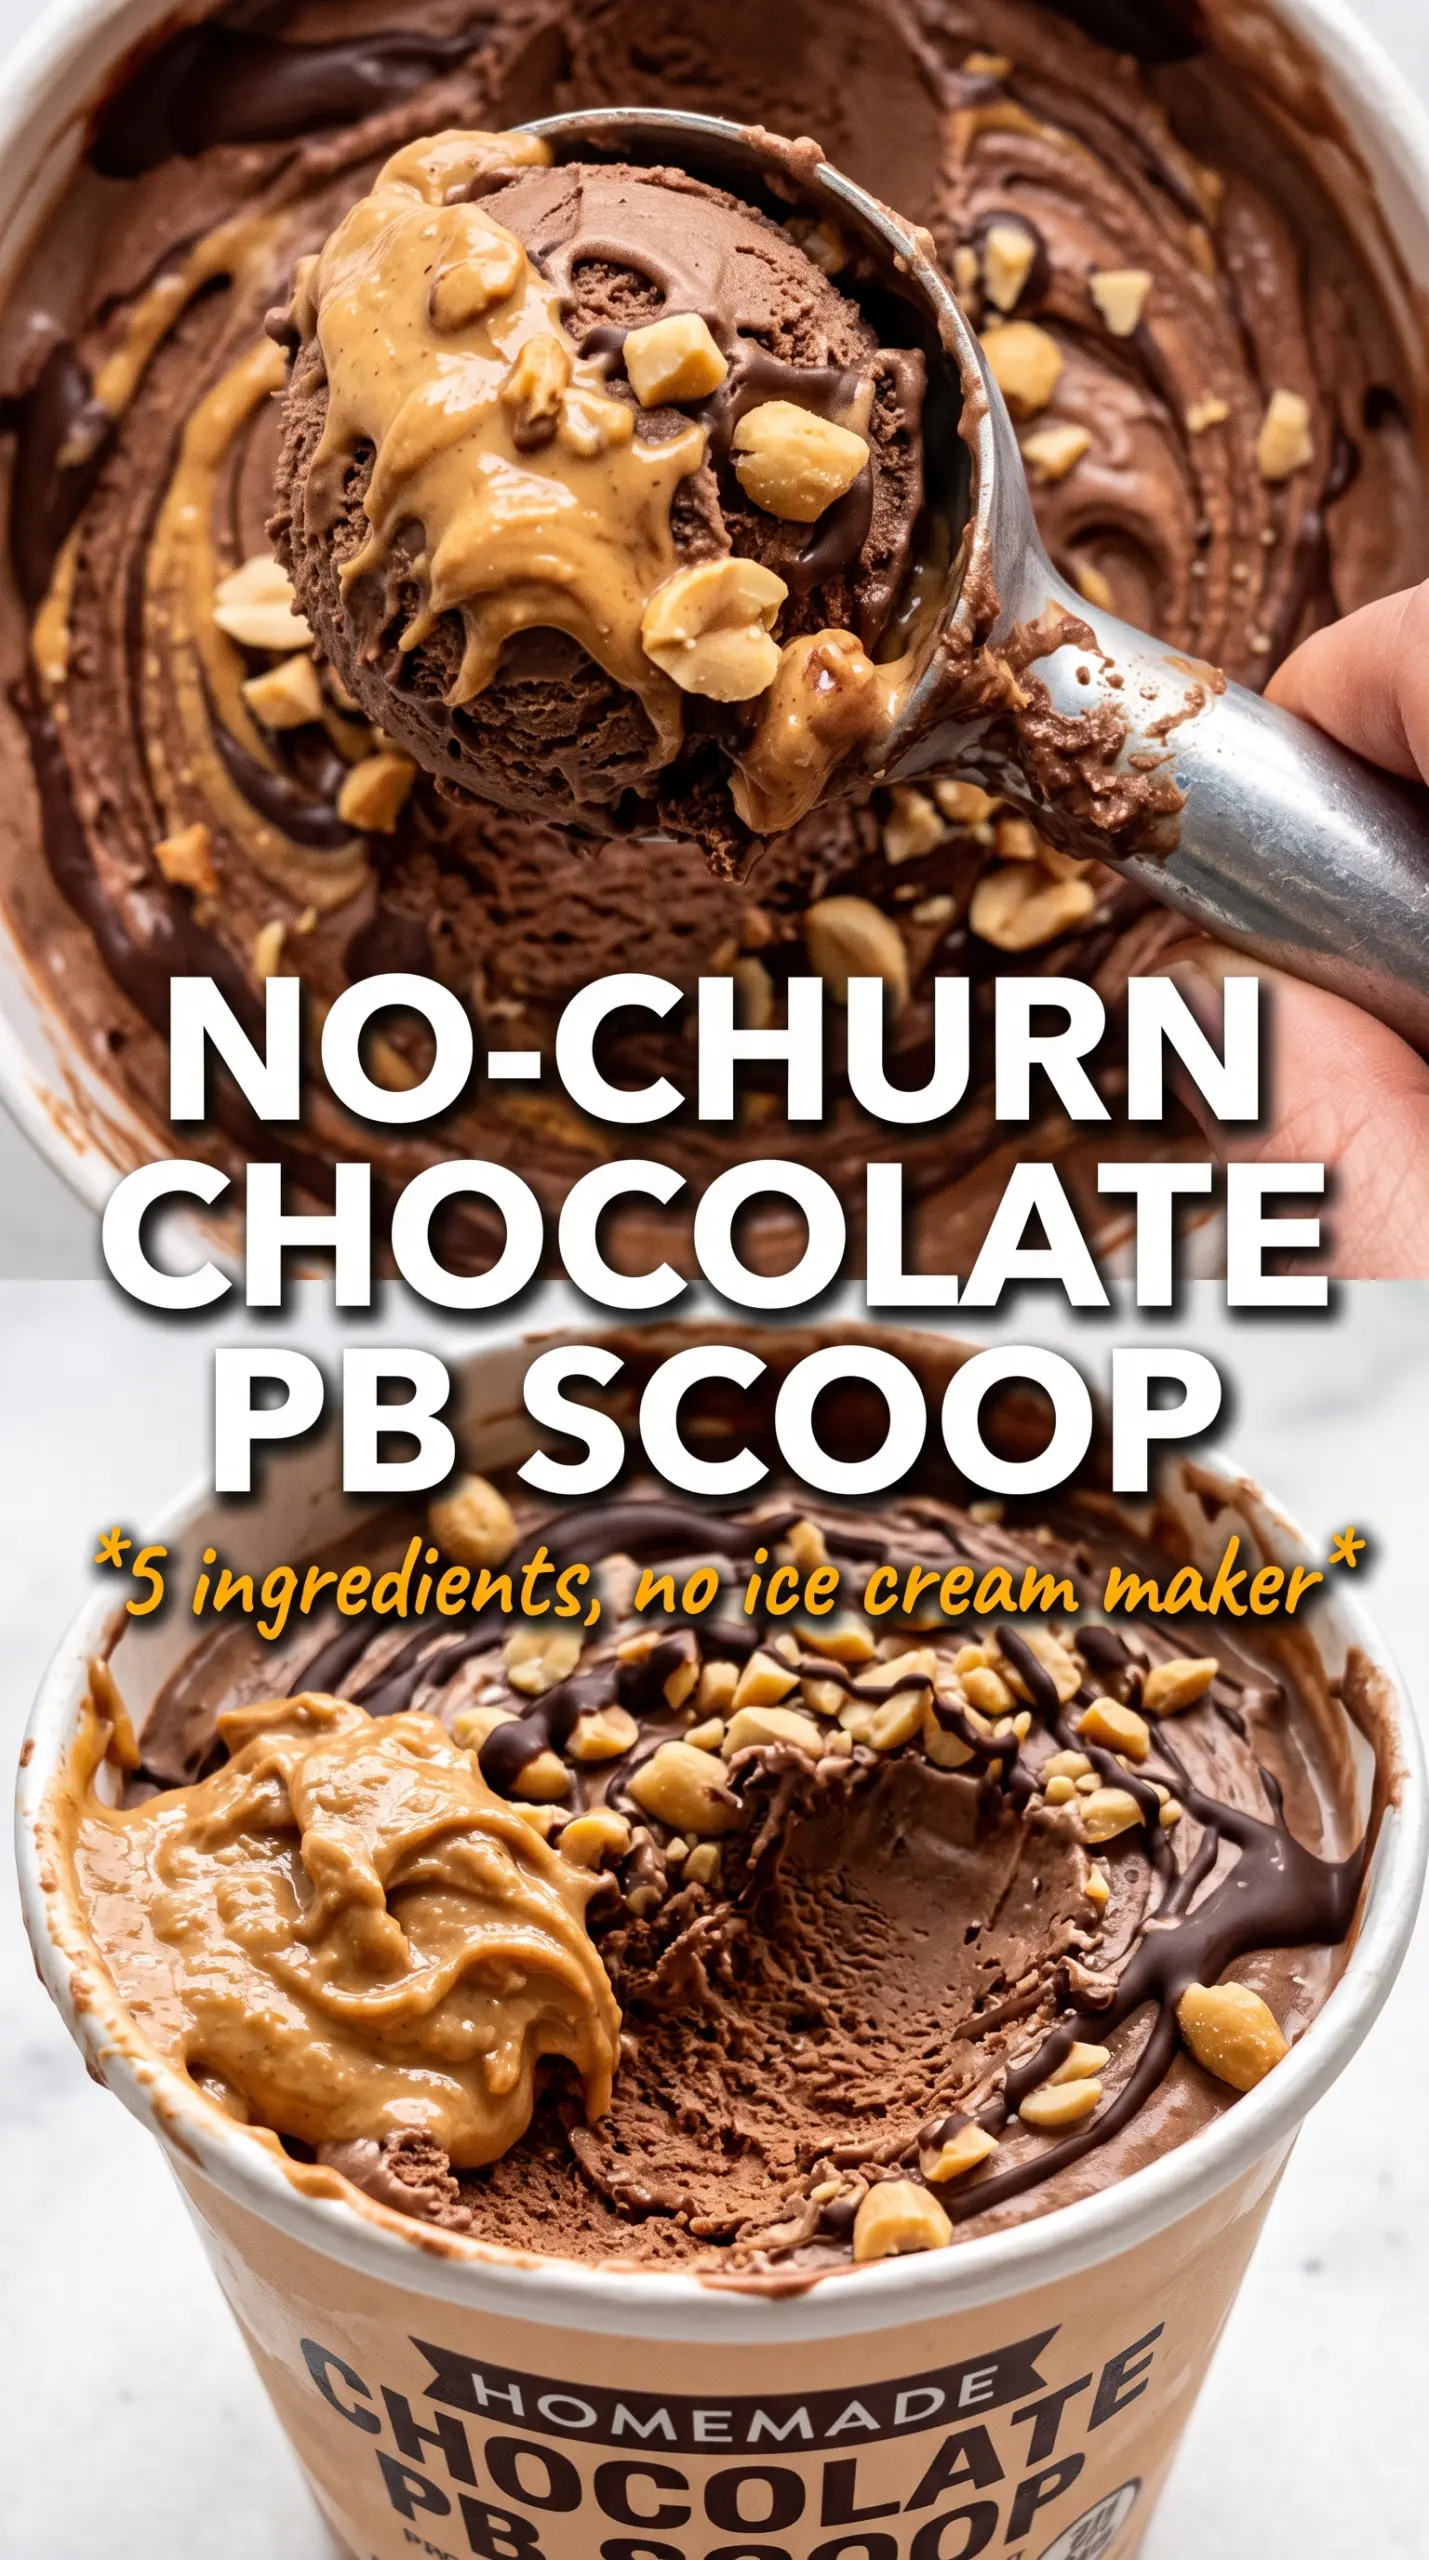
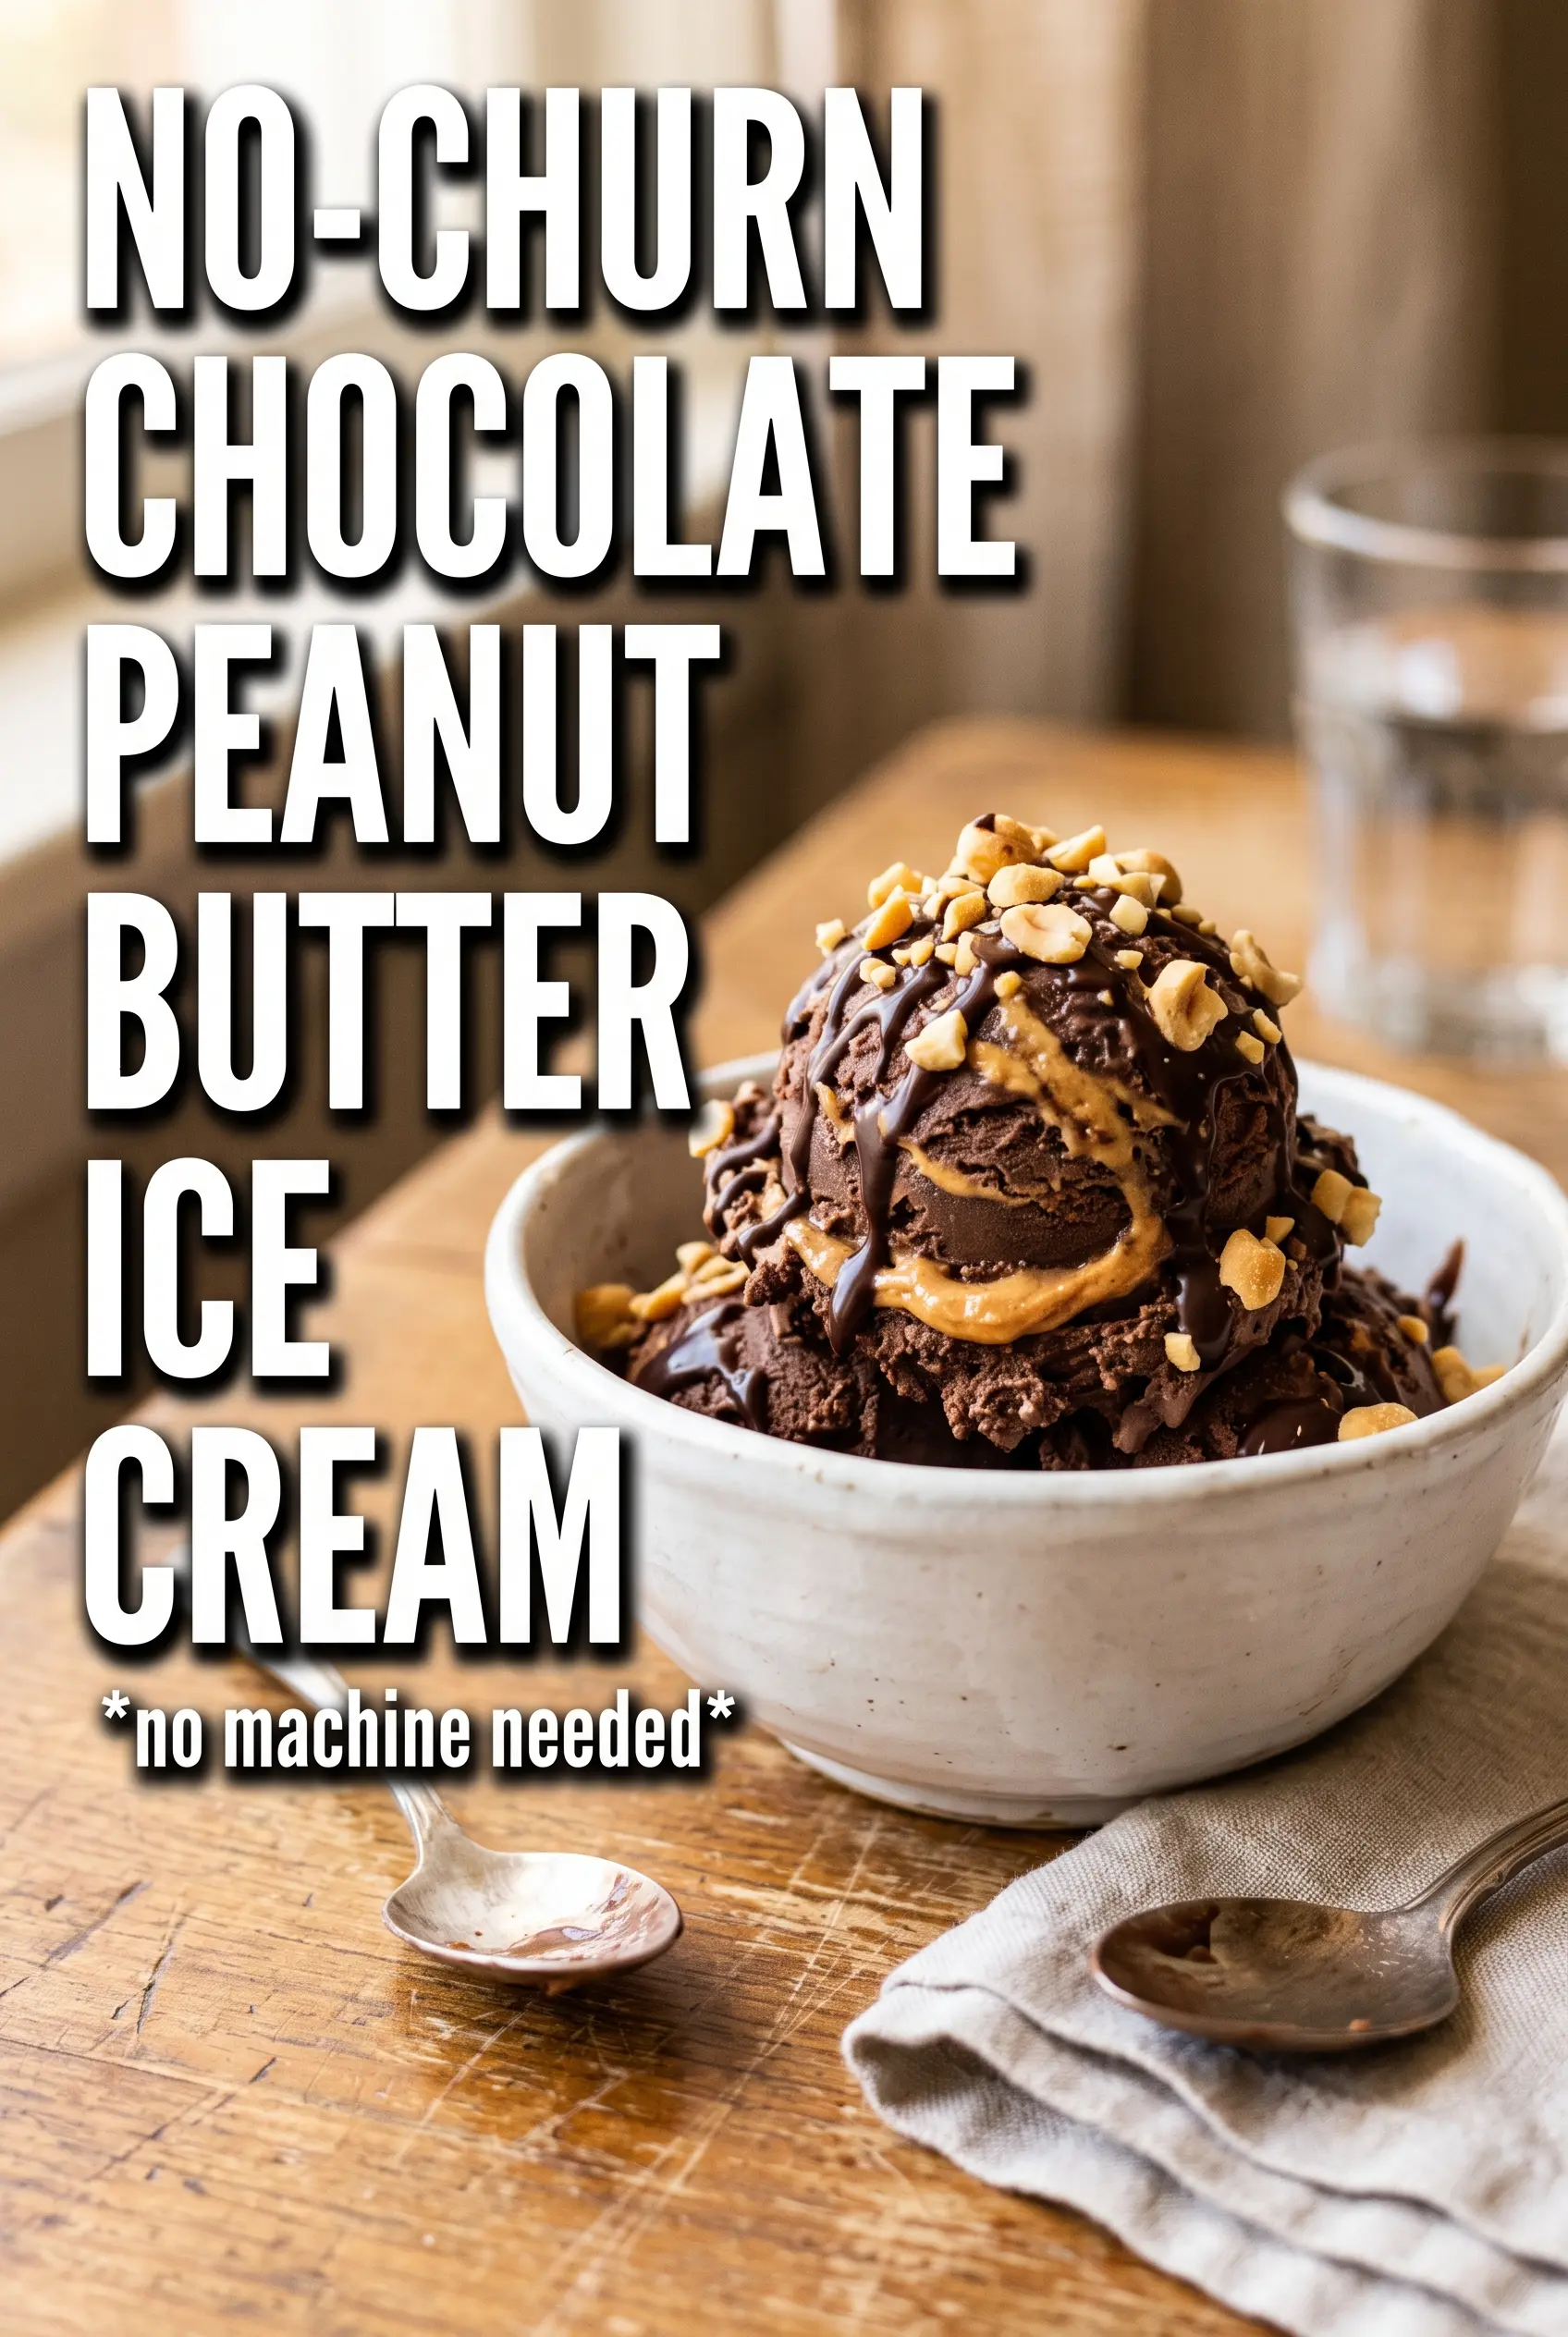
Fudgy chocolate ice cream with thick ribbons of peanut butter is one of those desserts that disappears fast no matter how full everyone says they are. The base stays plush and creamy without an ice cream maker, and the peanut butter swirls set up into little pockets of salty richness that cut through the chocolate in the best way.
The trick is keeping the whipped cream airy while the cocoa mixture stays smooth and fully dissolved. Warm peanut butter matters here too. It drizzles cleanly, then firms up just enough in the freezer to give you those dramatic swirls instead of a muddy blend. A loose fold or a heavy hand with the swirling is where this kind of ice cream usually goes wrong, so the method below keeps both textures distinct.
You’ll also find a few notes on getting the swirl right, swapping ingredients when needed, and storing it so the scoops stay creamy instead of icy.
The peanut butter swirled in beautifully and the ice cream froze up scoopable after overnight in the freezer. The chocolate base tasted rich, not icy, and the texture was spot on.
Save this no-churn chocolate peanut butter ice cream for the nights when you want deep chocolate flavor and thick peanut butter ribbons without pulling out an ice cream machine.
The Swirl Stays Distinct When You Stop Before It Looks Perfect
No-churn ice cream fails when the base gets overmixed or the swirl gets stirred in like a sauce. The whipped cream is doing the work here, so once the condensed milk mixture is folded in, stop as soon as there are no big white streaks left. A few thin traces are fine. Overmixing knocks out the air that gives this ice cream its creamy body.
The peanut butter also needs a little heat to move properly. Cold peanut butter drags through the base and makes ugly clumps; warm it just until loose and pourable. Then drizzle, don’t dump. The knife should cut broad ribbons through the top layer, not churn everything into one brown mass. That visual separation is what gives you the fudgy-swirled look in the photo.
What Each Ingredient Is Actually Doing in This Ice Cream
- Heavy cream — This is the structure and the texture. Whipping it to stiff peaks traps air so the finished ice cream scoops like churned ice cream instead of freezing into a dense block. Lower-fat cream won’t hold the same body, so this is the one ingredient I wouldn’t swap.
- Sweetened condensed milk — It sweetens and softens at the same time, which is why no-churn ice cream stays creamy straight from the freezer. There isn’t a great stand-in for it in this style of recipe. If you use a homemade substitute, expect a looser freeze and less of that smooth, rich bite.
- Unsweetened cocoa powder — Cocoa gives the base its deep chocolate flavor without adding extra liquid. Dutch-process will taste a touch darker and smoother, while natural cocoa reads a little sharper. Both work, but whichever you use, whisk it thoroughly so there aren’t dry specks hiding in the condensed milk.
- Creamy peanut butter — Creamy peanut butter swirls best because it pours in ribbons instead of breaking into crumbs. If yours is thick, warm it just until fluid. Natural peanut butter can work, but it tends to separate and set up less cleanly, so stir it well first and expect a slightly looser swirl.
Building the Base and the Swirl Without Deflating Either One
Whip the cream to the right point
Start with cold cream and a clean bowl, then whip until stiff peaks stand up straight when you lift the beaters. If the cream is underwhipped, the finished ice cream will freeze too hard and lose that scoopable texture. If you push it past stiff peaks into a grainy, broken stage, the base can turn buttery once you fold in the condensed milk mixture. Stop the moment the peaks hold their shape.
Mix the chocolate base until it is completely smooth
Whisk the condensed milk, cocoa, vanilla, and salt in a separate bowl until the mixture looks glossy and even. Cocoa likes to cling to the sides and bottom, so scrape well and keep whisking until you don’t see dark pockets. This step matters because unmixed cocoa leaves gritty streaks in the finished ice cream. The base should look like thick chocolate pudding before it meets the cream.
Fold gently, then swirl with restraint
Use a spatula and bring the chocolate mixture over the whipped cream in broad sweeps from the bottom of the bowl. Stop when the mixture is uniform and fluffy. Pour half into the loaf pan, drizzle with half the warm peanut butter, then repeat. Run a knife through in a few slow figure-eights; if you keep going, the swirl disappears and the whole pan turns muddy brown.
Freeze until firm all the way through
Cover the pan and freeze it for at least 6 hours, or overnight if you can. The center should feel solid when you press the top lightly through the wrap. If you scoop it too early, the swirl will smear instead of cutting cleanly. Let the pan sit at room temperature for 5 to 10 minutes before serving so the first scoop doesn’t crack the whole loaf.
How to Adapt It When You Need a Different Pantry or a Different Finish
Dairy-Free Version With Coconut Cream
Use full-fat coconut cream in place of the heavy cream and a dairy-free sweetened condensed milk if you can find one. The texture will be slightly softer and a little more coconut-forward, but it still freezes into a scoopable dessert. Chill the coconut cream overnight and whip only the solid portion for the best body.
Crunchy Peanut Butter Swirl
Swap in crunchy peanut butter if you want little bits of peanut in each bite. It won’t ribbon as smoothly, so warm it just enough to loosen it and expect a more rustic pattern. The payoff is a little more texture and a stronger peanut punch.
Extra-Fudgy Chocolate Base
Add 1 to 2 tablespoons more cocoa for a darker, more intense chocolate flavor. Beyond that, the base can start tasting dry or chalky, so don’t keep piling it on. If you want a deeper note without changing the texture, use Dutch-process cocoa instead of natural cocoa.
Storage and Reheating
- Refrigerator: Don’t store this in the fridge; it will melt into a soft pudding-like mixture long before it’s safe to serve.
- Freezer: Keeps well for about 2 weeks in a tightly covered loaf pan or freezer container. Press parchment or plastic wrap directly against the surface to help prevent ice crystals.
- Reheating: There’s no reheating here. For the best scoop, let it stand at room temperature for 5 to 10 minutes. If it’s left out too long, the peanut butter swirl softens unevenly and the edges melt before the center does.
Answers to the Questions Worth Asking
No-Churn Chocolate Peanut Butter Ice Cream
Ingredients
Equipment
Method
- Whip the heavy cream in a large bowl until stiff peaks form, then keep the bowl cold while you mix the cocoa base.
- Whisk the sweetened condensed milk, unsweetened cocoa powder, vanilla extract, and salt in a separate bowl until smooth and glossy.
- Gently fold the condensed milk mixture into the whipped cream until just combined, keeping the foam so the mixture stays light and creamy.
- Pour half of the ice cream mixture into a 9x5 loaf pan, drizzle with half of the warm creamy peanut butter, then swirl with a knife for thick ribbons.
- Pour in the remaining ice cream mixture, top with the remaining creamy peanut butter, and swirl again with a knife without fully mixing the ribbons away.
- Freeze the loaf pan for at least 6 hours (or overnight) until firm enough to slice, with no peeking that can soften the surface.