Rich, smooth salted caramel ice cream is the kind of frozen dessert that disappears fast because it tastes like the spoonful you hoped it would be: deep caramel, a little buttery, and finished with just enough salt to keep it from reading as plain sweetness. The Ninja Creami is a good match for this flavor because it turns a simple base into something velvety without churning, and the final texture lands somewhere between soft-serve and scoopable ice cream after a quick spin.
The trick here is balance. Caramel sauce brings the main flavor, but brown sugar deepens it so the base doesn’t taste thin or flat after freezing. Cream cheese might look unexpected, but that small amount helps the pint stay smoother and gives the ice cream a richer body once it goes through the machine. The salt isn’t just there for contrast; it sharpens the caramel and keeps each bite from feeling one-note.
Below you’ll find the exact blending cue that keeps the base smooth, the one extra step that helps if your pint comes out too firm, and a few smart swaps if you want to work with what you’ve already got in the kitchen.
The caramel flavor came through beautifully, and the texture was creamy right after one spin. I added a splash of milk for the re-spin and it turned out just like a scoop shop pint.
Love the deep caramel swirl and salty finish? Save this Ninja Creami Salted Caramel Ice Cream for the next time you want a pint that tastes rich, balanced, and homemade.
The Secret to a Smooth Pint Instead of an Icy One
The biggest mistake with Ninja Creami ice cream is assuming the machine can fix a base that wasn’t built well enough to freeze. Once dairy freezes solid, any lumps, uneven mixing, or weak fat structure show up as a sandy or icy texture after spinning. This recipe avoids that by blending until the cream cheese disappears completely and by using enough fat from the cream to keep the finished pint supple.
The other detail that matters is headspace. Fill the pint to the line, not above it, because the base expands slightly as it freezes. If it overfills, the top can freeze unevenly and the blade won’t process it as cleanly. A full 24 hours in the freezer is part of the recipe, not a suggestion; an under-frozen pint often looks ready on the outside but turns slushy in the middle.
What Each Ingredient Is Doing in the Caramel Base

- Whole milk — This keeps the base from becoming heavy or greasy. A lower-fat milk will freeze harder and give you a more brittle texture, while whole milk helps the pint spin up smoother.
- Heavy cream — This is the texture insurance. You need the fat here for a plush, scoopable result; half-and-half will work in a pinch, but the ice cream will freeze firmer and taste less rich.
- Caramel sauce — This is the main flavor, so use one you actually like eating by the spoonful. Homemade caramel gives the deepest flavor, but a good store-bought sauce is fine as long as it tastes buttery, not burnt.
- Brown sugar — This reinforces the caramel note and adds a little molasses depth that white sugar can’t match. It also helps the base taste sweeter after freezing, when cold dulls flavor.
- Cream cheese — Just a spoonful changes the body of the finished ice cream. It adds emulsification and a subtle tang that keeps the caramel from tasting flat.
- Sea salt — Fine sea salt blends evenly into the base and sharpens the caramel flavor. If you’re finishing with flaky salt, keep the base salt a touch restrained so the topping stands out.
Spinning It So the Texture Comes Back to Life
Blending Until the Base Is Completely Smooth
Blend the milk, cream, caramel sauce, brown sugar, cream cheese, vanilla, and sea salt until the mixture looks totally uniform, with no visible flecks of cream cheese anywhere. Those little bits don’t disappear in the freezer; they turn into tiny dense spots in the finished pint. If your caramel sauce is thick, let the blender run a few extra seconds so it fully disperses before you pour it into the container.
Freezing the Pint the Right Way
Pour the base into the Ninja Creami pint and stop about an inch below the top. That space matters because the mixture needs room to expand as it freezes into a solid block. Freeze it on a level surface for the full 24 hours so the top and center set evenly; a tilted freezer shelf can leave you with one side softer than the other.
Processing, Then Adjusting for Scoopability
Run the Ice Cream setting first and look at the texture before touching anything else. If it comes out powdery or crumbly, that’s not a failure — it usually means the pint was frozen firmly enough that it needs a small amount of liquid to loosen the structure. Add just a splash of milk, then re-spin; too much milk will push it from creamy to soupy fast.
The Finish That Makes It Taste Finished
Drizzle extra caramel over the top and finish with flaky sea salt right before serving. The caramel gives you a glossy ribbon and the salt keeps the sweetness from settling into the background. Serve it right away after spinning, because the texture is at its best in those first few minutes when it’s soft, airy, and easy to scoop.
How to Adapt This Pint When You Need a Different Finish
Dairy-Free Version
Use full-fat canned coconut milk in place of the milk and cream, then choose a dairy-free caramel sauce. The result will be a little less neutral and a little more coconut-forward, but it still spins into a rich pint if the base is well blended and fully frozen.
Lower-Sugar Caramel Ice Cream
Cut the brown sugar back by half and use a no-sugar-added caramel sauce if you have one that still tastes clean and buttery. You’ll lose a little of the deep candy-like sweetness, but the salt and vanilla still keep the flavor rounded.
Extra-Salty Caramel Finish
Keep the base salt the same, then finish with a heavier pinch of flaky salt on top and an extra ribbon of caramel. This pushes the dessert toward salted-caramel-candy territory, which works best if your caramel sauce is very sweet and you want sharper contrast.
Storage and Re-Spinning
- Refrigerator: Don’t store this in the fridge; it will melt and separate instead of holding its texture.
- Freezer: Keep the frozen base in the pint until you’re ready to spin it. Once processed, leftovers can be re-frozen, but the texture is best the first day.
- Reheating: There isn’t reheating here, but if the spun ice cream firms up after sitting, let the pint rest at room temperature for 5 to 10 minutes before re-spinning or scooping. That short thaw keeps the blade from turning a rock-solid pint into crumbs.
Questions I Get Asked About This Recipe
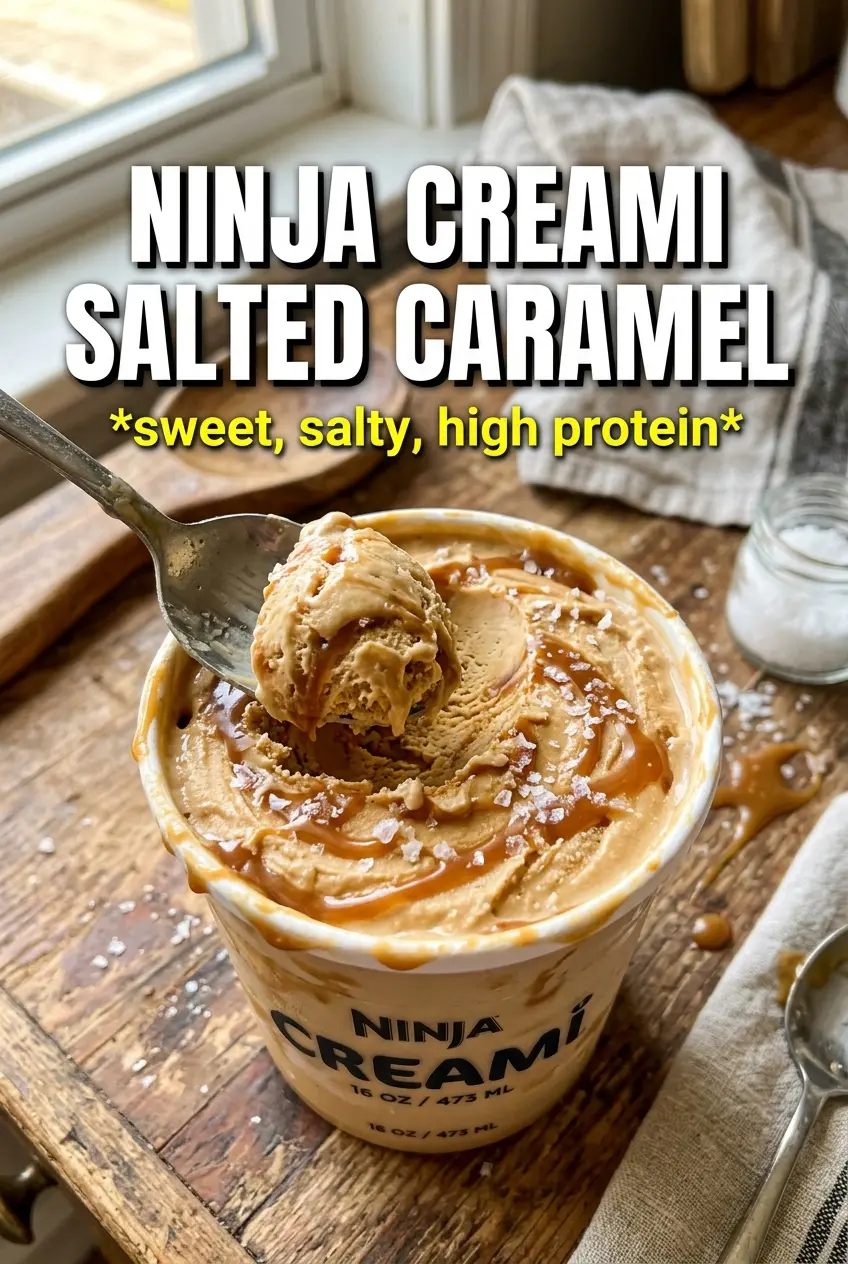
Ninja Creami Salted Caramel Ice Cream
Ingredients
Equipment
Method
- Blend whole milk, heavy cream, caramel sauce, brown sugar, cream cheese, vanilla extract, and sea salt until completely smooth with no cream cheese lumps remaining. Scrape down as needed so the mixture looks glossy and uniform.
- Pour the mixture into the Ninja Creami pint container, leaving 1 inch of headspace. Cover and freeze for 24 hours until solid.
- Process on the Ice Cream setting to churn into a thick, soft-serve-like texture. If it’s too firm, re-spin with a splash of milk and process again until scoopable.
- Drizzle extra caramel sauce and flaky sea salt on top before serving. Serve immediately for the smoothest texture.