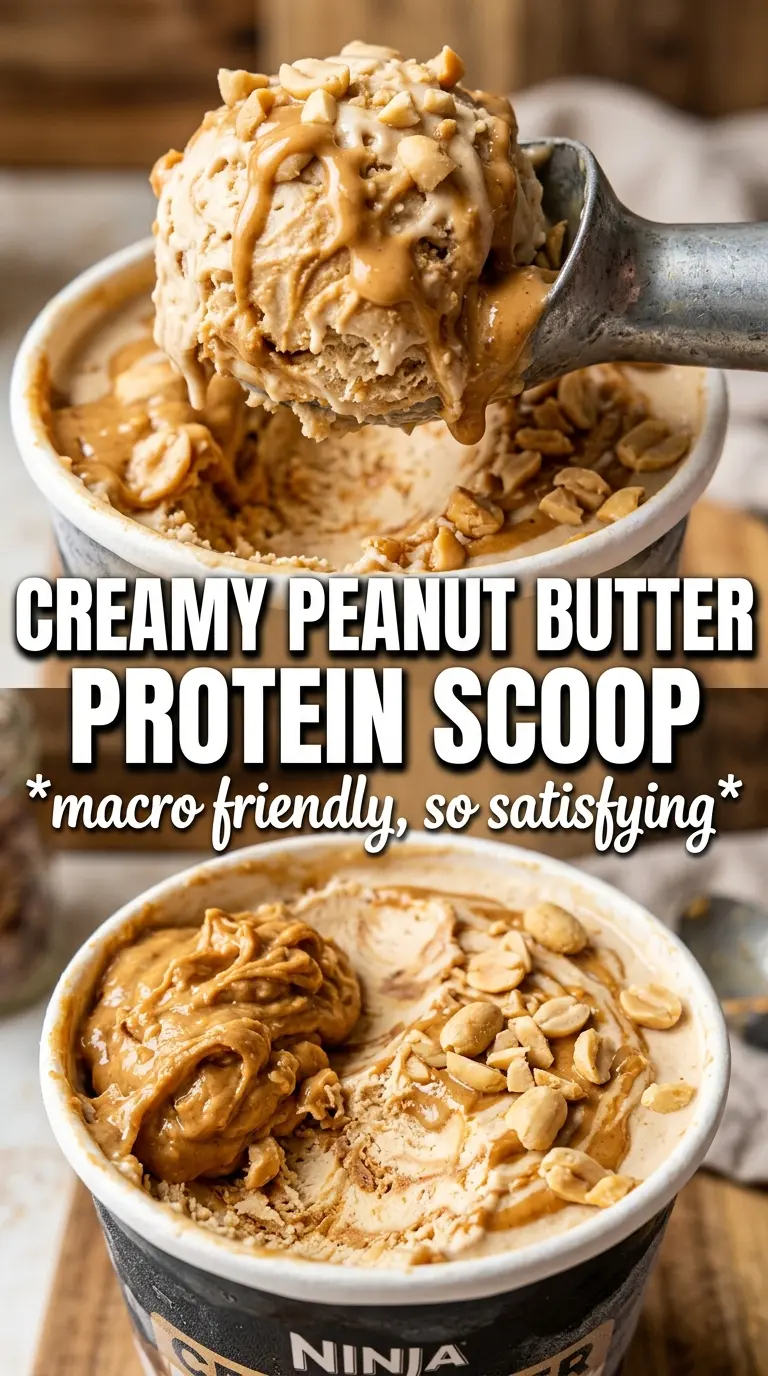
Rich peanut butter ice cream with a real creamy finish is hard to beat, and this Ninja Creami version earns its keep because it doesn’t eat like a compromise. The base turns dense and cold with that nutty, spoon-coating texture you want from ice cream, but it still carries a proper protein punch instead of tasting like sweetened milk.
The trick is balance. Peanut butter adds body and rounds out the protein powder, while a little sweetener keeps the bitterness from creeping in. A smooth base matters here more than in a lot of frozen desserts, because every little clump of protein powder shows up after freezing and spinning. Once the pint is frozen solid, the Creami does the heavy lifting and turns that firm block into something soft, rich, and scoopable.
Below, I’m walking through the one part that usually causes trouble — the base texture — plus the little changes that help this recipe land right whether you use almond milk, whole milk, sugar, or monk fruit.
The first spin was a little crumbly, but after the tablespoon of milk and a re-spin it turned into the creamiest peanut butter ice cream I’ve made in the Creami. The peanut butter flavor stayed strong even with the protein powder.
Save this Ninja Creami peanut butter protein ice cream for the days when you want a thick, nutty dessert that still brings a protein boost.
The Part That Stops Protein Ice Cream From Turning Grainy
Most grainy Creami pints come from one of two places: clumped protein powder or a base that never got fully blended before freezing. Protein powder needs a little extra patience here. Whisking until the mixture looks smooth and glossy pays off after the freeze, because the machine can’t fix dry pockets once they’re frozen into the pint.
The other issue is fat and sweetness. Peanut butter helps both, which is why this recipe tastes rounder and smoother than a plain protein-milk base. If your first spin looks sandy or powdery, it usually means the pint froze a touch too hard or the base needs a small splash of milk before the re-spin. That one tablespoon is often the difference between chalky and creamy.
What Each Ingredient Is Actually Doing in This Pint
- Protein powder — This gives the ice cream its structure and the high-protein payoff, but it also brings the risk of chalkiness if it’s not fully dissolved. A fine, smooth protein powder works best here. If yours tends to foam or thicken fast, whisk it into the milk a little at a time instead of dumping it in all at once.
- Creamy peanut butter — This is the ingredient that makes the base taste like dessert instead of a protein drink. It adds fat, body, and that deep roasted peanut flavor the whole recipe depends on. Natural peanut butter can work, but stir it well first so the oil and solids are fully combined.
- Milk — Whole milk gives the richest result, but unsweetened almond milk still makes a good pint if you want it lighter. Almond milk won’t add much body on its own, so the peanut butter and protein powder matter even more. If you use a thinner milk, the re-spin step becomes more important.
- Sweetener — Sugar gives the smoothest finish because it helps the base stay a little softer in the freezer. Monk fruit sweetener works if you want a lower-sugar pint, but the texture can freeze firmer, so the splash of milk after the first spin helps. Don’t skip sweetness entirely, or the protein flavor will read harsh.
- Peanut butter chips or peanut butter cups — These are for contrast, not just extra peanut flavor. Folding them in at the end keeps them from disappearing into the base and gives you little bursts of texture in each bite.
Freezing the Base and Spinning It at the Right Time
Whisking the Base Until It’s Completely Smooth
Start with the milk and whisk in the protein powder, peanut butter, sweetener, vanilla, and salt until the mixture looks uniform and no dry bits are hiding at the bottom. If you see little specks of powder, keep whisking; those become chalky pockets after freezing. The base should look thickened but pourable, not gummy.
Freezing the Pint Solid
Pour the mixture into the Ninja Creami pint and freeze it level for 24 hours. An uneven top can make the spin less even, so knock the container gently on the counter before freezing if the surface looks lopsided. If the pint hasn’t frozen hard all the way through, the texture turns slushy instead of creamy.
Using the Lite Ice Cream and Re-Spin Settings
Spin on Lite Ice Cream first. If it comes out powdery or crumbly, add 1 tablespoon milk and run a Re-Spin. That extra moisture helps the blade pull the frozen base together again; without it, you just keep breaking up the same dry texture.
Adding the Mix-In at the End
Once the base is smooth, add the peanut butter chips or peanut butter cup pieces with the Mix-In setting. This keeps the pieces distinct instead of chopping them into crumbs. Serve it right away, because the texture is at its best in the first few minutes after spinning.
Small Swaps That Change the Texture Without Breaking the Recipe
For a richer, creamier pint
Use whole milk instead of almond milk. The extra fat gives the ice cream a softer, denser finish and helps the peanut butter flavor stay rounder. If you want the best texture with the least chance of a dry spin, this is the swap to choose.
For a lower-sugar version
Use monk fruit sweetener in place of sugar. The flavor stays clean and peanut-forward, but the pint may freeze firmer and need that tablespoon of milk before the re-spin. That’s the tradeoff: less sugar, a little more attention on the texture.
For a dairy-free dessert
Keep the almond milk and use dairy-free peanut butter chips if you want the mix-in. The texture stays lighter than the whole-milk version, so a careful re-spin matters even more. The payoff is a cold, nutty pint that still feels like a proper dessert.
For a richer peanut butter punch
Use peanut butter protein powder if you can find one. It sharpens the flavor and makes the pint taste more like a peanut butter cup than a vanilla protein ice cream with peanut butter added in. Just watch the texture closely, since some flavored powders freeze a little denser.
Storage and Reheating
- Refrigerator: Not recommended. This is best eaten right after spinning, and it won’t hold its ice cream texture in the fridge.
- Freezer: You can refreeze leftovers in the pint, but the texture gets firmer and a little icier after sitting. Let it warm on the counter for 5 to 10 minutes before re-spinning.
- Reheating: There’s no reheating here; the best fix for leftover leftovers is another short spin. If it freezes rock solid again, add a tablespoon of milk before re-spinning instead of trying to scoop it straight from the freezer.
Questions I Get Asked About This Recipe
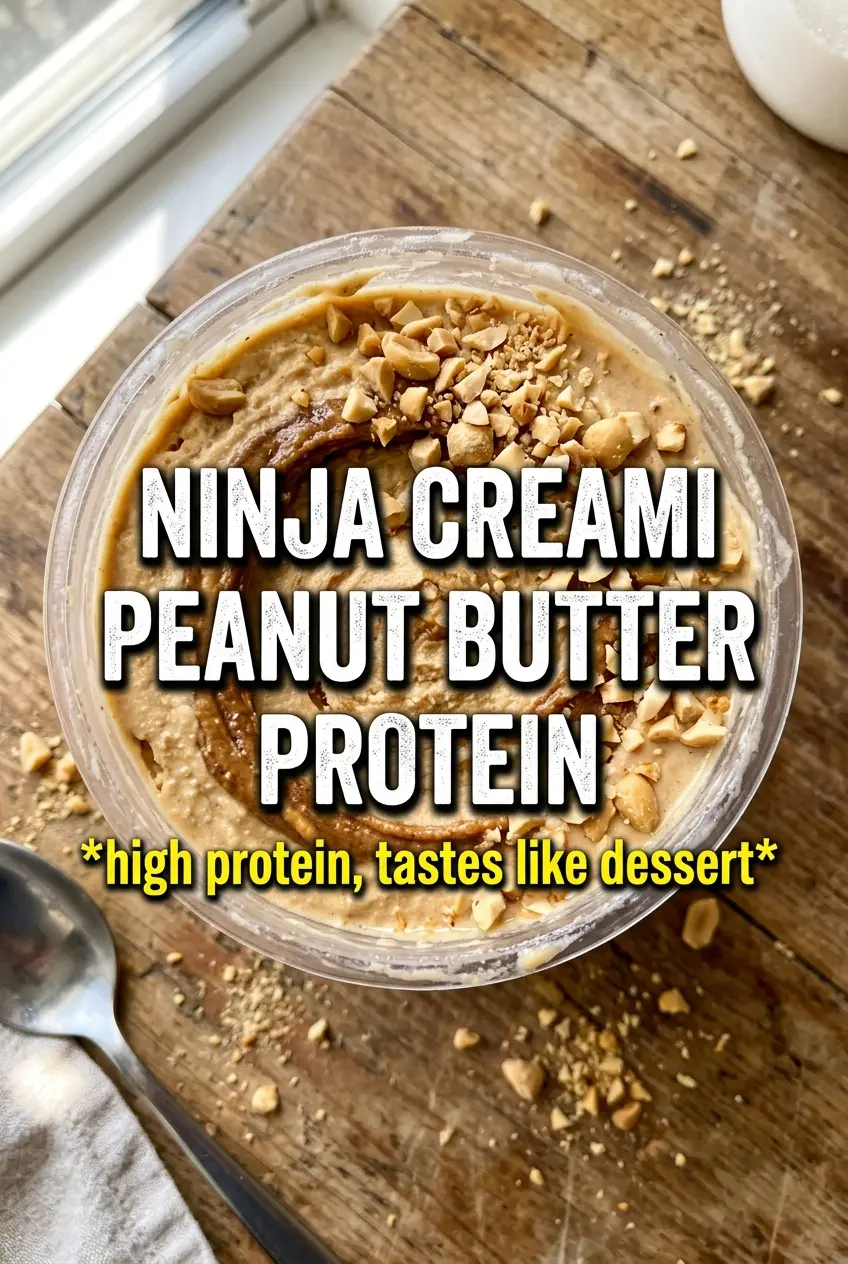
Ninja Creami Peanut Butter Protein Ice Cream
Ingredients
Equipment
Method
- Whisk milk, protein powder, peanut butter, sweetener, vanilla, and salt together until very smooth, ensuring no protein powder clumps remain. The mixture should look pale tan and uniform without dry spots.
- Pour the mixture into the Ninja Creami pint container, leveling the top for even freezing. Fill to the marked line and wipe any drips from the rim.
- Freeze the pint for 24 hours so the base is fully solid. Keep it undisturbed in the coldest part of your freezer.
- Process on the Lite Ice Cream setting first, then check for a slightly grainy texture. If it is grainy, add 1 tablespoon milk and Re-spin on Lite Ice Cream.
- Use the Mix-In setting to fold in peanut butter chips or peanut butter cup pieces. Stop when the mix-ins are evenly distributed without large chunks pooling.
- Serve immediately for the thickest, creamiest texture. Keep the pint lid closed between steps to prevent softening.


