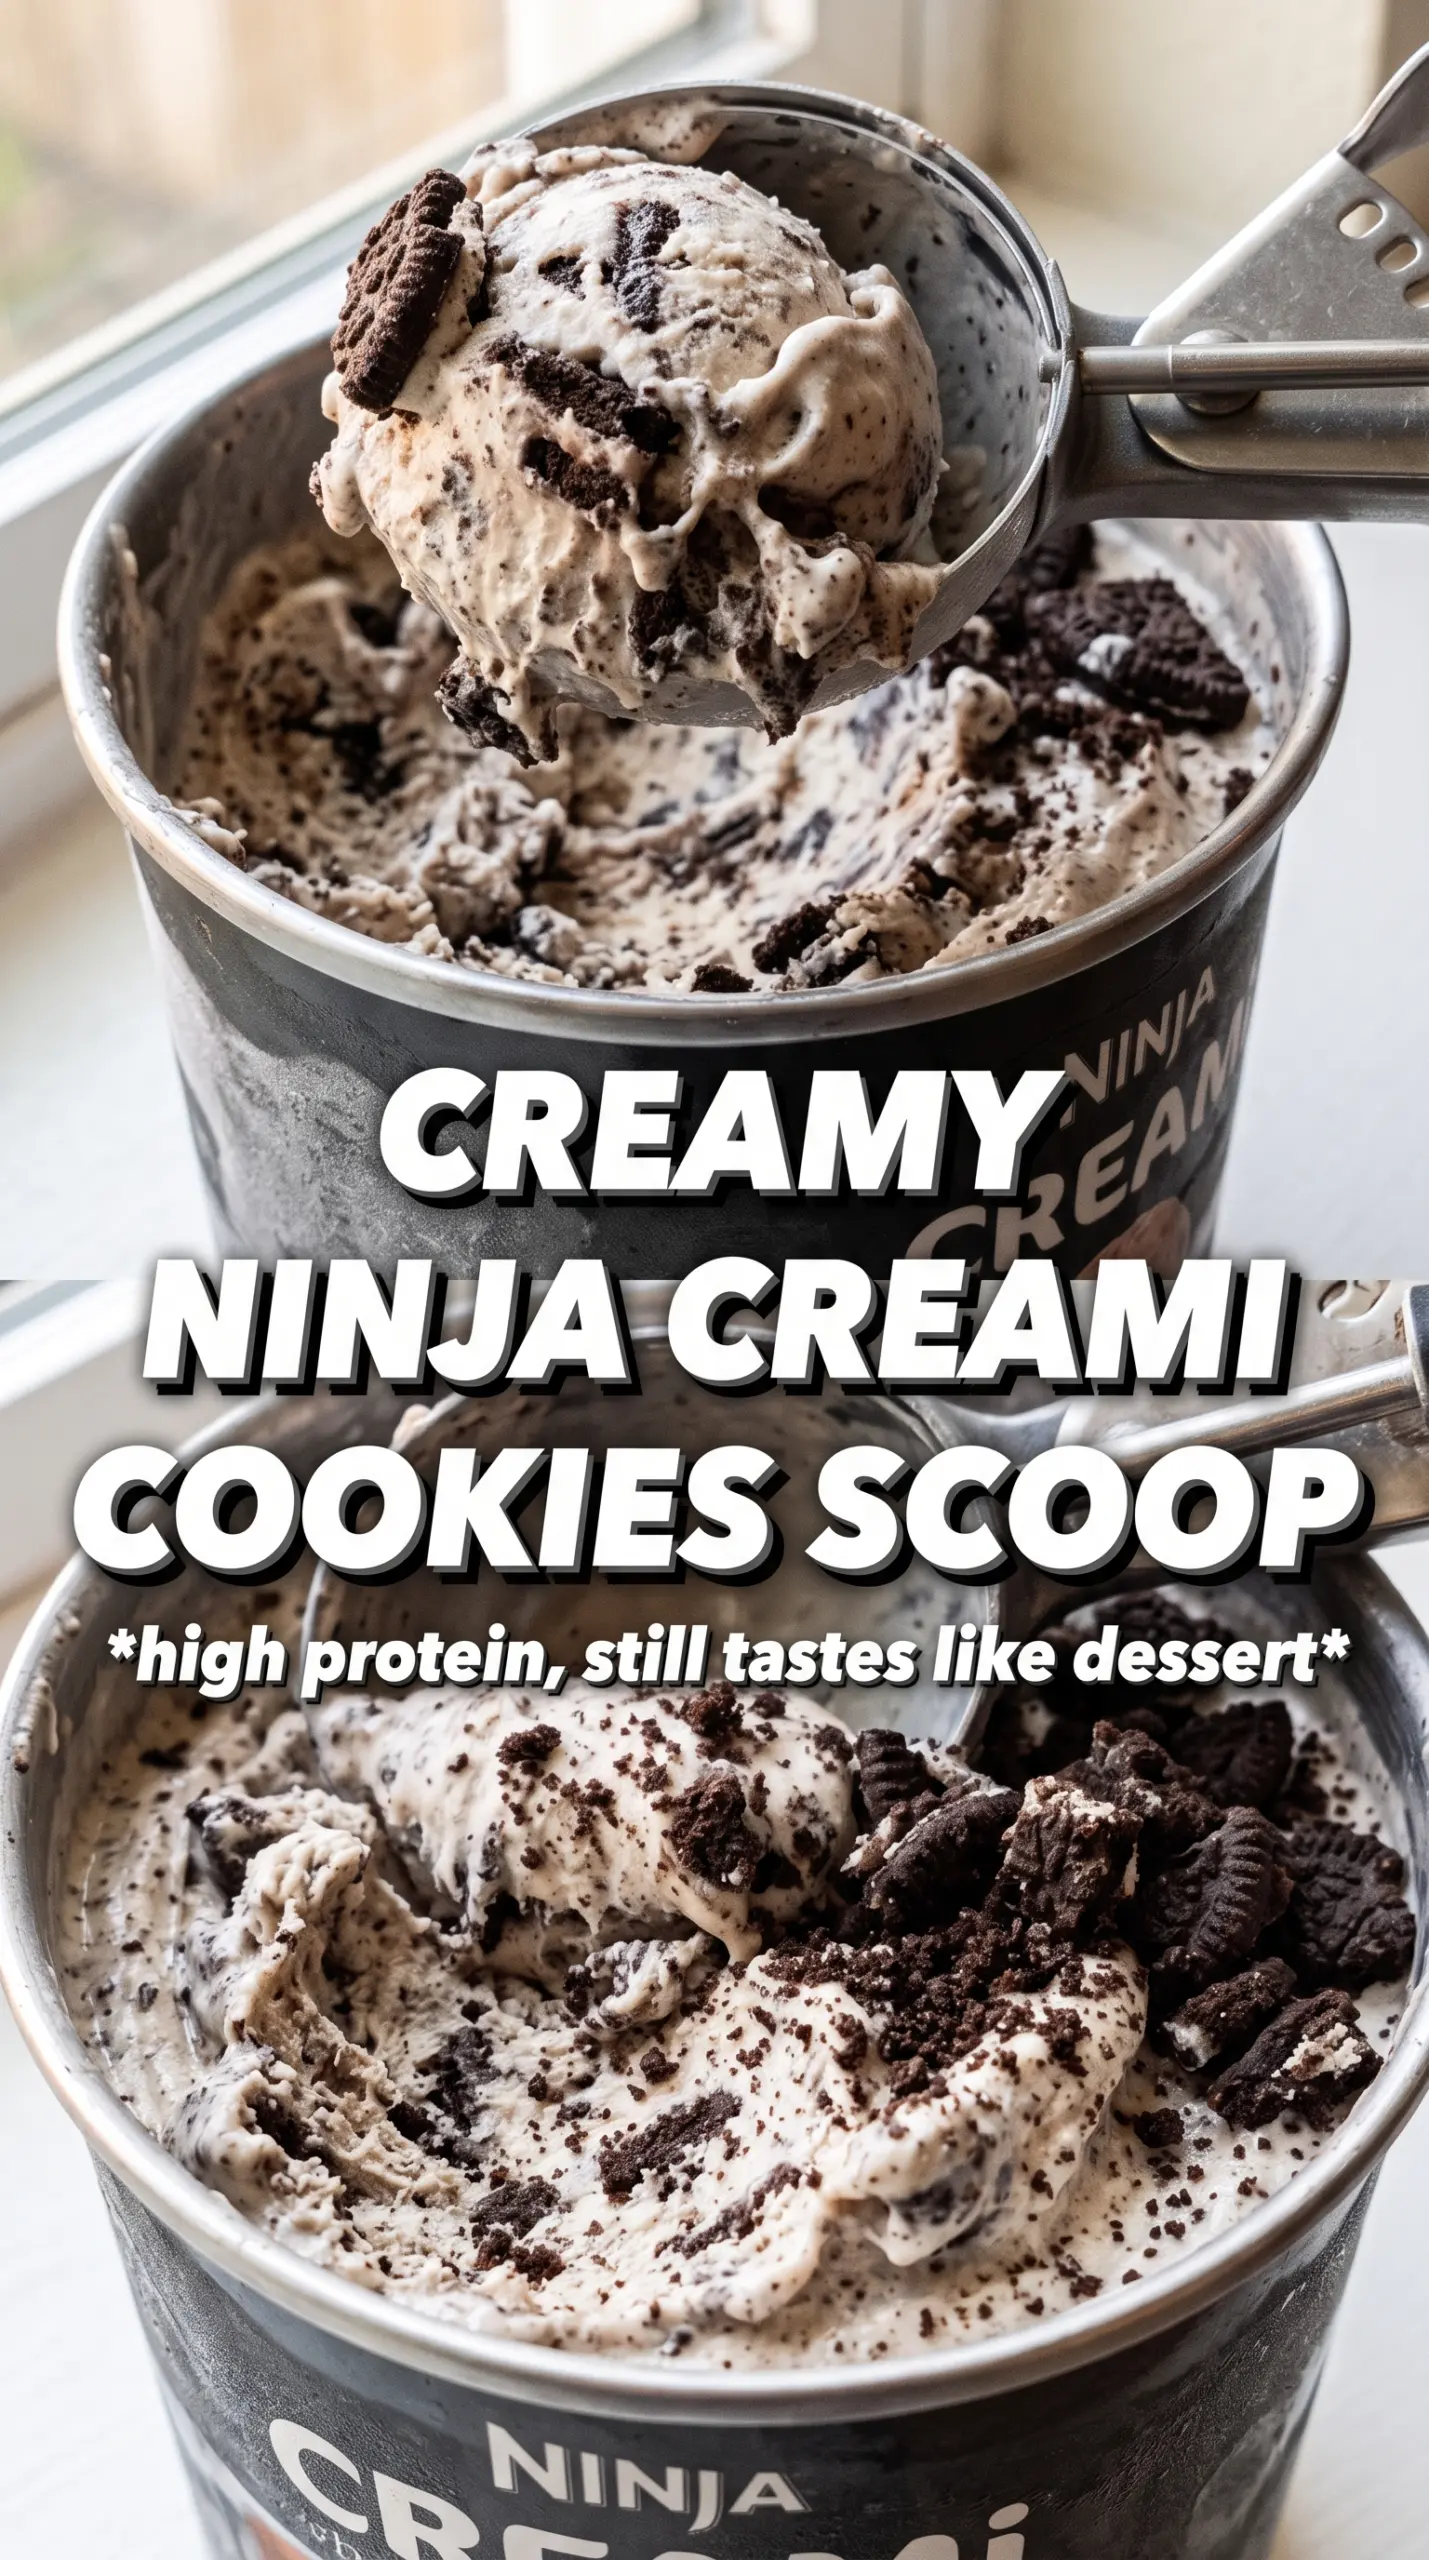
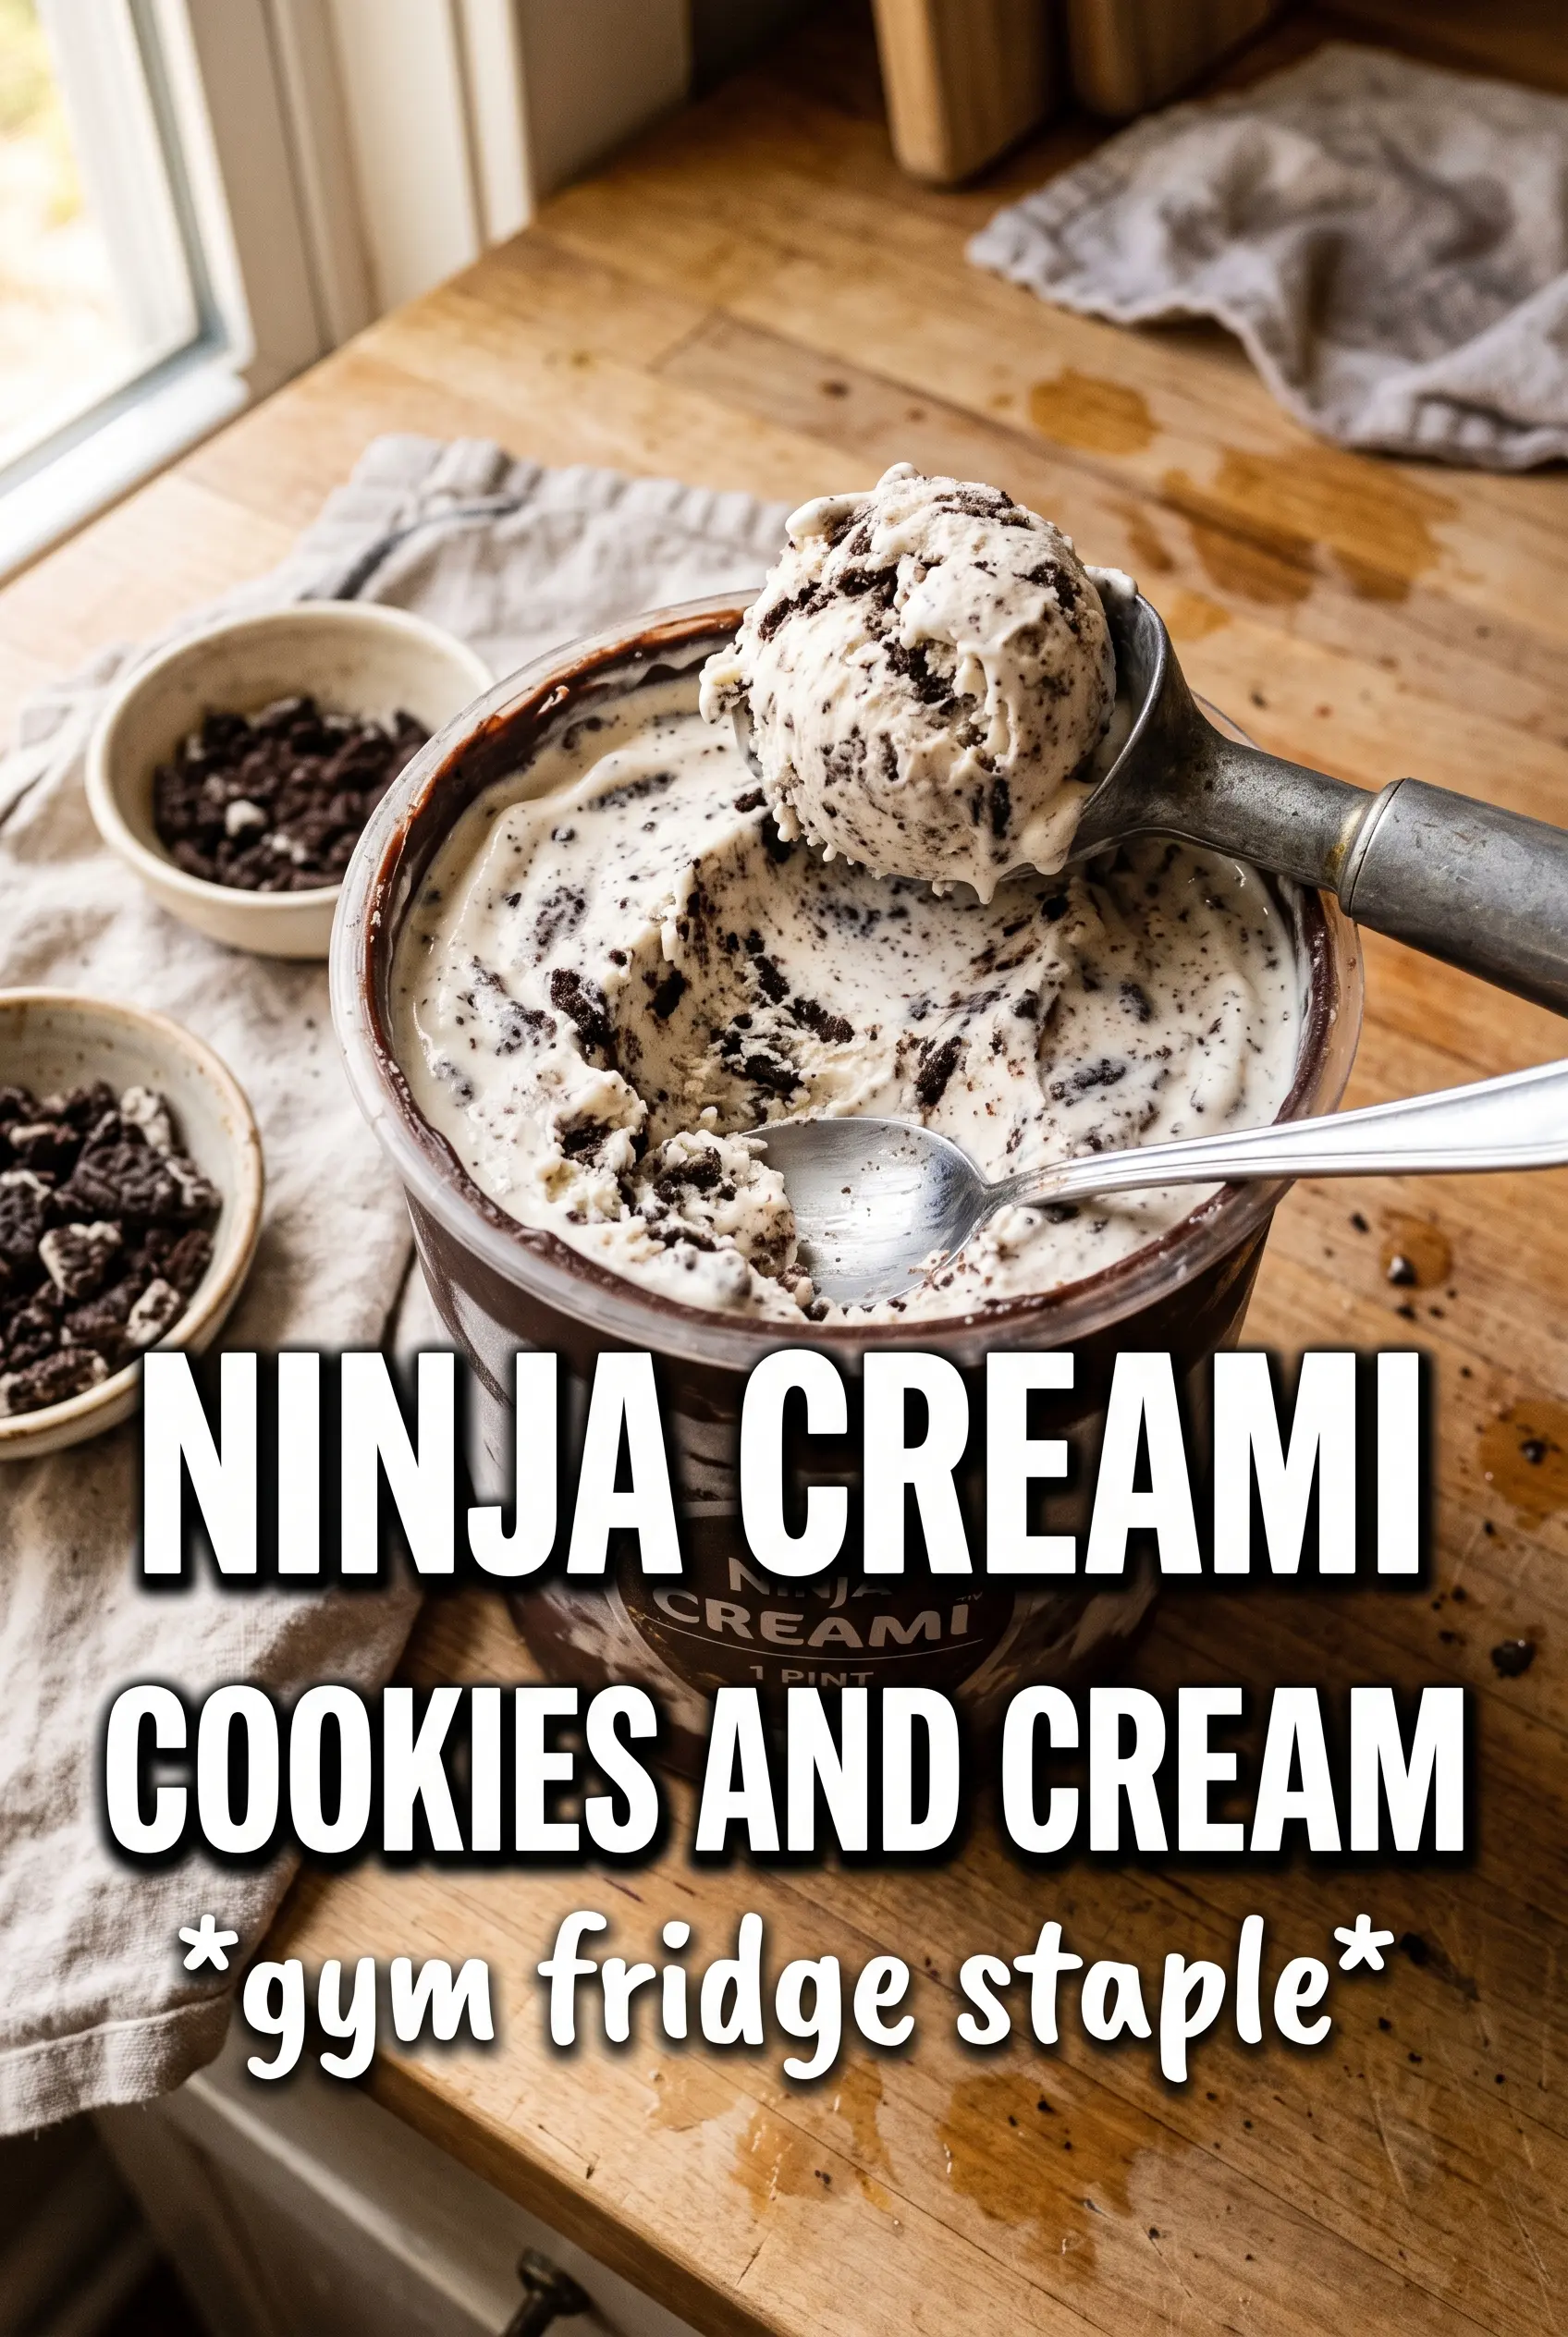
Cookies and cream in the Ninja Creami turns out best when the base tastes rich before the cookies ever go in. That first spin gives you a dense, ultra-smooth ice cream with a clean vanilla-cream flavor, then the crushed chocolate cookies break through in little crisp bits that stay distinct instead of disappearing into the base. The texture lands somewhere between classic scoop shop ice cream and the kind of pint you keep going back to with a spoon straight from the freezer.
The small amount of cream cheese matters here. It gives the base a little body and helps keep the finished ice cream from tasting thin or icy after freezing, which is a common problem with homemade Creami pints. Blending until completely smooth is the part that saves you later; if the cream cheese isn’t fully incorporated, you’ll get tiny bits in the frozen base that the machine can’t fix.
Below, I’ll walk through the one detail that makes the mix-ins stay crunchy, plus the swaps that work if you want to lighten the base or make it a little more protein-forward.
The base came out creamy after the first spin, and the cookie pieces stayed crunchy instead of turning mushy. I added the extra tablespoon of milk for the respin and it fixed the texture perfectly.
Like this Ninja Creami cookies and cream pint? Save it for the nights when you want a thick, cookie-studded ice cream with no churn and no guesswork.
The Freeze Point That Keeps the Base Creamy Instead of Icy
The biggest mistake with a Ninja Creami pint is rushing the freeze or underbuilding the base. A mixture that hasn’t frozen solid will turn slushy and uneven, while a thin base freezes into something that spins up dry and crumbly. The cream cheese and heavy cream are doing the heavy lifting here, giving the machine enough fat and body to shave into a smooth texture instead of breaking the pint into frost.
Leave the pint in the freezer for a full 24 hours and keep the fill level about an inch below the rim. That extra space matters because the mixture expands a little as it freezes, and a packed pint can spin unevenly. If the base still looks powdery after the first Ice Cream cycle, a tablespoon of milk is enough to loosen it without washing out the flavor.
What Each Ingredient Is Actually Doing in This Pint
- Whole milk — This gives the base enough liquid to freeze and spin properly, but still keeps more richness than lower-fat milk. Skim milk will work in a pinch, but the finished ice cream will be less creamy and a little more icy.
- Heavy cream — This is what gives the pint that dense, scoopable texture after processing. Half-and-half can replace it if that’s what you have, but the final texture will be lighter and less lush.
- Cream cheese — Just a tablespoon makes a difference. It adds body, helps emulsify the base, and keeps the frozen mixture from tasting flat after the cookies go in.
- Chocolate sandwich cookies — Crush them after the base is processed, not before. If they sit in the base overnight, they soften and disappear into the ice cream instead of giving you those cookie flecks you want in every spoonful.
- Vanilla extract — This rounds out the dairy and keeps the cookie flavor from tasting one-note. Use the good stuff if you have it, because vanilla shows up clearly in such a simple base.
How to Blend, Freeze, and Spin Without Ending Up With a Powdery Pint
Building the Base Smooth
Blend the milk, cream, sugar, softened cream cheese, vanilla, and salt until the mixture looks completely uniform and there are no little cream cheese specks left. That smoothness matters more than people think, because the Ninja Creami won’t fully rescue a lumpy base once it’s frozen. If the cream cheese isn’t softened first, it can leave bits behind that freeze into stubborn little chunks.
Freezing the Pint Solid
Pour the mixture into the pint container and stop about one inch from the top. Set it on a level surface in the freezer so the base freezes evenly from top to bottom. If the pint freezes at an angle or overfills, the blade can hit uneven ice and the texture gets dry at the top and dense at the bottom.
Spinning for the Right Texture
Run the Ice Cream cycle after 24 hours, then check the surface before you touch anything else. If the pint looks crumbly or dusty, add one tablespoon of milk and use Re-spin. That small amount is enough to turn a stiff frozen base into a creamy one without making it loose, which is where a lot of homemade Creami desserts go wrong.
Mixing in the Cookies at the End
Add the crushed cookies with the Mix-In function after the base is already smooth. That keeps the cookie pieces intact instead of grinding them into dark crumbs throughout the pint. If you want bigger cookie chunks, crush them by hand; if you want a more even mix, pulse them a few times in a bag, but don’t turn them into dust.
How to Adapt This Pint When You Want a Different Finish
Dairy-Free Cookies and Cream
Swap in full-fat canned coconut milk for the cream and a creamy oat milk or almond milk for the whole milk. The texture will still spin well, but the flavor shifts slightly toward coconut, and the ice cream won’t have quite the same classic dairy richness. Use dairy-free sandwich cookies if you need the whole pint to stay fully dairy-free.
Higher-Protein Version
Replace part of the milk with a vanilla protein shake or add a scoop of vanilla protein powder to the blender. The base will freeze a little firmer, so the extra tablespoon of milk on the respin becomes more important. You’ll get a less classic ice cream taste, but the cookies-and-cream flavor still comes through.
Less Sweet, More Cookie Forward
Cut the sugar back to 2 tablespoons if you like a less sweet base. The cookies add plenty of sweetness on their own, and lowering the sugar gives you a creamier dairy note that reads more like an ice cream shop pint than a dessert filling. Don’t cut it too far, though, or the base can freeze harder and spin up crumbly.
Storage and Re-Spinning
- Refrigerator: Not ideal. This is best eaten straight from the machine, because the texture softens fast once it starts warming.
- Freezer: Freeze the finished pint tightly covered if you have leftovers, but expect it to firm up a lot. The cookie pieces will also soften a little more after the second freeze.
- Reheating: Let the pint sit on the counter for 5 to 10 minutes, then respin before serving. If you try to scoop it rock hard, the texture turns icy and the mix-ins can crack instead of folding through.
Answers to the Questions Worth Asking
Ninja Creami Cookies and Cream
Ingredients
Equipment
Method
- Blend whole milk, heavy cream, granulated sugar, softened cream cheese, vanilla extract, and salt until completely smooth and the cream cheese is fully incorporated. Stop and scrape as needed so there are no lumps visible.
- Pour the mixture into the Ninja Creami pint container, leaving 1 inch of headspace. Freeze for 24 hours.
- Process on the Ice Cream setting until thick and creamy. If the pint is too firm, add 1 tablespoon milk and Re-spin.
- Use the Mix-In function to fold in crushed chocolate sandwich cookies. Mix just until the cookie pieces are evenly distributed.
- Serve immediately for the creamiest texture or return the pint to the freezer until ready. Keep the lid on to prevent ice crystals from forming.


