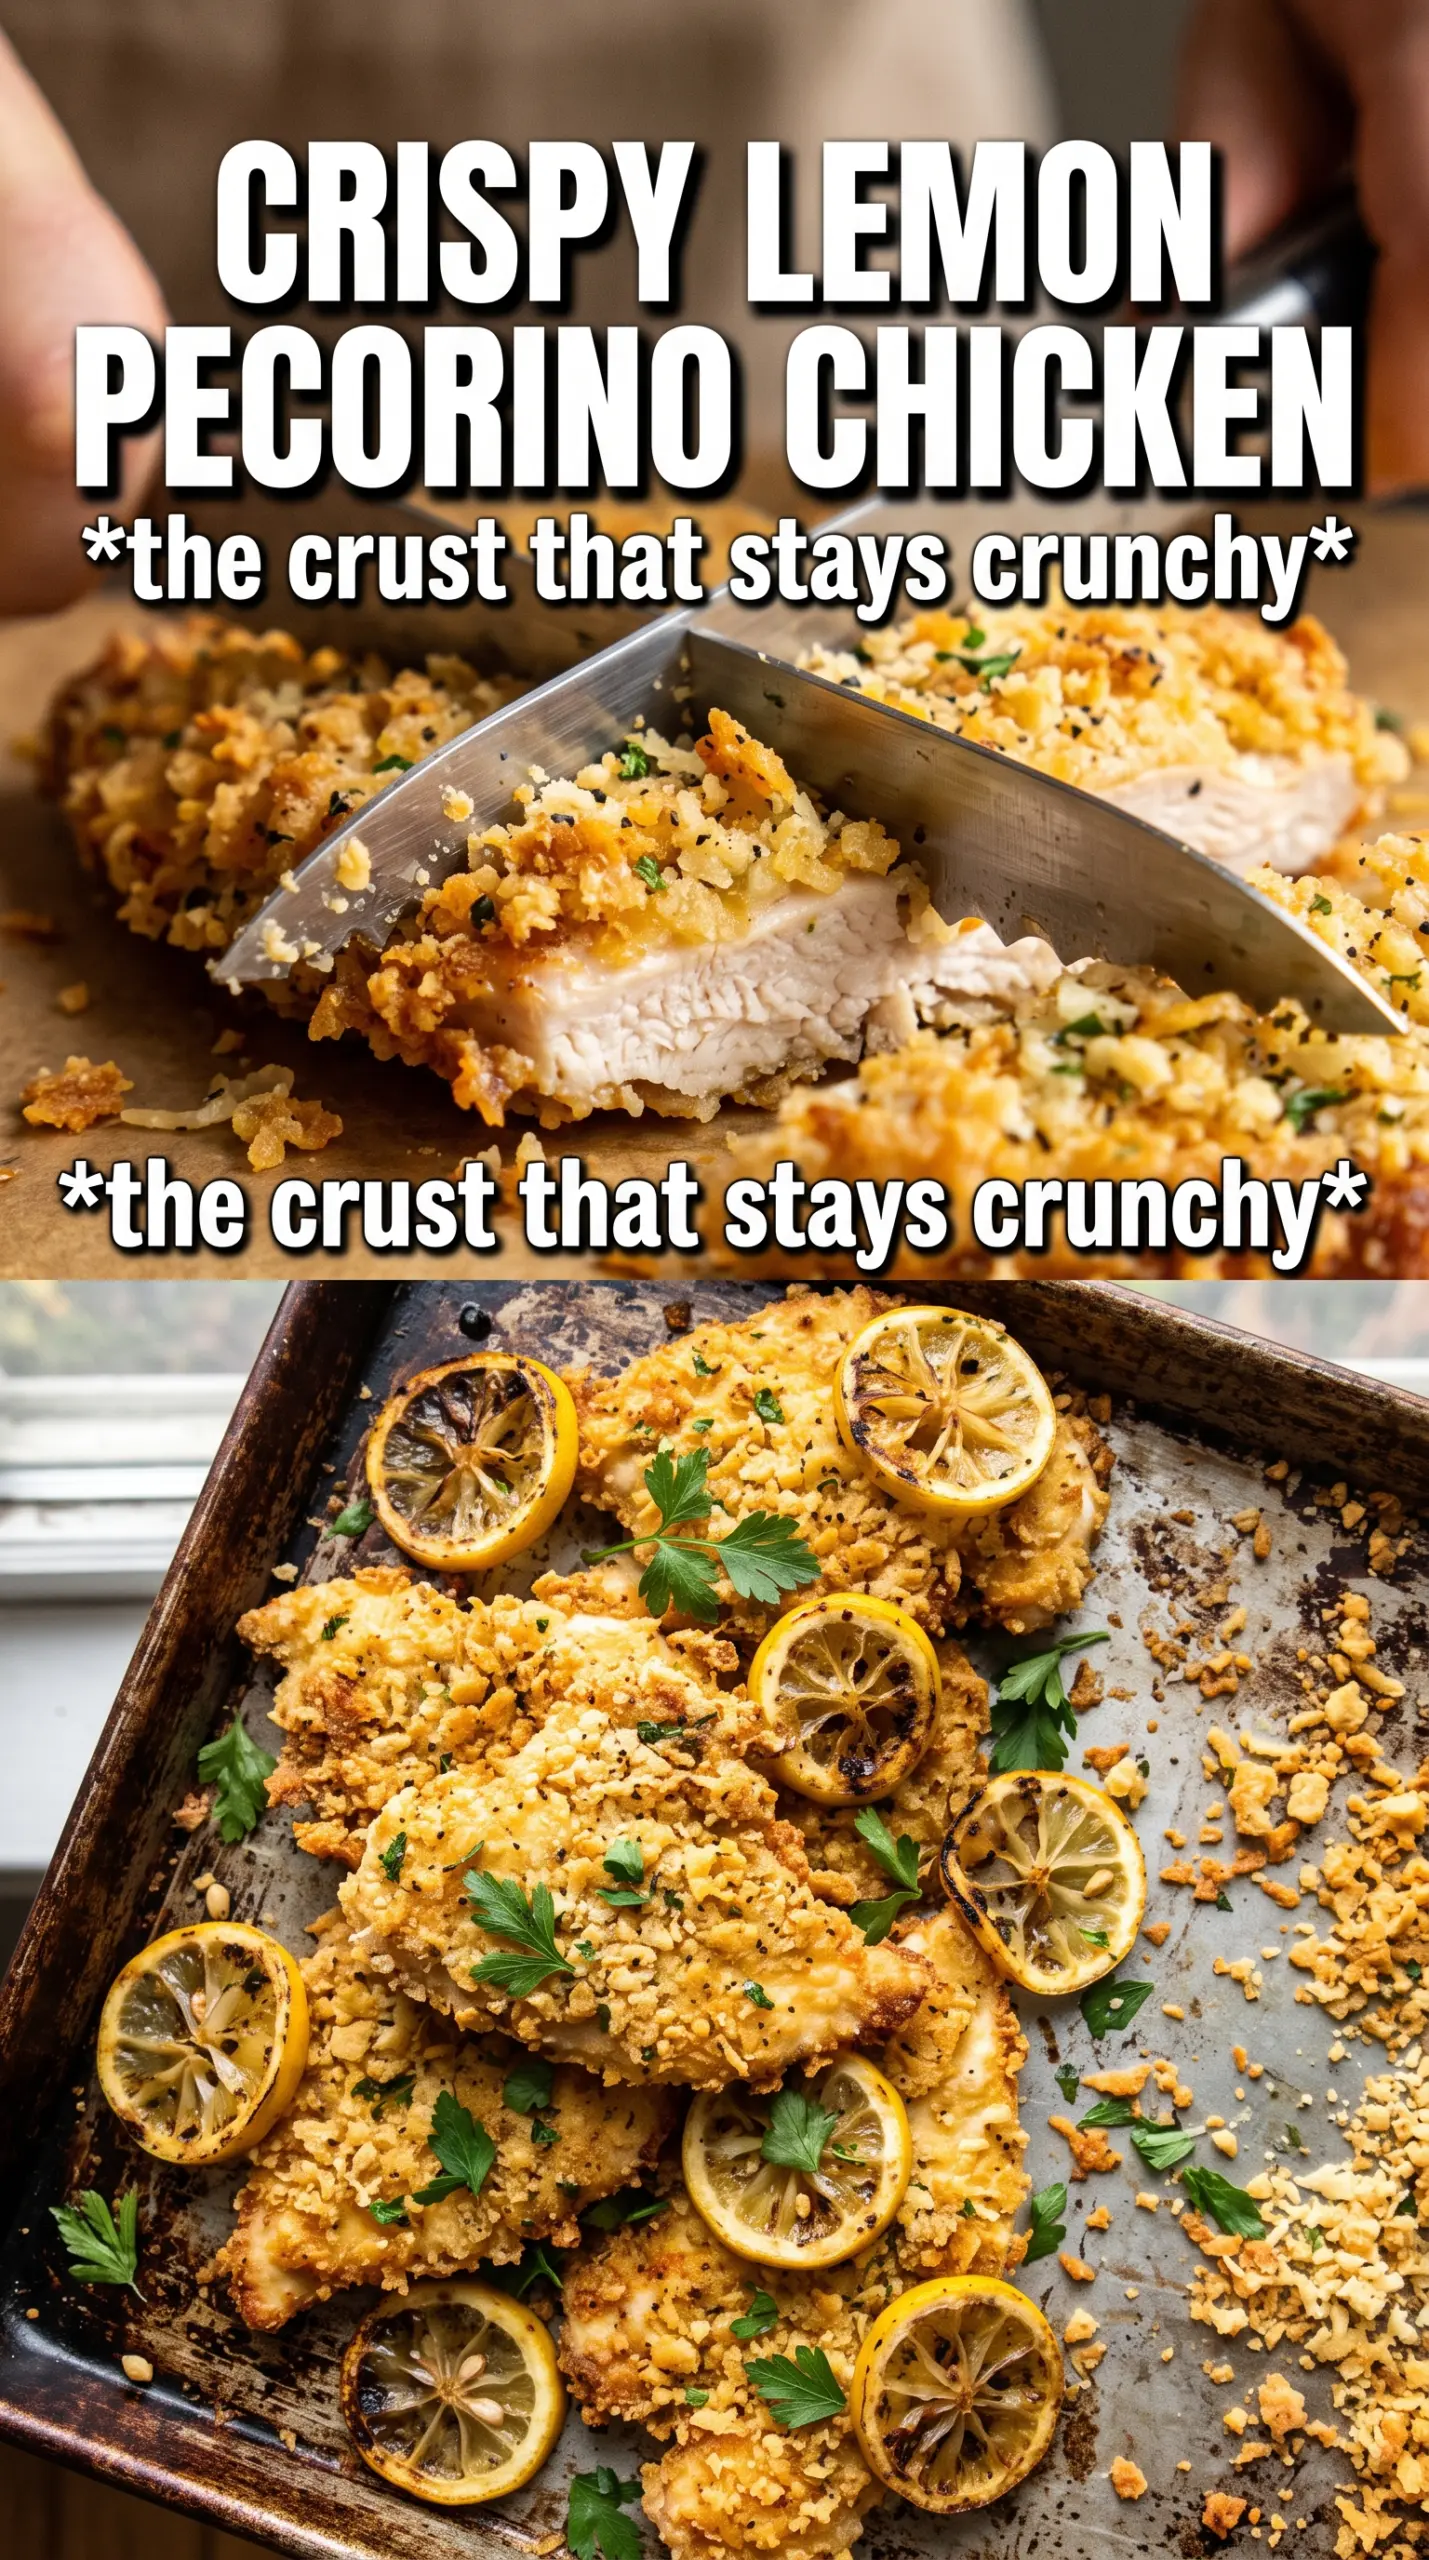
Lemon Pecorino crusted chicken comes out with a crisp, deeply savory shell that shatters under the knife, while the chicken underneath stays juicy and tender. The cheese browns into a fragrant crust instead of melting into a greasy layer, and the lemon zest keeps the whole thing bright instead of heavy.
The trick is in the balance. Pecorino Romano brings salt and sharpness, but it needs panko to keep the coating light and give it structure. Dijon mustard acts like glue and adds just enough tang to carry the lemon through the whole crust. Once the chicken is pounded to an even thickness, it cooks fast and evenly, which is what keeps the crust crisp before the meat dries out.
Below, I’ve included the details that matter most: how to keep the coating stuck, why a rack helps the crust stay crisp, and a few easy swaps if you want to adjust the seasoning or make it gluten-free.
The crust stayed on every piece, and baking it on the rack kept the bottom from going soggy. The lemon zest came through in every bite, even after reheating the leftovers.
Save this Lemon Pecorino Crusted Chicken for nights when you want a crisp lemony crust without frying a single thing.
The Coating Problem Most Baked Chicken Runs Into
The mistake with crumbed chicken is usually moisture control. If the coating goes on before the chicken is pounded even, thinner edges dry out before the center is done, and if the topping is too wet, it slips off instead of baking into a crust. This version avoids both problems by using Dijon as a thin adhesive layer, then pressing the cheese-panko mixture on firmly so it has something to grab.
Pecorino behaves differently from milder cheeses. It browns fast, which is exactly what you want here, but it also means the oven needs to be hot enough to set the crust quickly without overcooking the chicken. The wire rack matters too: it lets hot air move underneath, so the bottom stays crisp instead of steaming on the pan.
What Each Ingredient Is Actually Doing In This Dish
- Pecorino Romano — This is the sharp, salty backbone of the crust. Freshly grated cheese melts and browns better than the pre-grated shelf-stable kind, which can stay dusty and refuse to crisp properly.
- Panko breadcrumbs — Panko keeps the crust light and gives the cheese somewhere to hold on. Regular breadcrumbs work in a pinch, but the crust will be denser and a little less shattery.
- Lemon zest — Zest gives you the lemon aroma without adding extra liquid, which would soften the crust. Use the fine side of a grater and stop before you hit the bitter white pith.
- Dijon mustard — This is the glue. It helps the crust cling to the chicken and adds a subtle tang that keeps the cheese from tasting one-note.
- Chicken breasts, pounded even — Even thickness is what keeps the meat juicy and lets the crust finish at the same time the chicken reaches temperature. If one side is much thicker, it will lag behind and the coating will overbrown.
Building the Crust So It Bakes, Browns, and Stays Put
Getting the Chicken Even
Pound the chicken breasts to an even thickness before anything else. You’re not flattening them into cutlets; you’re just removing the thick hump so the whole piece cooks at the same pace. If you skip this, the thin end will dry out while the thick end finishes, and the crust will suffer because it has to stay in the oven too long.
Making the Coating Stick
Brush the Dijon and olive oil mixture over both sides of the chicken, then press the cheese mixture on firmly. Don’t sprinkle and hope for the best. Pressing matters because Pecorino and panko need pressure to settle into the surface; if the coating looks patchy now, it will bake patchy later.
Baking to a Crisp Finish
Set the chicken on a wire rack over a sheet pan and bake at 425°F until the crust is deep golden and the internal temperature hits 165°F. You want the cheese to smell nutty and toasted, not burnt and bitter. Pull it as soon as it reaches temperature, because the residual heat finishes the job during the short rest.
Make It Gluten-Free
Swap the panko for certified gluten-free breadcrumbs or crushed gluten-free crackers. You’ll still get a crisp coating, though the texture may be a little finer and less airy than standard panko.
Dial Down the Salt
Pecorino Romano is naturally salty, so you can use a lighter hand with the added salt if needed. Keep the cheese, though — swapping it for a milder cheese changes both the flavor and the way the crust browns.
Use Chicken Thighs Instead
Boneless skinless thighs work if you want a richer result, but they need a few extra minutes in the oven and won’t give you quite the same neat, even crust on top. Watch the temperature, not just the clock, because thighs stay tender at a slightly wider window.
Storage and Reheating
- Refrigerator: Store leftovers in an airtight container for up to 3 days. The crust softens a bit, but the flavor holds well.
- Freezer: Freeze after baking if needed, wrapped tightly and then placed in a freezer bag. The crust won’t stay perfectly crisp after thawing, but it still reheats better than most breaded chicken.
- Reheating: Warm on a wire rack in a 375°F oven for about 10 to 12 minutes. The oven brings the coating back to life; the microwave makes it soggy.
Questions I Get Asked About This Recipe
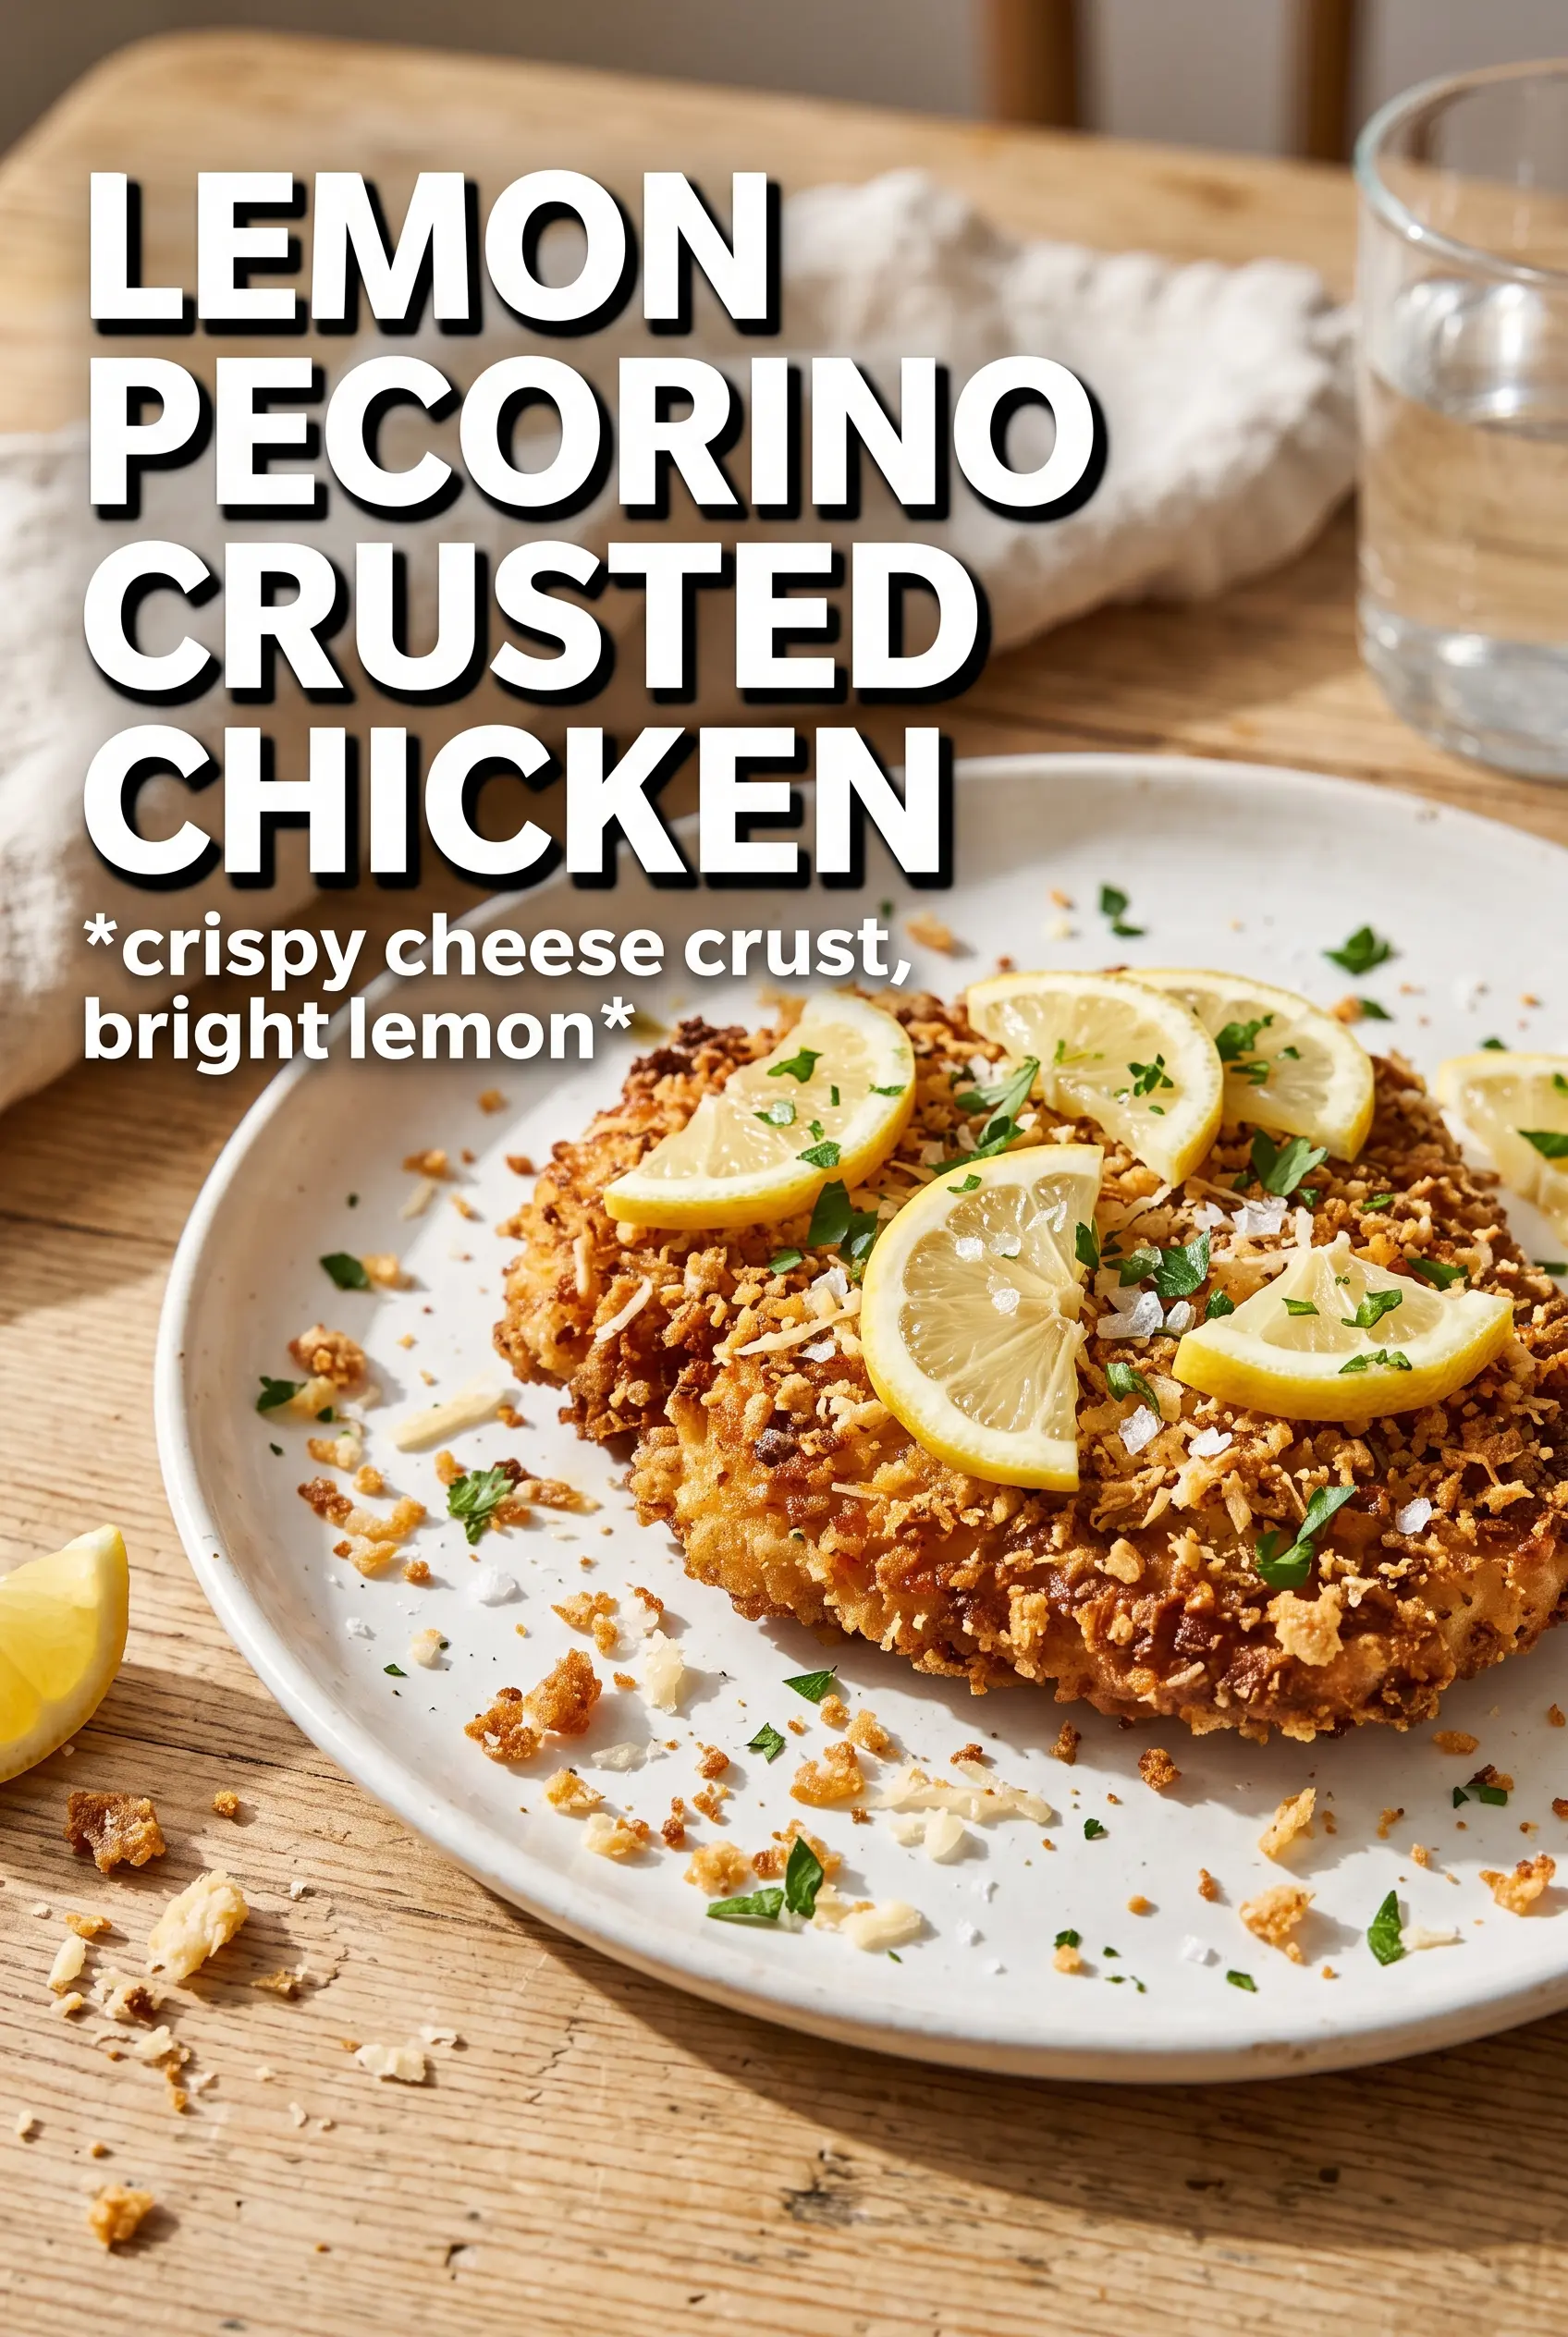
Lemon Pecorino Crusted Chicken
Ingredients
Equipment
Method
- Preheat the oven to 425°F and line a baking sheet with a wire rack.
- Season the chicken breasts with salt, pepper, and garlic powder.
- Mix Dijon mustard with olive oil, then brush over both sides of each chicken breast.
- Combine Pecorino Romano cheese, panko breadcrumbs, lemon zest, fresh parsley, garlic powder, and black pepper.
- Press the crust mixture firmly onto the mustard-coated chicken so it adheres evenly.
- Place the chicken on the prepared rack and bake for 20-22 minutes, until the crust is golden and the internal temperature reaches 165°F.
- Rest the chicken for 3 minutes to set the crust, then garnish with fresh basil and serve with lemon wedges.


