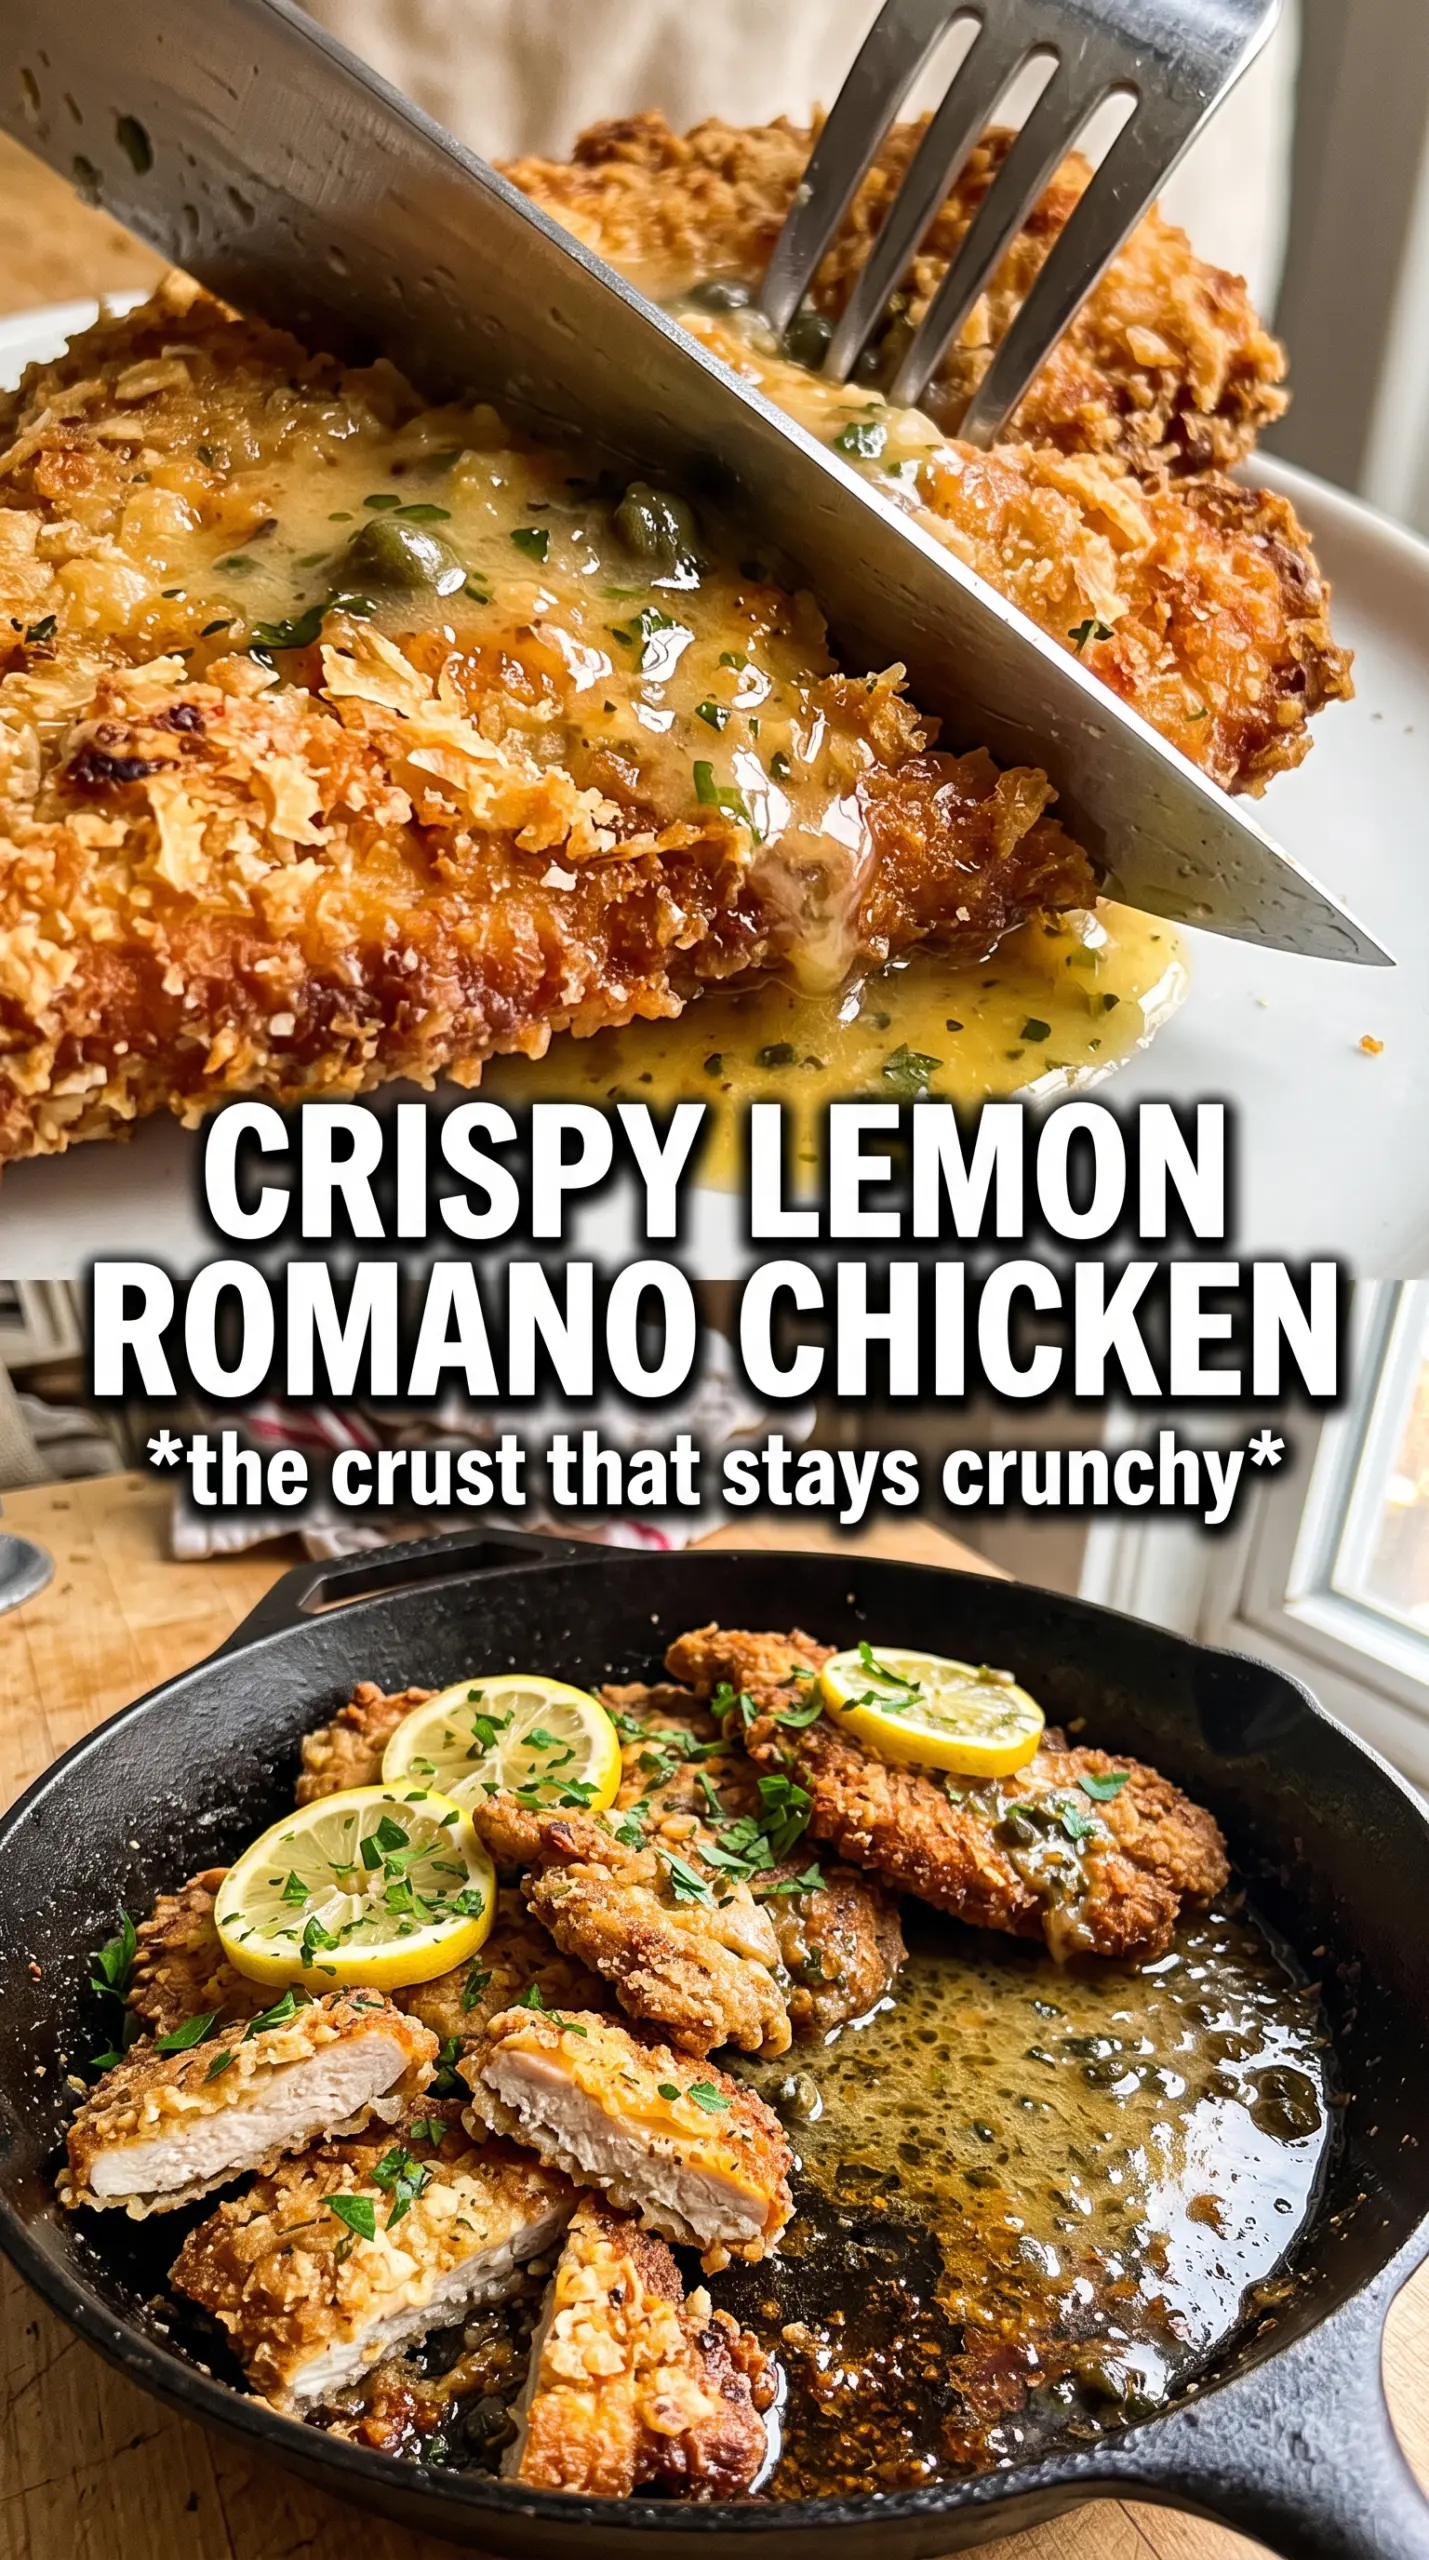
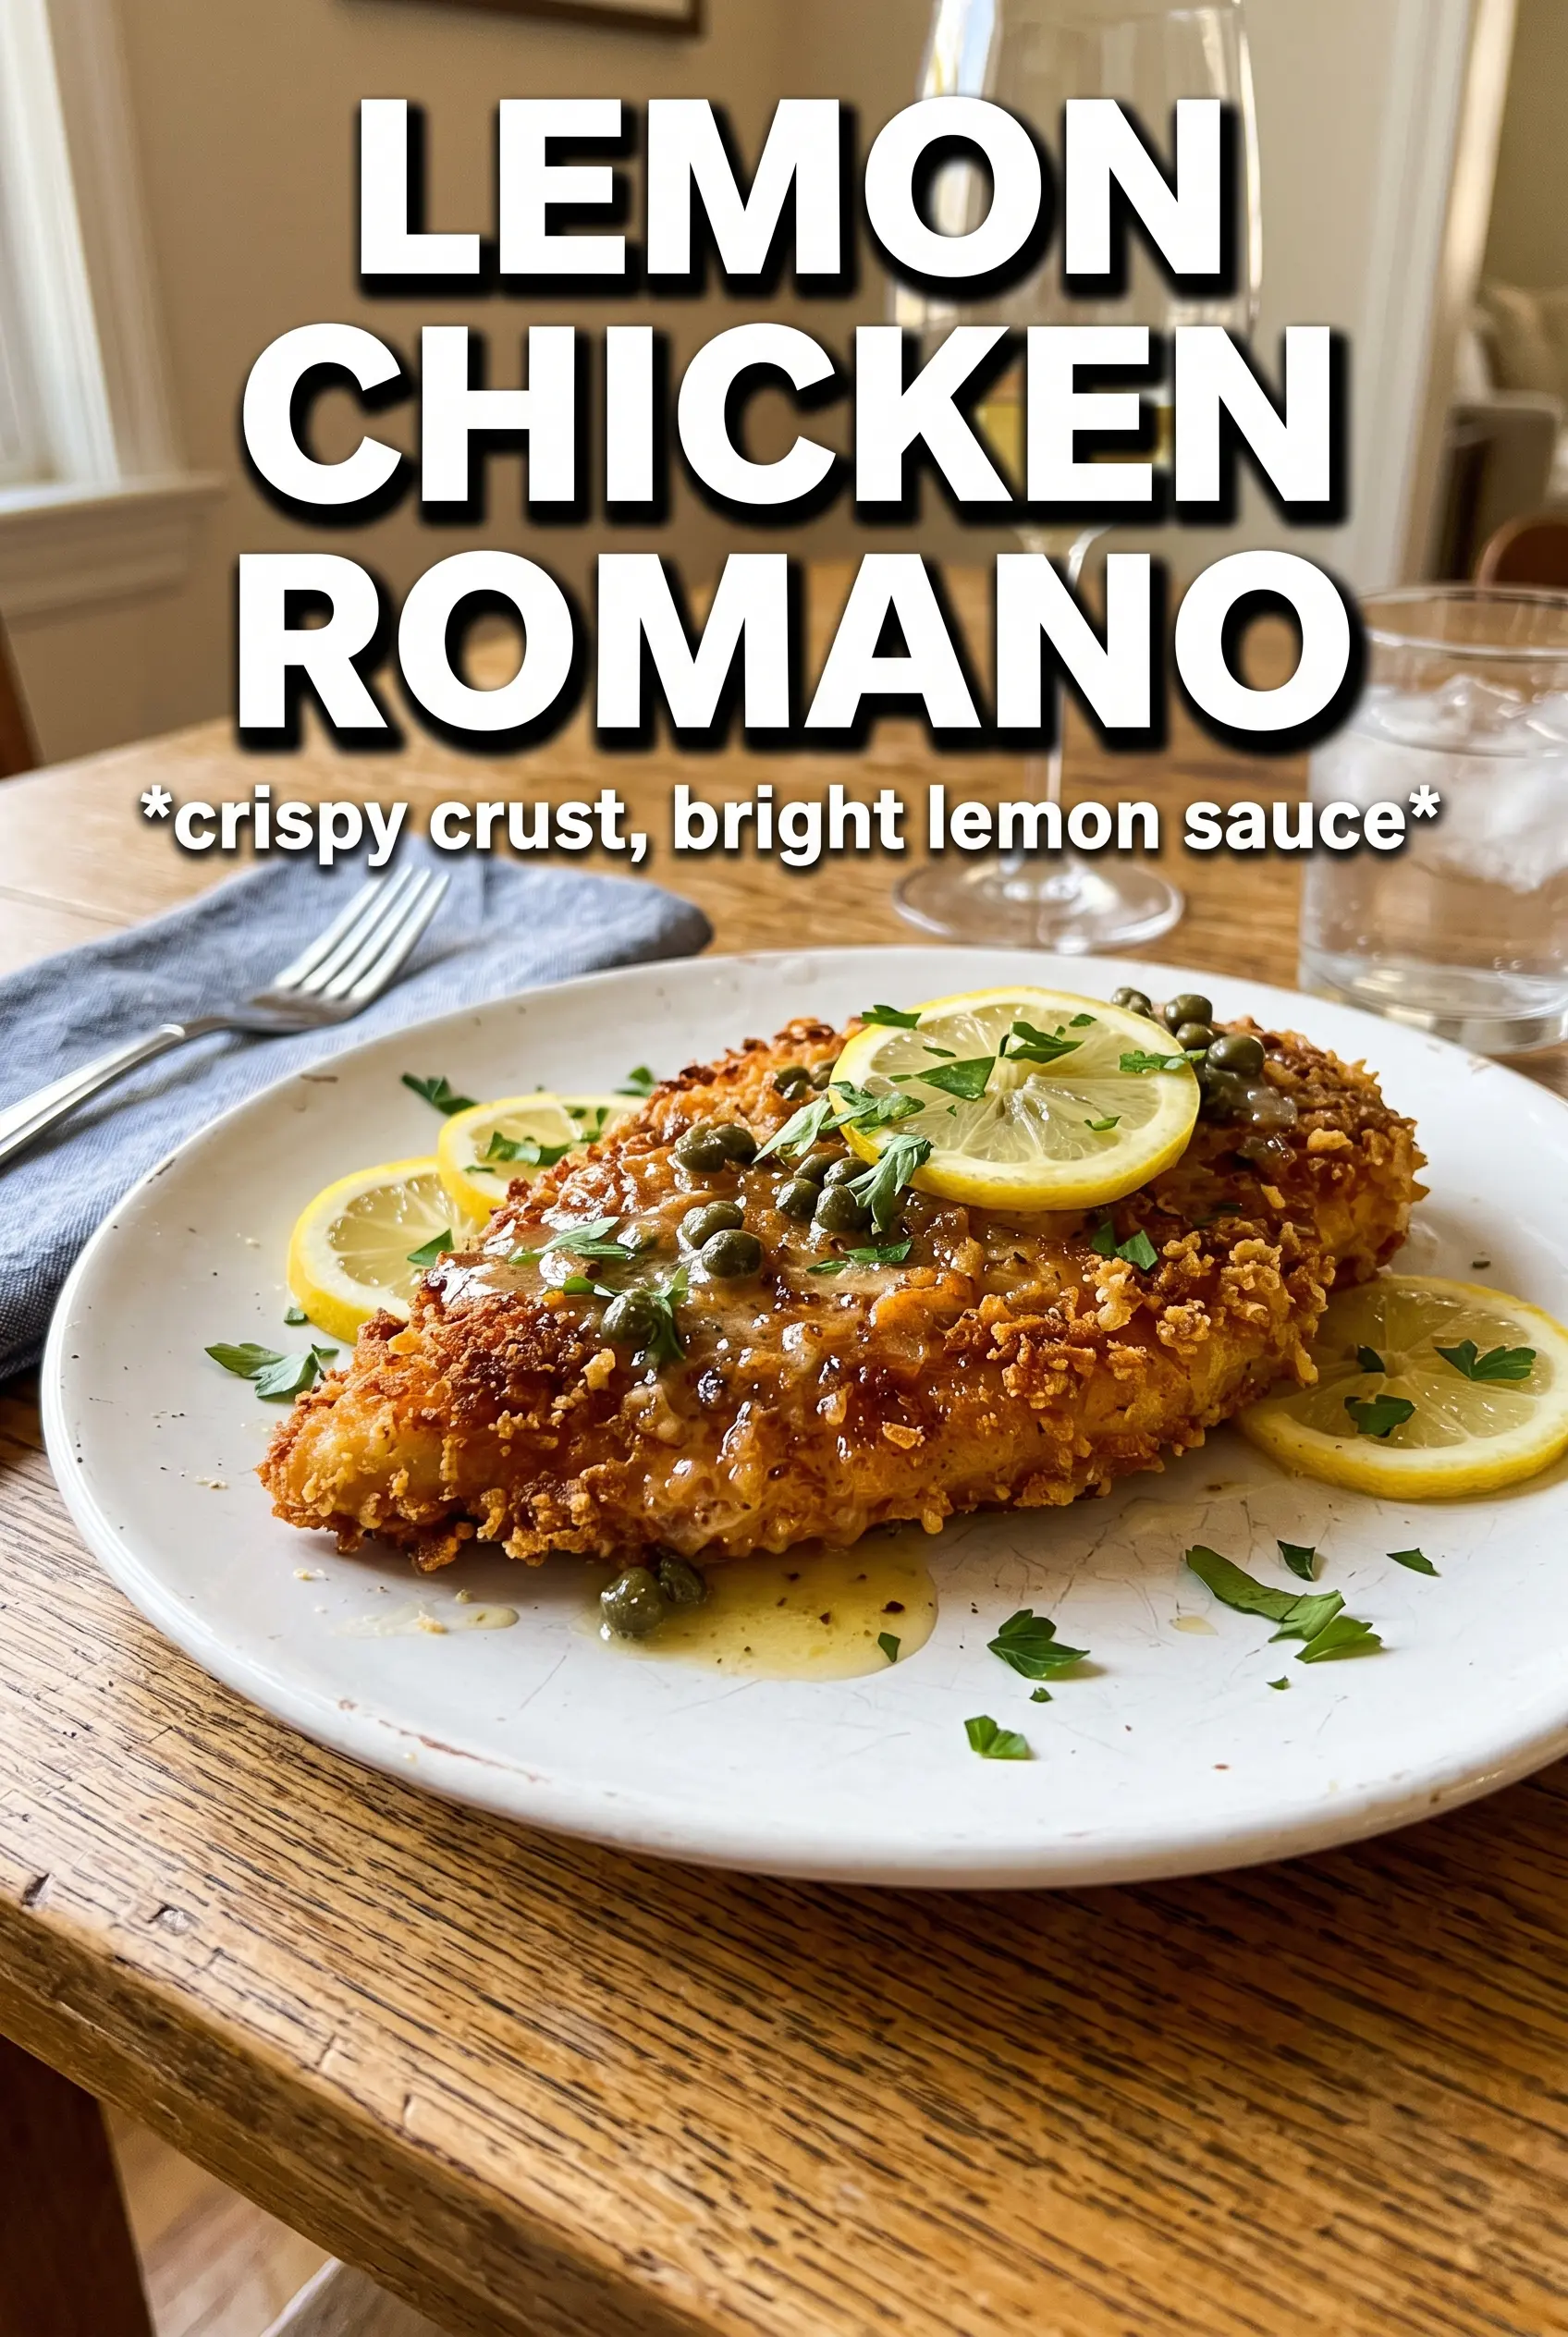
Lemon Chicken Romano comes out with the kind of crunch that makes you pause after the first bite. The cutlets stay thin and tender, the Romano crust turns deeply golden in the pan, and the lemon butter sauce cuts through all that richness without turning the coating soggy. It’s the sort of dinner that feels a little restaurant-special, even though it’s built from straightforward pantry ingredients.
What makes this version work is the balance between the breading and the sauce. Pecorino Romano gives the crust a sharp, salty edge that browns better than cheese alone, while the panko keeps it light instead of dense. The sauce stays bright because it starts with garlic, wine, lemon juice, and capers, then gets finished with cold butter off the heat so it turns glossy instead of greasy.
Below, I’ve included the little details that matter: how to keep the coating crisp, when to pull the pan off the burner, and what to change if you want to make it gluten-free or skip the wine.
The cutlets turned out crisp all the way around, and the lemon-caper butter sauce stayed silky instead of breaking. I’ve made chicken Romano before, but this was the first time the coating stayed put from pan to plate.
Like this crisp Lemon Chicken Romano? Save it to Pinterest for the nights when you want a shattering cheese crust and bright lemon butter sauce on the table fast.
The Reason the Crust Stays Crisp Instead of Going Soft
The coating on Lemon Chicken Romano has two jobs: it has to brown fast, and it has to survive the sauce. That’s why the cutlets get dredged in flour first. The flour gives the egg something to grip, and it helps the cheese layer cling instead of sliding off in the pan.
Pecorino Romano brings salt and sharpness, but it also browns more aggressively than many softer cheeses. The panko keeps the crust from turning dense and greasy. If you skip the panko and use cheese alone, the coating can end up patchy and brittle instead of evenly crisp. The other thing that matters here is cutlet thickness. Thin, even pieces cook through before the crust burns, which is the difference between a clean golden exterior and a scorched coating with underdone chicken inside.
What the Cheese, Panko, and Lemon Each Bring to the Pan
- Pecorino Romano — This is the backbone of the crust. It’s saltier and sharper than Parmesan, so it gives the chicken that unmistakable Romano bite. Finely grate it so it melts into the coating instead of clumping; pre-grated cheese often has anti-caking agents that keep it from browning as cleanly.
- Panko breadcrumbs — These lighten the cheese crust and help it fry up with a craggy texture. Regular breadcrumbs work in a pinch, but they make the coating denser and less shattery. If you need gluten-free, use a gluten-free panko with the same amount.
- Dry white wine — The wine loosens the brown bits in the pan and adds a little depth behind the lemon. A dry pinot grigio or sauvignon blanc works well. If you don’t cook with wine, use chicken broth plus a small splash more lemon juice, but the sauce will be a little rounder and less sharp.
- Cold butter — The final swirl of butter gives the sauce its glossy finish. Add it off the heat so it emulsifies instead of splitting. Soft butter or high heat can leave the sauce oily instead of silky.
- Capers and lemon juice — These keep the sauce bright and punchy. Drain the capers well so they don’t water down the pan, and use fresh lemon juice here; bottled juice tastes flat next to the cheese and butter.
Building the Sauce After the Chicken Comes Out
Setting Up the Cutlets
Season the chicken before it goes anywhere near the breading. That first layer of salt and pepper is what seasons the meat itself; the Romano crust adds flavor, but it doesn’t reach all the way through the cutlet. Press each piece firmly into the cheese and panko so the coating adheres in an even layer. If you just dip and drop, the crust will fall off in the oil and leave bare patches behind.
Pan-Frying to a Deep Golden Crust
Cook the cutlets in medium-high heat with olive oil and butter until the coating is deep golden and the chicken releases easily from the pan. If it sticks, it needs another moment. Don’t rush the flip, because forcing it too early tears the crust. Work in batches if needed so the pan doesn’t crowd; crowded chicken steams, and steamed chicken won’t crisp.
Pulling the Sauce Together
Use the same pan for the sauce and leave the browned bits where they are. Garlic goes in first for only about 30 seconds, just until fragrant, because it burns fast once the pan is hot. Add the wine and scrape up the fond, then stir in lemon juice and capers and let it simmer briefly so the sharp edges mellow. Finish with cold butter off the heat and swirl until the sauce turns glossy; if the pan is still roaring, the butter can split.
How to Adapt Lemon Chicken Romano Without Losing the Crunch
Gluten-Free Cutlets with the Same Crusty Finish
Swap the all-purpose flour for a gluten-free flour blend and use gluten-free panko. The texture stays crisp and light, but the crumbs may brown a touch faster, so keep an eye on the pan during the last minute.
Dairy-Free Version That Still Gets Plenty of Bite
Use a dairy-free Parmesan-style shred in place of the Romano and swap the butter for more olive oil in the pan and in the sauce. You’ll lose some of the sharp, salty edge, so add a little extra lemon zest or a pinch more salt to keep the sauce lively.
Skipping the Wine Without Flattening the Sauce
Use chicken broth in place of the wine and add an extra teaspoon of lemon juice. The sauce will be a little less complex, but it still picks up the pan drippings and keeps that bright, buttery finish.
Making It Lighter Without Losing the Structure
Pan-fry the cutlets in a thinner layer of oil and butter, then blot them briefly before saucing. The crust won’t be quite as rich, but it still stays crisp if the cutlets aren’t crowded and the sauce is spooned over at the table instead of soaking on the plate.
Storage and Reheating
- Refrigerator: Store leftovers for up to 3 days. The crust softens as it sits, but the flavor stays good.
- Freezer: The cooked chicken can be frozen, but the sauce texture is better fresh. Freeze the cutlets without sauce, tightly wrapped, for up to 2 months.
- Reheating: Warm the chicken on a wire rack in a 375°F oven until hot. Skip the microwave if you want any crunch left; it turns the coating limp fast. Reheat the sauce separately over low heat and spoon it over just before serving.
Questions I Get Asked About This Recipe
Lemon Chicken Romano
Ingredients
Equipment
Method
- Season the cutlets with salt and pepper, then arrange a breading station with flour, beaten egg, and a mix of Pecorino Romano cheese and panko.
- Dredge each cutlet in flour, dip it in egg, then press firmly into the Romano mixture to coat evenly.
- Heat olive oil and 2 tablespoons butter in a cast iron skillet over medium-high heat, then pan-fry cutlets for 3-4 minutes per side until deeply golden and crisp.
- Transfer the cutlets to a plate to rest while you make the sauce.
- In the same pan, cook minced garlic for 30 seconds, stirring so it becomes fragrant but not browned.
- Pour in the dry white wine to deglaze, then add fresh lemon juice and capers and simmer for 3 minutes.
- Swirl in the remaining 2 tablespoons cold butter until the sauce is glossy.
- Plate the cutlets and spoon lemon-caper butter sauce over each one, then garnish with fresh parsley.


