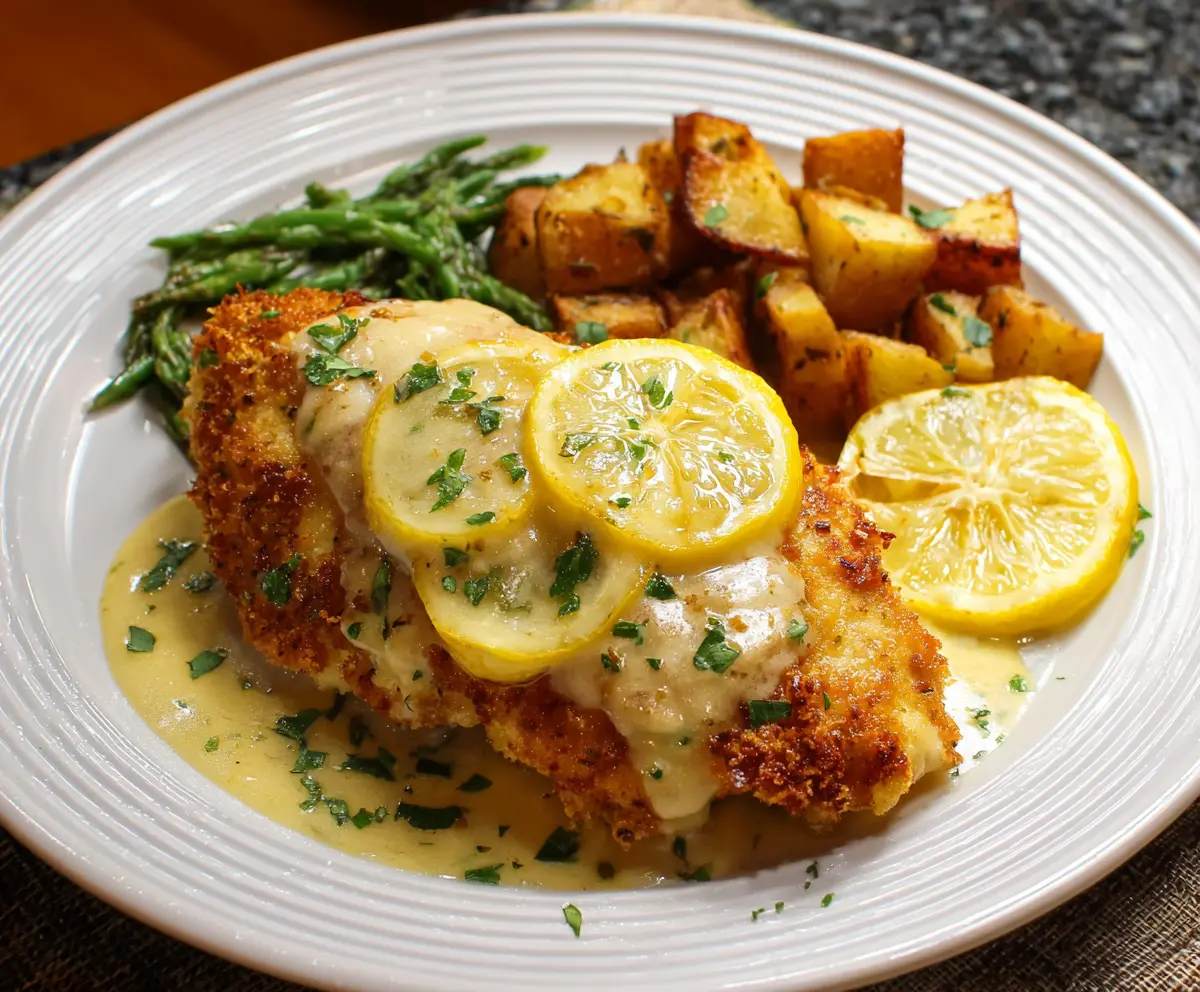
Lemon Chicken Romano is a bright and tasty dish that features juicy chicken cooked to perfection with a burst of lemony goodness. The Romano cheese adds a nice touch of flavor!
What I love most is how quick and easy it is to make! It’s great for a weeknight dinner or when you want to impress guests. Just serve it with some pasta or a salad, and you’re all set!
Key Ingredients & Substitutions
Chicken Breasts: Boneless, skinless chicken breasts are a great choice because they cook quickly and stay juicy. If you’re looking for a substitute, you can use chicken thighs instead for a deeper flavor, or even turkey cutlets if you want something leaner.
Breadcrumbs: I recommend Italian-seasoned breadcrumbs for added flavor. If you don’t have them, plain breadcrumbs mixed with a bit of dried Italian herbs (like oregano and basil) is a nice alternative. Gluten-free breadcrumbs can work well too if you’re avoiding gluten.
Romano Cheese: Romano cheese adds a sharp and salty flavor. If it’s unavailable, Parmesan cheese is a great substitute, though it’s milder. You could also try nutritional yeast for a dairy-free option.
Heavy Cream: Using heavy cream makes the sauce rich and creamy. If you’re looking to lighten it up, half-and-half works fine. For a dairy-free option, coconut milk or a cashew cream can provide creaminess, but be aware they will alter the flavor slightly.
How Do I Achieve Perfectly Cooked Chicken?
Cooking chicken evenly is key to this dish. Start by pounding the chicken breasts to an even thickness of about 1/2 inch, ensuring they cook uniformly. This way, there’s no worry about dry parts or undercooked sections.
- Use a meat mallet or a rolling pin and place the chicken between two sheets of plastic wrap for easy flattening.
- Heat your skillet properly with olive oil or butter before adding the chicken so it sizzles right away. This helps in creating that golden brown crust.
Cook the chicken for about 4-5 minutes per side on medium heat. Adjust the heat if necessary to avoid burning, as this can ruin the flavor. If you’re unsure, use a meat thermometer; chicken should reach an internal temperature of 165°F (75°C) to be safe.
How to Make Lemon Chicken Romano
Ingredients You’ll Need:
For the Chicken:
- 4 boneless, skinless chicken breasts
- 1 cup all-purpose flour
- 2 large eggs
- 1 cup breadcrumbs (preferably Italian-seasoned)
- 1/2 cup grated Romano cheese
- 1 tsp garlic powder
- Salt and black pepper to taste
- 4 tbsp olive oil or butter, for frying
For the Sauce:
- 1/2 cup chicken broth
- 1/4 cup fresh lemon juice (about 2 lemons)
- 1/4 cup heavy cream or half-and-half
- 2 tbsp capers (optional)
For Garnish:
- 2 slices of fresh lemon
- Fresh chopped parsley
How Much Time Will You Need?
This delicious Lemon Chicken Romano will take about 10 minutes to prepare and around 15-20 minutes to cook, making it a perfect meal for a busy weeknight or a special occasion! All in all, set aside about 30-35 minutes from start to finish.
Step-by-Step Instructions:
1. Prepare the Chicken:
Start by pounding the chicken breasts to an even thickness of about 1/2 inch. This helps them cook evenly and stay juicy. Place the chicken breasts between two sheets of plastic wrap or parchment paper and use a meat mallet or rolling pin to pound them gently.
2. Set Up Dredging Stations:
Next, set up three shallow dishes. In the first dish, mix the flour with a sprinkle of salt and black pepper. In the second dish, beat the two large eggs. In the third dish, combine the breadcrumbs, grated Romano cheese, and garlic powder.
3. Dredge the Chicken:
Now it’s time to coat the chicken! First, take a chicken breast and dredge it in the seasoned flour, shaking off any excess. Then, dip it into the beaten eggs to coat, allowing any extra to drip off. Finally, coat the chicken thoroughly in the breadcrumb mixture, pressing down gently to ensure it sticks well. Repeat for all chicken breasts.
4. Fry the Chicken:
Heat the olive oil or butter in a large skillet over medium heat. Once the oil is hot, carefully place the breaded chicken breasts in the skillet. Fry them for about 4-5 minutes on each side, or until they’re golden brown and cooked through. Once done, remove them from the skillet and keep warm on a plate.
5. Make the Sauce:
In the same skillet, add the chicken broth, fresh lemon juice, and capers (if you’re using them). Bring the mixture to a simmer while scraping up any browned bits from the bottom of the pan to add flavor to your sauce.
6. Add the Cream:
Stir in the heavy cream (or half-and-half) and let it cook for 2-3 minutes, allowing the sauce to thicken slightly. If you want it richer, let it simmer a little longer—just be careful not to let it boil!
7. Combine Chicken and Sauce:
Return the fried chicken to the skillet and spoon the sauce over it. Heat everything through for about 1-2 minutes, making sure the chicken is nicely coated and warm.
8. Serve and Enjoy:
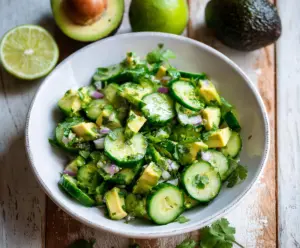
Plate your chicken and pour some extra sauce over the top for a generous coating. Garnish with fresh lemon slices and chopped parsley for a lovely presentation. Serve with a side of sautéed potatoes or green beans for a complete meal.
Enjoy your flavorful Lemon Chicken Romano! It’s sure to impress your family and friends!
Can I Use Frozen Chicken Breasts?
Yes, you can use frozen chicken breasts, but make sure to fully thaw them before cooking. Thaw overnight in the fridge or place them in a sealed plastic bag and submerge in cold water for quicker results.
What Can I Substitute for Romano Cheese?
If you don’t have Romano cheese on hand, Parmesan cheese is an excellent substitute that will still give you a nice flavor. For a dairy-free option, try nutritional yeast for a cheesy taste without the dairy!
How Do I Store Leftovers?
Store leftovers in an airtight container in the fridge for up to 3 days. To reheat, warm gently on the stove or in the microwave, adding a splash of chicken broth or cream if needed to keep the sauce creamy.
Can I Make This Recipe Ahead of Time?
While it’s best enjoyed fresh, you can prepare the chicken and sauce ahead of time. Cook the chicken and make the sauce, then let them cool before storing separately in the fridge. When ready to serve, reheat gently on the stovetop!