Rows of ice cream sandwiches layered with whipped topping, hot fudge, and caramel make the kind of frozen dessert people hover around before the plates even come out. It slices into clean squares after a long freeze, but it still tastes like the easiest shortcut to a party cake you could possibly pull off. The chocolate cookies soften just enough to turn cake-like while the filling stays cold and creamy.
What makes this version work is the balance between the layers. The whipped topping acts like mortar, holding the sandwiches together without weighing everything down, and the sauces get drizzled in thin layers so they stay in the cake instead of slipping straight to the bottom. The long freeze matters, too. If you cut it too early, the layers slide and the sauces smear instead of staying distinct.
Below, I’ve included the little details that keep this dessert neat when it’s sliced, plus the best way to change it up for birthdays, potlucks, or anyone who wants a chocolate-heavy version with extra crunch.
I was worried it would turn into a melted mess, but the six-hour freeze gave me neat slices and the fudge stayed layered instead of sinking. My kids asked for seconds before I’d even put the pan back in the freezer.
Love how the ice cream sandwich cake slices into those clean frozen layers? Save it to Pinterest for the next birthday, potluck, or no-bake dessert emergency.
The Freezer Is Doing the Work, So Don’t Rush the Layers
The main mistake with an ice cream sandwich cake is treating it like a soft dessert instead of a frozen one. If the base layer isn’t firm enough before you add the next round of sandwiches, the top layer slides around and the sauces end up pooling at the edges instead of staying in clean ribbons. The answer is patience: assemble it quickly, then give it time to set hard before you even think about slicing.
Another thing worth knowing is that the whipped topping isn’t just for coverage. It creates enough structure between the sandwiches to keep the cake from collapsing when it softens slightly at serving time. That’s why this version feels stable enough to cut neatly, even though it starts with something as casual as packaged ice cream sandwiches.
What Each Layer Is Actually Doing Here
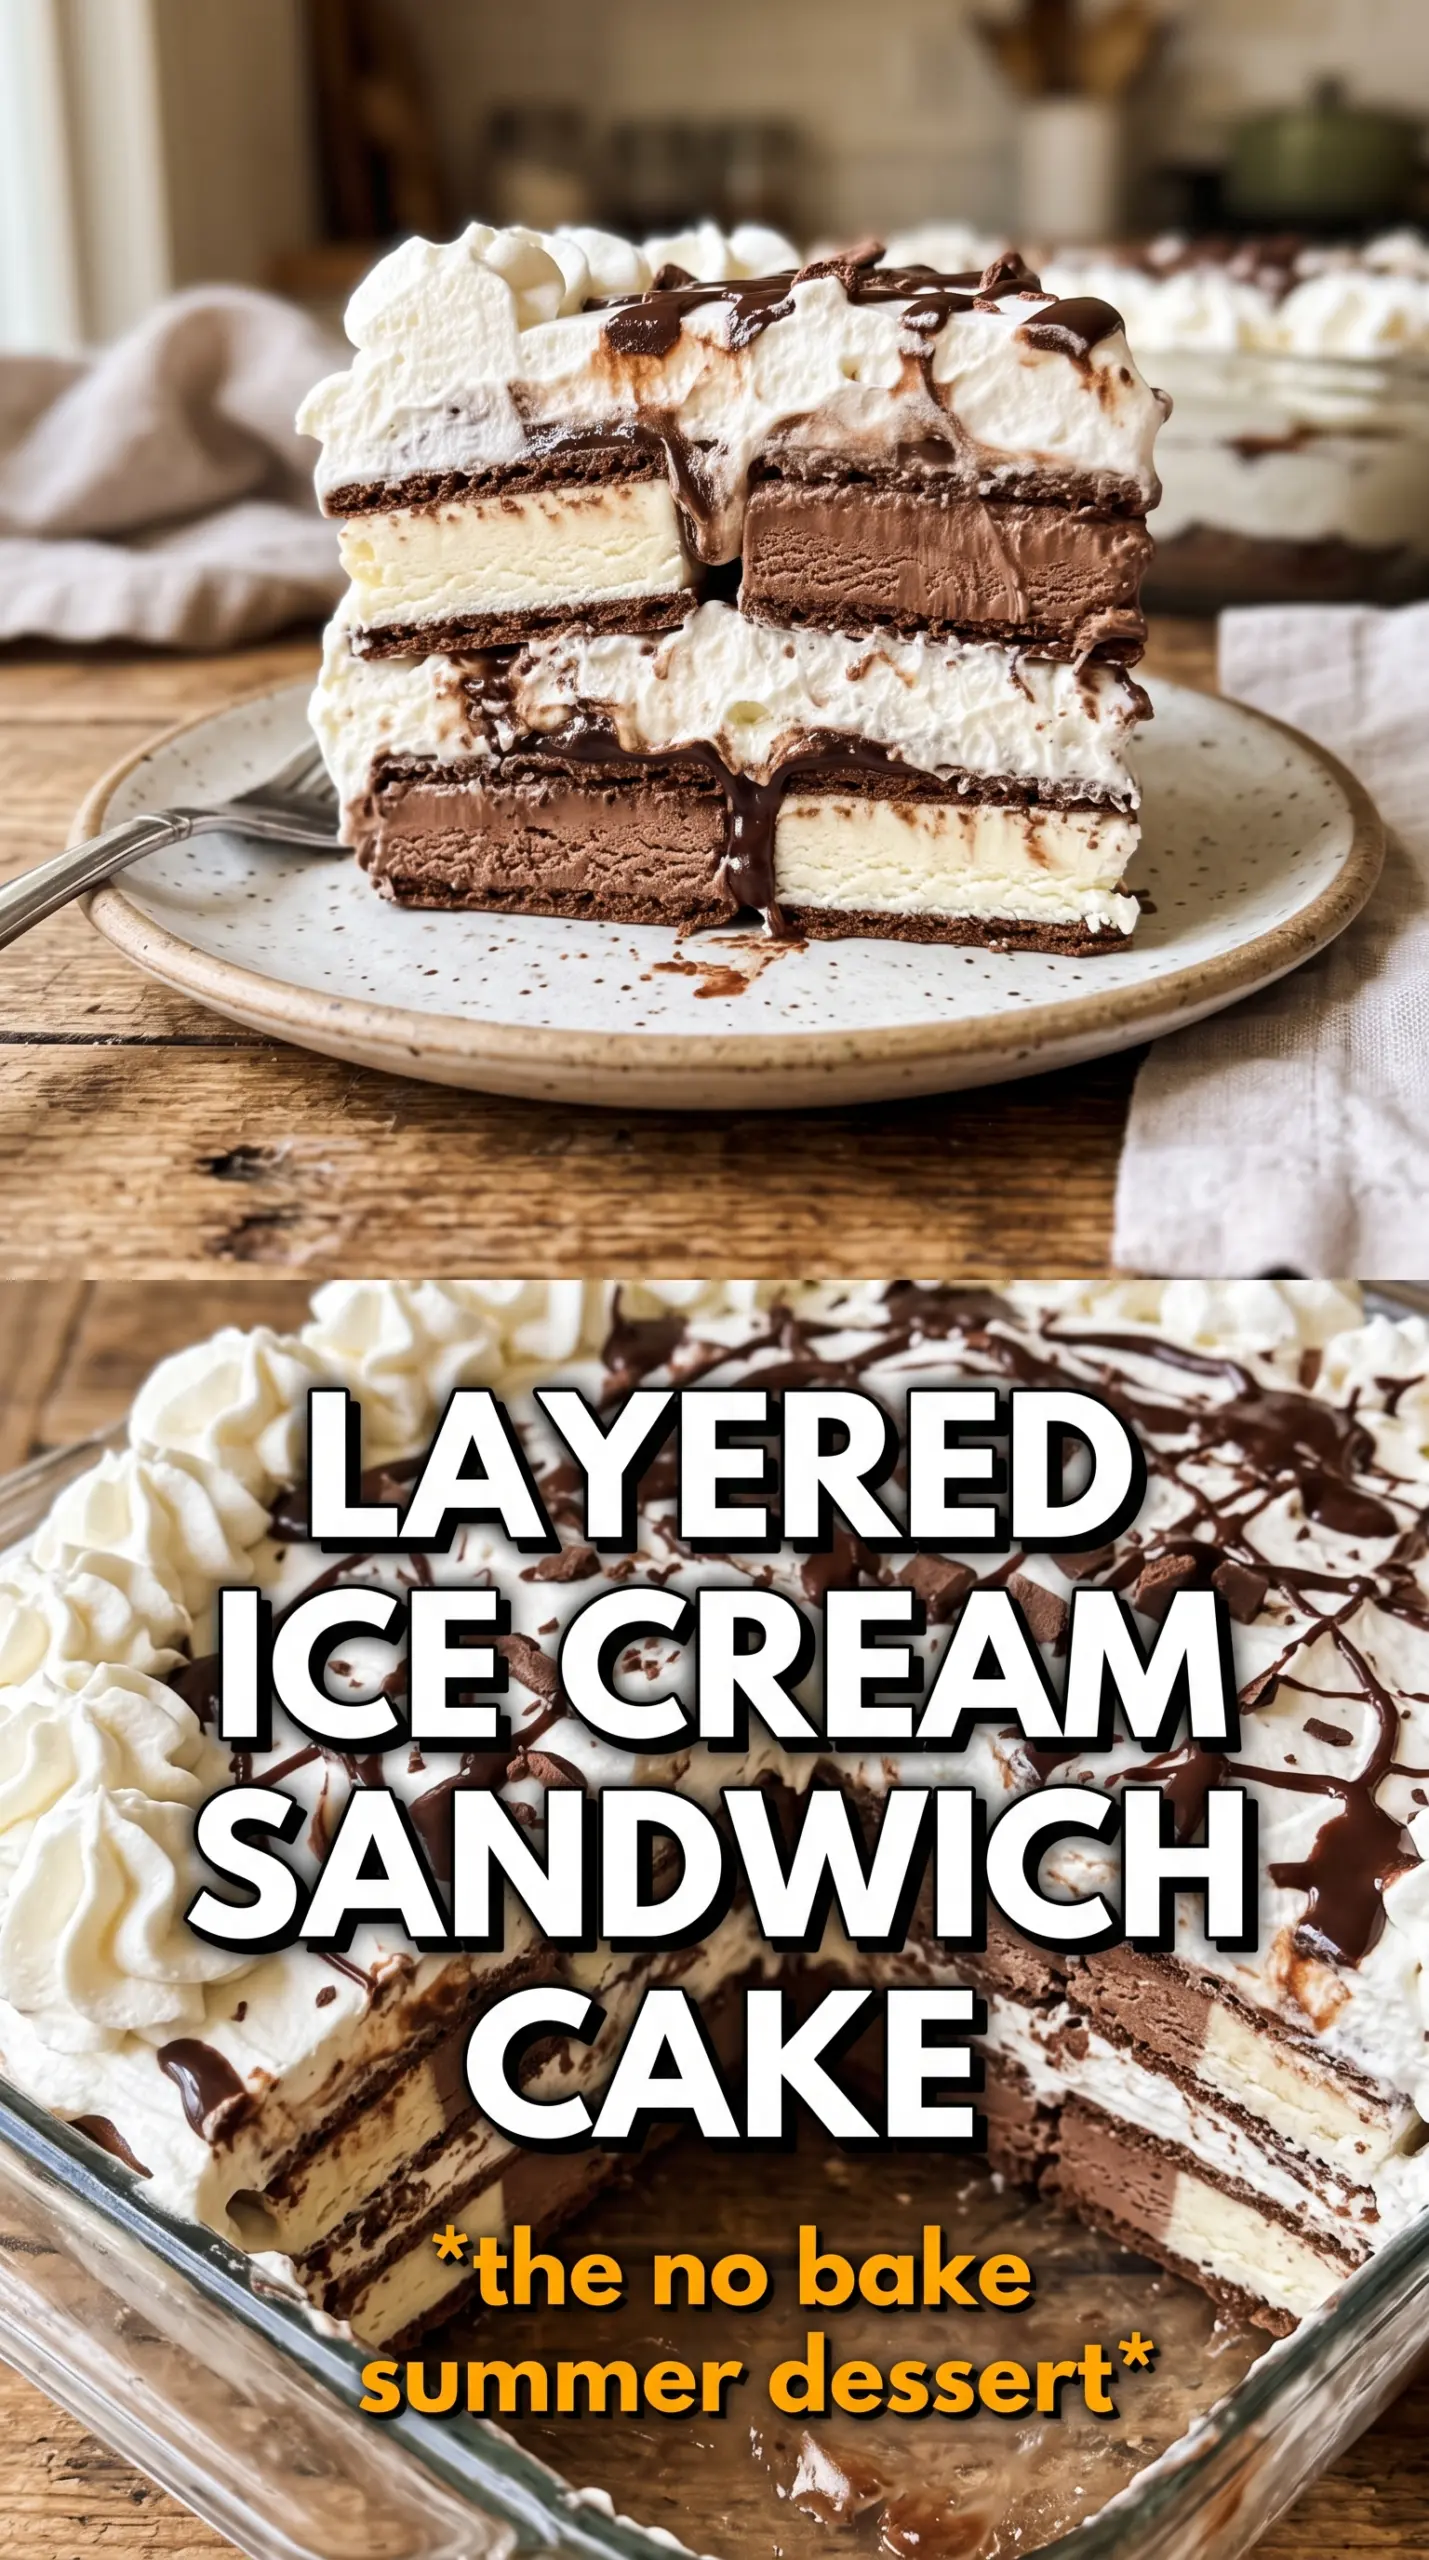
- Rectangular ice cream sandwiches — These are the backbone of the cake and the reason it slices so well. The rectangular shape makes the layers line up neatly in a 9×13 pan, and the cookie outside softens just enough in the freezer to mimic a real cake layer. Don’t swap in novelty bars or cones unless you’re willing to lose the clean stacked look.
- Whipped topping — Cool Whip holds its shape in the freezer better than softly whipped cream, which can weep or deflate after a few hours. If you use homemade whipped cream, stabilize it first or expect a softer finish that needs to be served sooner.
- Hot fudge sauce — This gives the cake that dense chocolate hit and helps separate the creamy layers with a rich, chewy ribbon. Warm it just enough to drizzle easily, but don’t pour it on hot or it can melt the whipped topping and make the layers streaky.
- Caramel sauce — The caramel keeps the dessert from tasting flat and adds a buttery note that plays well with the chocolate cookies. A thicker jarred caramel works best because thin sauce can run straight to the bottom before the cake freezes.
- Sprinkles and Oreo crumbles — These are for texture and a little drama on top. Add them right after the final drizzle so they stick before the surface firms up.
Building the Cake So the Layers Stay Clean
Lay Down the First Frozen Base
Start by arranging a single layer of ice cream sandwiches tightly in the bottom of a 9×13 pan. Press them close enough that there aren’t obvious gaps, because any spaces become weak points when you slice. If the sandwiches have softened in the kitchen, put the package back in the freezer for a few minutes first; firm sandwiches are much easier to line up.
Spread, Drizzle, Repeat
Spread half the whipped topping over the sandwiches in an even layer, then drizzle on half the hot fudge and caramel. Keep the drizzles thin and random rather than dumping the sauces in one spot, or they’ll sink through the topping. A spatula or the back of a spoon works best here because it lets you nudge everything into place without crushing the layer underneath.
Seal the Top Before It Freezes
Add the second layer of sandwiches, then cover them with the remaining whipped topping all the way to the edges. This top layer needs to be complete, not patchy, because exposed corners dry out in the freezer and make the cake look rough once it’s sliced. Finish with the remaining sauces, then scatter the sprinkles and Oreo crumbles while the topping is still soft enough to grab them.
Freeze Until It Slices Like Cake
Freeze the pan for at least 6 hours, but overnight is better if you want the neatest squares. The cake is ready when the center feels firm all the way through and a knife slides through without dragging the layers apart. If it still feels soft in the middle, give it more time; cutting too early is the fastest way to get a slumped, messy slice.
How to Adapt This for Bigger Crowds and Different Tastes
Make it a cookies-and-cream version
Swap the caramel for extra hot fudge and add a heavier layer of Oreo crumbles between the whipped topping and the top layer of sandwiches. The result is less buttery and more chocolate-forward, with a little crunch in every bite.
Use dairy-free components
Choose dairy-free ice cream sandwiches, whipped topping, and sauces so the structure stays the same even if the ingredients change. The texture will be a little softer once sliced, but the cake still freezes into neat layers if you keep the freeze time long enough.
Turn it into a peanut butter chocolate cake
Warm a few spoonfuls of peanut butter just until loose and drizzle it with the hot fudge. Peanut butter adds salt and depth, but it also makes the cake richer, so keep the layer thin unless you want the dessert to lean heavy.
Storage and Reheating
- Refrigerator: This cake isn’t meant for the fridge; it softens fast and loses its shape within minutes.
- Freezer: Store covered in the freezer for up to 1 week for the best texture. After that, the sandwiches can pick up freezer flavor and the top gets a little dry.
- Reheating: No reheating needed. For cleaner slices, let the pan sit at room temperature for 5 to 10 minutes before cutting so the knife glides through the layers instead of cracking them.
Answers to the Questions Worth Asking
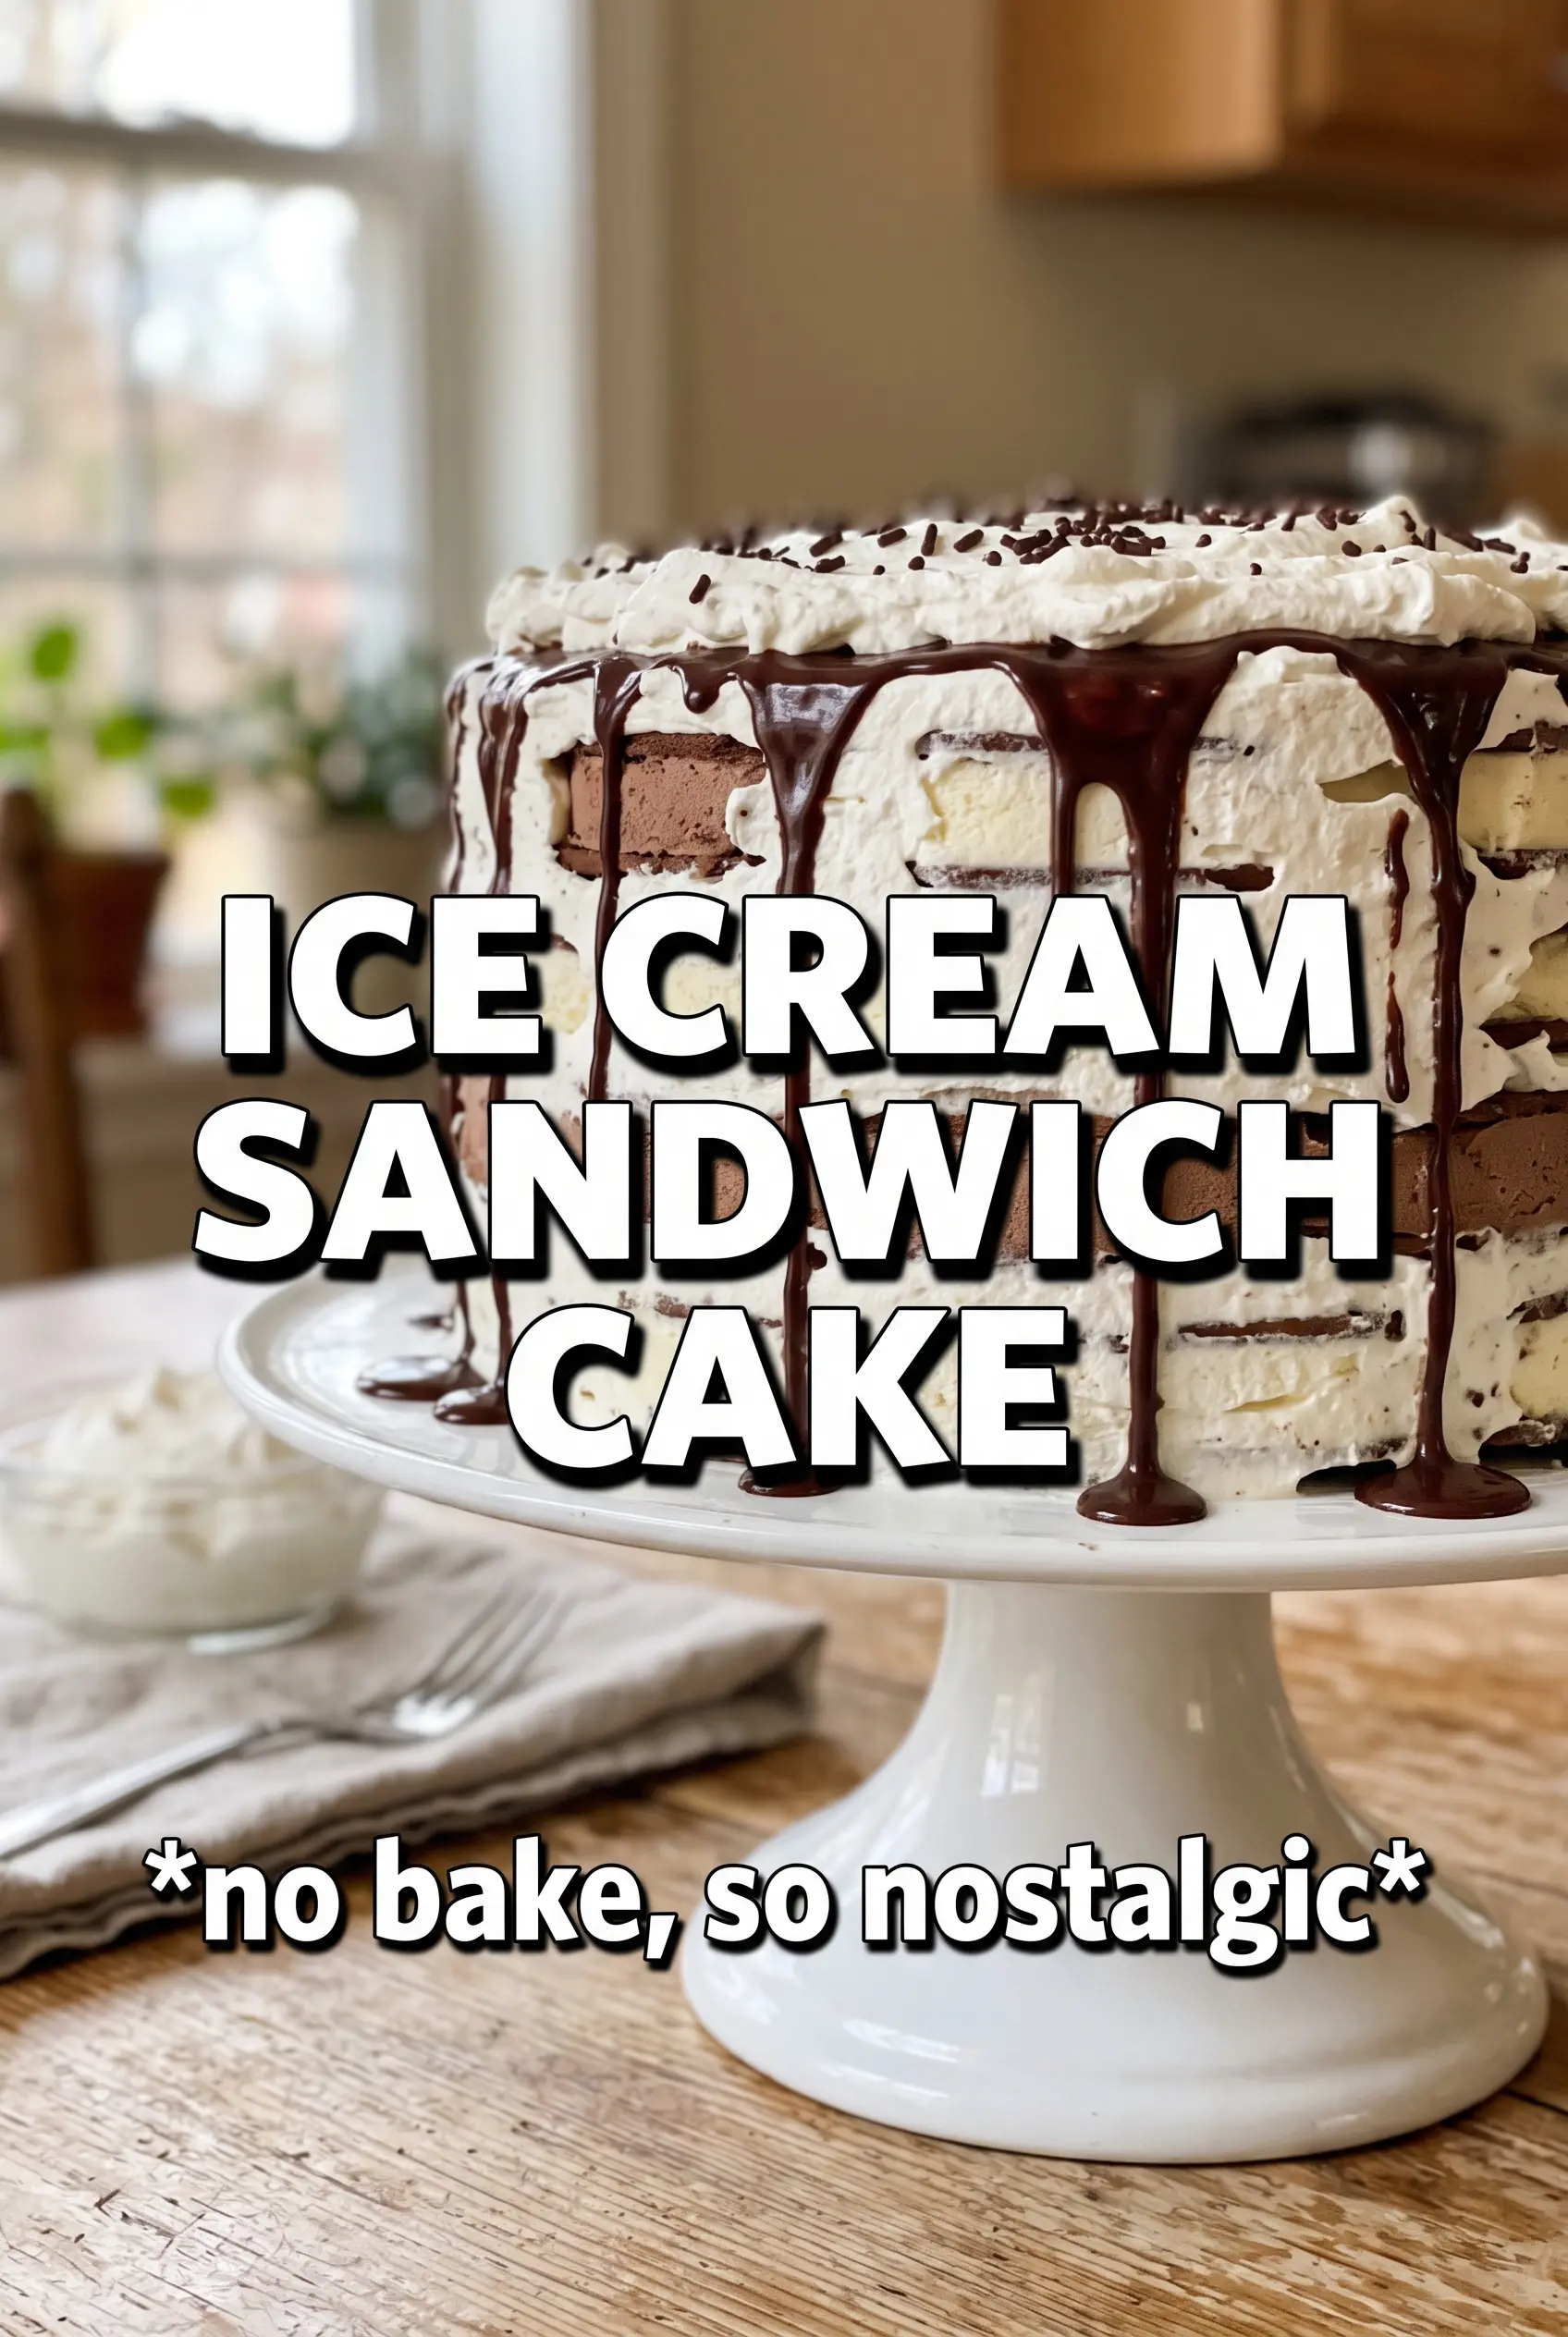
Ice Cream Sandwich Cake
Ingredients
Method
- Arrange a single layer of rectangular ice cream sandwiches in a 9x13 pan, fitting them snugly with minimal gaps so the layers hold together.
- Spread half the whipped topping (Cool Whip) over the sandwiches in an even layer, leaving no ice cream peeking through.
- Drizzle half the hot fudge sauce and caramel sauce over the whipped topping, creating ribbons you can still see before freezing.
- Arrange a second layer of rectangular ice cream sandwiches on top, pressing very lightly so they adhere to the filling.
- Spread the remaining whipped topping to cover completely, smoothing the surface to the edges for a uniform slice.
- Drizzle the remaining hot fudge sauce and caramel sauce over the top, then decorate with rainbow sprinkles and Oreo crumbles.
- Freeze the ice cream sandwich cake at least 6 hours or overnight before slicing, so the layers set solid and cut cleanly.


