Silky homemade coconut ice cream has a way of tasting richer than you expect from such a short ingredient list. The custard base turns thick and lush in the churn, and the toasted coconut folded through at the end gives every scoop a little chew and a burst of nutty sweetness. It’s the kind of ice cream that feels indulgent without needing a long shopping list or any complicated prep.
What makes this version work is the balance between full-fat coconut milk and egg yolks. Coconut milk gives you the deep tropical flavor and body, while the yolks keep the texture smooth instead of icy. Cooking the custard to 175°F matters here, because that’s the point where it thickens enough to freeze creamy without tasting scrambled or heavy. Toasting the coconut first is another small step that pays off big. It keeps the mix-ins from tasting flat and adds a little texture against the soft base.
Below, you’ll find the exact cues I watch for while cooking the custard, plus a few swaps and storage tips so the ice cream comes out scoopable instead of hard as a rock.
The custard turned out glossy and thick, and the toasted coconut stayed chewy instead of icy even after freezing overnight. My kids kept sneaking spoonfuls before it ever made it to bowls.
Save this homemade coconut ice cream for the nights when you want a churned custard that stays creamy with toasted coconut in every bite.
The Custard Needs Gentle Heat, Not a Fast Boil
The most common mistake with coconut ice cream is treating the base like a sauce that needs to hurry. It doesn’t. Once the yolks are in the pan, medium-low heat is your friend. If the custard gets too hot too fast, the eggs tighten into little grains and the texture turns from silky to chalky before you even notice what happened.
Watch for two cues: the custard should coat the back of a spoon, and a finger dragged through that coating should leave a clean trail. That’s more reliable than guessing by bubbles or color. Coconut milk can look thin even when it’s ready, so temperature matters here. Pulling it at 175°F gives you a base that freezes creamy without tasting overcooked.
What the Coconut Milk, Yolks, and Toasted Coconut Each Bring
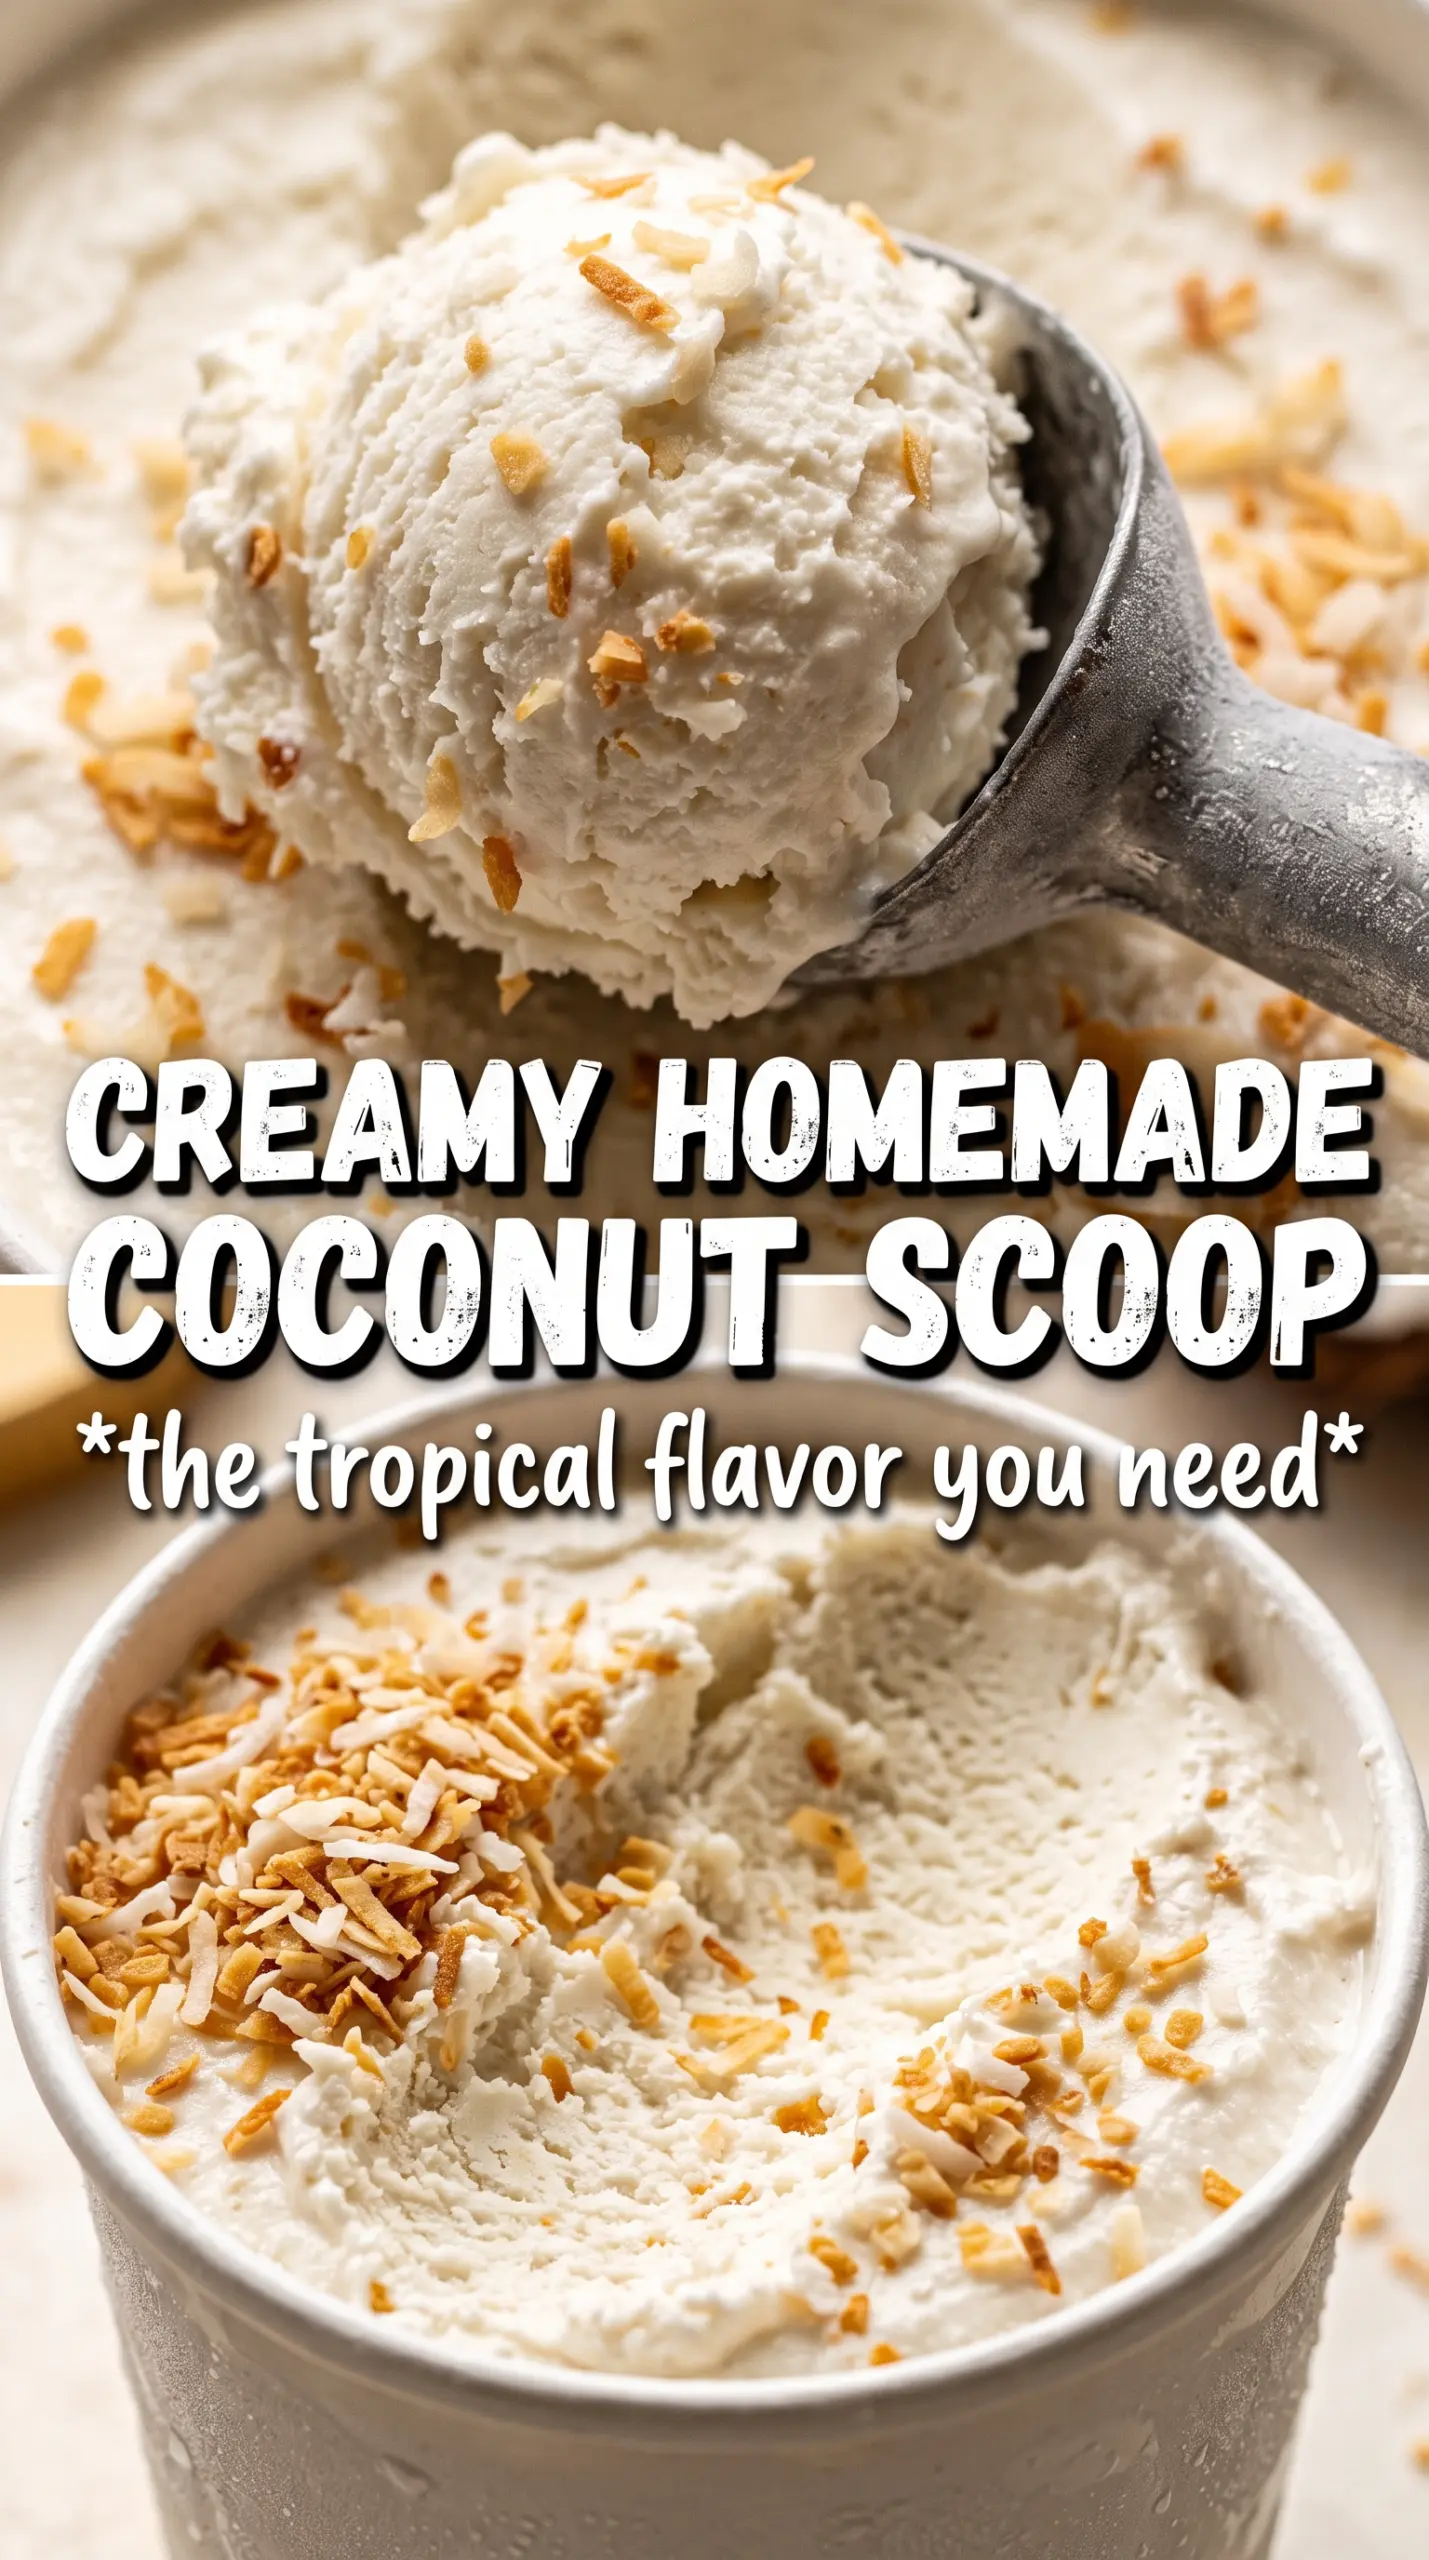
- Full-fat coconut milk — This is the backbone of the recipe, and it has to be full-fat if you want an ice cream that feels dense instead of watery. Light coconut milk won’t give you the same body or richness, and the finished ice cream will freeze harder. Shake the cans before opening, then whisk well so the fat distributes evenly.
- Egg yolks — The yolks turn the base into a proper custard, which is what keeps the texture smooth after freezing. They’re not there just for richness; they help control ice crystals. If you skip them, expect a firmer, icier scoop unless you’re using an ice cream base built with another stabilizer.
- Coconut extract — This is the ingredient that makes the coconut flavor taste round and unmistakable instead of faint. A little goes a long way. If you don’t have it, add a bit more vanilla, but know the flavor will be softer and less intense.
- Toasted sweetened coconut — Toasting changes the coconut from sweet and soft to nutty and fragrant. Fold it in at the end so it stays distinct instead of dissolving into the base. If you use untoasted coconut, the flavor is flatter and the texture disappears into the ice cream.
Turning the Base Into Ice Cream Without Scrambling the Eggs
Warm the Coconut Milk First
Heat the coconut milk and sugar together until the sugar dissolves and the mixture just starts to steam. You don’t want a rolling boil here; that pushes the heat too hard before the eggs have any protection. The mixture should feel hot, smell sweet, and look smooth with no sugar grains at the bottom of the pan.
Temper the Yolks Slowly
Whisk the egg yolks in a bowl until smooth, then stream in the hot coconut mixture a little at a time while whisking constantly. This keeps the yolks from seizing into scrambled bits. If you pour too fast, the outside of the yolks cooks before the center has a chance to warm, and you’ll end up straining out chunks instead of making custard.
Cook Until the Spoon Test Passes
Return everything to the saucepan and cook over medium-low heat, stirring constantly, until the custard reaches 175°F and coats the back of a spoon. Stir all the way across the bottom and into the corners so nothing catches. If the mixture starts looking grainy, pull it off the heat at once and strain it; the temperature climbed too fast.
Chill, Churn, and Fold in the Coconut
Strain the custard, stir in the vanilla, coconut extract, and salt, then cool it completely before refrigerating for at least 4 hours. A cold base churns faster and freezes smoother. Add the toasted coconut during the last 2 minutes of churning so it stays suspended throughout the ice cream instead of sinking to the bottom. After churning, freeze until firm enough to scoop cleanly.
How to Change This Ice Cream Without Losing the Creamy Texture
Dairy-Free Coconut Ice Cream
This recipe is already dairy-free as written, so no swap is needed. That’s one reason it works so well: the coconut milk carries the richness on its own. If you want to keep it fully dairy-free and still add a little extra softness, an extra tablespoon of sugar can help keep the frozen texture more scoopable.
No Coconut Extract on Hand
Use 1 1/2 teaspoons vanilla extract instead, or add a little more toasted coconut for extra coconut presence. The ice cream will still taste good, but the coconut flavor won’t be as sharp or layered. Coconut extract is small in amount but big in payoff, so the flavor reads more clearly with it.
Chocolate Coconut Ice Cream
Fold in 1/2 cup mini chocolate chips after churning, or drizzle the finished scoops with melted chocolate before serving. Chocolate makes the coconut taste deeper and more dessert-like, but it also adds a firmer bite once frozen. Keep the additions small so they don’t overpower the creamy base.
Storage and Reheating
- Refrigerator: The churned custard base can be held in the fridge for up to 2 days before churning. After freezing, keep the ice cream covered and eat it within 2 weeks for the best texture.
- Freezer: It freezes well, but homemade ice cream gets firmer than store-bought because it doesn’t have commercial stabilizers. Press parchment or plastic wrap directly against the surface before covering the container to slow ice crystals.
- Reheating: Ice cream doesn’t need reheating, but it does need a short rest at room temperature before scooping. Let it sit for 5 to 10 minutes so the edges soften first; trying to dig in immediately is how you end up cracking the top and mashing the center.
Answers to the Questions Worth Asking
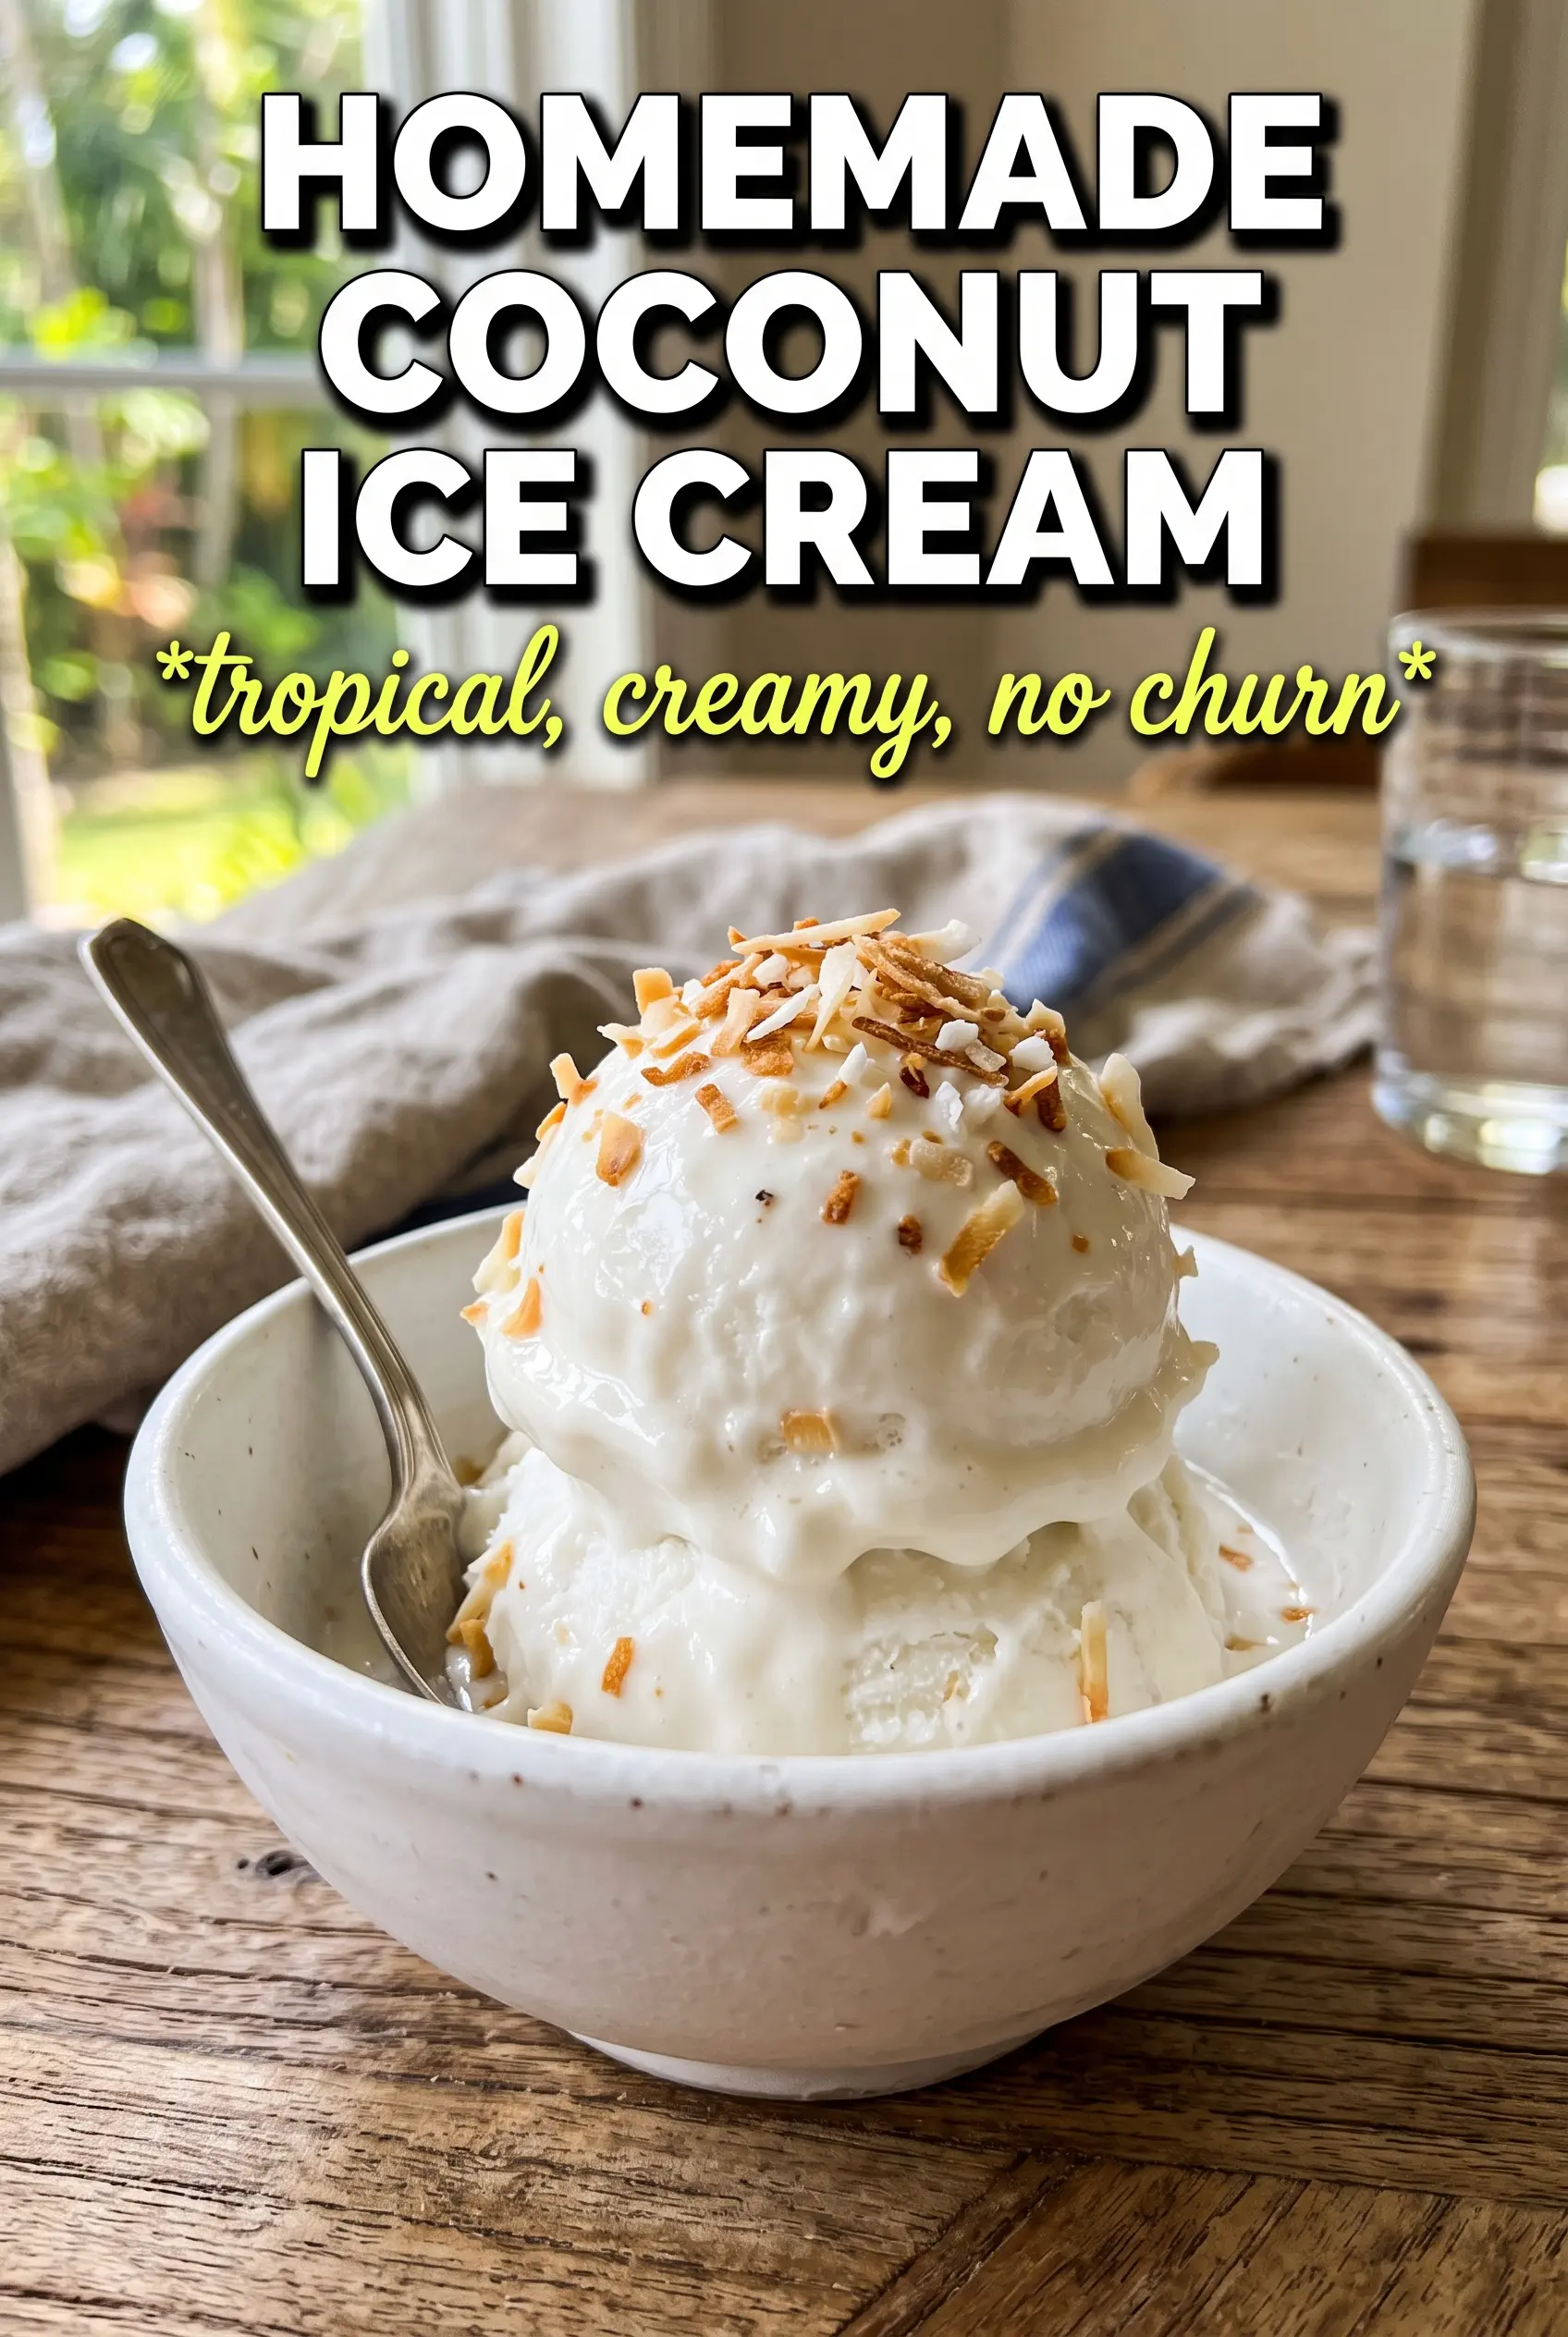
Homemade Coconut Ice Cream
Ingredients
Equipment
Method
- Toast the shredded sweetened coconut on a sheet pan at 325F for 6 to 8 minutes, stirring once, until golden and fragrant (visual cue: light browning at edges). Cool to room temperature.
- In a Dutch oven, heat full-fat coconut milk and granulated sugar over medium heat for 3 to 5 minutes, stirring until the sugar dissolves and the mixture steams (visual cue: small wisps of steam rise).
- Whisk egg yolks in a bowl until smooth, then slowly whisk the hot coconut milk mixture into the yolks in a thin stream (visual cue: the mixture turns glossy and homogeneous).
- Return the mixture to the saucepan and cook over medium-low heat for 5 to 7 minutes, stirring constantly, until it reaches 175F and coats the back of a spoon (visual cue: swipe a finger through it and the line holds).
- Strain the custard into a clean container, then stir in vanilla extract, coconut extract, and salt until fully incorporated (visual cue: no streaks remain).
- Cover and refrigerate for at least 4 hours until thoroughly chilled (visual cue: cold throughout).
- Churn the chilled custard in an ice cream maker until thick and creamy, then fold in toasted coconut for the last 2 minutes of churning (visual cue: toasted flakes distribute throughout).
- Transfer to a freezer-safe container and freeze for 2 to 4 hours until firm (visual cue: scoopable and set, not soft).