Deep, fudgy chocolate ice cream earns its place in the freezer because it tastes like actual chocolate, not sweetened ice milk. The texture lands somewhere between velvet and mousse once it’s churned and hardened, with a dark cocoa base that stays bold even after freezing. A good chocolate ice cream should scoop cleanly, melt slowly, and leave that lingering cocoa finish on the spoon.
This version gets its depth from two chocolate sources: unsweetened cocoa powder for that dry, brownie-like intensity and chopped dark chocolate for body and richness. The custard base keeps it smooth, and the egg yolks give it that dense, old-fashioned creaminess you just can’t fake with a shortcut base. The key is controlling the heat twice — once when you build the chocolate mixture, and again when you cook the custard so it thickens without turning grainy.
Below, I’ve included the one part that matters most when you’re making chocolate custard ice cream, plus a few swaps that work when you need them. If you’ve ever ended up with icy homemade ice cream or a base that tasted thin after freezing, this method fixes both problems.
The custard thickened exactly when you said it would, and the chocolate flavor stayed deep instead of turning watery after freezing. My husband said it tasted like a fancy scoop shop version.
Like this dark chocolate custard ice cream? Save it to Pinterest for the nights when you want a dense, scoopable homemade dessert with real chocolate depth.
The Part That Keeps Chocolate Ice Cream Rich Instead of Icy
The biggest difference between great homemade chocolate ice cream and a batch that freezes flat is the balance between cocoa, chocolate, and egg yolks. Cocoa powder gives you intensity, but it can taste thin if it isn’t bloomed in the hot dairy. The chopped dark chocolate adds fat and solids, which helps the finished ice cream taste fuller and freeze with a softer scoop.
The other place people lose texture is custard temperature. If the base never reaches 175°F, it won’t thicken enough and the ice cream will freeze icier. Push it past that point and the yolks start to scramble, which gives you a grainy base. Stir constantly and pull it the second it coats the spoon with a clean line when you run a finger through it.
What Each Ingredient Is Actually Doing in the Custard
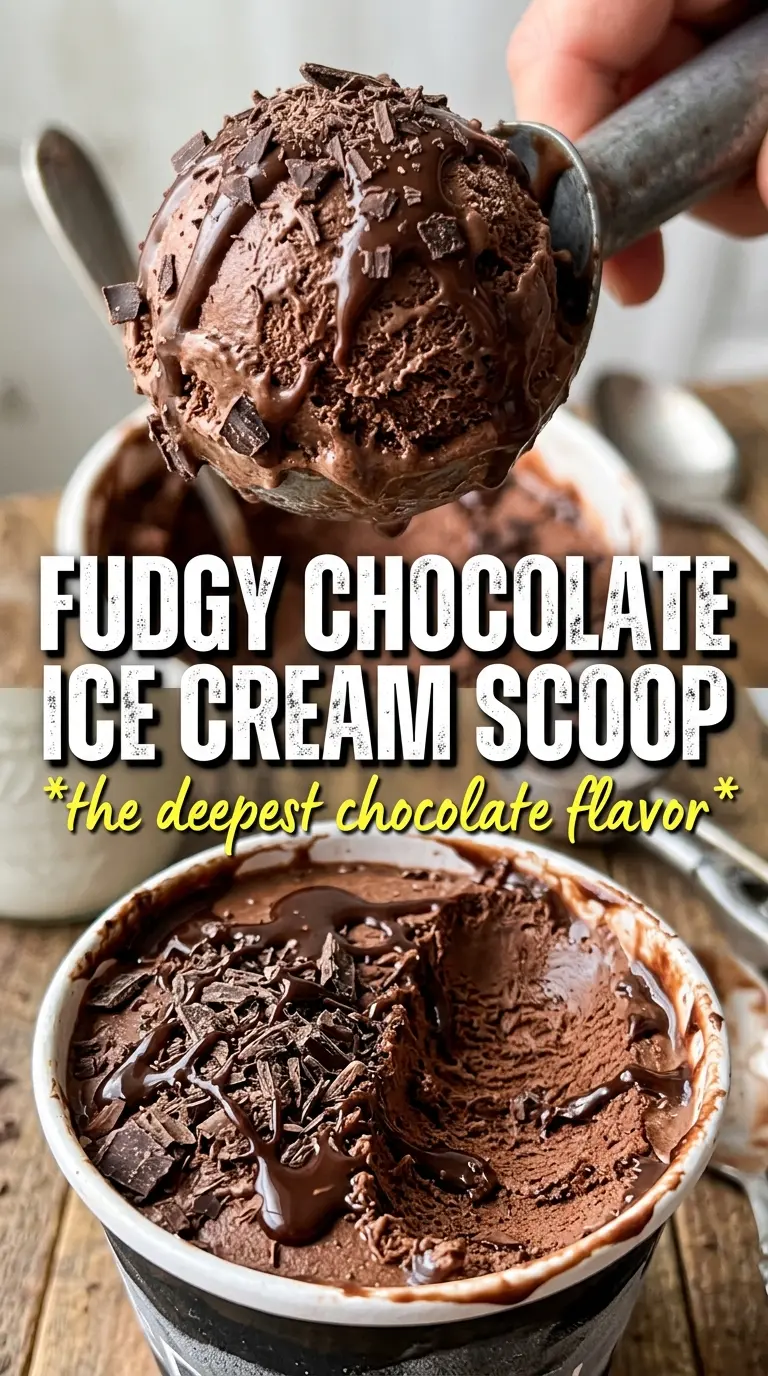
- Heavy cream — This carries the richness and helps the finished ice cream stay smooth after freezing. Lower-fat cream won’t give the same dense mouthfeel, and that difference shows up fast in a chocolate base.
- Whole milk — The milk loosens the custard so it doesn’t freeze into a brick. I wouldn’t swap in skim milk here; you’d lose body and the final texture gets noticeably icier.
- Cocoa powder — Use a good unsweetened cocoa, because this is where most of the chocolate flavor starts. Dutch-process cocoa works nicely for a darker color and a rounder taste, while natural cocoa gives a sharper edge.
- Dark chocolate — This is what makes the base taste deep instead of merely cocoa-forward. Chop it finely so it melts quickly and evenly into the hot dairy.
- Egg yolks — The yolks thicken the custard and give the ice cream that classic dense texture. There isn’t a clean substitute if you want true custard ice cream, but they’re what make this batch feel luxurious instead of airy.
- Vanilla — Add it at the end, off the heat, so it keeps its aroma. It softens the chocolate just enough without making the flavor taste like vanilla ice cream with cocoa added.
Cooking the Custard Without Scrambling the Yolks
Bloom the Cocoa First
Whisk the cocoa with part of the sugar before it goes into the cream and milk. That breaks up the powder and keeps it from floating in stubborn little dry pockets. Heat the dairy until it’s steaming, not boiling; if it boils hard, the chocolate can taste harsh and the custard base becomes harder to control.
Temper the Yolks Slowly
Whisk the hot chocolate cream into the yolks in a thin stream, not all at once. That gradual heat transfer keeps the eggs from curdling. If you dump the hot liquid straight into the yolks, you’ll get sweet scrambled eggs instead of a smooth base.
Cook Until It Napes the Spoon
Return the mixture to the saucepan and stir over medium-low heat until it reaches 175°F and coats the back of a spoon. A clean swipe with your finger should leave a clear line that doesn’t flood back together right away. If you’re seeing steam but no thickening, the heat is too low to do the work; if you see tiny curds, the heat is too high and you need to pull it off immediately.
Chill Before Churning
Strain the custard, then cool it over an ice bath before it goes into the fridge. This step matters because a hot base will churn poorly and can form large ice crystals. Churn only when it’s fully cold; the mixture should feel chilled all the way through, not just cool around the edges.
Ways to Bend This Recipe Without Breaking the Texture
Make it dairy-free with full-fat coconut milk
Replace the cream and milk with canned full-fat coconut milk for a rich dairy-free version. The texture stays creamy, but you’ll taste a faint coconut note and the chocolate comes across a little rounder and less sharp.
Use Dutch-process cocoa for a darker, smoother finish
If you want a deeper color and less acidity, Dutch-process cocoa is the best swap. It gives the ice cream a smoother, more bakery-style chocolate flavor, while natural cocoa will taste a little brighter and more assertive.
Fold in chocolate chips or chopped bars after churning
For a little texture, add chopped chocolate during the last minute of churning. Chips stay firmer in the freezer, while chopped chocolate gives you sharper little pockets of crunch. Don’t add them too early or they sink and freeze into dense clumps.
Storage and Reheating
- Refrigerator: Store the churned base before freezing for up to 2 days if needed, but the finished ice cream belongs in the freezer. Once churned, the texture is best after a final firming period.
- Freezer: Freeze in an airtight container for up to 2 weeks for the best texture. After that, it still tastes good, but it can pick up more ice crystals and get harder around the edges.
- Reheating: Ice cream doesn’t need reheating; let it sit at room temperature for 5 to 10 minutes before scooping. If you try to force a scoop straight from the freezer, the top layer can crack and the texture feels chalky instead of creamy.
Answers to the Questions Worth Asking
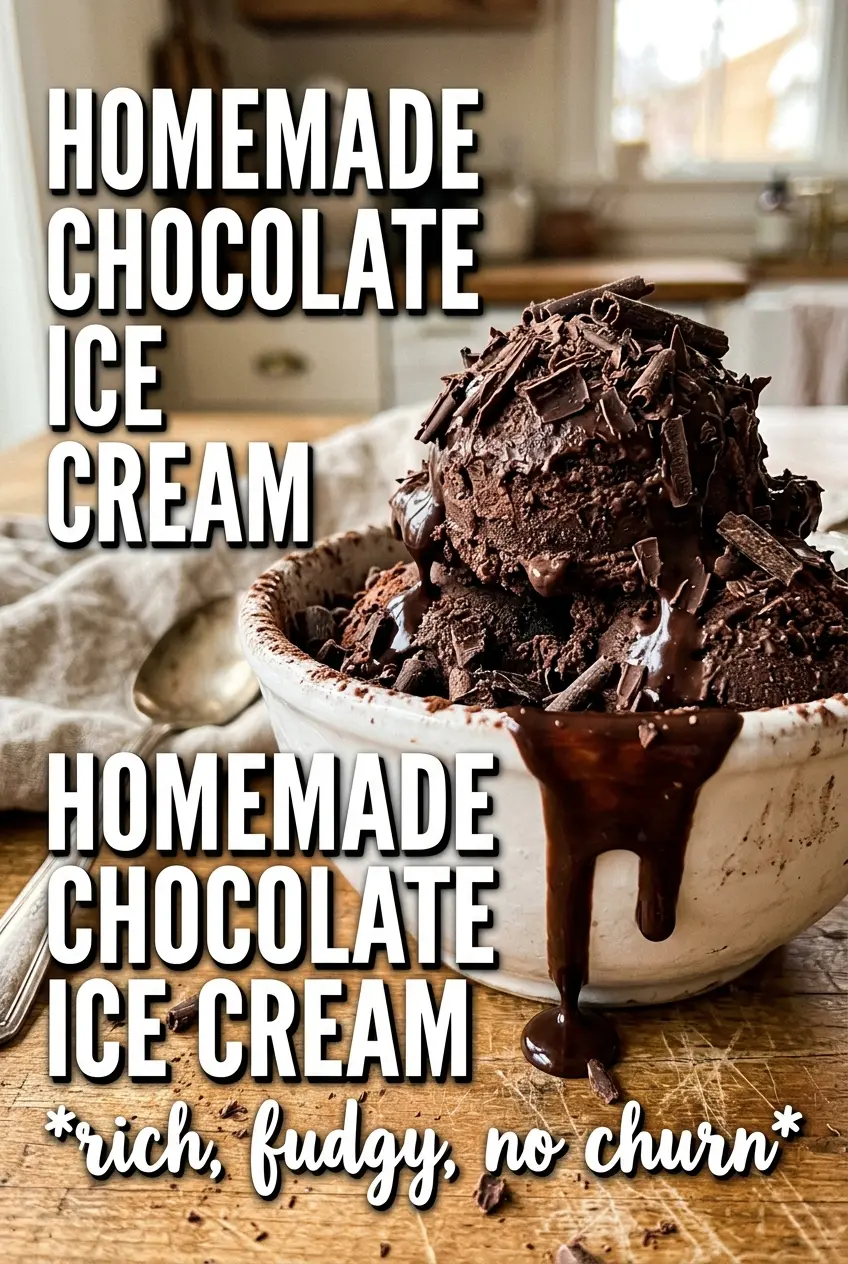
Homemade Chocolate Ice Cream
Ingredients
Equipment
Method
- Whisk unsweetened cocoa powder with 1/4 cup of the granulated sugar, then combine the cocoa mixture with heavy cream and whole milk in a saucepan. Heat over medium, whisking continuously, until steaming, about 5 minutes (visual cue: steam rises consistently across the surface).
- Add finely chopped dark chocolate to the saucepan and whisk until fully melted and smooth. Continue whisking until no dark bits remain, about 2 minutes (visual cue: mixture looks glossy and uniform).
- Whisk egg yolks with the remaining 1/2 cup granulated sugar until pale. Slowly whisk the hot chocolate cream into the yolks in a thin stream, 30–60 seconds (visual cue: mixture thickens slightly and turns lighter).
- Return the custard mixture to the saucepan and cook over medium-low heat, stirring constantly, until it coats the back of a spoon at 175°F. Maintain gentle heat and stir for about 8 minutes (visual cue: a finger swipe leaves a clear path that doesn’t immediately flood back).
- Strain the custard through a fine-mesh sieve, then stir in vanilla extract and salt. Stir until smooth, 1–2 minutes (visual cue: no grainy bits remain).
- Cool completely over an ice bath, stirring occasionally as the temperature drops. Cool for about 20 minutes (visual cue: custard becomes cool to the touch and thickens slightly).
- Refrigerate the custard at least 4 hours or overnight, covered. Chill until very cold throughout, 4 hours minimum (visual cue: custard is firm and chilled).
- Churn the chilled custard in an ice cream maker until it reaches a soft-serve consistency. Churn about 20–25 minutes (visual cue: texture looks airy and holds peaks).
- Transfer churned ice cream to a container and freeze until firm. Freeze at least 4 hours (visual cue: scoops hold shape and are thick enough to cut).