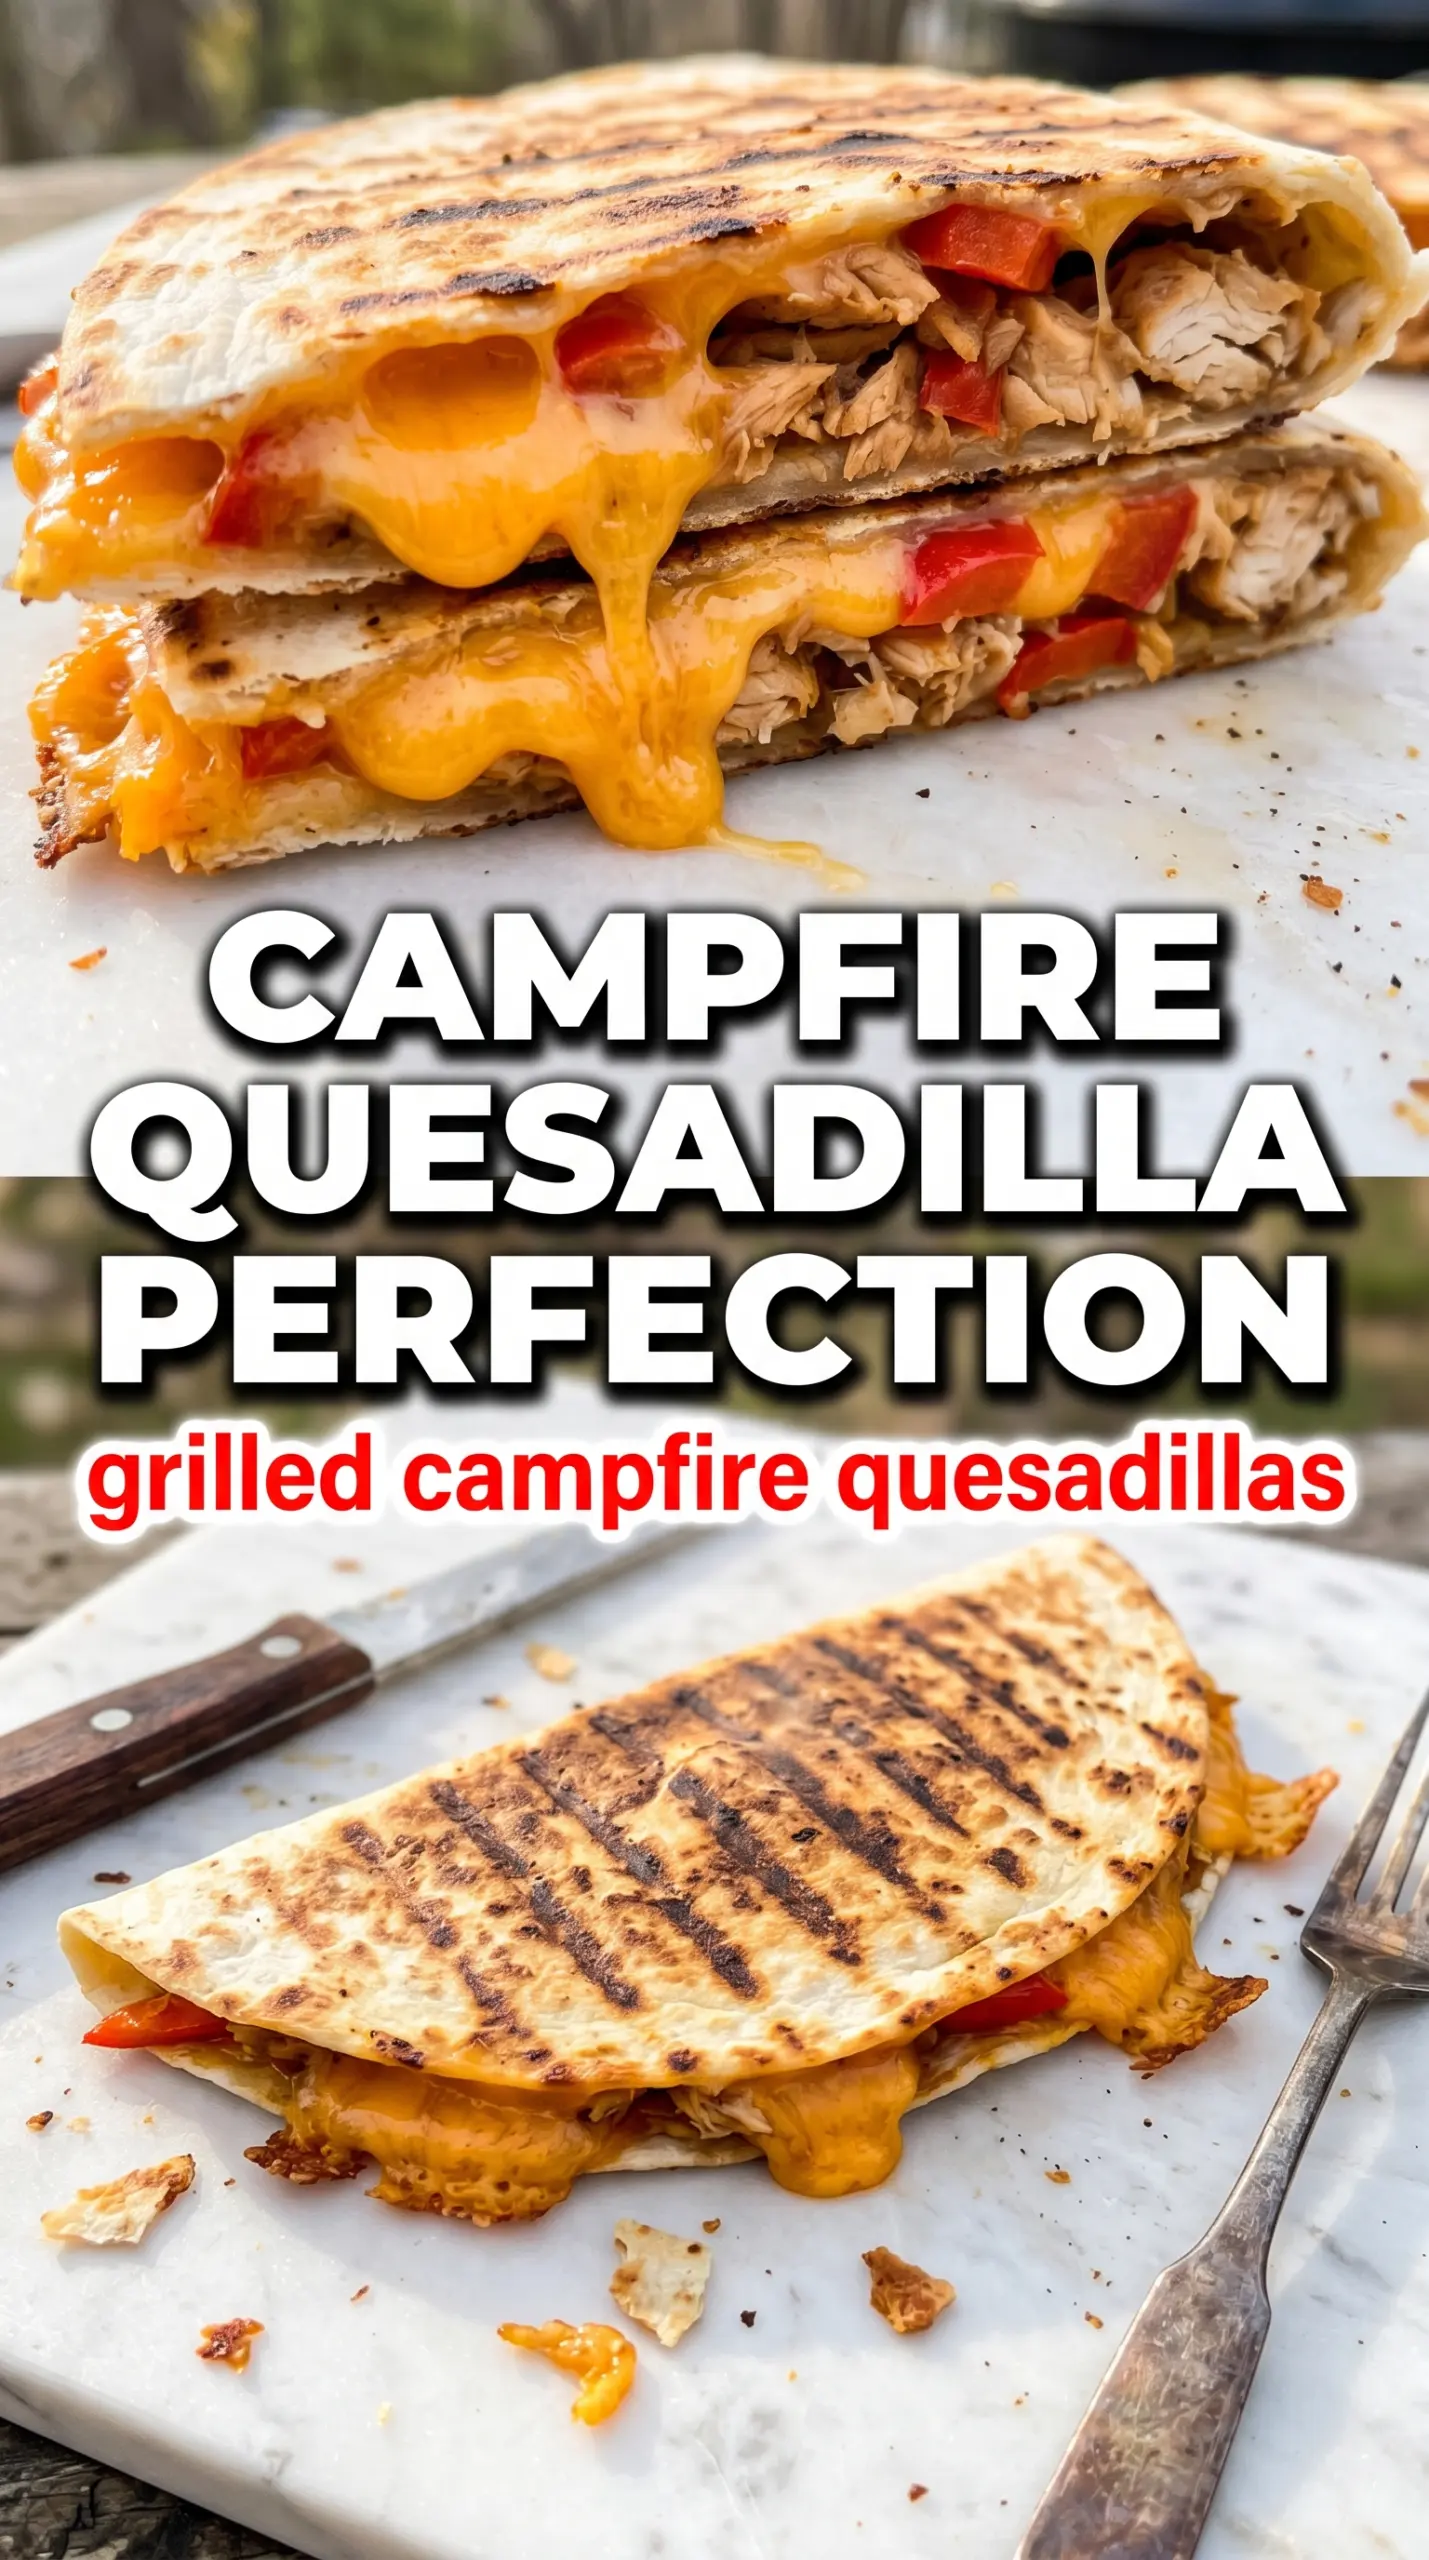
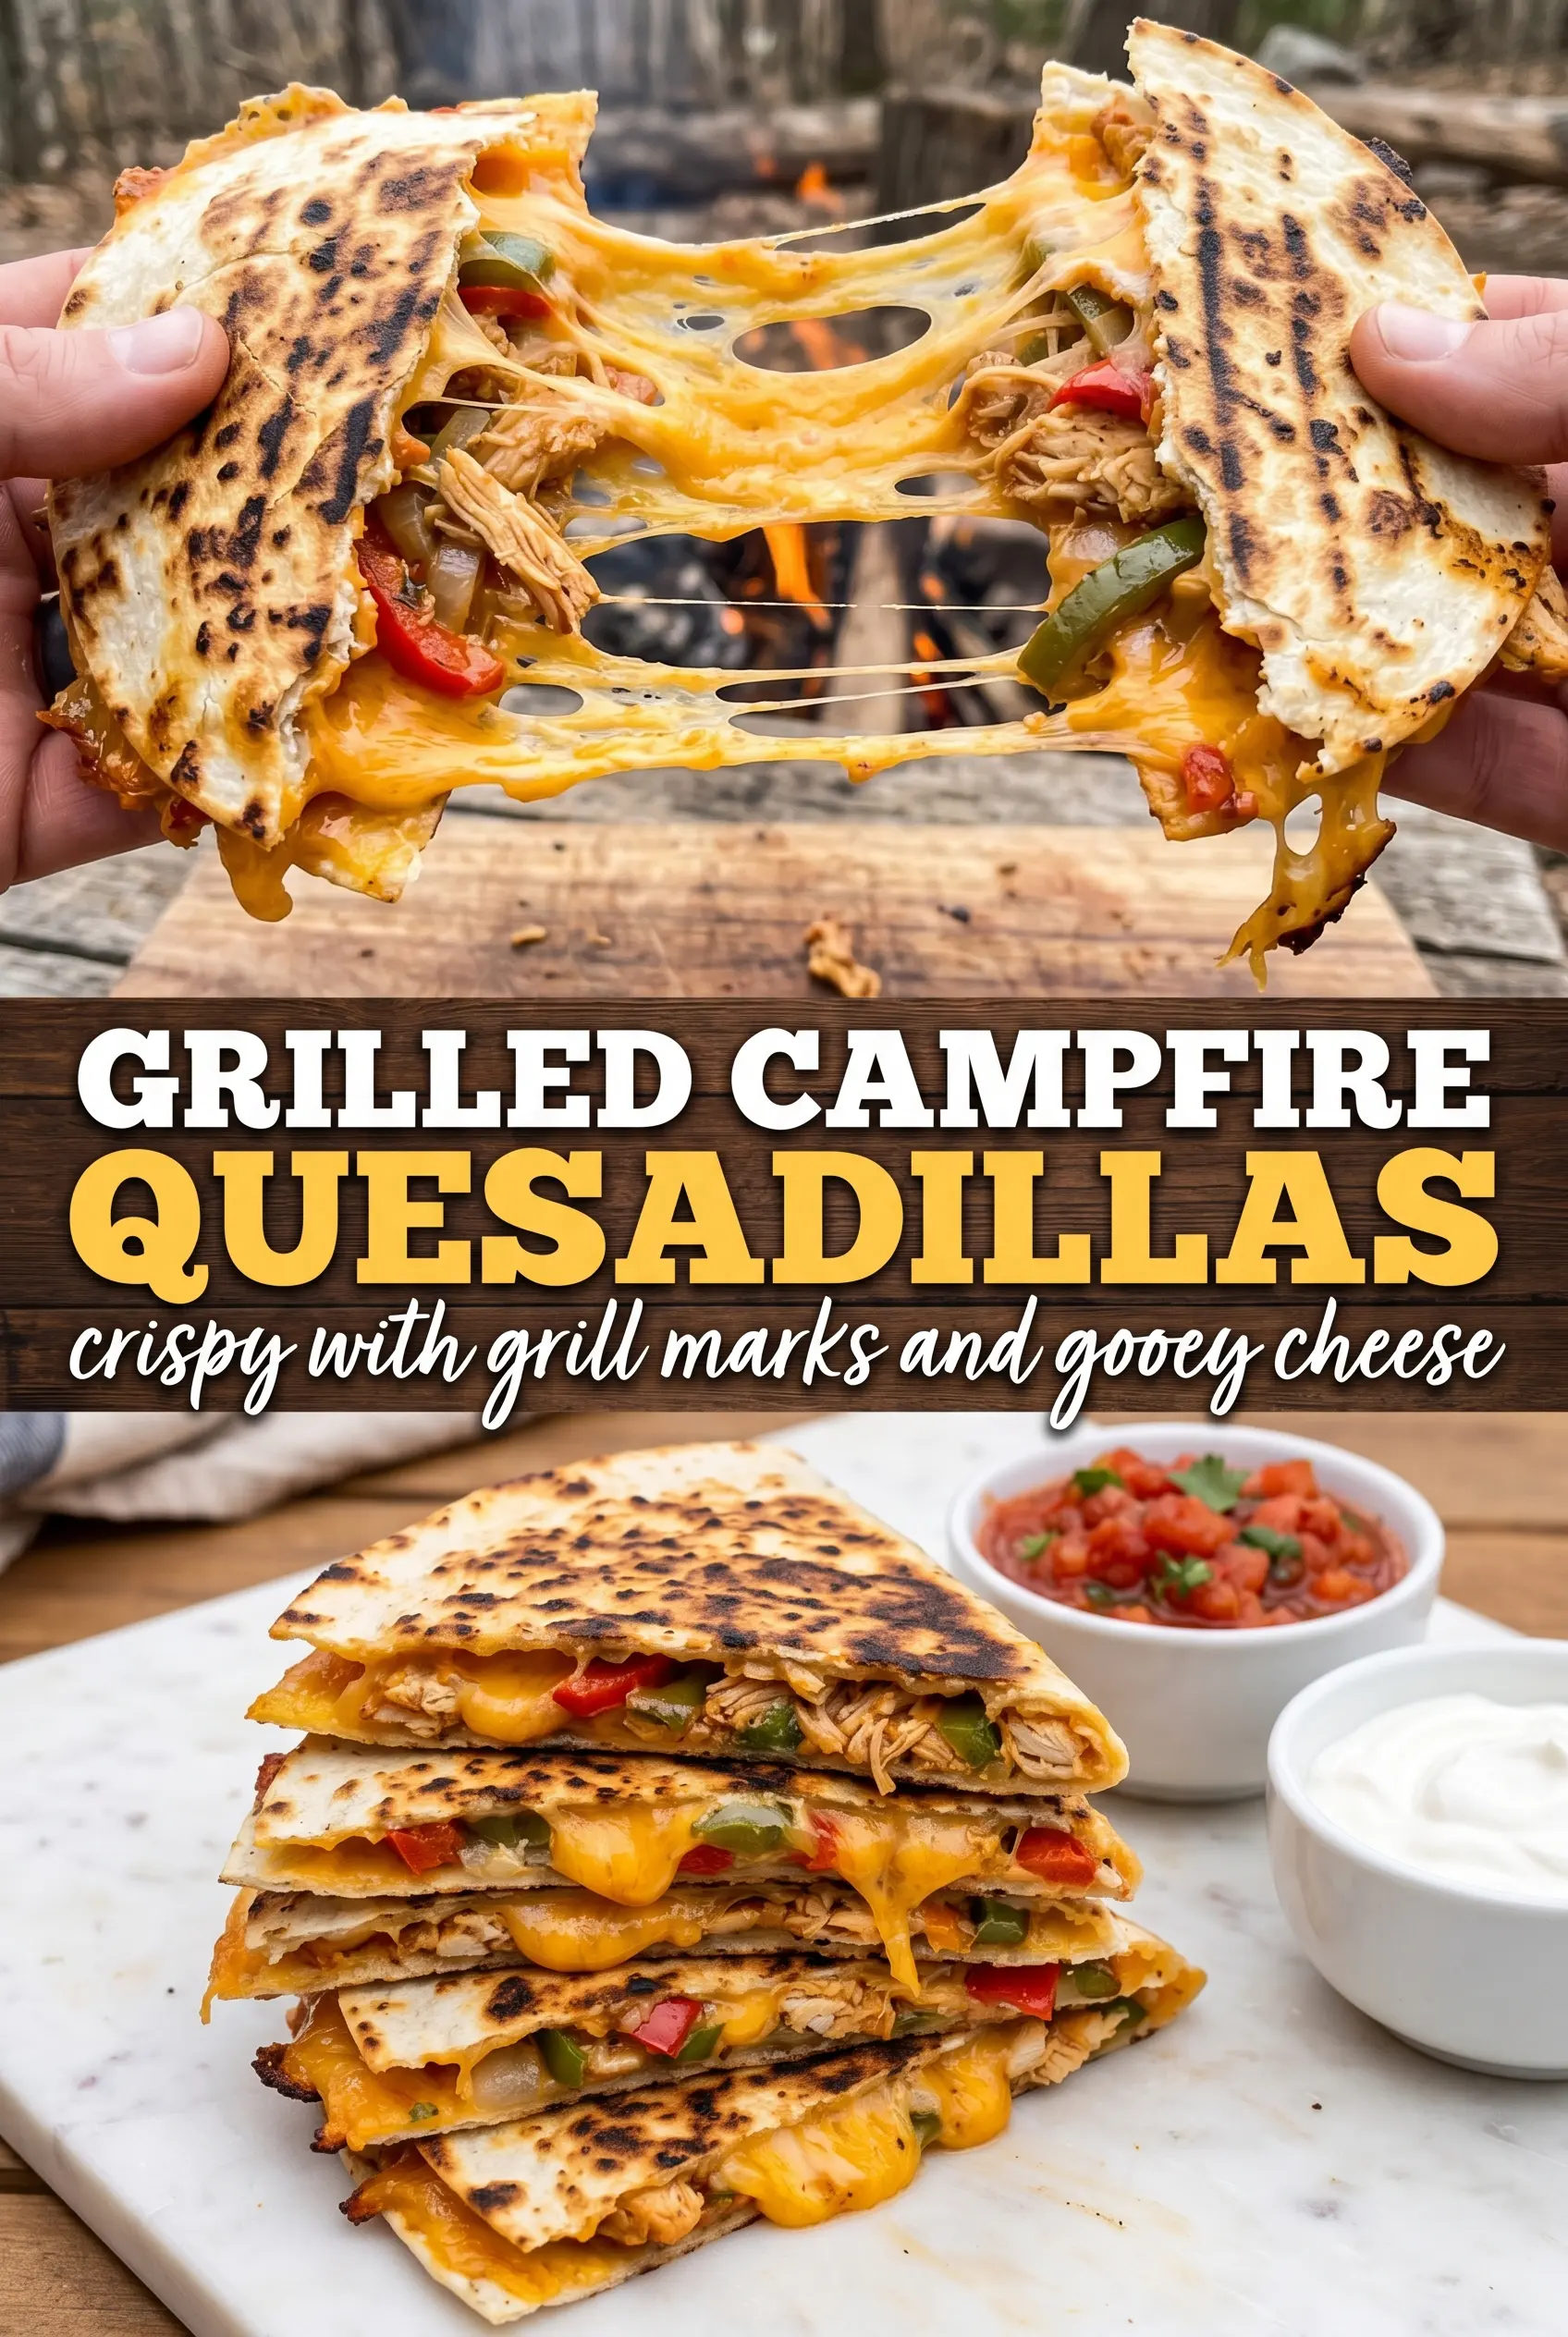
Grilled campfire quesadillas come off the fire with crisp, buttered tortillas, a molten cheese center, and those dark grill marks that tell you dinner is going to disappear fast. The best part is the contrast: the outside stays sturdy enough to slice cleanly, while the inside turns soft and stretchy around the chicken and peppers.
This version works because the filling is already cooked, so the fire only has to do two jobs: melt the cheese and toast the tortillas. That keeps the cook time short and lowers the chance of burnt tortillas with cold centers. A little jalapeño gives the quesadilla some heat, but the Mexican cheese blend keeps everything creamy enough to hold together when you cut it into wedges.
Below, I’ll show you how to keep the tortillas from slipping around on the grill, how to get the cheese fully melted before the outside overcooks, and a few easy swaps if you’re cooking for a different crowd or using what you already have on hand.
The tortillas got crisp without burning, and the cheese melted all the way through even over the campfire. I made these twice on our last trip because everyone wanted seconds.
Save these grilled campfire quesadillas for the nights when you want smoky grill marks, gooey cheese, and a fast campfire dinner that actually holds together.
The Grill Mark Mistake That Leaves Quesadillas Cold Inside
The biggest mistake with campfire quesadillas is chasing color too fast. If the fire is raging or the skillet is screaming hot, the tortillas blister before the cheese has time to melt, and you end up with a browned shell around a lukewarm center. Medium heat is the target here, even if it feels slower than you want.
These quesadillas work best when you build them on a flat surface first, then move them to the grate or skillet as a single piece. Pressing gently after the top tortilla goes on helps everything settle into one compact layer, which keeps the filling from sliding out when you flip. If the cheese starts leaking early, the heat is too high or the tortillas are thin enough to tear.
- Cooked chicken — Use chicken that’s already fully cooked and shredded. The fire won’t be in contact with the filling long enough to cook raw meat safely, and the chicken only needs to warm through.
- Mexican cheese blend — This is the glue. A blend with Monterey Jack and cheddar melts more evenly than a sharp, dry cheese alone, so the quesadilla slices clean instead of falling apart.
- Flour tortillas — Large flour tortillas hold up best over heat because they brown evenly and flex without cracking. Corn tortillas don’t give the same sealed, foldable structure for this style.
- Butter or oil — A light coating helps the tortillas crisp and release from the grill grate or skillet. Butter gives the best flavor; oil is a little more forgiving over open flame.
What Each Layer Is Doing Before It Hits the Fire
The filling needs to balance moisture and structure. Too much salsa or juicy vegetables and the tortillas soften before they crisp, which is why I keep the vegetables diced small and the chicken shredded rather than chunked. That smaller cut lets everything warm through fast without overloading the tortillas.
The jalapeño is doing more than adding heat. It keeps the flavor from leaning flat and cheesy, especially once the quesadilla is cut and served with sour cream or guacamole. If you want a milder version, remove the seeds and membranes; if you want more bite, leave them in and use a pepper that’s fresh and firm, not wrinkled.
How to Grill Them So the Cheese Melts Before the Tortilla Burns
Setting Up the Heat
Set a cast iron skillet over the campfire or use a grill grate that gives you a steady cooking surface. You want direct heat, but not the kind that blackens bread in seconds. If the surface is too hot to hold your hand near for more than a moment, pull it back or let it cool slightly before cooking the first quesadilla.
Building the Stack
Lay down one tortilla, then spread the cheese evenly across it before adding the chicken, peppers, onions, and jalapeños. Finish with the second tortilla and press gently so the filling settles into an even layer. Piling everything into the center seems easier, but it creates a thick middle that takes longer to melt and is harder to flip cleanly.
Flipping at the Right Moment
Cook the first side for 3 to 4 minutes, until the bottom is golden and releases without tearing. If it sticks, it needs another 30 seconds. Flip with a wide spatula or tongs and cook the second side until the cheese is fully melted and the tortilla has matching grill marks. The quesadilla should feel set when you lift it, not floppy or wet.
Slicing and Serving
Move the quesadilla off the heat right away and let it sit for a minute before cutting. That short pause lets the cheese settle, which keeps it from pouring out the second you slice into it. Cut into wedges and serve with salsa, sour cream, and guacamole while the edges are still crisp.
How to Adapt These Quesadillas for Different Camps and Kitchens
Dairy-Free Version
Use a melting dairy-free cheese that’s designed for sandwiches or baked dishes, not a crumbly style meant for topping. It won’t stretch quite like the original, but it will still give you a sealed quesadilla with a crisp exterior if you keep the heat moderate.
Vegetarian Swap
Skip the chicken and add black beans, sautéed mushrooms, or roasted zucchini. Beans bring the most satisfying texture and help the quesadilla stay filling, while mushrooms add a deeper, smoky note that works well over a campfire.
Make-Ahead Camping Prep
Mix the filling at home and store it in a sealed container, then pack the tortillas and cheese separately. That keeps the tortillas from getting soggy and makes assembly fast at camp, which matters when the fire is hot and people are hungry.
Storage and Reheating
- Refrigerator: Store leftovers in an airtight container for up to 3 days. The tortillas soften a bit, but the flavor stays good.
- Freezer: Freeze cooked quesadilla wedges with parchment between layers for up to 1 month. They thaw best in the fridge before reheating, though the texture is never quite as crisp as fresh.
- Reheating: Warm in a dry skillet over medium-low heat until the outside crisps again and the cheese loosens. The common mistake is microwaving them too long, which turns the tortillas rubbery and pushes the filling out.
Questions I Get Asked About This Recipe
Grilled Campfire Quesadillas
Ingredients
Equipment
Method
- Heat a cast iron skillet over campfire until hot and ready to sizzle, or place a grill grate over the campfire. Add a thin sheen of butter or oil to help the tortillas brown.
- Place one tortilla on the hot surface and quickly add cheese, chicken, bell pepper, onion, and jalapeño. Spread the fillings in an even layer so they melt through.
- Top with a second tortilla and press down gently to seal the edges. Keep pressure steady for even contact.
- Cook for 3-4 minutes per side until the bottom is golden and the cheese melts. Look for grill marks and bubbling cheese near the edges as the visual cue.
- Remove from heat and cut into wedges right away. Serve with salsa, sour cream, and guacamole while the cheese is still oozing.