Charred edges, a crisp bottom, and cheese that bubbles over the toppings make grilled campfire pizza one of those meals that disappears fast the second it comes off the fire. The dough picks up smoke and a few dark blistered spots, while the center stays sturdy enough to hold a slice without folding in half. That balance is what makes this version worth doing outdoors instead of waiting for the oven at home.
The trick is giving the dough a head start on the grate before the toppings go on. Once one side firms up, you can flip it, sauce it quickly, and finish it under a lid or foil so the cheese melts before the crust burns. A little olive oil on the dough helps keep it from sticking and gives the underside a deep, crackly finish.
Below, I’ve included the timing that matters most, the topping combinations that work best over live heat, and a few ways to adapt the method if you’re cooking with store-bought dough or feeding a mixed crowd.
The crust got those perfect charred spots and the cheese melted just right after I covered it with foil. My kids kept sneaking slices before I could even slice the second pizza.
Like this grilled campfire pizza? Save it to Pinterest for the night you want a smoky crust and melty cheese over the fire.
The Part Most Grilled Pizzas Get Wrong: The First Side Has to Set Fast
The biggest mistake with campfire pizza is trying to build the whole pie on raw dough before it has any structure. That almost always ends with sticking, tearing, or a floppy center that never catches up before the crust scorches. Let the dough cook on the grate first, and you give it the strength it needs to hold sauce and cheese.
Heat matters more here than perfection. Medium heat gives the bottom enough time to char and crisp without turning black before the toppings melt. If the fire is roaring hot, move the grate higher or wait a few minutes; rushing this step is how you end up with burnt bottoms and raw centers.
- Oil on one side of the dough helps it release from the grate and gives you a crisper crust than flour alone.
- Stretching the dough thin keeps the center from staying doughy while the cheese melts. Thick dough needs more time than this method allows.
- Covering the pizza after topping traps heat so the cheese melts evenly without having to leave the pizza on direct flame too long.
What Each Ingredient Is Doing on the Fire
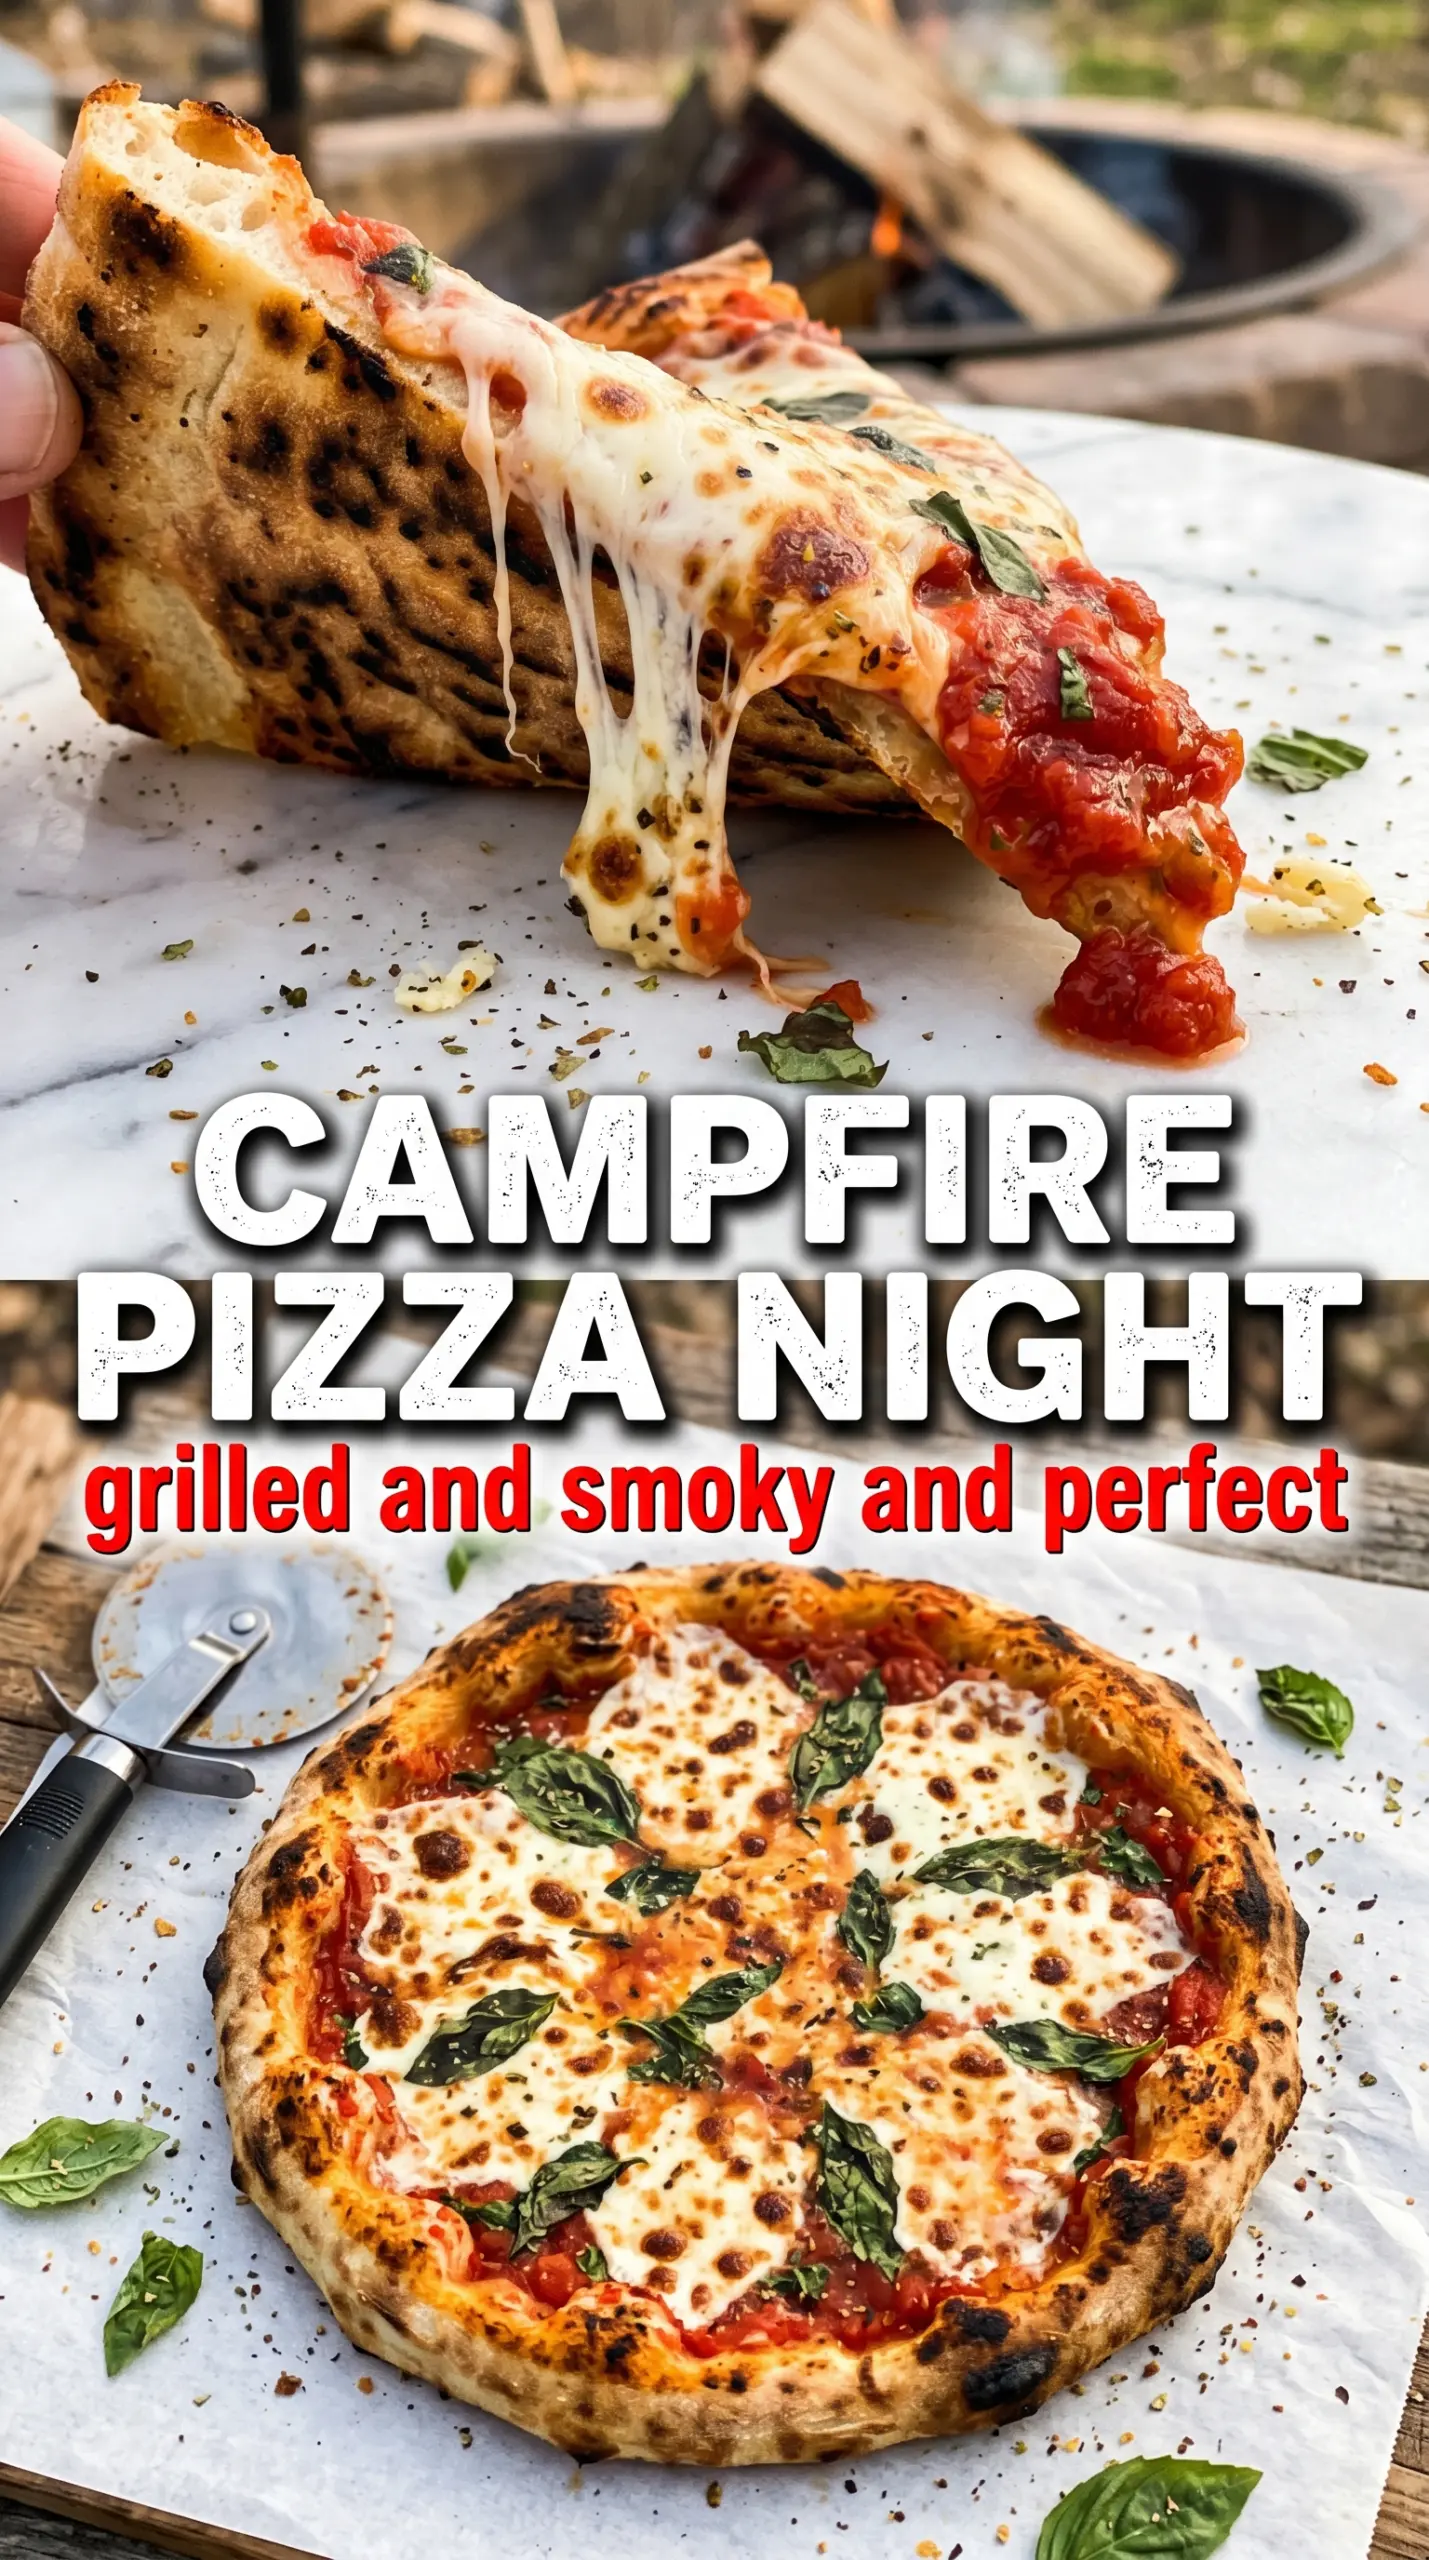
- Pizza dough is the backbone here. Store-bought dough works fine, but let it sit at room temperature so it stretches without snapping back. Cold dough fights you and tears more easily over the grill.
- Olive oil is what helps the dough sear instead of glue itself to the grate. Brush lightly but evenly; too much oil can drip and flare up.
- Pizza sauce should be thick, not watery. Thin sauce runs off the crust and softens the bottom before the cheese has time to melt.
- Mozzarella gives you that stretch and clean melt. Pre-shredded cheese works, but low-moisture mozzarella melts more predictably than fresh mozzarella for this method.
- Toppings need to be pre-cooked if they need extra time, like sausage or dense vegetables. Raw mushrooms, onions, or peppers can go on, but slice them thin so they soften quickly.
- Parmesan and basil go on after grilling. Parmesan adds a salty finish, and basil stays bright only if it doesn’t spend time over the fire.
Building the Pizza So the Bottom Cooks Before the Top Burns
Stretching and Oil-Coating the Dough
Divide the dough into four equal pieces and stretch each one into a thin round. Aim for even thickness, because a thick middle stays soft while the edges char. Brush one side with olive oil, then keep that side facing down when it hits the grate. If the dough springs back hard, let it rest for a few minutes before stretching again; forcing it will make it shrink on the grill.
Getting the First Side Crisp
Set the oiled side directly on the campfire grate over medium heat and leave it alone for 2 to 3 minutes. You want the underside marked with dark grill spots and the dough to look set around the edges. If it sticks when you try to lift it, give it another 30 seconds; it will release once it has enough color. Don’t flip too early, or the dough will tear and the toppings won’t have a firm base.
Adding Toppings After the Flip
Once the first side is cooked, flip the dough so the grilled side faces up. Work quickly here. Spread on the sauce, add the cheese, then layer the toppings in a light hand so the pizza doesn’t get overloaded. Heavy toppings weigh down the center and keep the middle from crisping before the cheese melts.
Melting Under the Lid
Cover the grate with a lid or loose foil and cook for 3 to 5 minutes. The trapped heat melts the cheese and finishes the bottom without drying out the toppings. Watch for bubbling cheese and a crust that feels crisp when you lift the edge with a spatula. If the fire is too hot, move the pizza farther from the flame rather than leaving it uncovered and hoping for the best.
Ways to Change the Toppings Without Changing the Method
Make It Vegetarian
Skip the pepperoni or sausage and lean on vegetables that cook quickly over heat, like thin-sliced peppers, onions, mushrooms, or olives. The key is keeping the topping layer light so the crust still crisps before the cheese finishes melting.
Use a Gluten-Free Dough
A gluten-free pizza dough can work, but it usually needs gentler handling and a little more time to set on the first side. Roll it thin and expect a more delicate crust with less chew than a wheat dough.
Make It Meatier
Use pre-cooked sausage, pepperoni, or crumbled bacon so the grill only has to melt and finish, not cook raw meat through. Raw meat adds too much moisture and can leave the center soggy before the crust is done.
Storage and Reheating
- Refrigerator: Store leftover slices in an airtight container for up to 3 days. The crust softens a bit, but it still reheats well.
- Freezer: Freeze baked slices wrapped tightly in foil and then placed in a freezer bag for up to 1 month. The texture won’t be as crisp as fresh, but it’s still worth saving.
- Reheating: Warm slices in a skillet over medium-low heat until the bottom crisps and the cheese loosens again. The microwave makes the crust chewy, so use it only if you don’t mind losing that grilled texture.
Answers to the Questions Worth Asking
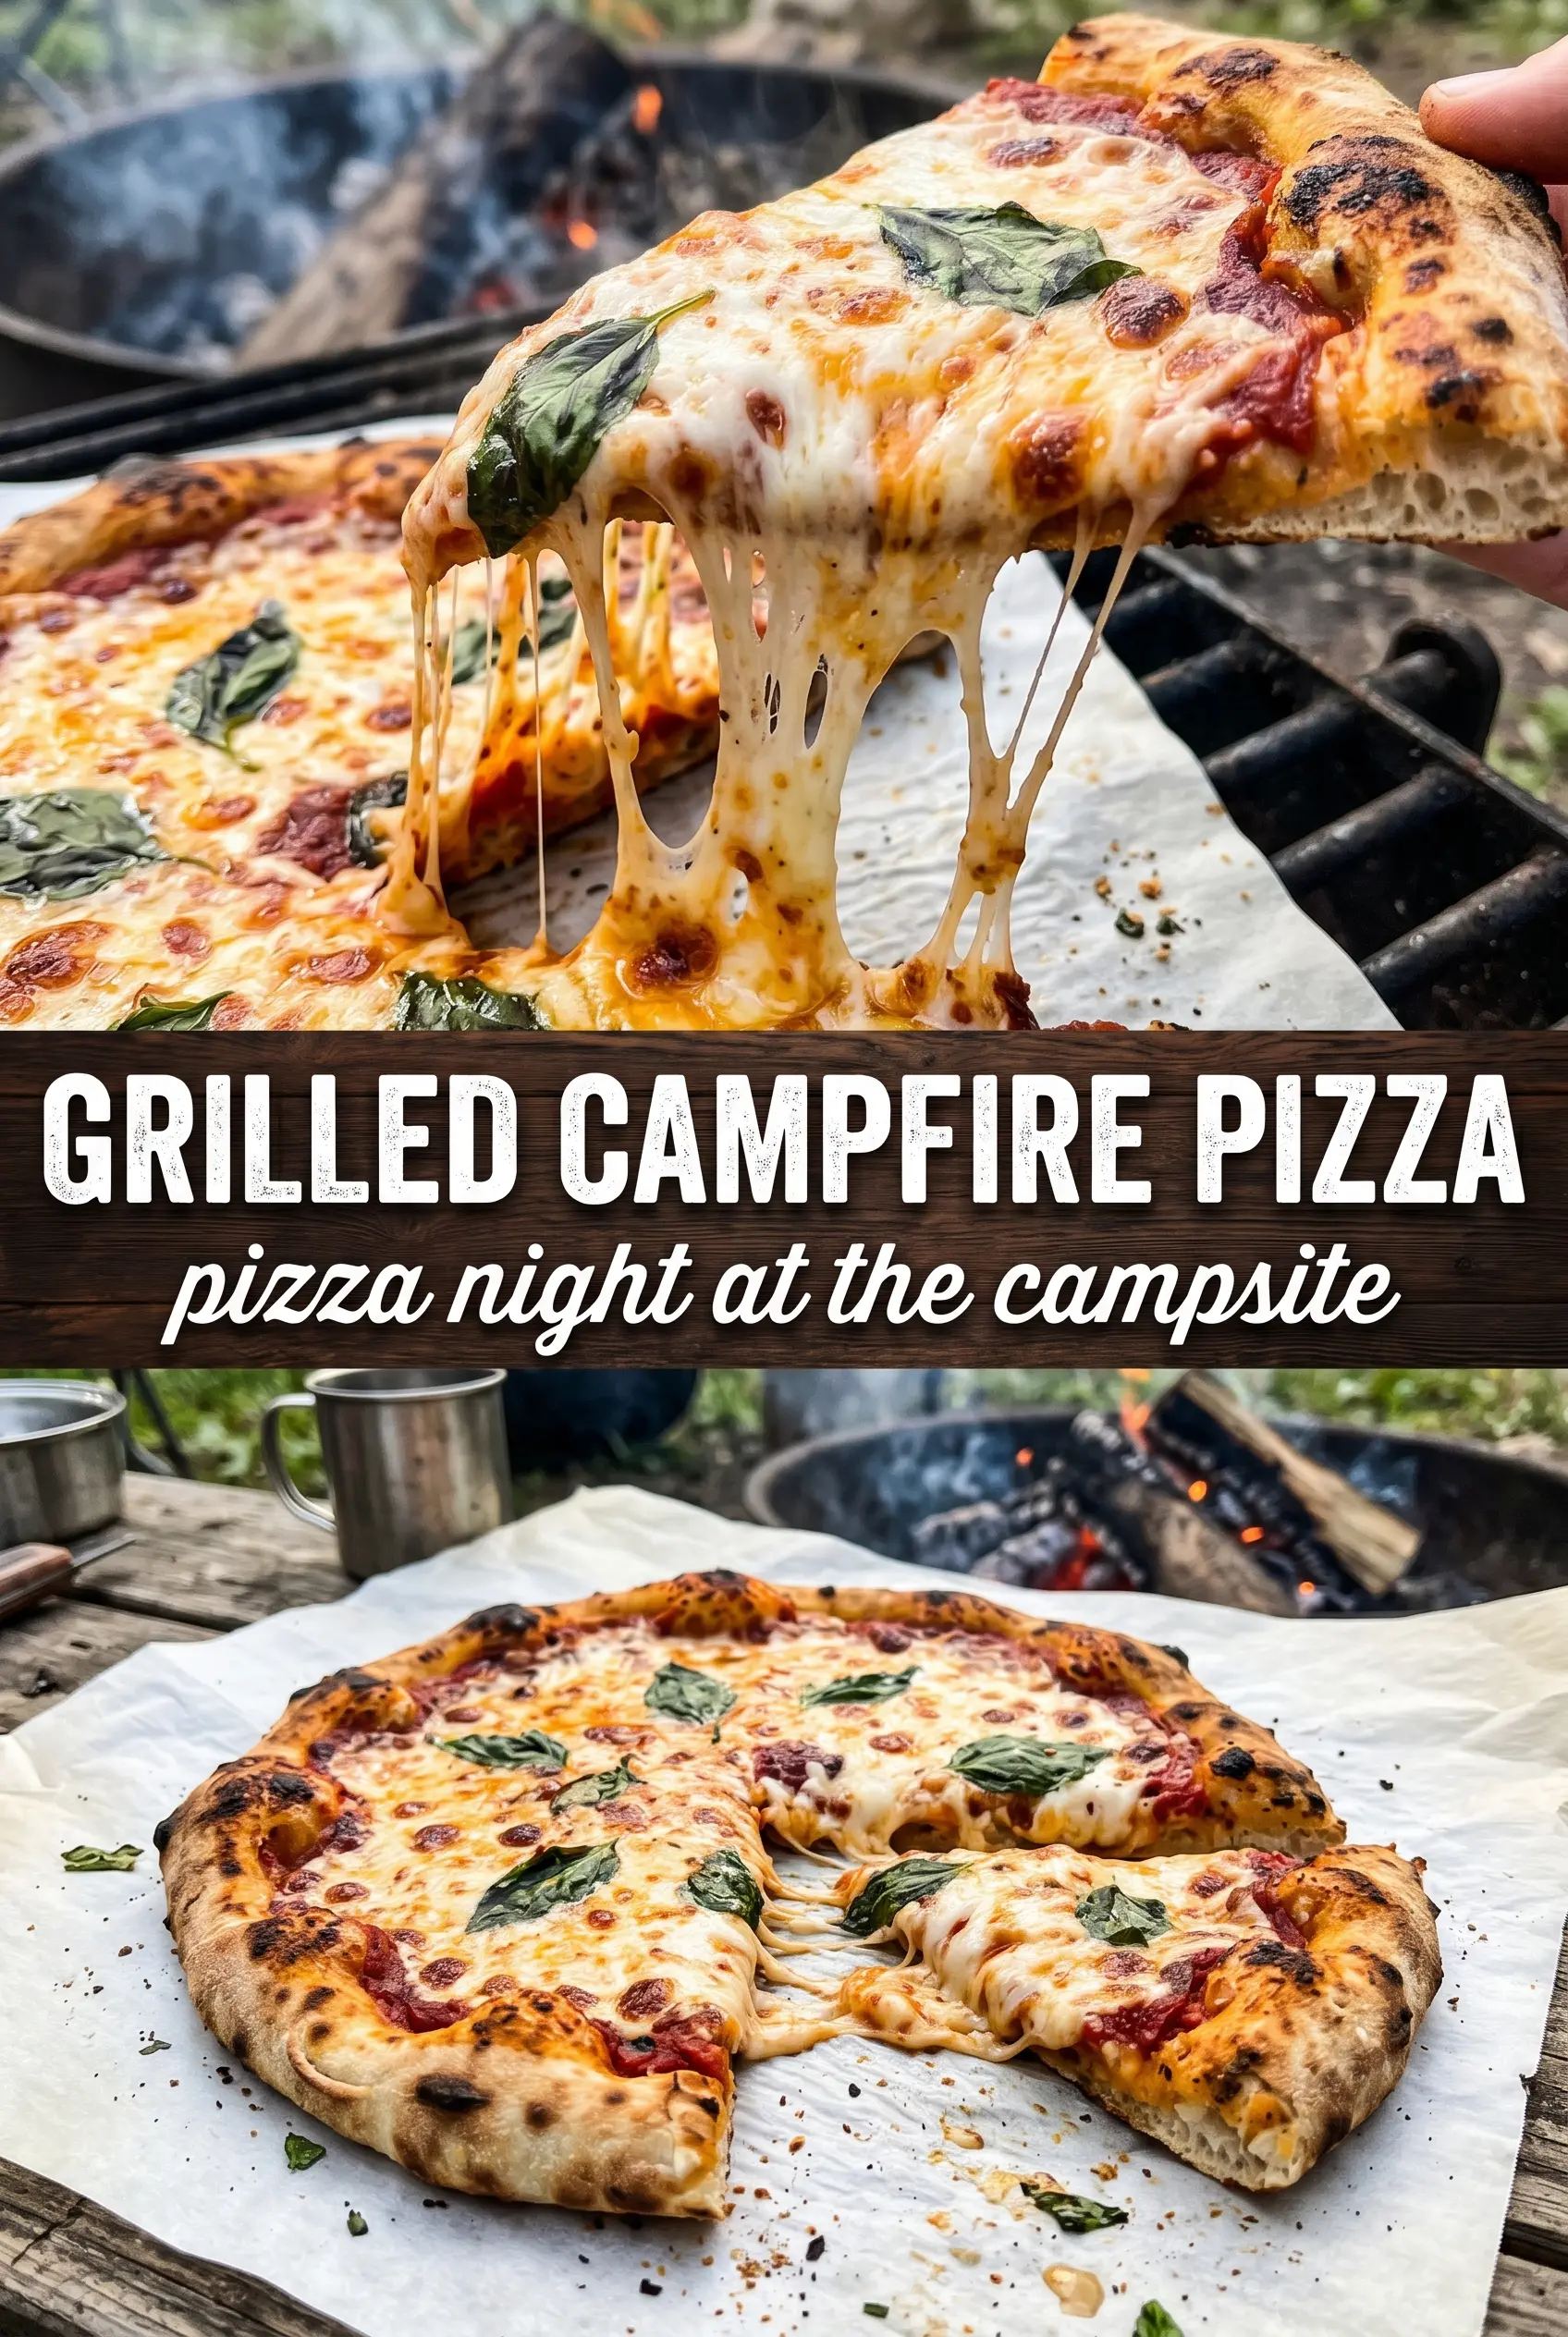
Grilled Campfire Pizza
Ingredients
Equipment
Method
- Divide the pizza dough into 4 portions and stretch each into a thin round, keeping an even thickness so it grills quickly. Aim for rounds large enough to cover the grate without crowding.
- Brush one side of each dough round with olive oil for better browning. Keep the oiled side separate so it goes down first on the hot grate.
- Place the dough oil-side down on a campfire grate over medium heat and cook for 2-3 minutes until the bottom is charred and crispy. Watch for visible blistering and dark char spots.
- Flip the dough and quickly add the pizza sauce, mozzarella cheese, and toppings to the grilled side. Work fast so the cheese starts melting before the crust cools.
- Cover with a lid or foil and cook for 3-5 minutes until the cheese melts and the bottom is crispy. Look for bubbling cheese and a firm, browned crust underneath.
- Remove the pizza from the grill and top with grated Parmesan cheese and fresh basil. Let it sit briefly so the toppings set, then slice and serve.


