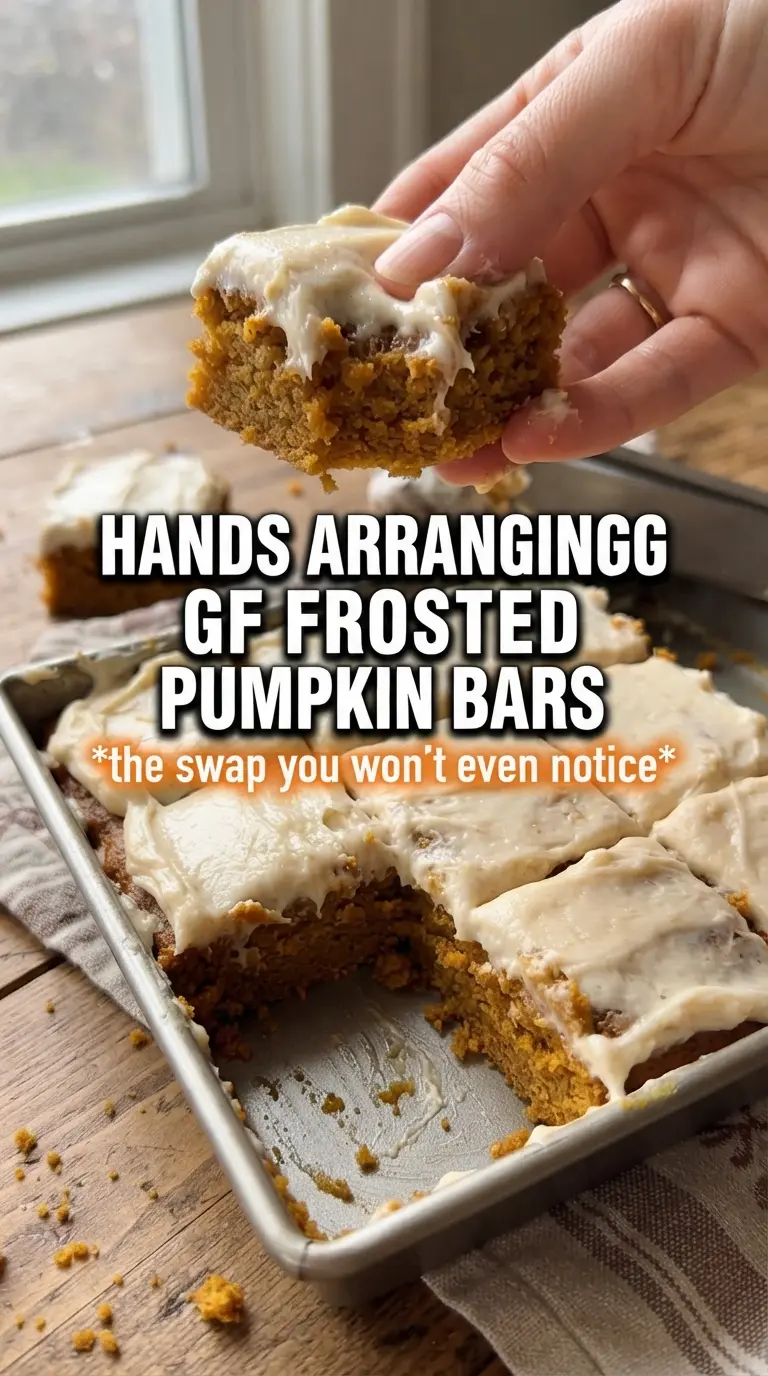
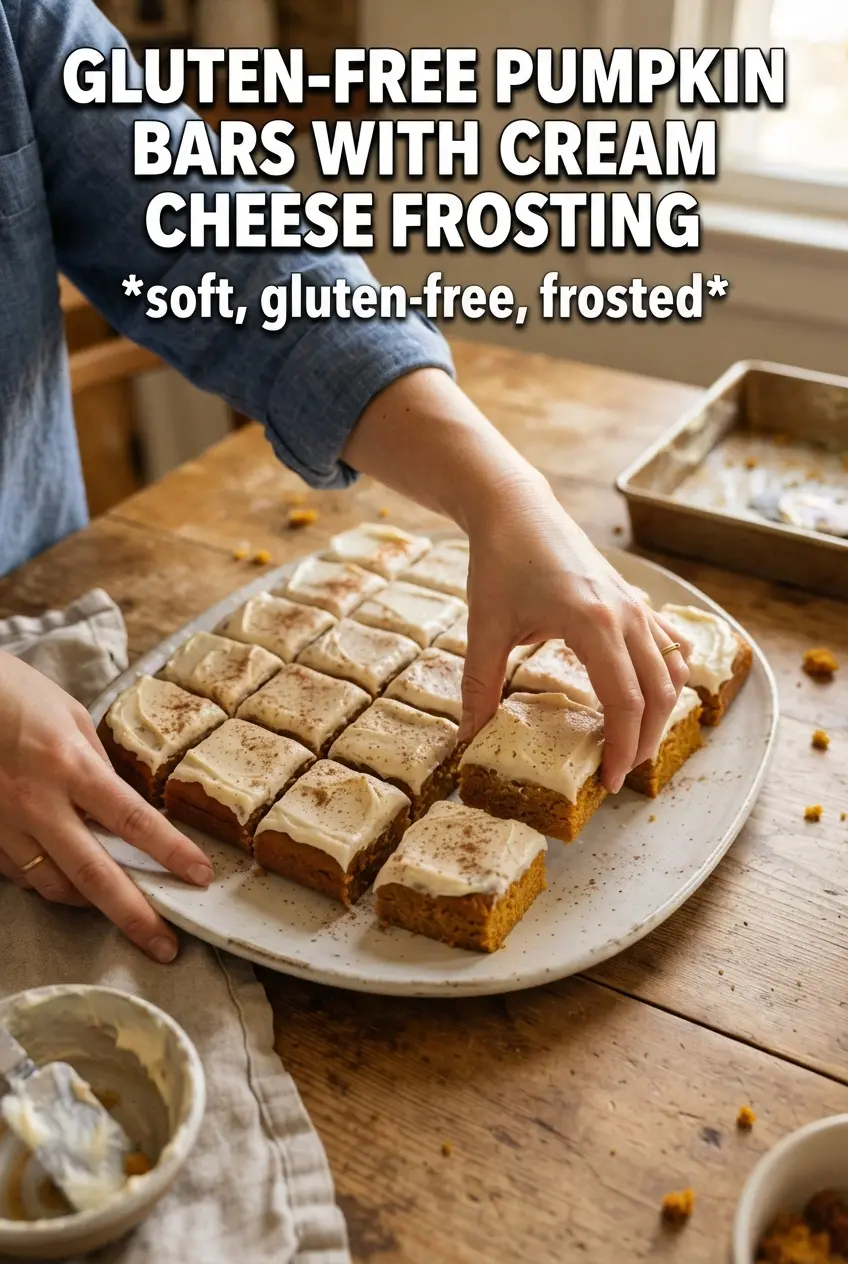
Gluten-free pumpkin bars bake up soft, thick, and tender with the kind of crumb that stays moist for days instead of drying out after the first slice. The frosting goes on in a thick layer, cool and tangy against the warm spice in the bars, and the whole pan cuts into neat squares that look just like the classic version.
The trick is using a gluten-free flour blend that already contains xanthan gum, which helps the bars hold together without turning gritty or crumbly. Pumpkin puree brings moisture and body, while the oil keeps the texture plush even after chilling. I also keep the spice blend balanced rather than overloaded, because once cream cheese frosting goes on top, the bars need enough spice to stand up to it without tasting heavy.
Below, I’ll show you the one step that matters most for getting clean slices, plus a few smart swaps if you need to make these dairy-free or prep them ahead for a crowd.
The bars baked up soft but held together beautifully, and the frosting set up thick enough that I could cut clean squares after chilling. My daughter said they tasted just like the regular pumpkin bars she gets at bake sales.
Save these gluten-free pumpkin bars for the kind of dessert that needs soft spice, tangy cream cheese frosting, and a clean-cut finish.
The Gluten-Free Barrier That Makes or Breaks Pumpkin Bars
With pumpkin bars, the biggest failure point isn’t the flavor. It’s structure. Gluten-free batter can go from tender to fragile fast if the flour blend is missing xanthan gum or if the batter gets overmixed after the dry ingredients go in. This recipe works because the eggs, oil, and pumpkin build a batter that sets up into a soft but sturdy sheet, instead of a cake that crumbles the second you lift a square.
The other trap is underbaking. Pumpkin batter often looks done before the center is actually set, especially in a rimmed sheet pan. Pull these when a toothpick comes out with a few moist crumbs, not wet batter, and let them cool all the way before frosting. If you frost too early, the topping melts and the bars slide when you cut them.
What Each Ingredient Is Actually Doing in These Bars
- Gluten-free all-purpose flour blend with xanthan gum — This gives the bars their structure and keeps the crumb from falling apart. If your blend does not include xanthan gum, the bars can turn sandy or fragile, so use a blend that already has it or add it according to the package directions.
- Pumpkin puree — This is what keeps the bars dense, moist, and deeply pumpkin-flavored without making them wet. Use plain pumpkin puree, not pumpkin pie filling, or the sweetness and spice level will throw off the whole pan.
- Oil — Butter gives flavor, but oil gives these bars the soft, bakery-style texture that stays tender after chilling. Neutral oil is best here because you want the pumpkin spice and frosting to lead.
- Cream cheese and butter — The frosting needs both. Cream cheese brings tang and body, while butter makes it fluffy and spreadable. If the cream cheese is too cold, the frosting goes lumpy; if it’s too warm, it turns loose and hard to spread cleanly.
- Powdered sugar — This thickens the frosting and helps it set enough for neat slices. Don’t cut the amount too much or the frosting will be soft and slide around on the bars.
Building the Batter and Frosting So They Set Up Cleanly
Mix the dry ingredients first
Whisk the gluten-free flour, leaveners, spice, cinnamon, and salt together before anything else. That keeps the baking powder and baking soda evenly distributed, which matters in a thin sheet pan batter where one streak of leavener can create a strange rise. You want the mixture fully blended and light, not clumpy.
Beat the wet ingredients until they look smooth and glossy
Eggs, sugar, oil, pumpkin puree, and vanilla should come together into a thick, even batter with no visible streaks of egg. That smoothness matters because the pumpkin and oil need to emulsify before the flour goes in. Once the dry ingredients are added, stop as soon as the flour disappears; overmixing makes gluten-free bars dense and gummy.
Bake until the center is just set
Spread the batter evenly into a greased 15×10 rimmed sheet pan so the bars bake at the same rate from edge to middle. Start checking near the end of the bake time and look for a top that springs back lightly when touched. A toothpick should come out with a few moist crumbs; if it comes out wet, the middle will sink when it cools.
Frost only after the bars are fully cool
Beat the cream cheese and butter until smooth before adding the sugar, spice, nutmeg, vanilla, and milk. The frosting should be fluffy enough to spread but thick enough to hold ridges from the spatula. If the bars are even a little warm, the frosting softens and the clean square edges disappear.
How to Adapt These Pumpkin Bars Without Losing the Tender Crumb
Dairy-Free Frosting Swap
Use dairy-free cream cheese and a plant-based butter that behaves well at room temperature. The texture will still be creamy, but the tang can be a little milder, so keep the cinnamon and nutmeg in the frosting. The bars themselves are already dairy-free.
If Your Gluten-Free Flour Blend Is Not the Right One
Use a 1:1 gluten-free all-purpose blend that lists xanthan gum in the mix. If yours doesn’t, add the amount recommended on the package before mixing the batter. Skipping that step can leave the bars crumbly instead of sliceable.
Make Them Ahead for a Party
Bake the bars a day early, cool them completely, and frost them once they are fully cold. Chill the pan before cutting for the sharpest edges. The flavor gets even better after a night in the fridge because the spice settles into the crumb.
Storage and Reheating
- Refrigerator: Store covered for up to 5 days. The frosting stays firm and the bars stay moist, though the crumb will become a little tighter when chilled.
- Freezer: Freeze unfrosted bars for best results, tightly wrapped and stored flat for up to 2 months. Frosting can be made fresh after thawing, which keeps the topping smooth.
- Reheating: These are best served chilled or at cool room temperature, not warmed. If they sit in the fridge, let slices rest on the counter for 15 to 20 minutes before serving so the frosting softens slightly and the spice comes through.
Questions I Get Asked About This Recipe
Gluten-Free Pumpkin Bars With Cream Cheese Frosting
Ingredients
Equipment
Method
- Preheat the oven to 350F and grease a 15x10 rimmed baking sheet so the bars release cleanly. The pan should look lightly coated, not wet.
- Whisk the gluten-free all-purpose flour blend, baking powder, baking soda, pumpkin pie spice, cinnamon, and salt until evenly combined. Stop when there are no visible spice clumps.
- Beat the eggs, granulated sugar, vegetable oil, pumpkin puree, and vanilla until smooth. The mixture should look glossy and uniform before combining.
- Fold the flour mixture into the pumpkin mixture until just combined. Mix only until you no longer see dry streaks.
- Spread the batter into the prepared sheet pan and level the top. The corners should be filled in an even layer.
- Bake at 350F for 25-28 minutes until a toothpick inserted in the center comes out clean. Look for edges that pull slightly away from the pan.
- Cool the bars completely on the pan before frosting. They should be fully cooled to the touch.
- Beat the cream cheese and butter until smooth. The mixture should look silky with no lumps.
- Add powdered sugar, vanilla, cinnamon, nutmeg, and milk, then beat until fully incorporated. The frosting should be thick and smooth.
- Beat the frosting until very fluffy for a lighter texture. It should hold soft peaks when you lift the mixer.
- Spread the fluffy frosting over the cooled bars. Use a spatula to cover the top evenly, reaching the edges.
- Dust the top with cinnamon. Aim for an even, light layer so it’s visible but not heavy.
- Refrigerate for 30 minutes before cutting to set the frosting. The bars should be firm enough to slice cleanly.


