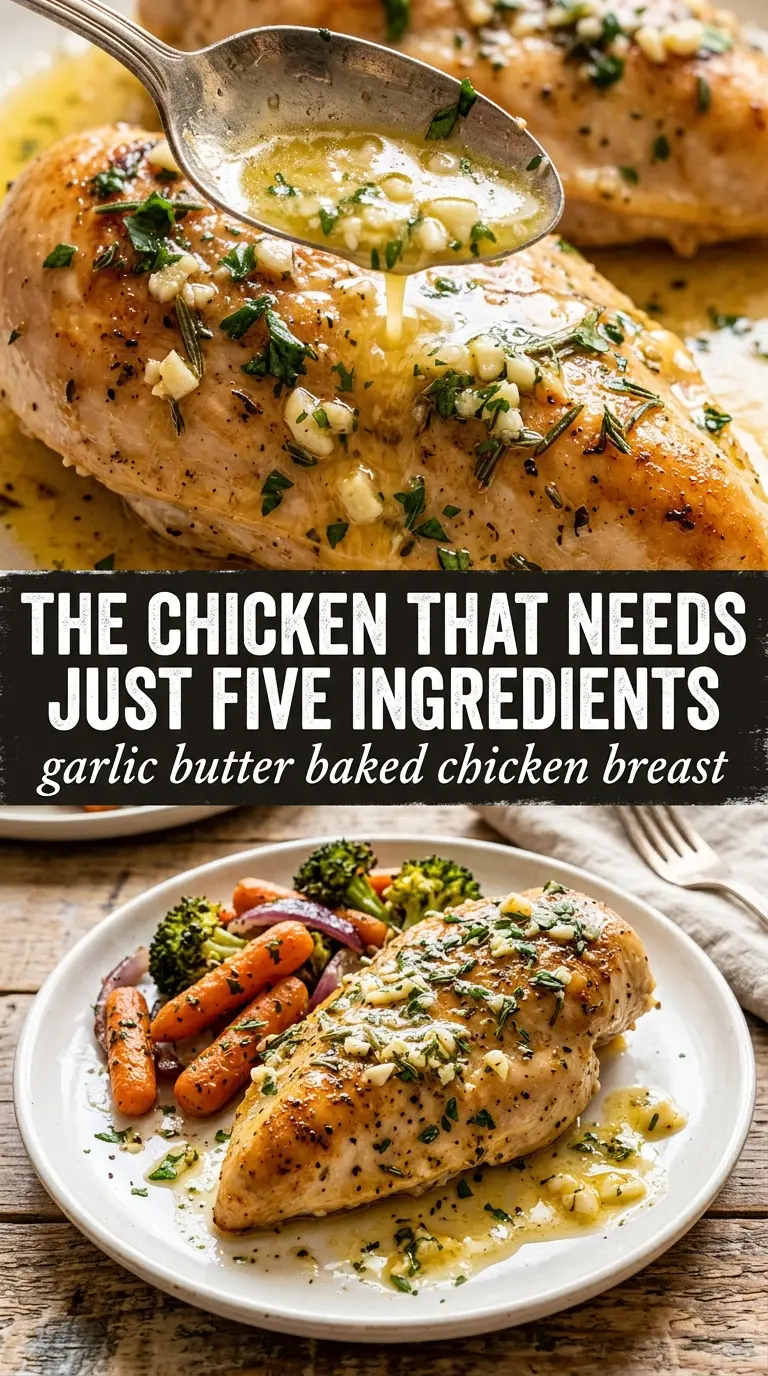
Juicy baked chicken breast gets a bad reputation from years of overcooked, underseasoned versions, but this garlic butter version turns out tender, fragrant, and actually worth making again. The butter bastes the chicken as it bakes, so the top picks up color while the pan juices keep everything glossy and full of flavor. You get clean slices, a little herby richness, and enough sauce in the pan to spoon right over the top.
The trick is simple: season the chicken before the butter goes on, then bake it hot enough to develop color without drying out the meat. Garlic, lemon, parsley, thyme, and rosemary all pull in the same direction here, but none of them should overpower the chicken. The lemon keeps the butter from tasting heavy, and the pan baste does the work of keeping the breast meat from turning chalky.
Below, I’ll show you how to keep the chicken juicy, when to baste it, and how to adapt it if you’re working with thicker or thinner breasts. There’s also a storage note that helps with leftovers, since this chicken holds up well for lunches if you reheat it the right way.
The butter spooned over the chicken at the end made the breasts stay juicy all the way through, and the edges picked up that garlicky, browned flavor I was hoping for.
Save this garlic butter baked chicken breast for nights when you want juicy chicken, golden edges, and one pan of herb butter sauce.
The Part That Keeps Chicken Breast Juicy Instead of Stringy
Chicken breast dries out fast because it doesn’t have much fat to forgive overbaking. The answer here isn’t a lower temperature; it’s a hot oven, a well-coated surface, and a short bake time watched by temperature instead of guesswork. The butter on top helps the outside brown, but the real protection comes from pulling the chicken the moment it hits 165°F and letting it rest before slicing.
Thin spots cook faster than thick centers, so pounding the breasts to an even thickness gives you the best shot at keeping the texture consistent. If one end is much thicker, that end will still be climbing while the thin side is already done. Even a little flattening makes a big difference here.
What Each Ingredient Is Actually Doing Here
- Chicken breasts — Boneless, skinless breasts are the right choice here because they soak up the butter and herbs without fighting them. If yours are very large, split them horizontally or pound them to an even thickness so they finish in the same window.
- Butter — This is the sauce and the baste, so don’t swap it for oil unless you’re okay losing the rich pan juices. Melted butter carries the garlic and herbs across the whole surface and gives you those browned edges in the dish.
- Garlic — Fresh minced garlic tastes sharper and more aromatic than jarred garlic, and it matters here because the butter sauce is simple. If you use jarred garlic, the flavor will be a little flatter and less fragrant after baking.
- Parsley, thyme, and rosemary — These herbs keep the butter from tasting one-note. Rosemary is the strongest of the three, so mince it fine or it can feel woody in the final sauce.
- Lemon juice — A small amount brightens the butter and keeps the finished dish from tasting heavy. Don’t add enough to make the butter look broken before it goes into the oven; a tablespoon is enough.
- Smoked paprika and garlic powder — These add a seasoned crust before the butter even starts working. Paprika also helps the surface take on a warmer color in the oven.
How to Build the Butter Baste Without Losing the Chicken
Season the Chicken First
Dry the chicken breasts with paper towels, then season both sides before any butter touches the pan. That first layer of salt and spice helps the meat itself taste seasoned instead of just tasting like sauce on top. If the chicken is wet, the seasoning slides off and the surface steams instead of taking on color.
Pour the Garlic Herb Butter All Over
Stir the garlic, herbs, and lemon into the melted butter until the mixture looks evenly flecked, then spoon or pour it over the chicken in the baking dish. Coat the tops thoroughly and let some of the butter pool around the base so it can baste the chicken as it cooks. If the garlic sits in clumps, some bites will taste sharp while others taste flat, so mix it well before it goes in.
Baste Once, Then Trust the Oven
Bake the chicken at 425°F, then spoon the pan juices over the breasts about halfway through. That quick baste refreshes the top without dragging the cooking time out. If you keep opening the oven over and over, the temperature drops and the chicken spends too long in the danger zone for dryness.
Rest Before Slicing
Pull the chicken when the center reaches 165°F and let it rest for 5 minutes before cutting. That pause lets the juices settle back into the meat instead of running onto the cutting board. If you slice immediately, even perfectly cooked chicken can look dry.
Three Practical Ways to Change This Chicken Without Ruining It
Make it dairy-free with olive oil and a little extra lemon
Use olive oil in place of the butter and add a touch more lemon juice to keep the sauce bright. You’ll lose the browned dairy flavor and the pan juices won’t be quite as silky, but the garlic and herbs still carry the dish well.
Use chicken thighs for a richer, more forgiving version
Boneless thighs can stand a little extra time in the oven, so they’re a good fit if you’re worried about dry chicken breast. They won’t slice as neatly, but they give you deeper flavor and stay juicy even if they go a few minutes past the mark.
Add Parmesan for a saltier, browned top
A light shower of finely grated Parmesan in the last 5 minutes gives the chicken a savory crust and makes the butter sauce taste a little more substantial. Keep the layer thin so the cheese melts instead of burning.
Storage and Reheating
- Refrigerator: Store leftovers for up to 4 days. The butter sauce will firm up a bit in the fridge, but the chicken stays useful for salads, rice bowls, and sandwiches.
- Freezer: Freeze for up to 2 months in airtight containers. Slice the chicken before freezing if you want faster thawing and easier portions later.
- Reheating: Warm covered in a 300°F oven with a spoonful of the pan juices or a splash of broth until just heated through. High heat is the mistake here; it tightens the meat and pushes out the moisture you worked to keep in.
Answers to the Questions Worth Asking
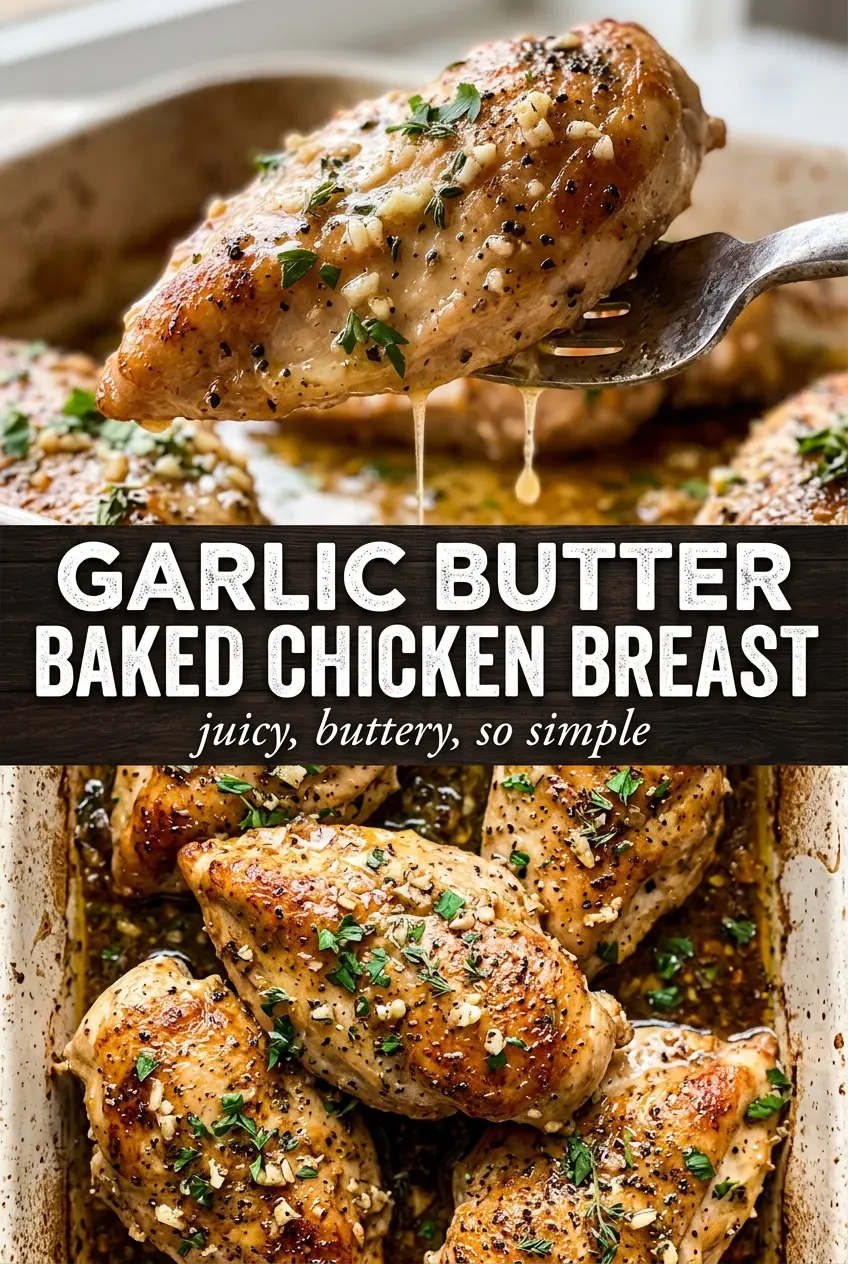
Garlic Butter Baked Chicken Breast
Ingredients
Equipment
Method
- Preheat oven to 425°F and lightly grease a baking dish.
- Season chicken breasts on both sides with salt, pepper, garlic powder, and smoked paprika.
- Melt butter and stir in garlic, parsley, thyme, rosemary, and lemon juice until combined.
- Place chicken in the prepared dish and pour garlic herb butter over each breast, coating thoroughly.
- Bake for 20-25 minutes at 425°F, basting with the pan juices once at the halfway point.
- Continue baking until internal temperature reaches 165°F, leaving the surface golden and glossy.
- Rest the chicken 5 minutes so juices redistribute, then spoon pan juices over the top.
- Serve with lemon wedges alongside.


