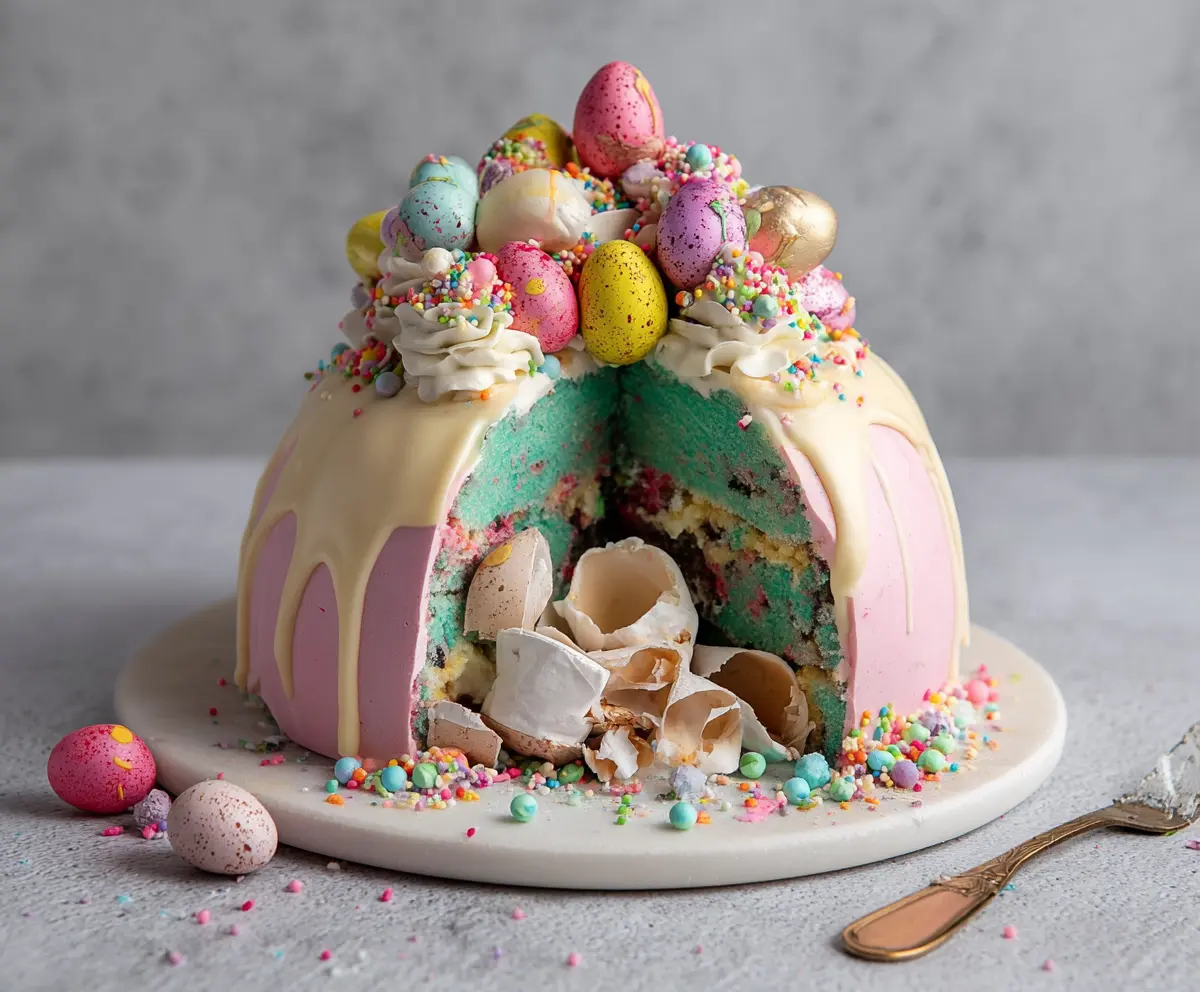
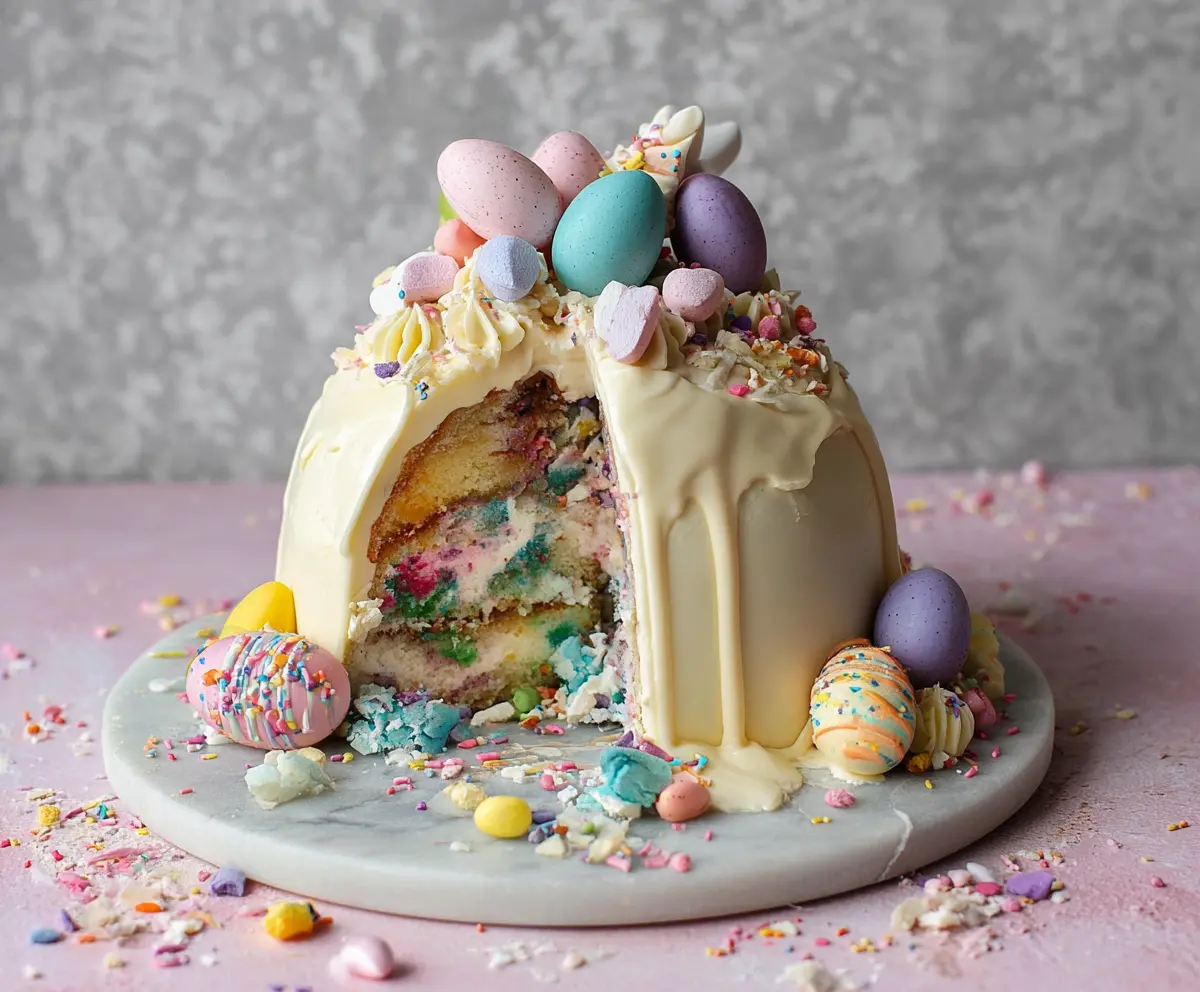
This Epic Easter Egg Smash Cake is a fun treat that’s perfect for spring celebrations! It features a moist chocolate cake covered in colorful frosting and topped with candy-filled chocolate eggs.
Smashing the cake is the best part—it’s like a sweet surprise waiting inside! I love serving this at gatherings; everyone gets a kick out of breaking it open and enjoying the candies. 🐣🍰
Key Ingredients & Substitutions
All-Purpose Flour: This is the base for the cake. You can use cake flour for a lighter texture. If you need a gluten-free option, try a 1:1 gluten-free baking blend.
Unsalted Butter: It helps create a moist cake. If you’re dairy-free, stick with a plant-based butter or coconut oil for the batter and frosting.
Sugar: Granulated sugar keeps the cake sweet and tender. Brown sugar can add a hint of moisture and richness but may darken the cake a bit.
Eggs: They provide structure to the cake. For a vegan version, you can substitute each egg with a flax egg or applesauce (1/4 cup per egg).
Milk: Whole milk gives a rich texture. If you have a lactose intolerance, oat milk or almond milk works well too.
Food Coloring: Use gel food coloring for vibrant colors. Liquid coloring can dilute the batter, so gel is preferred. Natural dyes can also be used for a more natural approach.
White Chocolate Chips: These add sweetness for the drip. You can swap them with dark or milk chocolate chips if you prefer a different flavor.
How Do I Get a Smooth Buttercream Frosting?
Achieving a fluffy white buttercream might seem tricky, but it’s all about mixing. Start with softened butter for easy blending.
- Gradually add powdered sugar one cup at a time to avoid clouds of sugar.
- Add a few tablespoons of heavy cream to adjust the texture. If it’s too thick, keep adding cream until you like it.
- Beat the mixture on high for about 3 minutes. This aerates the frosting, making it light and fluffy.
- For color, mix in gel food coloring gently until you reach your desired hue.
How Can I Achieve the Perfect Drip Effect?
Creating that glamorous chocolate drip around your cake is simpler than you think!
- First, heat the heavy cream until just simmering—not boiling! This prevents the chocolate from seizing.
- Pour the hot cream over the chocolate chips and let it sit for 5 minutes. This ensures the chocolate melts evenly.
- Stir until smooth and glossy, making sure there are no lumps.
- Let it cool slightly before drizzling. If it’s too hot, it’ll run down the sides too quickly.
- Use a squeeze bottle or spoon to drizzle around the edge of your cake. If it starts pooling, just cool it a bit more!
Epic Easter Egg Smash Cake
Ingredients You’ll Need:
For the Cake:
- 2 ½ cups all-purpose flour
- 2 ½ tsp baking powder
- ½ tsp salt
- 1 cup unsalted butter, softened
- 1 ¾ cups granulated sugar
- 4 large eggs
- 1 tbsp vanilla extract
- 1 cup whole milk
- Food coloring (blue or teal for inner cake color)
- ½ cup rainbow sprinkles or confetti
For the Buttercream Frosting:
- 1 ½ cups unsalted butter, softened
- 5 cups powdered sugar
- 2 tsp vanilla extract
- 3-4 tbsp heavy cream or milk
- Pink gel food coloring for outer frosting
For the White Chocolate Drip:
- 1 cup white chocolate chips
- 3 tbsp heavy cream
Decorations:
- Mini chocolate Easter eggs in assorted colors (pink, yellow, purple, blue, gold)
- Whipped cream or piped buttercream rosettes
- Colorful round sprinkles and confetti
- Edible crushed eggshell-like meringue pieces (for inside the “smash” cavity)
How Much Time Will You Need?
This Epic Easter Egg Smash Cake will take around 1 hour for preparation and baking, plus 30 minutes for cooling and decorating. So, around 2 hours total, including assembly and chilling time before serving. It’s worth every minute for this show-stopping dessert!
Step-by-Step Instructions:
1. Prepare the Cake Batter:
First, preheat your oven to 350°F (175°C) and grease two 8-inch round cake pans, dusting them with flour. In a medium bowl, sift together the flour, baking powder, and salt. In a larger bowl, cream the softened butter and granulated sugar together until light and fluffy. Then, beat in the eggs one by one, making sure to mix well after each egg. Stir in the vanilla extract.
Next, mix in the dry flour mixture alternately with milk, starting and ending with the flour. Give it a good mix until just combined. Now, add a few drops of blue or teal food coloring, stirring until you achieve an even color throughout the batter. Finally, gently fold in the rainbow sprinkles for a fun confetti effect!
2. Bake the Cake:
Divide the batter evenly between the prepared cake pans. Bake in the preheated oven for 25-30 minutes, or until a toothpick inserted into the center comes out clean. Remove the cakes from the oven and cool them in the pans for about 10 minutes before transferring them to wire racks to cool completely.
3. Make the Buttercream Frosting:
While the cakes are cooling, prepare the buttercream frosting. Beat the softened butter in a bowl until it’s creamy. Gradually add the powdered sugar, mixing well after each cup to incorporate it fully. Next, add the vanilla extract and 3 tablespoons of heavy cream. Beat the mixture on high speed for about 3 minutes until it’s light and fluffy. If the frosting feels too thick, add more cream until you reach your desired consistency. Don’t forget to tint most of the frosting pink for the outer layer while reserving some plain for decoration!
4. Assemble the Cake:
Once your cakes are cool, level them if necessary. Place one layer on a serving plate and spread a thin layer of the pink buttercream on top. Stack the second layer on top and carve out a small hollow cavity in the center (this will be where your “smash” feature lives).
5. Frost the Cake:
Apply a crumb coat of pink buttercream around the entire cake to seal in any crumbs. Chill the cake for 20 minutes to set the crumb coat. Then, apply a thick, smooth final coat of pink buttercream all around the cake, making it look lovely!
6. Prepare the White Chocolate Drip:
Heat the heavy cream in a small saucepan until it just begins to simmer. Pour this hot cream over the white chocolate chips in a bowl and let it sit for 5 minutes to melt. Stir until the chocolate is completely smooth and glossy. Allow it to cool slightly before drizzling it around the edge of the cake to create beautiful drips!
7. Decorate the Cake:
Fill the hollow cavity with crushed meringue pieces that look like broken eggshells. Pipe lovely white buttercream rosettes around the top edge of the cake. Arrange your colorful mini chocolate eggs on top and scatter sprinkles and confetti generously over the cake for a festive touch!
8. Final Touches:
Once decorated, refrigerate the cake until you’re ready to serve it. When it’s time to cut, smash through the decorated exterior to reveal the surprise “egg” hidden inside filled with “eggshell” meringue. Enjoy this whimsical and delightful Easter centerpiece!
Can I Use Different Colors for the Cake and Frosting?
Absolutely! Feel free to choose any food coloring that suits your theme. Pastel colors are great for Easter, but vibrant hues can also add a fun twist!
Can I Make This Cake Ahead of Time?
Yes, you can! The cake layers can be baked and stored in an airtight container at room temperature for up to 2 days. You can also freeze the layers for up to a month. Just make sure to let them cool completely before wrapping them well to prevent freezer burn.
What Should I Do If My Buttercream Is Too Stiff?
If your buttercream is too stiff, just add a bit more heavy cream or milk, one tablespoon at a time, until you reach the desired consistency. Make sure to mix it well to incorporate the liquid fully!
How Can I Store Leftover Cake?
Store any leftover cake in an airtight container in the refrigerator for up to 3 days. To keep it fresh, you can also freeze slices for longer storage—just wrap them securely to prevent freezer burn.