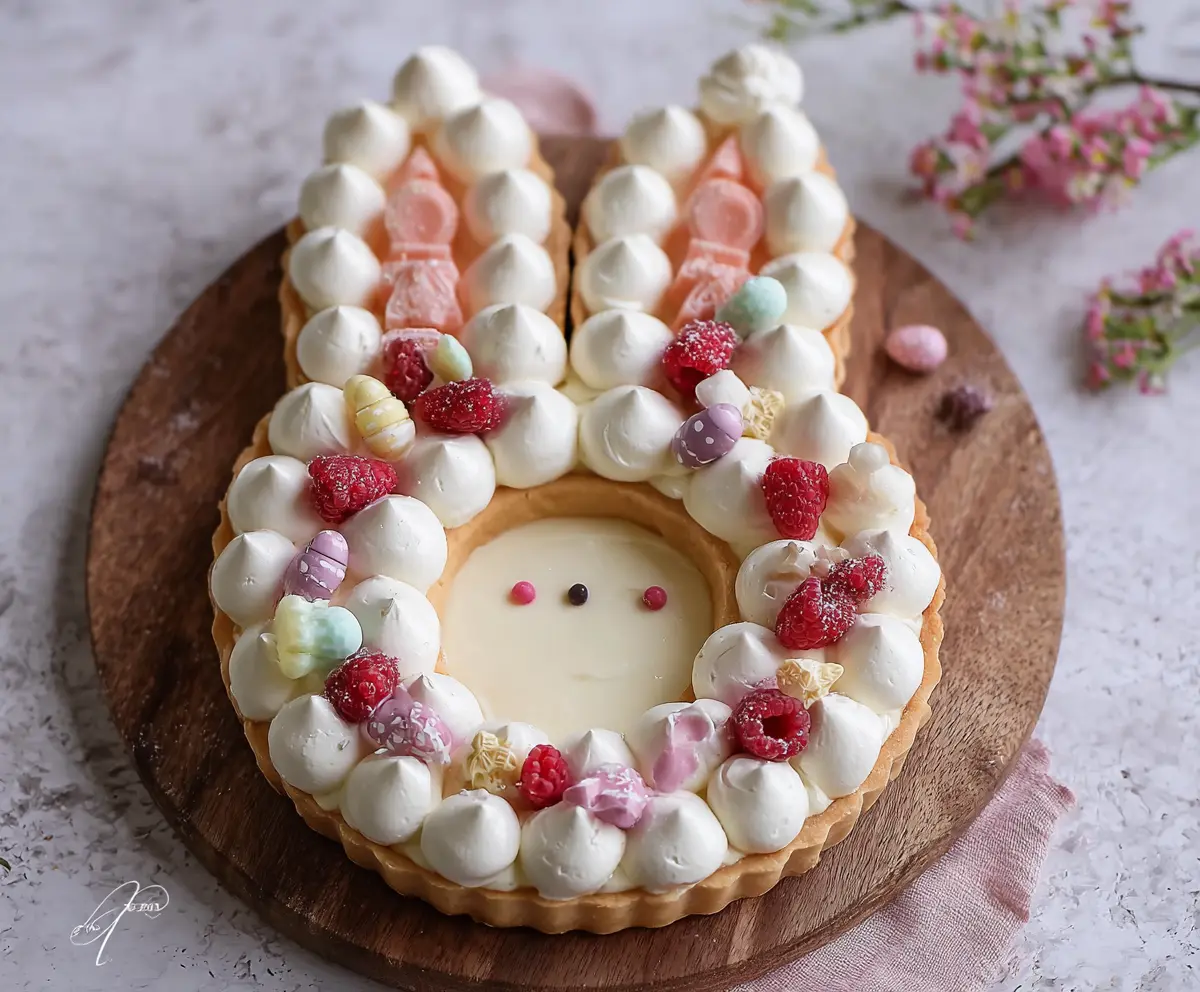
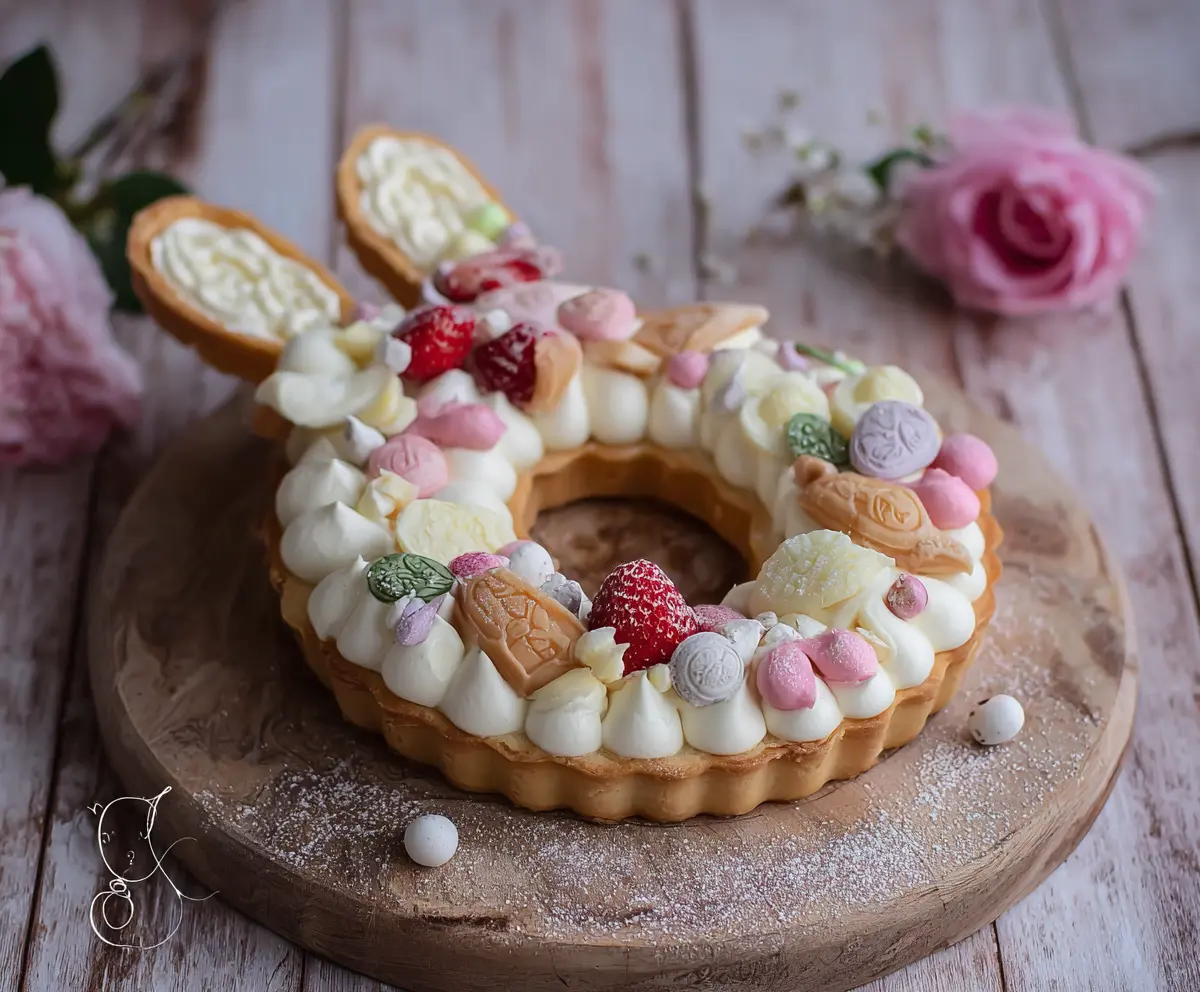
This fun Easter Bunny Cream Tart is a sweet treat that brings joy to your holiday table! With a creamy filling and a lovely tart shell, it’s a delight for both kids and adults.
The best part? You can get creative with the toppings! I love adding colorful sprinkles and fruit to make it look extra special. Plus, it’s so easy to slice and serve—perfect for sharing with family and friends!
Key Ingredients & Substitutions
All-purpose flour: This is the base for your tart shell. If you need a gluten-free option, you can use a gluten-free all-purpose flour blend. Just be sure it includes xanthan gum for better texture!
Unsalted butter: Keep your butter cold for flakiness in the crust. If you’re dairy-free, use a plant-based butter to achieve similar results without the dairy.
Cream cheese: Essential for that creamy filling. If you want a lighter option, you can substitute with mascarpone cheese, which adds a nice flavor too.
Heavy cream: Necessary for a rich, whipped texture. In place of heavy cream, you could use coconut cream for a dairy-free version, although the flavor will differ a bit.
Decorative candies: Fresh raspberries and edible glitter add charm, but feel free to swap seasonal fruits or sprinkles you have on hand for a personal touch!
How Do You Make Sure Your Tart Shell is Perfectly Crusty?
Creating a tart shell that is flaky and delicious takes some care. Start by mixing dry ingredients before adding cold butter. This keeps the butter from warming too quickly.
- Rub the butter into the flour until it resembles coarse crumbs – this is key for flakiness!
- Chill the dough! After shaping it into a disc, let it rest in the fridge. This helps to relax the gluten, preventing a tough crust.
- When rolling out the dough, aim for a thickness of about 5mm. Too thin may lead to breakage during baking.
- Remember to let the tart shell cool completely before adding cream. It prevents melting and keeps the filling fluffy.
How to Make an Easter Bunny Cream Tart
Ingredients You’ll Need:
For The Tart Shell:
- 250g all-purpose flour
- 125g unsalted butter, cold and cubed
- 100g powdered sugar
- 1 large egg yolk
- 2-3 tbsp cold water
For The Cream Filling:
- 300ml heavy cream
- 250g cream cheese, softened
- 120g powdered sugar
- 1 tsp vanilla extract
For Decoration:
- Fresh raspberries
- Assorted pastel-colored candies (chocolate eggs, candy hearts, jelly beans)
- Pink decorative candy (shaped like babies or pacifiers)
- Edible glitter or powdered sugar for dusting
- Small colorful edible sugar pearls or candy for eyes and nose
How Much Time Will You Need?
This Easter Bunny Cream Tart will take about 30 minutes to prepare, plus 1 hour of chilling time for the crust and filling to set. Baking the tart shell will only take about 15-20 minutes. Altogether, you’ll be ready to serve this fun dessert in about 1 hour and 30 minutes!
Step-by-Step Instructions:
1. Preparing the Tart Shell:
Begin by taking a large bowl and mixing together the all-purpose flour and powdered sugar. Next, add the cold cubed butter to the bowl. Use your fingertips to rub the butter into the flour mixture until it feels like coarse crumbs. Then, add the egg yolk and cold water one tablespoon at a time, mixing until the dough starts coming together. Once it does, shape it into a disc, wrap it in plastic wrap, and pop it in the refrigerator to chill for at least 1 hour.
2. Shaping and Baking the Tart Shell:
When you’re ready to bake, preheat your oven to 180°C (350°F). Roll out the chilled dough on a lightly floured surface to about 5mm thick. Use an Easter bunny-shaped cookie cutter or a stencil to cut out the dough. Carefully place the shaped dough onto a tart pan or a baking sheet lined with parchment paper. Bake in the oven for 15-20 minutes or until the edges turn lightly golden. Allow the tart shell to cool completely before you start decorating.
3. Preparing the Cream Filling:
While the tart shell is cooling, grab a mixing bowl and whip the heavy cream until stiff peaks form. In another bowl, beat the softened cream cheese with powdered sugar and vanilla extract until it’s nice and smooth. Delicately fold the whipped cream into the cream cheese mixture; you want it to be fully combined and silky.
4. Assembling the Tart:
Using a piping bag fitted with a round tip, pipe dollops of the cream evenly over the tart shell, making sure to outline the bunny shape nicely. In the center area that represents the bunny’s face, spread a smooth layer of the cream. Then, add small candies or sugar pearls to create the bunny’s cute eyes and nose.
5. Decorating:
Now for the fun part! Arrange fresh raspberries and pastel candies artfully around the cream dollops. For an extra cute touch, place the pink decorative candies shaped like babies or pacifiers on the ears. Finally, sprinkle a light dusting of edible glitter or powdered sugar over the tart to give it a festive shine!
6. Chilling and Serving:
Pop the assembled tart in the refrigerator for at least 1 hour to allow everything to set nicely. Once it’s ready, slice and serve chilled. Enjoy your delightful Easter Bunny Cream Tart!
Can I Use a Different Type of Flour for the Tart Shell?
Yes! If you’re looking for a gluten-free option, you can substitute all-purpose flour with a gluten-free flour blend. Just make sure it contains xanthan gum for the best texture. You can also try almond flour for a nutty flavor, but it may change the texture slightly!
How Should I Store Leftovers?
Store any leftover tart in an airtight container in the refrigerator for up to 3 days. It’s best enjoyed chilled, so simply take it out and serve cold!
Can I Make the Tart Shell in Advance?
Absolutely! You can prepare the tart shell a day ahead. Just bake it, let it cool completely, then wrap it tightly in plastic wrap and store at room temperature until you’re ready to add the cream filling.
What If I Don’t Have an Easter Bunny Cookie Cutter?
No problem! You can use any shape you have, or even use a round cookie cutter and create bunny features with piping or fruits for decoration. The creativity will add a personal touch!