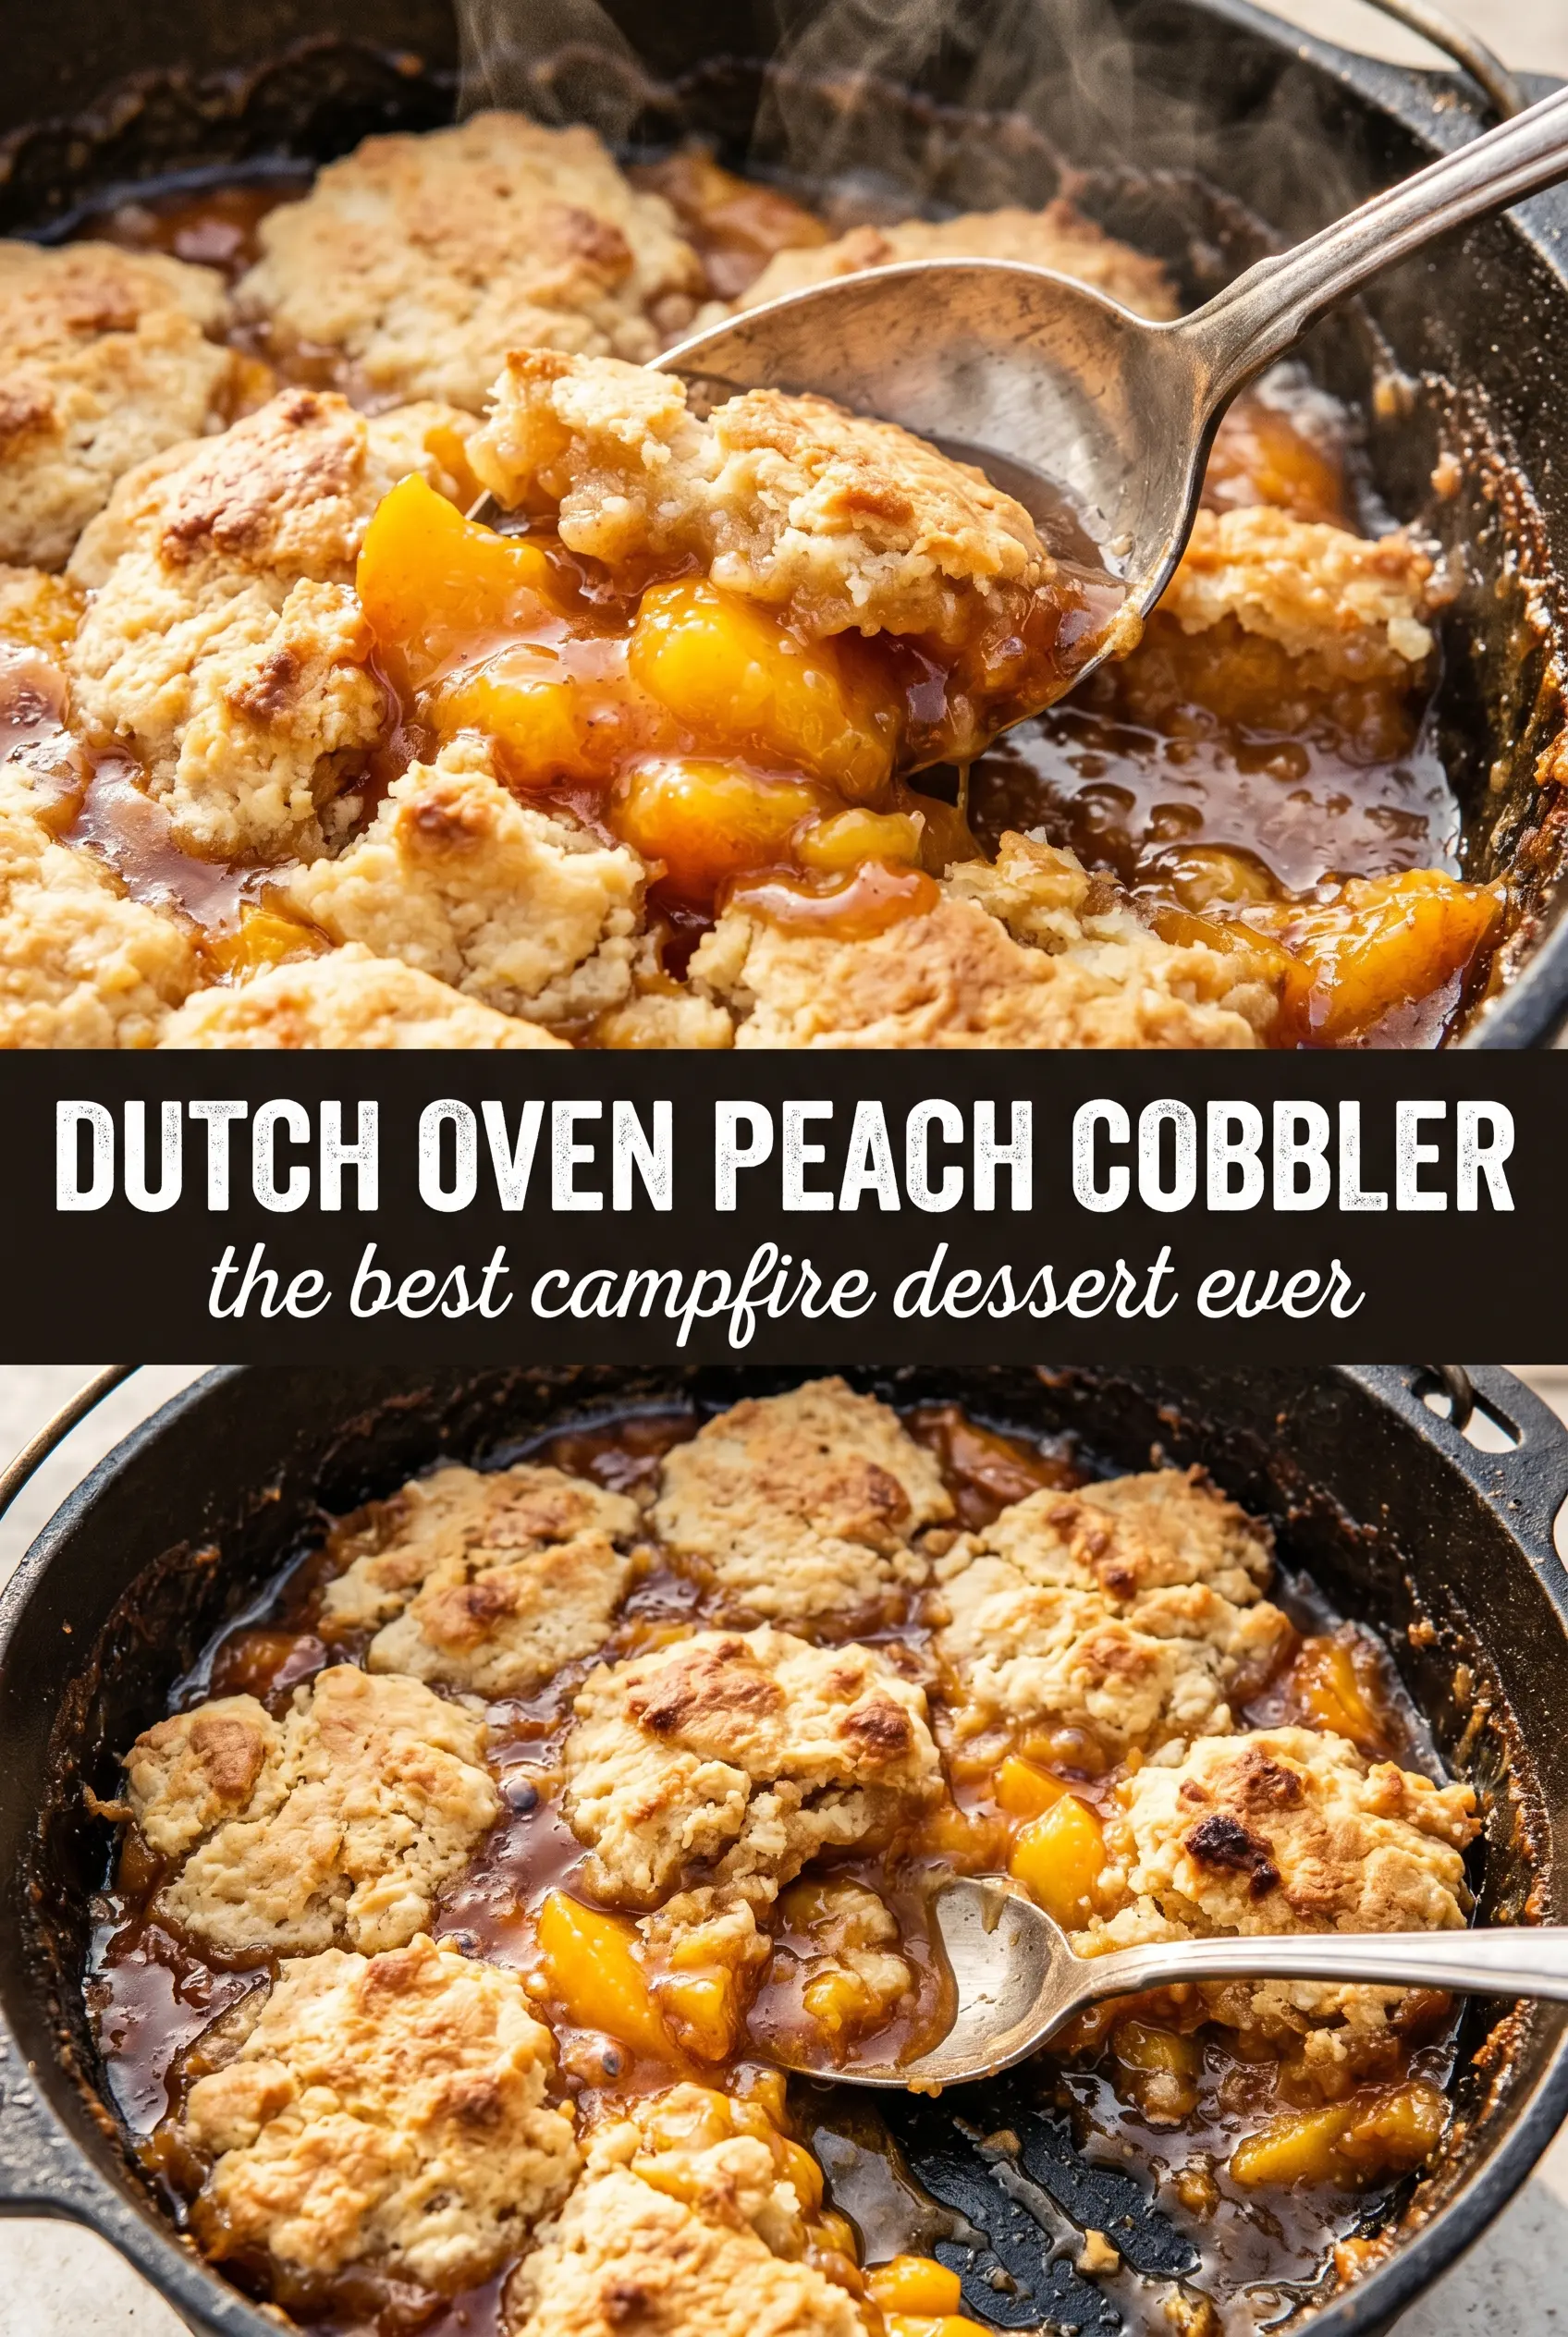
Golden, bubbling peach filling under a crisp biscuit-like topping is the kind of dessert that disappears fast, especially when you scoop it straight from a Dutch oven while the edges are still hot and the center is syrupy. The beauty of this cobbler is that the topping stays rustic on purpose. You’re not chasing a polished pie crust here; you want a deeply browned, buttery lid that soaks up just enough peach juice without turning soggy.
This version works because the peaches get seasoned before the cake mix goes on, which keeps the filling from tasting flat. The dry mix stays in layers, too, so the butter can seep through and create pockets of tender crumb instead of a heavy, damp topping. That setup is forgiving over coals, which matters when you’re cooking outdoors and heat isn’t as precise as an oven.
Below, I’ll show you the small details that keep the topping from staying powdery in the middle and how to tell when the cobbler is done even if your coals are running hotter than expected.
The top turned out crisp and buttery, and the peaches bubbled up around the edges just like you said. I used it at camp and everyone kept going back for a second scoop with ice cream.
Save this Dutch oven peach cobbler for the nights when you want bubbling fruit and a golden cake-mix topping with almost no cleanup.
The Trick to Keeping the Topping Crisp Over Hot Coals
Campfire cobbler fails when the top gets too much direct heat before the peaches have started to bubble. Then the topping browns on the outside while the center stays dusty and dry. The fix is steady heat from both directions, which is why the coals go under the Dutch oven and on the lid. You’re trying to create an oven, not a flare-up.
The other mistake is stirring once the cake mix goes on. Don’t do it. The dry layer needs to stay put so the melted butter can work across the surface and form those browned patches that turn into the crust. If you mix everything together, you get a paste instead of a topping, and the whole dessert turns heavy.
- Bottom heat matters most first. The peaches need time to soften and release juice before the topping can brown properly.
- Lid coals finish the job. They help the top color evenly instead of leaving it pale and floury.
- Let the filling bubble at the edges. That’s the clearest sign the heat has reached the center and the cobbler is done.
What the Cake Mix and Butter Are Actually Doing Here

The cake mix is doing the work of flour, sugar, and a little starch all at once. It gives you a quick topping that turns tender where the butter hits and a little crisp where the dry mix stays exposed. A boxed yellow mix is the right choice here because it bakes up with a richer, more dessert-like flavor than a plain white mix.
Peaches: Canned peaches are the smart move for camp cooking because they’re already peeled, sliced, and reliably sweet. Drain them well or the filling can turn soupy. A little juice is fine; puddles are what soften the topping too much.
Butter: Melted butter is what turns the dry mix into a crust. The important part is coverage. Drizzle it evenly over the top so as much of the cake mix as possible gets moistened. If you leave big dry spots, they’ll stay chalky after baking.
Spices: Cinnamon and nutmeg add warmth that keeps the dessert from tasting one-note. You don’t need much, but they matter because canned peaches can taste flat without that extra lift.
Building the Cobbler in the Right Order
Starting with the Peaches
Spread the drained peaches in an even layer across the bottom of the Dutch oven. That even layer matters because it helps the fruit heat at the same pace, so one side doesn’t turn to mush while another side barely warms through. Sprinkle the sugar and spices over the peaches before anything else goes on top. That seasoning melts into the fruit as it cooks and builds the syrupy filling underneath the crust.
Leaving the Cake Mix Alone
Pour the dry cake mix evenly over the peaches and resist the urge to stir it in. The whole structure depends on those separate layers. Stirring will turn the top into a batter that bakes up dense and gummy instead of crumbly and crisp. Aim for an even blanket of dry mix from edge to edge so the butter has something to work with.
Drizzling the Butter
Pour the melted butter slowly over the cake mix, covering as much surface area as you can. If you dump it in one spot, you’ll get a greasy patch there and dry powder everywhere else. The best cobblers have some unevenness, but you still want every corner to get at least a little butter so the topping bakes into a golden crust instead of a sandy layer.
Watching for the Final Bubble
Cook covered over campfire coals for 40 to 45 minutes, then check for bubbling peach juice around the edges and a deep golden top. If the surface looks done but the filling isn’t bubbling, it needs more time. If the top is browning too quickly, pull some coals from the lid and keep cooking until the fruit is hot through. Let it rest for 10 minutes before serving so the juices settle instead of running all over the plate.
How to Adapt This Cobbler for Your Campfire, Kitchen, or Diet
Use fresh peaches when they’re in season
Swap in about 8 cups of peeled, sliced fresh peaches and add a splash of water or peach juice so the filling has enough liquid to bubble. Fresh fruit gives you a brighter flavor and a firmer bite, but it also needs a little help producing syrup.
Make it dairy-free
Use a plant-based butter that melts cleanly and bakes well. The texture will still be crisp on top, though the flavor will be a little less rich than with real butter. Choose one with a neutral taste so it doesn’t fight the peaches.
Make individual cobblers in a smaller pan
Split the ingredients between two smaller Dutch ovens or cast-iron skillets and shorten the cook time. Smaller batches brown a little faster and give you more of the crisp edges people always fight over.
Storage and Reheating
- Refrigerator: Store leftovers covered for up to 4 days. The topping softens as it sits, but the flavor stays good.
- Freezer: It freezes, but the topping loses some of its crispness after thawing. Freeze in a tight container for up to 2 months if you don’t mind a softer texture.
- Reheating: Warm portions in a 325°F oven until heated through. The microwave works in a pinch, but it makes the topping soggy faster, so use the oven if you want any of that crust back.
Answers to the Questions Worth Asking
Dutch Oven Peach Cobbler
Ingredients
Equipment
Method
- Spread the drained sliced peaches in the bottom of a Dutch oven in an even layer, leaving minimal gaps so the filling cooks uniformly.
- Sprinkle the sugar, cinnamon, and nutmeg evenly over the peaches until fully covered, creating a fragrant layer at the bottom.
- Pour the dry yellow cake mix evenly over the peaches in one smooth layer and do not stir, so the topping bakes up golden instead of turning gummy.
- Drizzle the melted butter over the cake mix, covering as much as possible so it browns and forms a biscuit-like top.
- Cover the Dutch oven and place it on campfire coals with additional coals on top of the lid; cook for 40-45 minutes until the topping is golden and the peaches are bubbling.
- Let the cobbler cool for 10 minutes before serving to let the peach filling thicken slightly, then top each portion with vanilla ice cream.