Crispy panko crusted chicken breasts come out with a deep golden shell that crackles when you cut into it, while the chicken underneath stays juicy instead of drying out. The panko gives you that airy, shattering crunch that regular breadcrumbs just can’t match, and baking it on a rack keeps the bottom from turning soggy in the oven.
What makes this version work is the order of the breading and the final hit of oil. The flour gives the egg something to cling to, the egg gives the panko a tacky surface, and pressing the crumbs on firmly helps the coating stay put instead of sliding off in the pan. Parmesan adds salt and a little extra browning, while a touch of smoked paprika deepens the color without making the chicken taste heavily seasoned.
Below you’ll find the small details that matter here: how to get the coating to stay crisp, what to change if you’re out of Parmesan, and how to reheat leftovers without losing that crunch.
The crust stayed unbelievably crisp even after I sliced it, and the chicken was done right at 22 minutes with no dry edges. My son kept asking why the coating tasted so much better than the baked chicken I usually make.
Save these crispy panko crusted chicken breasts for the night you want a shatteringly crunchy baked chicken dinner without frying.
The Reason Most Baked Chicken Turns Soft Before It Gets Crisp
The biggest mistake with breaded chicken is putting it straight onto a flat pan and expecting the bottom to stay crunchy. Steam gets trapped underneath, the crumbs soften, and by the time the chicken is done, the crust has lost its edge. A wire rack fixes that by letting hot air circulate all around the chicken, so the coating dries and browns instead of steaming itself.
The second failure point is weak adhesion. If you skip the flour or handle the chicken too lightly after the egg dip, the panko won’t have enough grip and it’ll shed in patches. Press the crumbs on with a little confidence, then leave the coating alone once it hits the rack. Moving it around is how you end up with bare spots.
What Each Ingredient Is Doing in the Crunch
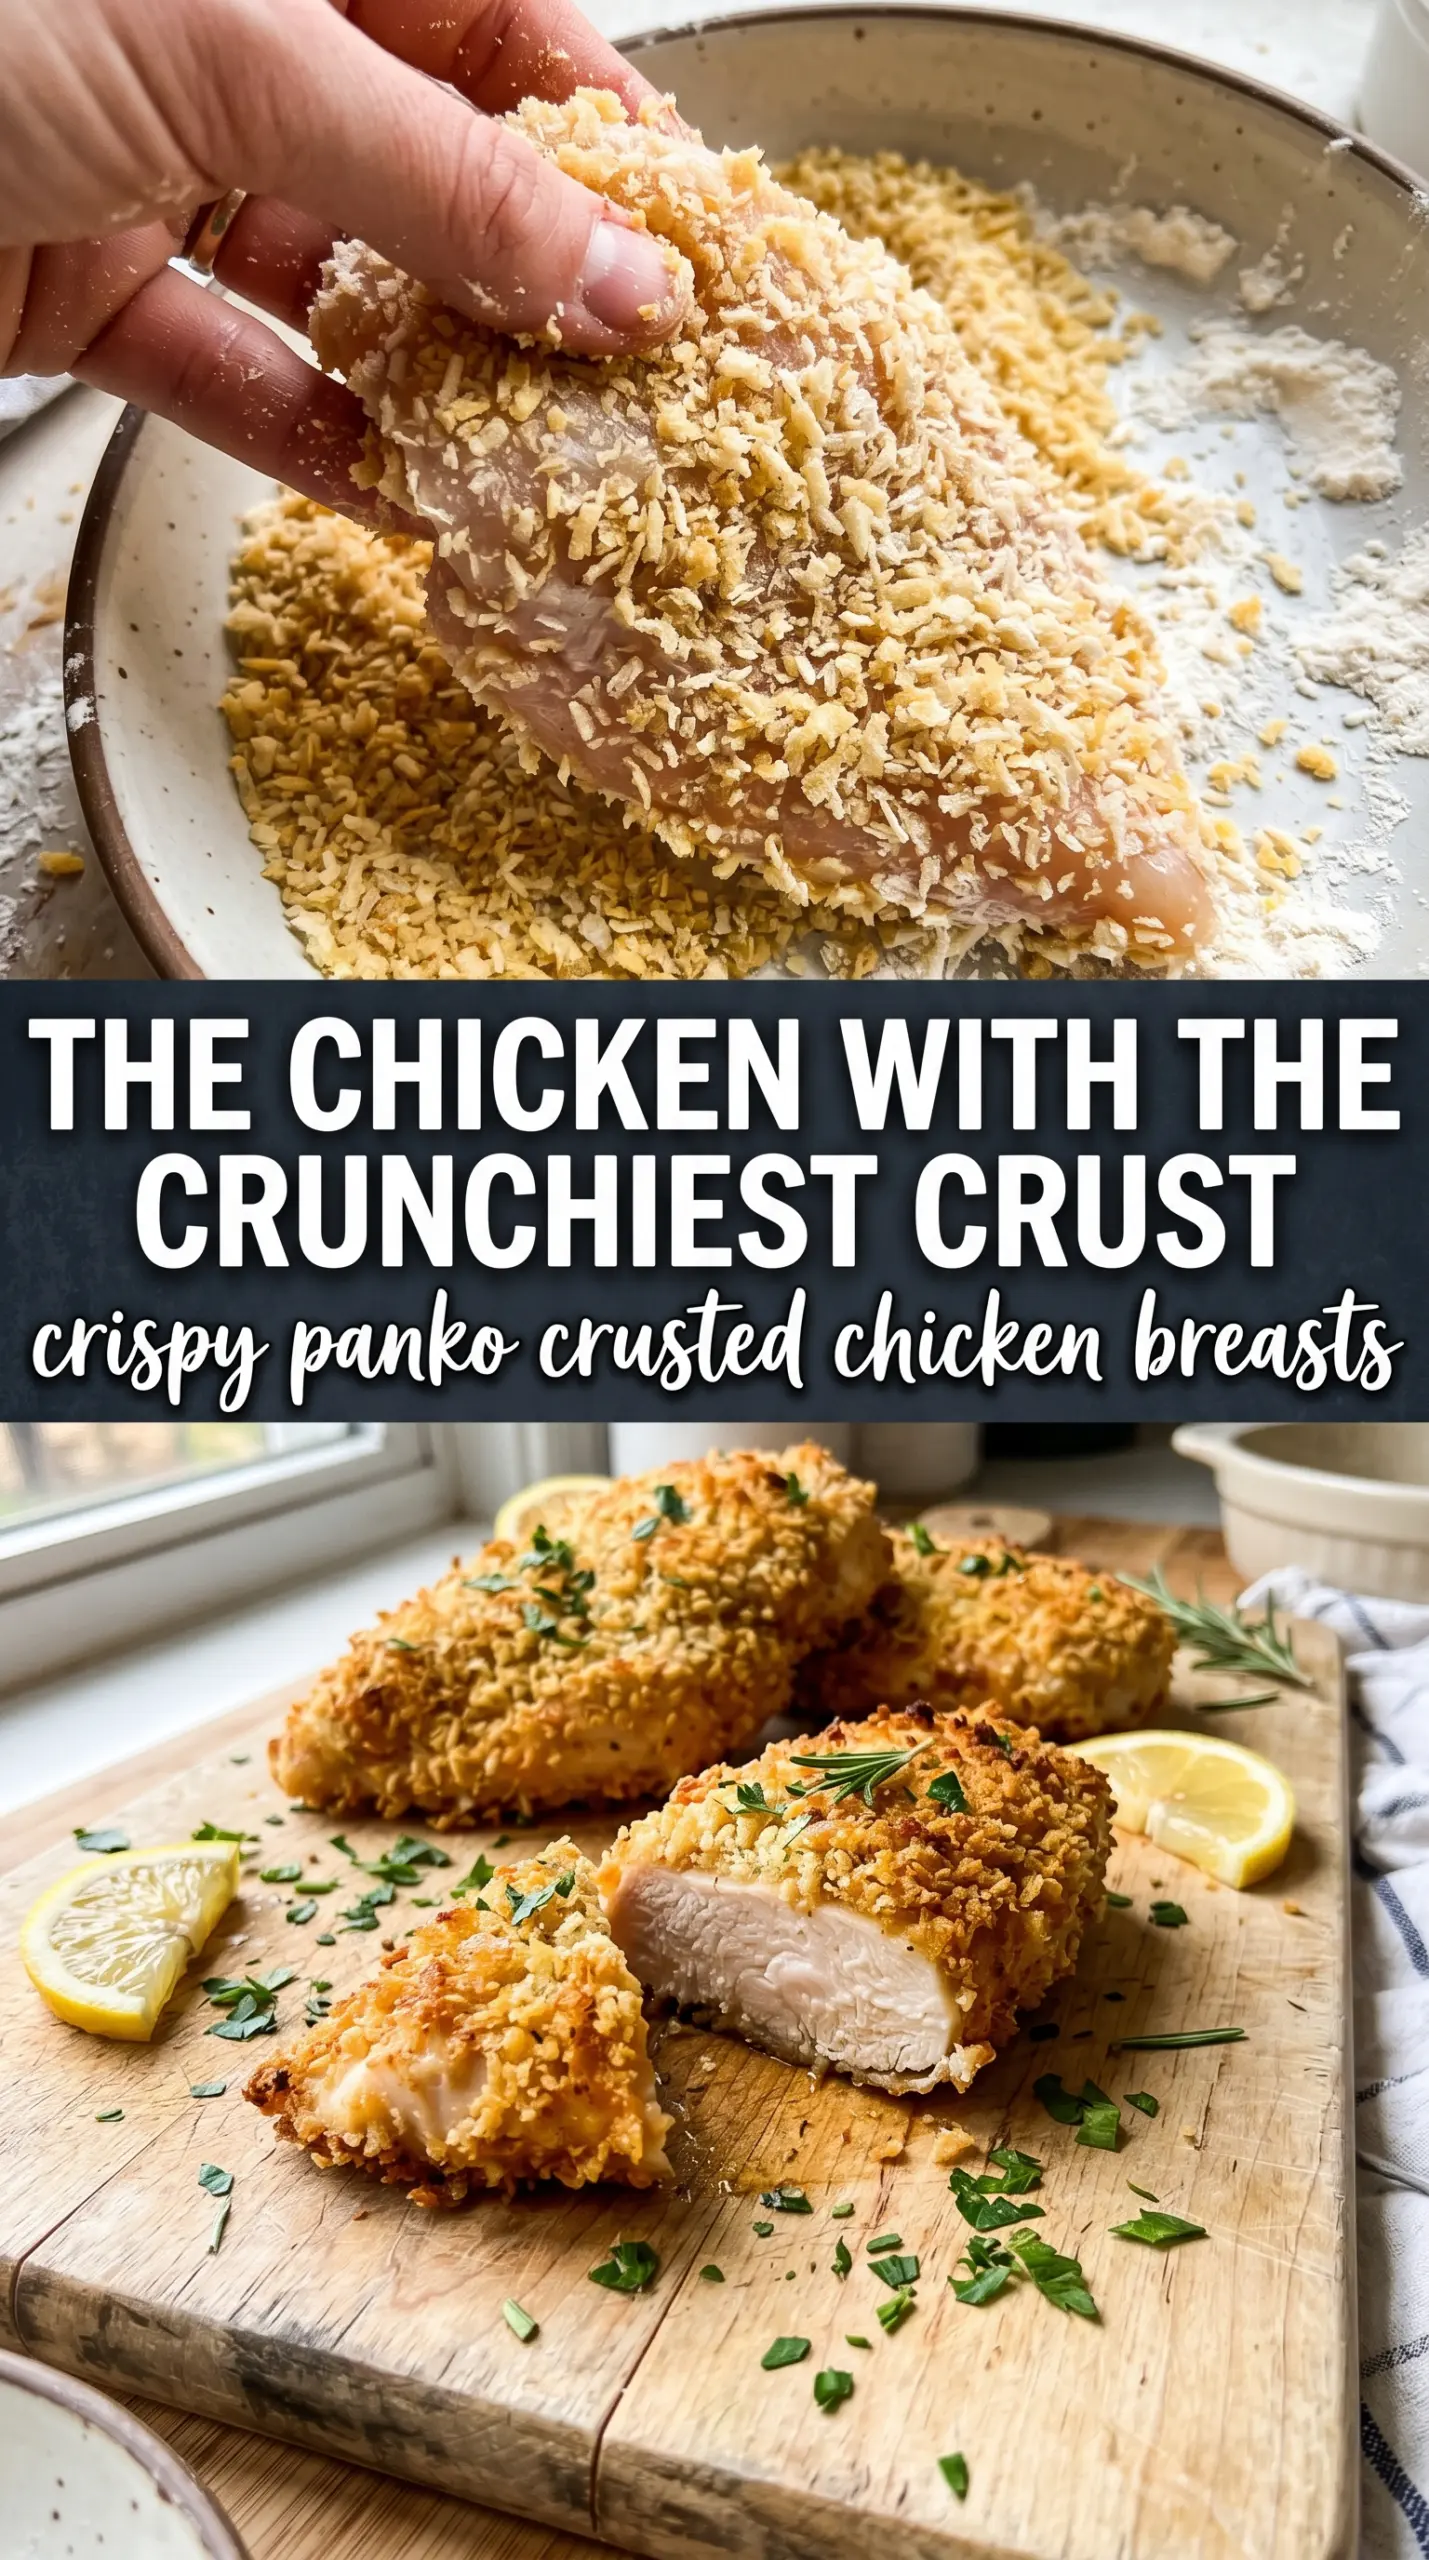
- Chicken breasts — Pounding them to an even thickness matters more than almost anything else here. It keeps the thinner end from drying out before the thick end is done.
- Panko breadcrumbs — These are the crunch. They stay lighter and airier than regular breadcrumbs, which is why the crust bakes up tall and crisp instead of dense.
- Parmesan — It brings salt, nuttiness, and extra browning. Pre-grated works in a pinch, but freshly grated melts into the crumbs more cleanly and gives a better finish.
- Olive oil or cooking spray — The oil is what turns pale breadcrumbs into a bronzed crust. Without it, panko tends to toast unevenly and can taste dry rather than crisp.
- Italian seasoning, garlic powder, and smoked paprika — These season the coating itself, not just the chicken. That means every bite tastes balanced, even where the crust is thickest.
Building the Coating So It Stays Put and Bakes Up Golden
Set Up the Breading Station First
Get the flour, egg, and panko mixture lined up before the chicken touches anything. Once you start breading, you want a smooth assembly line so the egg doesn’t dry out and the panko doesn’t clump. The panko mixture should look sandy with visible Parmesan scattered through it, not paste-like. If the crumbs look damp before they even touch the chicken, the crust will bake up heavy instead of crisp.
Press for Coverage, Not Just a Dusting
Coat the chicken in flour first, then egg, then press it firmly into the panko from every side. The pressure matters because panko needs contact to cling; a gentle pat leaves bald spots that won’t brown the same way. Lift each piece and check the edges and thicker ends, since those are the spots that usually get missed. A fully covered piece should look thickly coated and almost shaggy before it goes into the oven.
Bake on a Rack Until the Crust Is Bronze
Place the chicken on the prepared rack and give it a good spray or drizzle of oil on top. That top layer of fat is what helps the crumbs turn that deep bronze color instead of staying pale. Bake until the crust is loudly crisp-looking and the thickest part reaches 165°F. If the chicken is done but the crust still looks light, it needs a minute or two more; color is one of the best clues here.
Let It Rest Before You Slice
Give the chicken three minutes after it comes out of the oven. That short rest keeps the juices from running out the second you cut into it, and it also lets the crust settle so it cracks cleanly instead of flaking off in chunks. Use a sharp knife and slice once, not back and forth, if you want those clean, crisp edges to stay intact.
Ways to Change the Crust Without Losing the Crunch
Gluten-Free Version
Swap the flour for a gluten-free all-purpose blend and use certified gluten-free panko. The method stays the same, but the coating may brown a touch faster, so start checking early. You still get the same crisp texture if you keep the rack in place and don’t overcrowd the pan.
Dairy-Free Crust
Leave out the Parmesan and add a little extra salt plus a pinch of nutritional yeast if you want a savory note back. The crust won’t have quite the same nutty depth, but it still bakes up crisp and golden. Brush or spray the top well with oil so the missing cheese doesn’t leave the coating looking dry.
Italian Herb Chicken Cutlets
Slice the chicken breasts horizontally into thinner cutlets before breading. They cook faster, the crust-to-chicken ratio goes up, and every bite gets more crunch. Pull them from the oven as soon as they hit temperature, since thin pieces dry out quickly if they stay in too long.
Storage and Reheating
- Refrigerator: Store leftovers in an airtight container for up to 3 days. The crust will soften a little in the fridge, but it can crisp back up.
- Freezer: Freeze cooked chicken on a sheet pan until solid, then wrap tightly and store for up to 2 months. It holds up better than you might expect, though the crust won’t be quite as airy after freezing.
- Reheating: Reheat on a rack in a 375°F oven or air fryer until hot and crisp again. Skip the microwave if you care about the coating, because steam is the fastest way to turn panko soggy.
Answers to the Questions Worth Asking
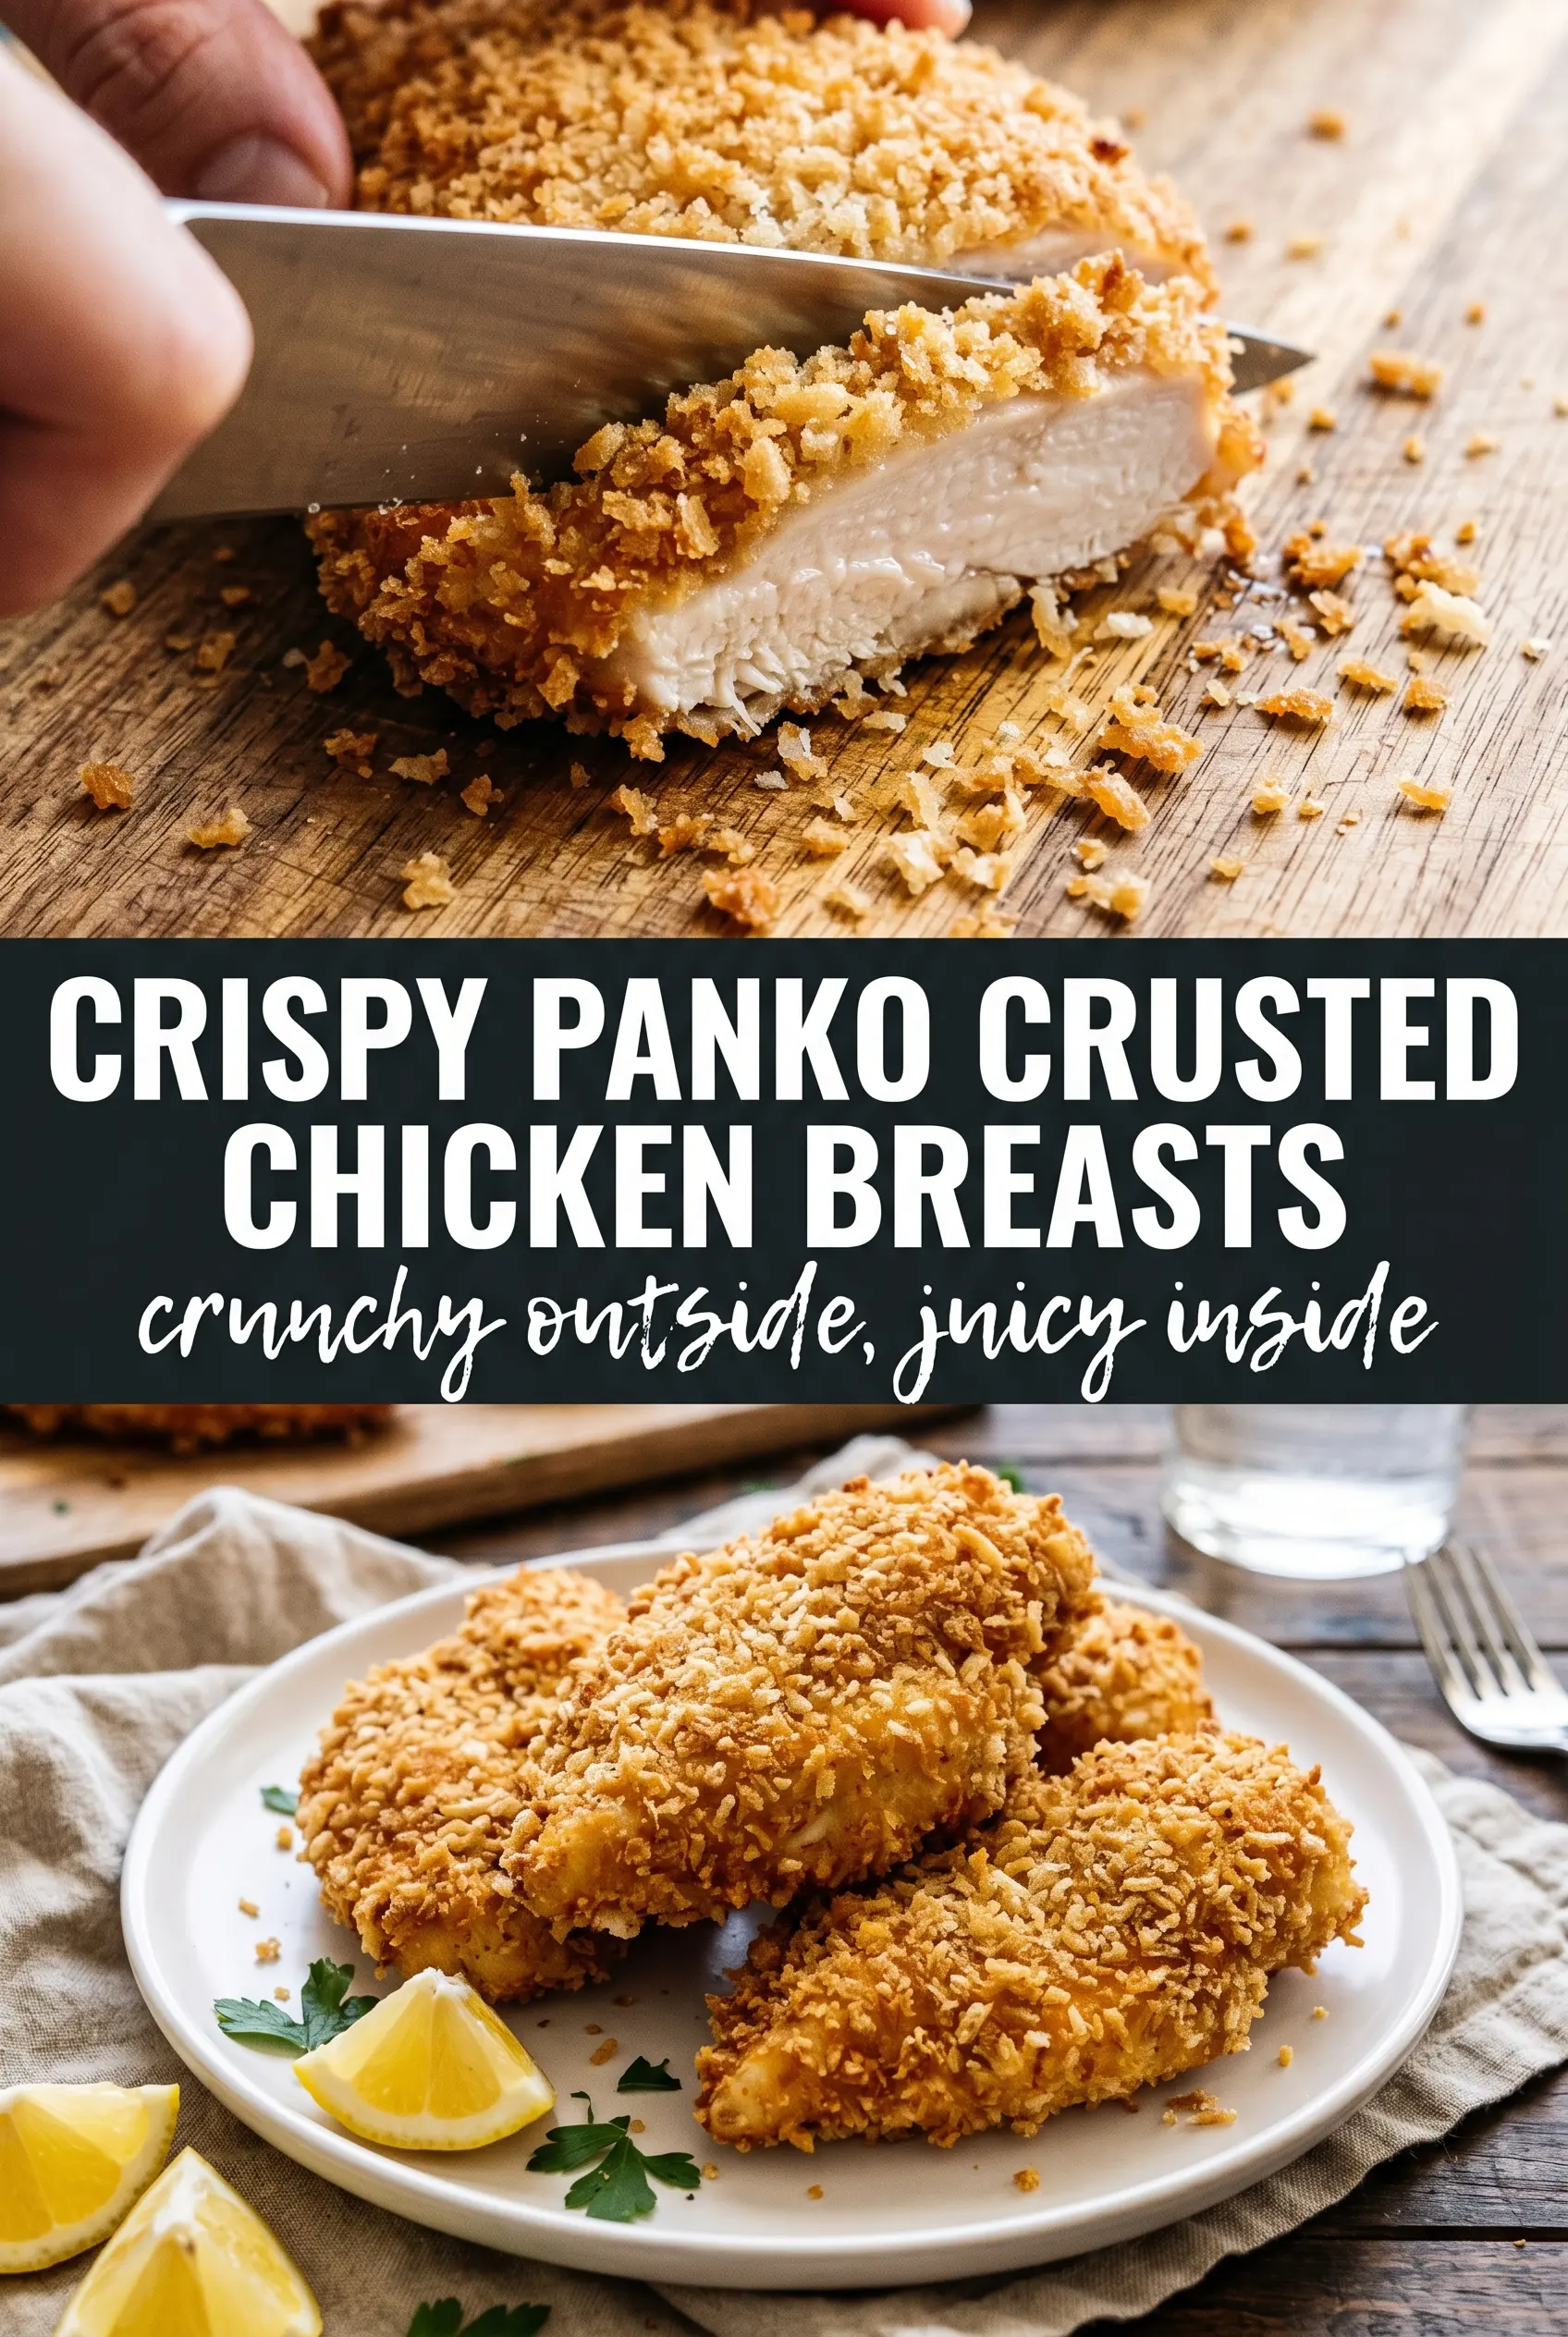
Crispy Panko Crusted Chicken Breasts
Ingredients
Equipment
Method
- Preheat the oven to 425°F and line a baking sheet with a wire rack; spray the rack with cooking spray so the crust doesn’t stick.
- Set up breading stations: place flour in one area, beaten egg in another, and mix panko breadcrumbs with Parmesan, Italian seasoning, garlic powder, and smoked paprika in the last area.
- Season the chicken breasts with salt, pepper, and garlic powder, then dredge each piece in flour to lightly coat all sides.
- Dip the floured chicken into the beaten egg so it’s evenly coated, then press firmly into the panko mixture on all sides for a thick, clingy crust.
- Drizzle or spray the breaded chicken with olive oil and place it on the prepared rack so air circulates around the coating.
- Bake for 20-22 minutes at 425°F until the crust is deep golden brown and the internal temperature reaches 165°F, with the coating visibly crisping and bronzing.
- Rest the chicken for 3 minutes so juices settle and the crust stays crisp.
- Garnish with fresh parsley and serve with lemon wedges for bright finishing flavor.


