Cookie dough ice cream cake hits the sweet spot between nostalgic and over-the-top. You get a baked chocolate chip cookie base that stays sturdy enough to slice, a thick layer of vanilla ice cream packed with edible cookie dough bites, and a chocolate ganache shell that sets into a clean, crackly top. Every bite has contrast: cold and creamy, chewy and soft, with just enough chocolate to keep the whole thing from tasting one-note.
The trick is building it in layers that each hold their own. Baking the cookie dough first gives you a base that won’t collapse under the ice cream, and fully cooling it keeps the filling from melting before the cake has time to set. The edible cookie dough bites are folded into softened ice cream so they stay distinct instead of disappearing into the cream. From there, the ganache needs to go on when the cake is frozen firm, or it will sink instead of sitting on top in that glossy shell.
Below you’ll find the exact freezing timeline that keeps the layers sharp, plus a few smart swaps if you want to change the cookie dough, the chocolate, or the garnish without ruining the structure.
The ice cream layer stayed creamy, the cookie dough bites kept their texture, and the ganache set up perfectly clean for slicing. My sister asked for the recipe before dessert was even finished.
Save this cookie dough ice cream cake for the birthday that needs a frozen dessert with a cookie base, ganache top, and real cookie dough bites in every slice.
The Freeze Point That Keeps the Layers Clean
The biggest mistake with an ice cream cake is rushing the freeze time between layers. If the base isn’t completely cool, the ice cream starts melting at the edges and you’ll end up with a slumped middle and a messy slice. If the ice cream layer isn’t firm before the ganache goes on, the chocolate can sink instead of forming that neat top shell.
This cake works because each layer gets enough time to set before the next one goes on. The cookie base gives the cake structure, the ice cream layer needs to be spread while it’s soft but not soupy, and the ganache should go on when the surface feels solid to a light touch. That patience is what gives you clean sides and sharp layers instead of a leaning frozen puddle.
What Each Layer Is Doing in This Cake
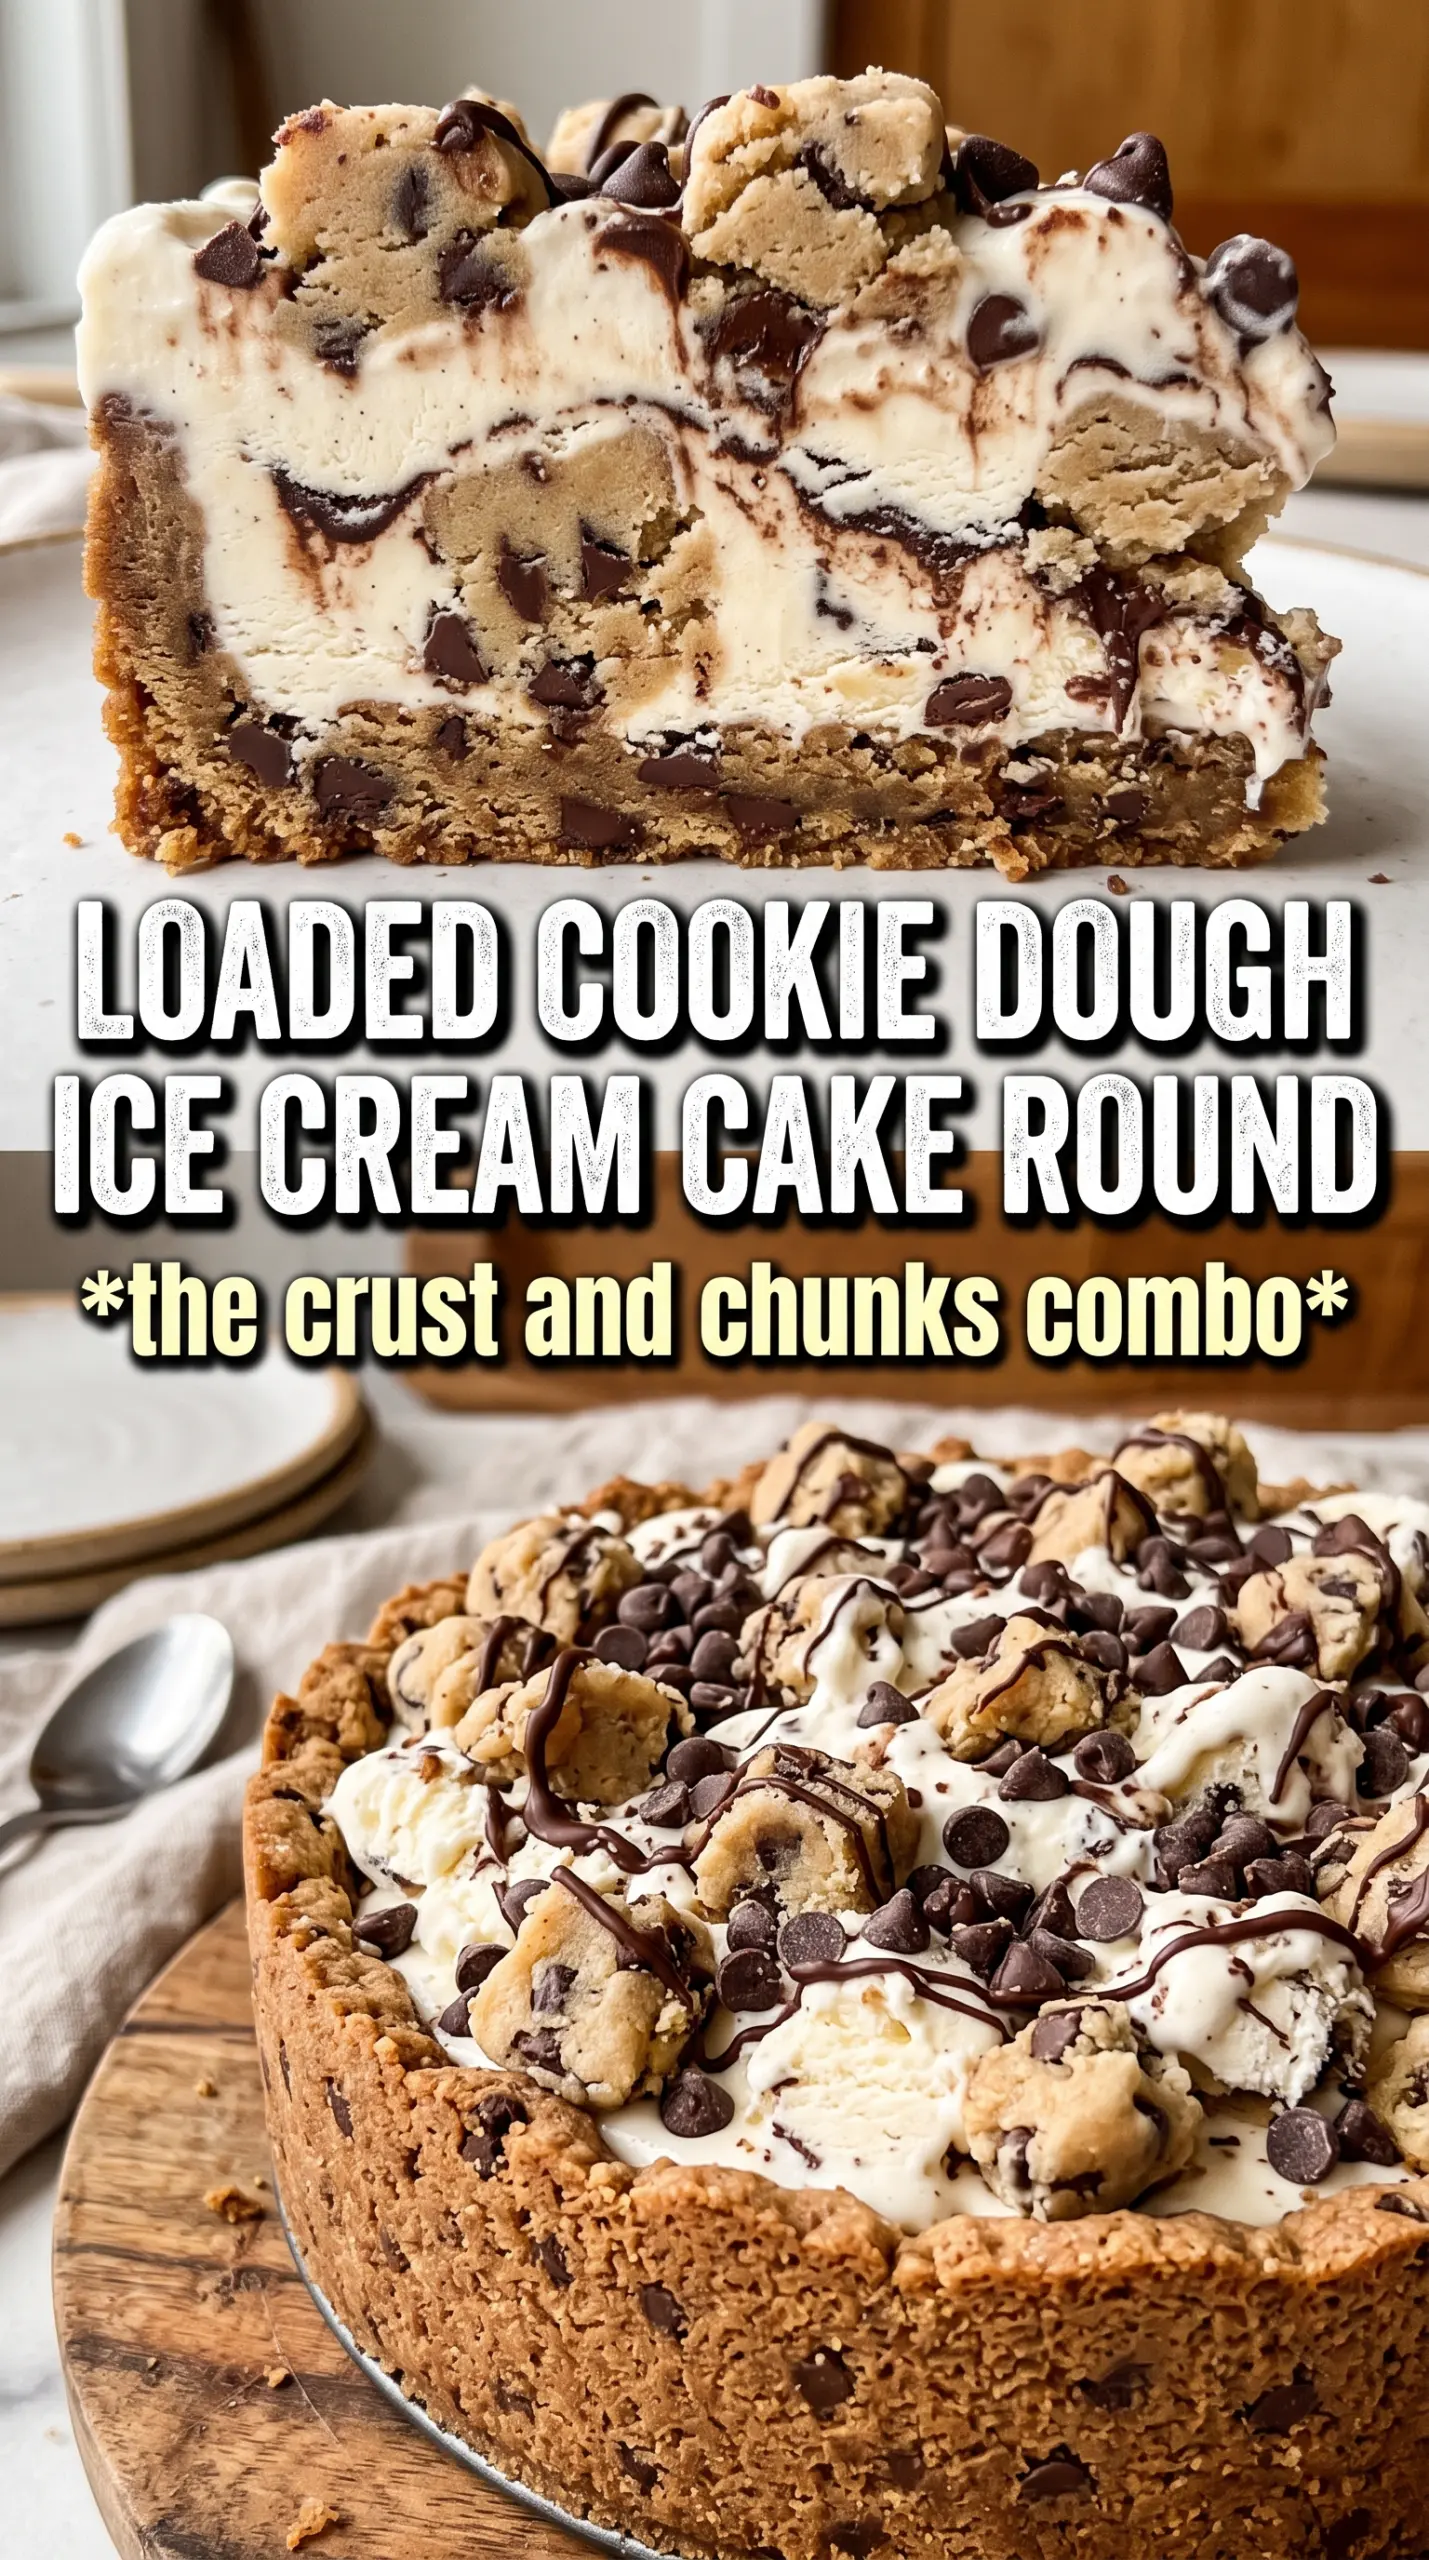
- Refrigerated cookie dough — This is the base, so it needs to bake into a sturdy layer that can be lifted cleanly from the springform pan. A store-bought tube works well here because it bakes evenly and holds together better than a loose homemade dough would in a frozen cake.
- Vanilla ice cream — Vanilla is the right blank canvas because it lets the cookie dough bites and ganache taste like the stars of the show. Soften it just until spreadable; if it melts too much, it refreezes icy instead of creamy.
- Edible cookie dough bites — These need to be safe to eat and firm enough to stay in pockets through the ice cream layer. If you’re making them yourself, keep them small so they slice cleanly and don’t make the cake crumble when cut.
- Chocolate ganache — Ganache gives the top its glossy finish and a thin chocolate snap once frozen. Use it warm enough to pour, but not hot enough to melt the ice cream beneath it.
- Whipped cream — This is for the finish, not the structure. Pipe it after the ganache has set so the swirls stay tall and don’t melt into the surface.
Building the Layers Without Melting the Middle
Baking the Cookie Base
Press the refrigerated cookie dough into a lined 9-inch springform pan and bake until the top is golden and the center is set, about 12 to 15 minutes. The edge should look deeply golden and the middle should no longer look wet, because an underbaked base softens too much once the ice cream goes on. Cool it completely in the pan before adding anything cold. If there’s even a little heat left in the crust, the bottom layer of ice cream starts to slide.
Folding the Cookie Dough Into the Ice Cream
Let the vanilla ice cream soften at room temperature until it spreads easily but still holds some shape. Fold in the edible cookie dough bites with a spatula so they stay in chunks instead of streaks. Don’t stir hard here; aggressive mixing melts the ice cream and breaks the texture. Spread the mixture over the cooled cookie base and smooth it into the corners of the pan with the back of a spoon or offset spatula.
Freezing Before the Ganache
Freeze the assembled cake for about 4 hours until it feels completely firm from edge to center. This step matters more than people think. If the cake is only half-set, the ganache will melt through the ice cream and leave streaks instead of a clean top layer. You want the surface to feel solid enough that the chocolate sits on top and spreads on its own.
Finishing With Ganache and Toppings
Pour the chocolate ganache over the frozen cake and tilt the pan gently so it runs to the edges. Once the ganache has set in the freezer, pipe the whipped cream on top and scatter mini chocolate chips and a few extra cookie dough bites over the surface. Freeze the finished cake for another 2 hours before unmolding and slicing. For the cleanest cuts, run a sharp knife under hot water, wipe it dry, and cut straight down without sawing.
How to Tweak This Cake Without Losing the Structure
Make it gluten-free with a GF cookie base
Use a gluten-free refrigerated cookie dough if you can find one, or bake a homemade gluten-free chocolate chip cookie base in the springform pan. The texture will be a little more delicate, so let it cool fully and line the pan well before adding the ice cream. The cake still slices cleanly, but the crust won’t have quite the same chew.
Swap the vanilla ice cream for chocolate chip or cookies-and-cream
This gives the cake a more crowded, bakery-style feel, but the flavor gets richer and a little less clean. If you use a mix-in-heavy ice cream, keep the cookie dough bites smaller so the slice doesn’t turn bulky. The structure stays the same, though the chocolate-on-chocolate contrast becomes stronger.
Use dairy-free ice cream and coconut whipped topping
This works best if you choose a dairy-free vanilla ice cream that freezes firm rather than one that stays soft in the freezer. Coconut whipped topping pipes nicely and holds its shape after a final freeze. The ganache should also be dairy-free if you want the whole cake to stay consistent.
Storage and Reheating
- Refrigerator: This cake doesn’t belong in the fridge for long. Once sliced, let leftovers sit at room temperature for 5 to 10 minutes, then return them to the freezer right away so the ice cream doesn’t go soft and icy.
- Freezer: Wrap the cake tightly once it’s fully set and keep it frozen for up to 1 week for the best texture. After that, the cookie base starts to dry out and the ice cream can pick up freezer flavor.
- Reheating: Don’t reheat this cake. For clean slices, thaw the whole cake on the counter for about 10 minutes or the slices for 3 to 5 minutes, just until the knife slides through without cracking the ganache.
Questions I Get Asked About This Recipe
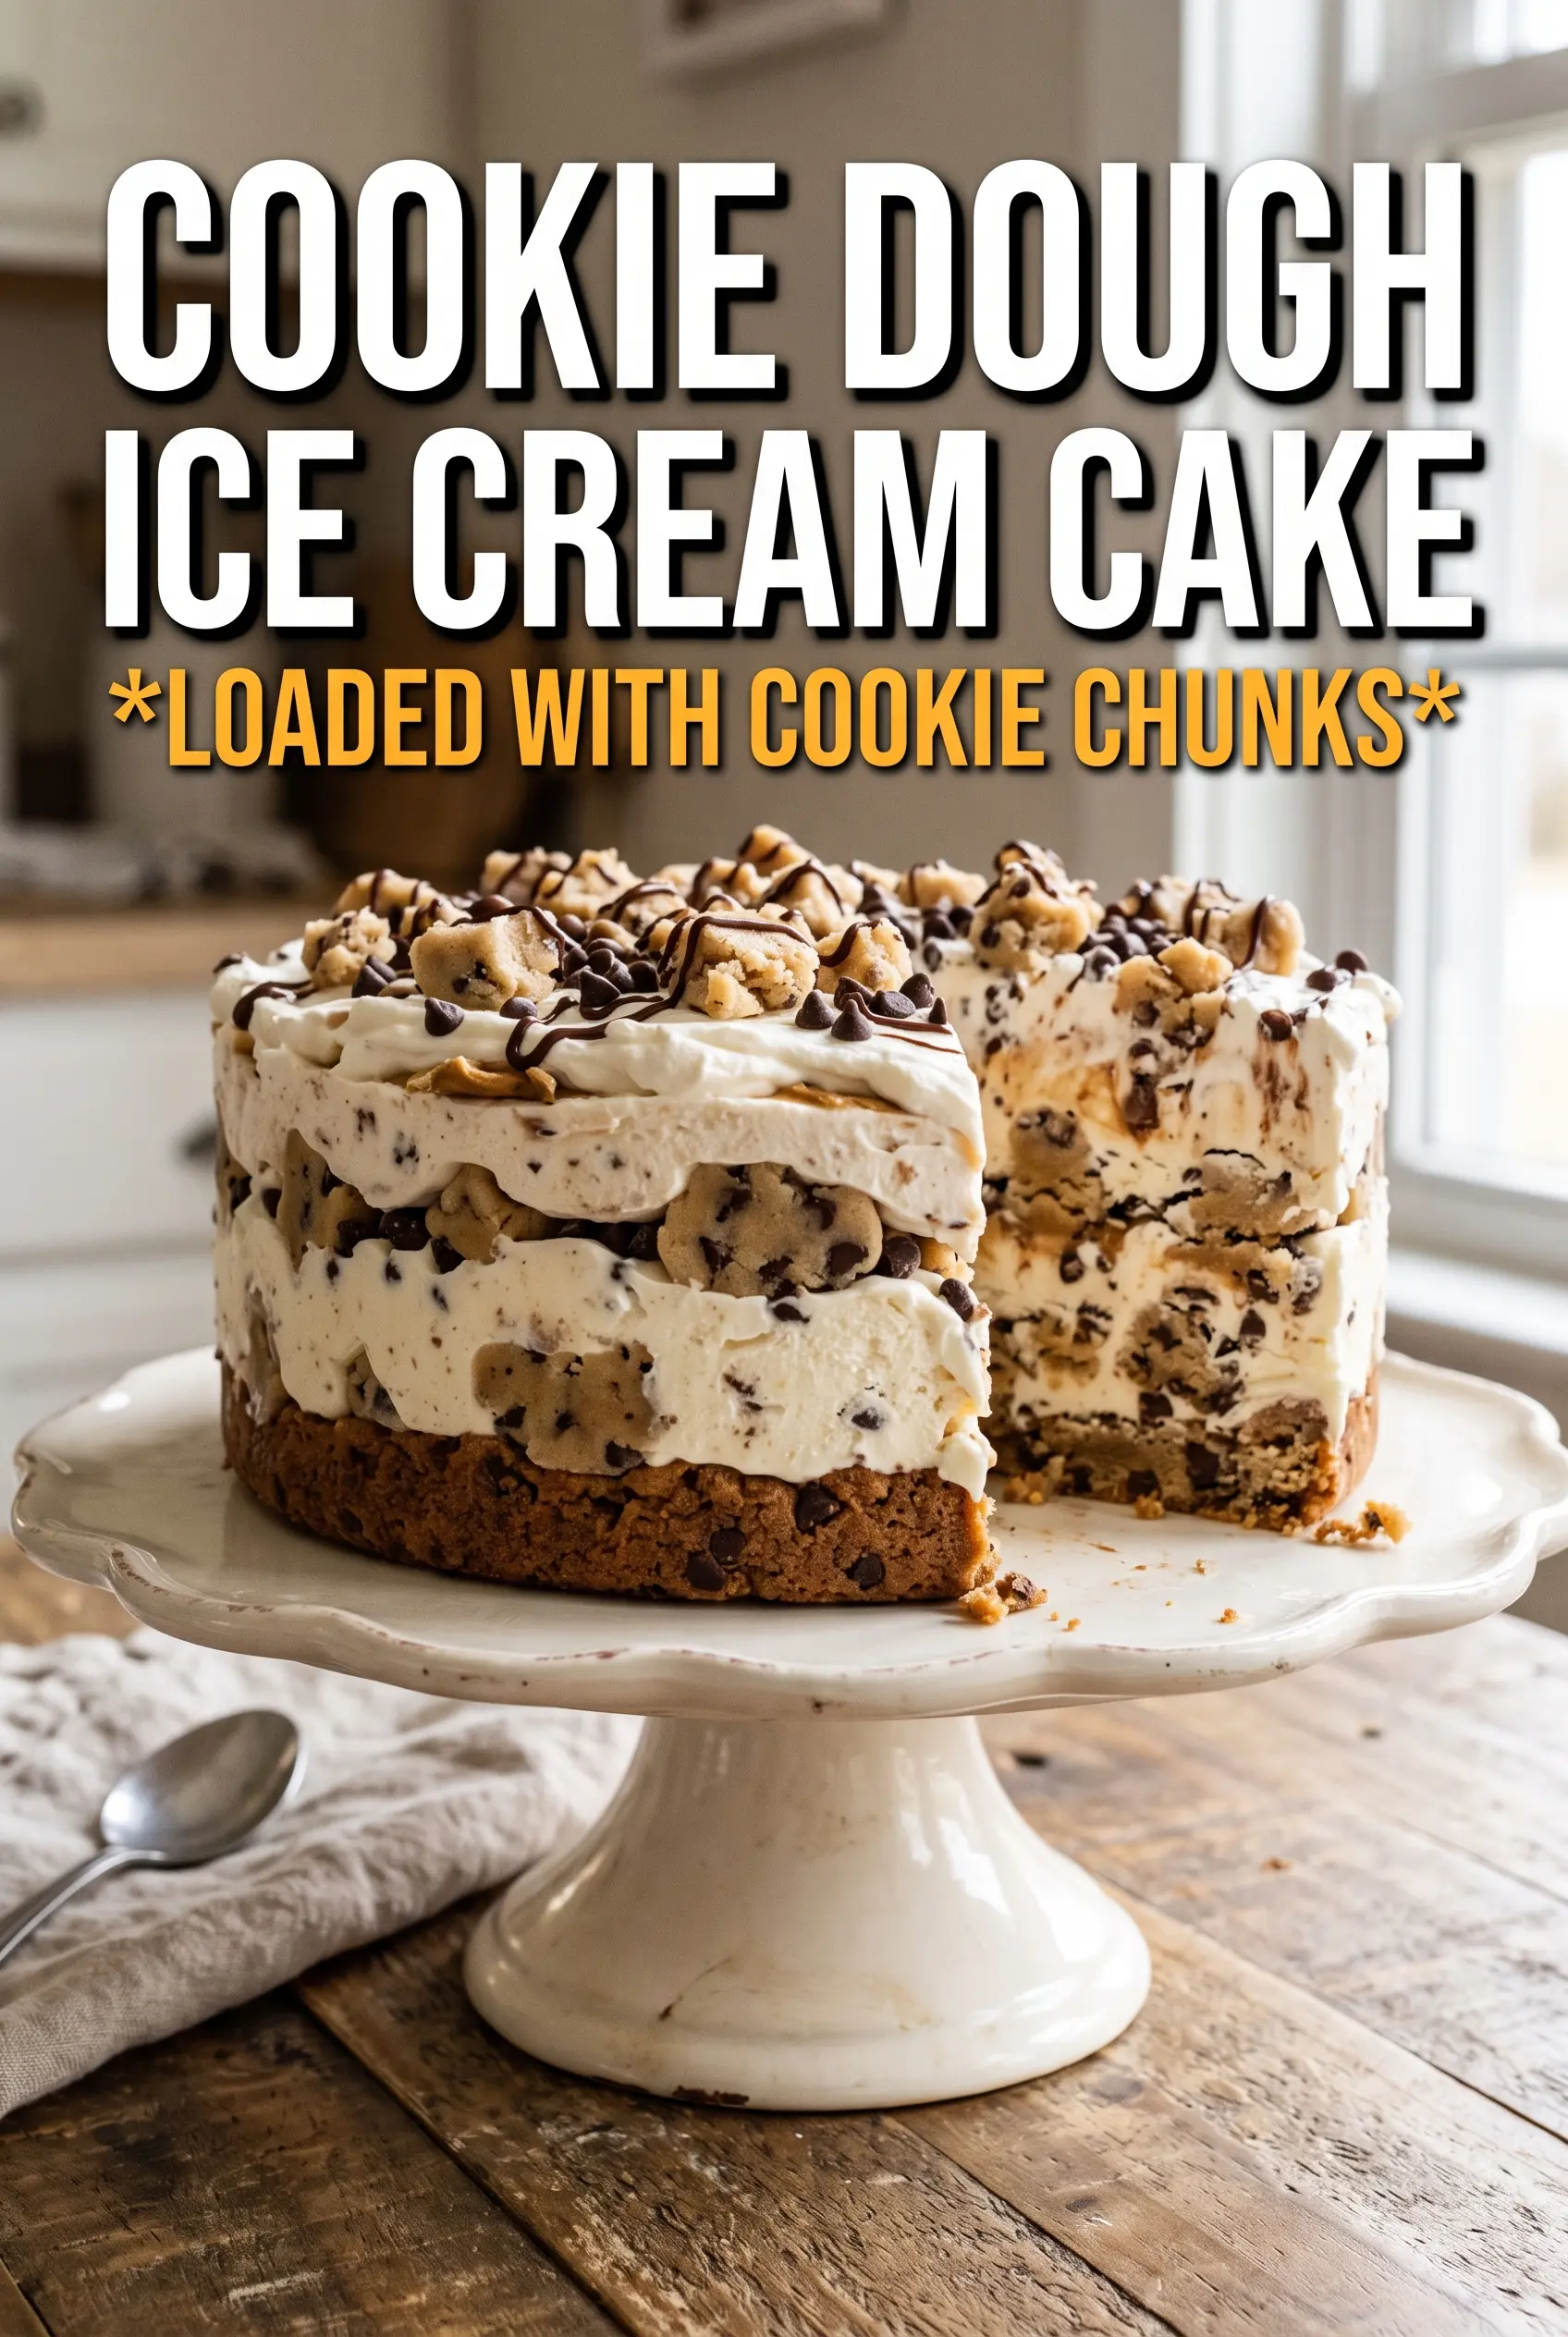
Cookie Dough Ice Cream Cake
Ingredients
Equipment
Method
- Bake the refrigerated cookie dough in a 9-inch springform pan at 350F for 12-15 minutes, until set and lightly golden at the edges, then cool completely to room temperature.
- Fold the edible cookie dough bites into the softened vanilla ice cream until evenly distributed, looking for consistent speckles of dough throughout the ice cream.
- Spread the vanilla ice cream mixture over the cooled cookie base in an even layer, keeping the top smooth and level.
- Freeze for 4 hours, until completely firm to the touch with no soft spots when you gently press the surface.
- Pour the chocolate ganache over the top and tilt or gently tap the pan to level it, then stop when the surface looks fully coated.
- Freeze for 1 hour until the ganache sets and no longer looks glossy or runny when you look at an edge.
- Pipe the whipped cream on top in swirls or dollops, leaving small gaps so the ganache remains visible.
- Scatter the mini chocolate chips over the whipped cream and add extra cookie dough bites for texture.
- Freeze for 2 more hours before releasing and slicing, until the cake holds its shape cleanly when the pan is removed.