Cold, sliceable coffee ice cream cake is the kind of dessert that disappears fast because it hits three things at once: a crunchy chocolate cookie crust, an intensely creamy coffee center, and a glossy ganache top that tastes like a grown-up candy bar. The contrast is what makes each bite exciting. The crust stays firm enough to cut cleanly, but the ice cream layer stays soft on the tongue once it has had just a minute or two on the counter.
This version works because the crust gets fully frozen before the ice cream goes in, and the ice cream is softened just enough to spread without turning soupy. That little bit of control matters. If the ice cream is too hard, you’ll tear the crust trying to smooth it out. If it’s too melted, the layers blur and the cake loses its clean edges.
Below, I’ll show you how to keep the ganache from sliding, how long each layer needs in the freezer, and the small finishing details that make this look bakery-worthy without turning it into a project.
The coffee ice cream layer froze up smooth, and the ganache set with that clean slice I was hoping for. I let it sit 8 minutes before cutting and the crust held together perfectly.
Like this coffee ice cream cake? Pin it for the nights when you want a frozen dessert with bold espresso flavor and a glossy chocolate finish.
The Trick to Keeping the Layers Clean in a Frozen Coffee Cake
The hardest part of an ice cream cake isn’t the flavor. It’s the structure. The crust has to be cold enough to support the filling, and the filling has to be spreadable enough to settle into an even layer without dragging crumbs through it. That balance keeps the slices sharp instead of muddy.
The other place people run into trouble is the ganache. If it’s poured while it’s still hot, it melts into the ice cream and turns the top greasy. If it’s too cold, it thickens before it reaches the edges. The sweet spot is fluid but not steaming, with enough body to sit on top and slowly level itself as you tilt the pan.
What Each Ingredient Is Doing in This Coffee Ice Cream Cake
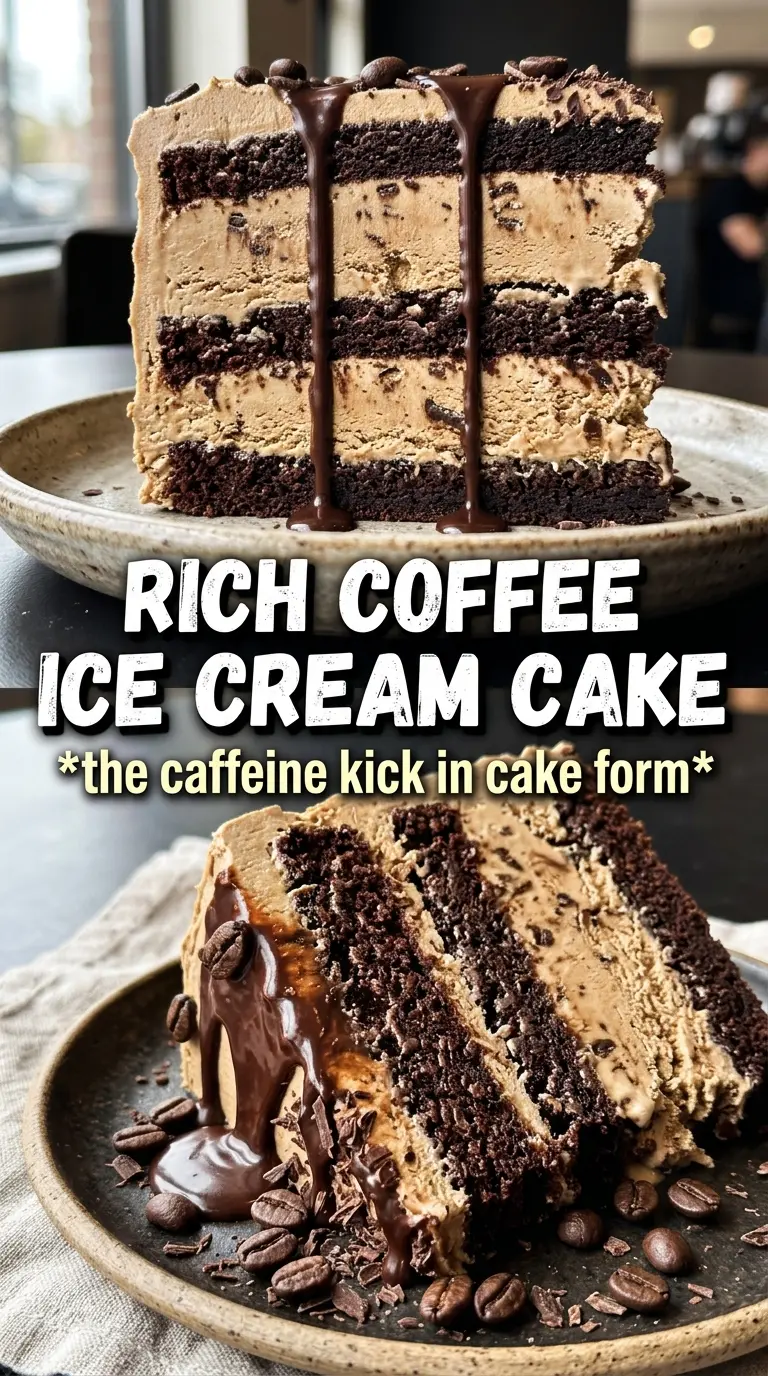
- Oreo cookies — These give you a dark, cocoa-heavy crust without any extra work. The cream filling helps bind the crumbs once the butter goes in, so you get a base that cuts neatly after freezing. Generic chocolate cookies can work, but Oreos give the strongest flavor and the most reliable texture.
- Butter — This is what turns loose crumbs into a crust that holds together when sliced. Melted butter is enough here; you don’t need to overthink it. If the crust seems sandy after mixing, it needs a few more spoonfuls of butter, but don’t flood it or it will freeze greasy.
- Coffee ice cream — This is the center of the cake, so the quality matters. A good coffee ice cream should taste like coffee first, not just sweet cream with a whisper of espresso. Let it soften on the counter until it’s spreadable but still cold; that’s what keeps the layer smooth and dense instead of airy and streaky.
- Dark chocolate ganache — This adds a firm chocolate cap that balances the coffee without making the dessert overly sweet. Use a ganache that’s cool enough to pour and thick enough to coat. If you only have chocolate chips, they’ll work in a pinch, but chopped chocolate melts more smoothly and gives you a better finish.
- Whipped cream and espresso beans — These are finishing touches, but they matter. The cream softens the look and adds a lighter bite on top of a rich dessert, while the chocolate-covered espresso beans give you crunch and a stronger coffee hit. Dusting with cocoa keeps the whole cake from looking flat.
Building the Coffee Ice Cream Cake Without Losing the Shape
Pressing the Crust Hard Enough
Mix the crushed Oreos with melted butter until every crumb looks damp, then press the mixture firmly into the bottom of a springform pan. Use the bottom of a measuring cup to compress it into an even layer. If the crust is loose, it will crumble when you slice the cake later, so don’t stop at a light pat-down. Freeze it for the full 15 minutes so the butter firms up before the ice cream touches it.
Spreading the Softened Ice Cream
Spoon the softened coffee ice cream onto the chilled crust and work quickly with an offset spatula or the back of a spoon. The ice cream should spread with some resistance, not pour like a milkshake. If it’s too firm, let it sit a few more minutes; if it’s slumping, it’s past the right stage and will soak into the crust instead of sitting above it. Once it’s smooth, freeze it until it’s solid enough to support the topping, about 4 hours.
Adding the Ganache Crown
Pour the dark chocolate ganache over the frozen ice cream layer and tilt the pan gently so it reaches the edges. The surface should be cold enough that the ganache settles quickly without melting down into the center. If the ganache starts to seize or thickens too fast, warm it for a few seconds and stir until it loosens again. Freeze for an hour so the top sets before you pipe on the whipped cream.
Finishing and Serving
Pipe or spoon the whipped cream over the firm ganache, then scatter on the chocolate-covered espresso beans and add a light dusting of cocoa powder. Freeze for one more hour so the toppings stay put when you cut it. For the cleanest slices, run your knife under hot water, wipe it dry, and cut while the cake is still frozen. Let each slice sit for a few minutes before serving so the coffee flavor opens up and the texture turns creamy instead of icy.
Three Ways to Adjust This Frozen Dessert for Your Table
Make it dairy-free
Use a dairy-free coffee ice cream, plant-based butter for the crust, and a coconut cream ganache instead of a dairy version. The texture will still slice well, but the finish will taste a little more coconut-forward and less classic bakery-style chocolate.
Swap the ganache for hot fudge
Hot fudge gives you a softer, gooier top that stays a little less firm in the freezer. It tastes great, but the slices won’t be as clean, so use it only if you want a more casual dessert and don’t mind a slightly messier cut.
Turn it into a mocha version
Add a thin layer of chocolate sauce between the crust and the ice cream, or use a mocha ice cream if you find one. That deepens the chocolate note and makes the coffee flavor taste rounder, though it also pushes the dessert closer to bittersweet than straight coffee.
Use a gluten-free crust
Swap in gluten-free chocolate sandwich cookies and keep the rest of the method the same. The crust may be a touch more delicate, so press it firmly and freeze it well before adding the ice cream.
Storage and Reheating
- Refrigerator: Not ideal for storing. The cake softens too fast and loses its clean layers.
- Freezer: Wrap the fully set cake tightly and freeze for up to 2 weeks. Keep the whipped cream topping in mind; it holds best when the cake is covered well.
- Reheating: No reheating needed. For serving, let the cake stand at room temperature for 5 to 10 minutes so the knife slides through the crust and the ice cream turns creamy instead of icy.
Questions I Get Asked About This Coffee Ice Cream Cake
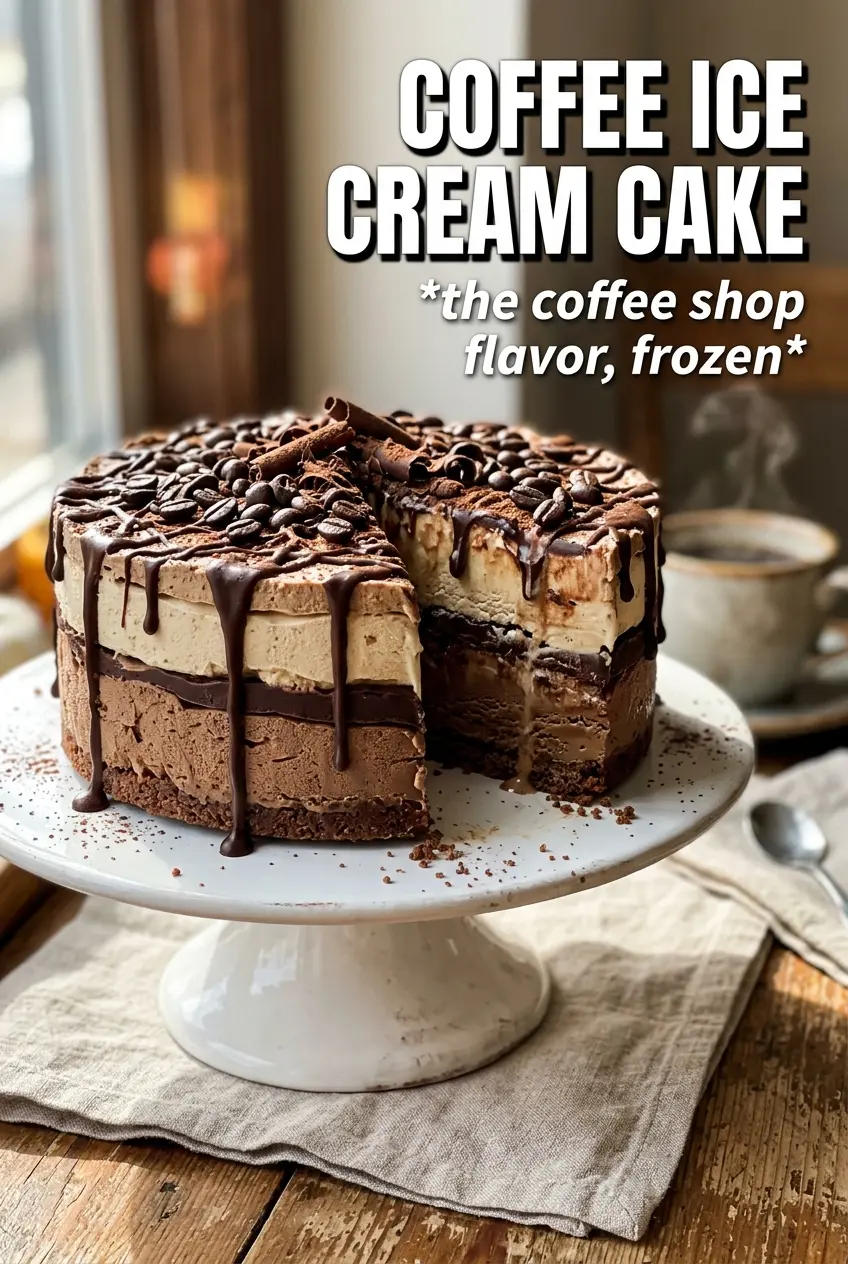
Coffee Ice Cream Cake
Ingredients
Equipment
Method
- Combine crushed Oreo cookies and melted butter, then press the mixture firmly into a 9-inch springform pan to form an even crust layer.
- Freeze the pan for 15 minutes to set the crust.
- Spread the softened coffee ice cream over the frozen crust, smoothing the top all the way to the edges.
- Freeze for 4 hours until the ice cream layer is firm.
- Pour the dark chocolate ganache over the top and tilt the pan as needed so it covers evenly.
- Freeze for 1 hour until the ganache is firm.
- Pipe whipped cream decoratively on top of the ganache.
- Scatter chocolate-covered espresso beans over the whipped cream and dust lightly with cocoa powder.
- Freeze for 1 more hour before serving to fully set the cake.


