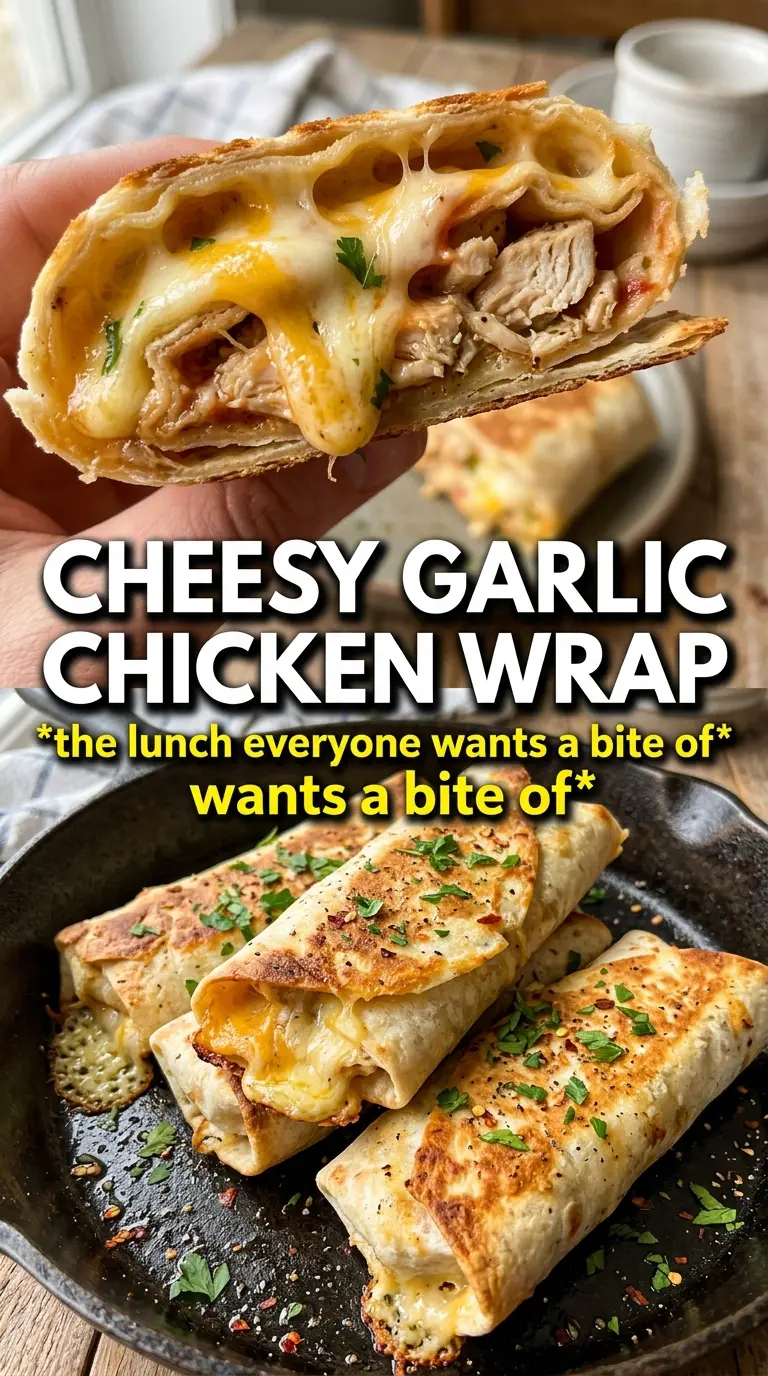
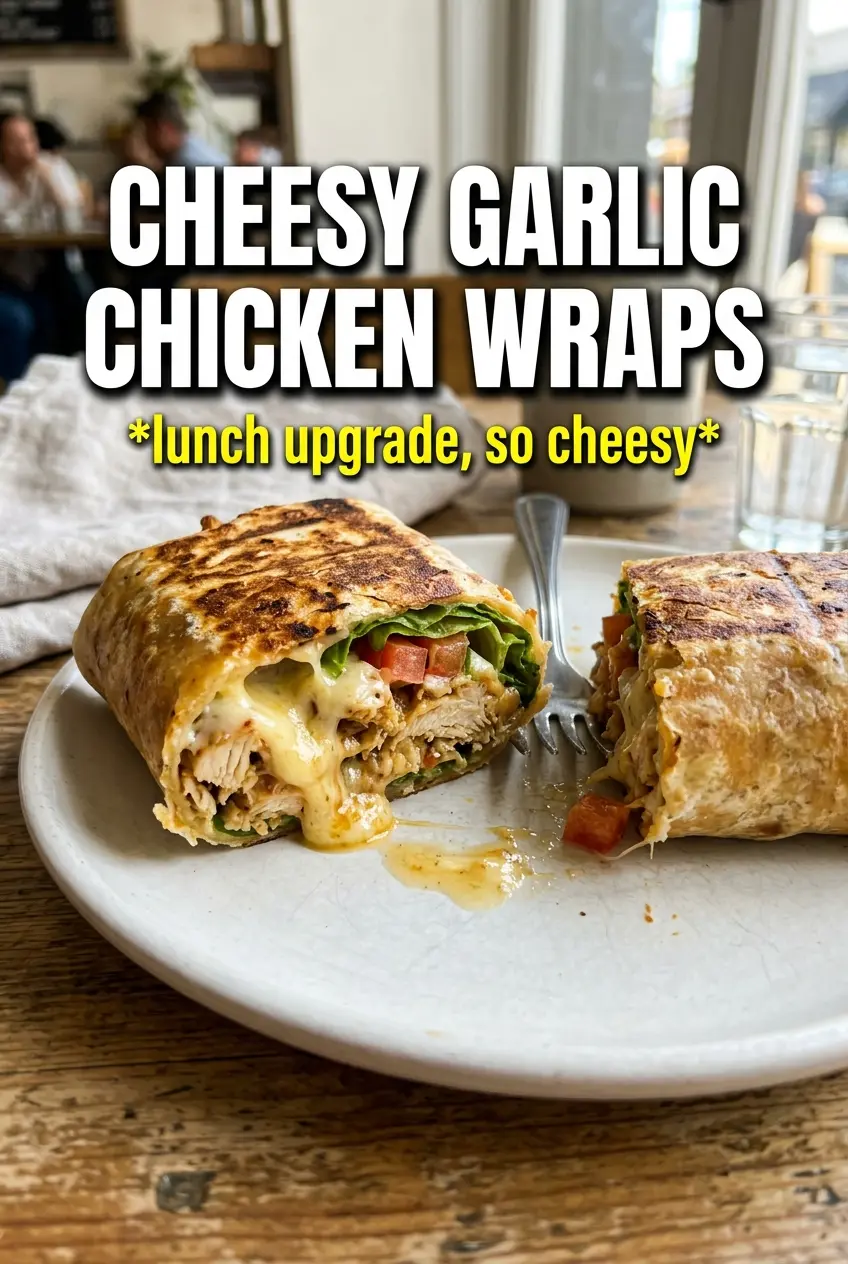
Golden-toasted tortillas, melted mozzarella, and garlicky chicken make these wraps the kind of lunch-or-dinner fix that disappears fast. The outside gets crisp and lightly browned in the skillet while the inside stays juicy, creamy, and loaded with enough freshness from romaine and tomato to keep every bite balanced.
What makes this version work is the layering. The chicken gets cooked first so it can pick up color, then it’s tossed in warm garlic butter instead of being drowned in sauce. That keeps the flavor clean and the filling from turning soggy. A little ranch or Caesar goes on the tortilla, not the pan, which gives you just enough moisture for flavor without making the wrap slide apart.
Below, I’ve included the few details that matter most, especially how to keep the tortillas from tearing and how to toast the wraps so the cheese melts before the outside burns.
The garlic butter made the chicken taste like it came from a restaurant, and the wraps crisped up perfectly without getting greasy. I used Caesar dressing and the cheese melted all the way through in just a couple minutes.
Love a crisp tortilla and molten cheese? Save these cheesy garlic chicken wraps for the night you want a fast skillet dinner with a restaurant-style finish.
The Trick to a Crisp Wrap Without a Soggy Center
The biggest mistake with chicken wraps is piling everything in while the filling is still wet. Once the garlic butter goes in, the chicken should look glossy, not swimming. If the pan is too crowded, the chicken steams instead of browns, and that softer texture carries straight into the wrap.
The other place these fall apart is the tortilla. Warm it just enough to become flexible, then roll it tightly and toast seam-side down first. That first minute in the skillet seals the wrap and helps the cheese melt into the chicken, which keeps the filling from sliding out when you cut it.
What Each Ingredient Is Actually Doing in These Wraps
- Chicken breasts — Cutting them into strips helps them cook quickly and evenly, which matters here because you want browned edges before the tortillas go in. Chicken thighs will work too, and they’ll give you a richer result, but they’ll also release a little more fat in the skillet.
- Butter — This does double duty: it helps the chicken brown and gives the garlic a gentle, rounded flavor. You can use olive oil in a pinch, but you’ll lose some of that classic garlic-butter finish that makes the wraps taste special.
- Garlic and parsley — The garlic needs just a minute in the pan, long enough to turn fragrant but not so long that it tastes bitter. The parsley isn’t there for decoration; it cuts through the richness and keeps the filling from tasting heavy.
- Mozzarella — Low-moisture shredded mozzarella melts best and gives you those stretchy pockets when you slice the wrap. Pre-shredded cheese is fine, but if you grate it yourself, it melts a little smoother.
- Romaine and cherry tomatoes — These add crunch and freshness, but they should be dry before they go in. Wet lettuce or juicy tomatoes are the fastest way to make the tortilla soft from the inside.
- Ranch or Caesar dressing — Use just enough to coat the tortilla. That thin layer adds flavor and helps the filling cling together, but too much will leak out during toasting.
How to Build the Filling and Toast the Wraps So They Hold Together
Brown the Chicken First
Season the chicken strips with salt and pepper before they hit the skillet. Give them space in the pan so they can pick up color instead of steaming in their own moisture. You’re looking for golden edges and an internal temperature of 165°F; if the pieces are pale and rubbery, they need another minute or two. Pull them out as soon as they’re done so they don’t overcook while you build the garlic butter.
Wake Up the Garlic in Butter
Use the same skillet and lower the heat a touch before adding the garlic. It should smell fragrant within a minute, and the butter should look foamy, not browned. Garlic burns fast, and once it goes past golden, the whole wrap tastes sharp instead of mellow. Toss the chicken back in just long enough to coat every strip.
Layer for Stability
Spread the dressing on the tortilla first, then add the cheese directly onto that layer. The cheese acts like glue once it melts, which helps anchor the chicken and vegetables. Keep the lettuce and tomato in a loose layer so the wrap stays compact. If you overfill it, the tortilla will split before the cheese has time to set.
Toast Until the Seam Seals
Roll the wrap tightly and place it seam-side down in a skillet over medium heat. Press it lightly with a spatula and let it toast for about 2 minutes per side, until the outside is golden and the cheese has melted enough to bind everything together. If the heat is too high, the tortilla browns before the center warms through. Slice it only after a short rest so the filling doesn’t spill out the second you cut it.
How to Adapt These Wraps for Different Cravings and Schedules
Dairy-Free Version
Swap the butter for olive oil and use a good dairy-free shredded mozzarella-style cheese. You’ll lose a little of the buttery richness, but the garlic chicken still carries the wrap, and the skillet toast gives it enough texture to feel complete.
Gluten-Free Wraps
Use sturdy gluten-free tortillas that soften well in the microwave or skillet before rolling. Some brands crack if you try to fold them cold, so warming them first matters even more than it does with wheat tortillas.
Extra Hearty Dinner Wraps
Add sliced avocado or a few strips of crisp bacon if you want a fuller, richer wrap. Keep the add-ins light so the tortilla still seals properly; too much bulk makes the filling push out the sides before the cheese melts.
Make-Ahead Lunch Prep
Cook the chicken and garlic butter ahead of time, then store the filling separately from the lettuce, tomato, and tortillas. Assemble and toast right before eating, because pre-made wraps soften quickly once the dressing and vegetables sit against the tortilla.
Storage and Reheating
- Refrigerator: Store the cooked chicken filling for up to 4 days. Assembled wraps are best eaten right away, but leftovers will keep if wrapped tightly.
- Freezer: Freeze the chicken filling only, not the assembled wraps. The lettuce and tomato won’t thaw well, and the tortilla turns soft.
- Reheating: Warm the chicken in a skillet over medium-low heat or in the microwave in short bursts, then build fresh wraps. If you’re reheating an assembled wrap, use a dry skillet so the tortilla can crisp again instead of turning limp.
Answers to the Questions Worth Asking
Cheesy Garlic Chicken Wraps
Ingredients
Equipment
Method
- Season chicken strips with salt and pepper; cook them in 2 tablespoons butter in a skillet over medium-high heat for 5-6 minutes until golden and cooked through to 165°F. Visual cue: the chicken should look browned at the edges.
- In the remaining 2 tablespoons butter, cook garlic for 1 minute until fragrant; toss cooked chicken strips in the garlic butter and stir in fresh parsley. Visual cue: the garlic aroma should be noticeable and the chicken should look glossy.
- Warm tortillas until pliable. Visual cue: the tortillas should flex without cracking.
- Spread ranch dressing over each tortilla. Visual cue: a thin, even coating covers the surface.
- Layer shredded mozzarella, garlic chicken strips, romaine, and cherry tomatoes. Visual cue: the cheese should be layered so it’s ready to melt at the roll edge.
- Roll tightly and toast seam-side down in a skillet over medium heat for 2 minutes per side until golden and cheese is melted. Visual cue: the seam should be sealed and the cut edge should show melted cheese.
- Slice diagonally and serve immediately. Visual cue: melted cheese should pull slightly as you cut.


