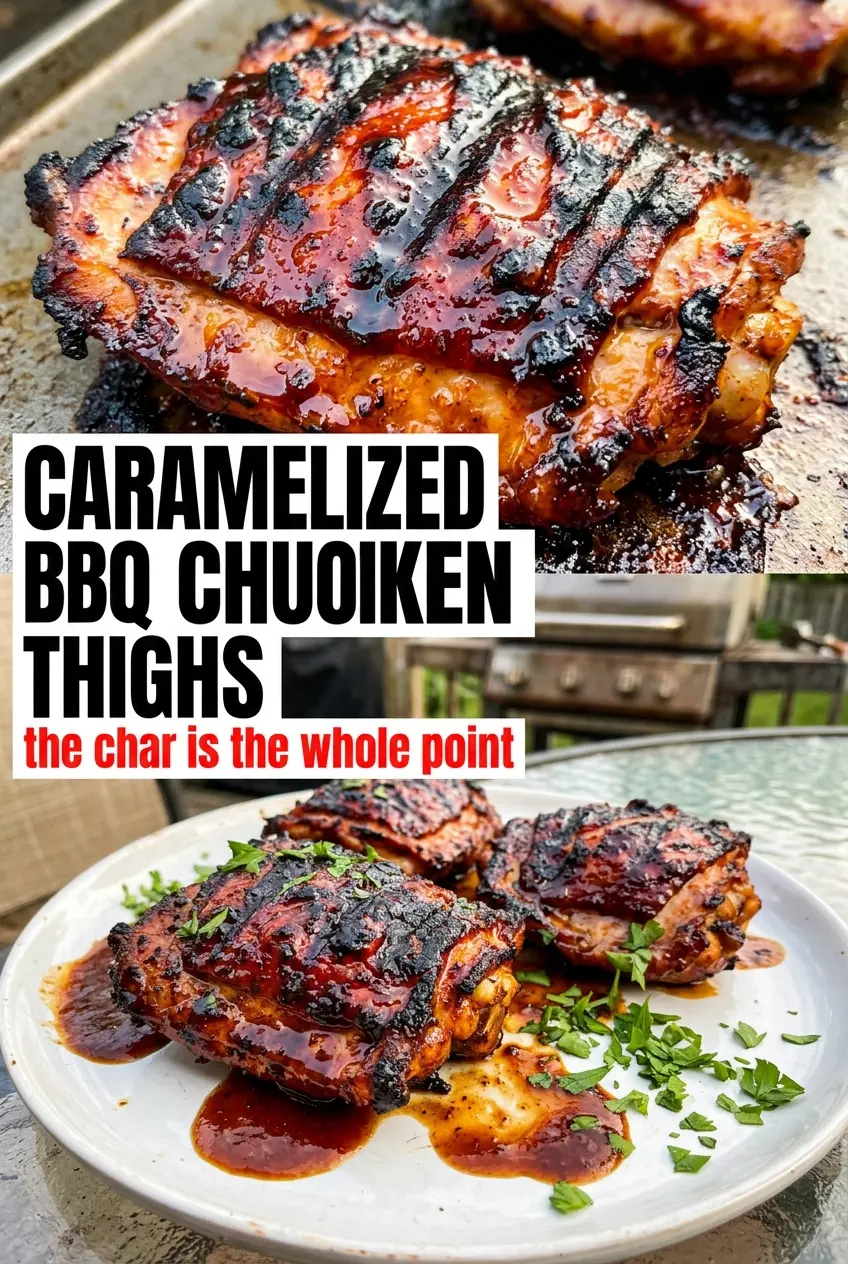
Caramelized BBQ chicken thighs are the kind of grill recipe that disappears fast because the skin turns crisp, the meat stays juicy, and the sauce tightens into a sticky glaze instead of burning off the second it hits the heat. Bone-in thighs give you a lot of forgiveness on the grill, which is part of why this version earns a spot in the regular rotation.
The trick is to treat the sauce like a finish, not a marinade. Brown sugar and BBQ sauce need enough heat to caramelize, but not so much that the sugars scorch before the chicken cooks through. A little apple cider vinegar keeps the glaze from tasting flat, and smoked paprika gives the sauce a deeper, grilled flavor even if your barbecue sauce is on the sweeter side.
Below, I’ll walk through the part that matters most: getting the skin crisp before you start basting. That’s the difference between chicken that tastes grilled and chicken that ends up steamed under a sticky coating.
The skin got shatter-crisp before I added the sauce, and the glaze turned glossy and sticky instead of burning. I followed the timing exactly and the thighs came off the grill juicy every time.
Save these caramelized BBQ chicken thighs for the night you want crisp skin, smoky glaze, and almost no cleanup.
The Mistake That Makes BBQ Chicken Skin Go Soft
Most people start basting too early. The skin needs uninterrupted contact with the grill first, or it never gets a chance to render and crisp. Once sauce goes on, the sugars and moisture slow down browning, so if you begin glazing while the chicken is still pale, you trap that softness underneath and end up with tacky chicken instead of caramelized chicken.
Chicken thighs are the right cut here because the extra fat and darker meat hold up to direct heat better than breasts. That gives you time to build color on the skin, then finish with sauce near the end without drying the meat out. If your grill runs hot, move the thighs to a cooler zone after the flip so the glaze thickens slowly instead of blackening in seconds.
- Bone-in, skin-on thighs — This cut stays juicier during grilling and gives you the fat you need for a crisp, browned skin. Boneless thighs work, but they cook faster and lose some of that built-in protection.
- Brown sugar — This is what helps the sauce go glossy and sticky. Honey can work in a pinch, but it browns faster and can burn sooner, so reduce the heat a little if you swap it in.
- Apple cider vinegar — A small amount keeps the sauce from tasting heavy or one-note. If you skip it, the glaze can land flat and overly sweet.
- Smoked paprika — It boosts the grilled, smoky taste even before the chicken picks up any real smoke from the fire. Regular paprika works, but you’ll lose some depth.
Building the Glaze Without Burning the Sugar
Season the thighs first with salt, pepper, and olive oil so the skin has a dry, seasoned surface when it hits the grill. Mix the sauce separately so the sugar is fully dissolved before basting; gritty sauce clings unevenly and can scorch in spots. Grill skin-side down first until the fat starts to render and the skin turns deeply golden with crisp edges.
After you flip the chicken, keep cooking until the meat is nearly done before the first real brush of sauce. You want the glaze to set in layers. Brush, grill, brush again, and watch for a sticky sheen and dark caramelized edges. If flames flare from the sugar, move the chicken a little off the hottest part of the grill and let the sauce catch up instead of forcing it.
Seasoning the Thighs
Pat the chicken dry before seasoning. Wet skin steams, and steaming is the fastest way to lose crispness. A light coat of oil helps the seasoning cling and encourages even browning, but too much oil can cause flare-ups, so keep it thin. The surface should look lightly glossy, not slick.
Getting the Skin Crisp First
Place the thighs skin-side down over medium heat and leave them alone long enough to do their job. You’re listening for a steady sizzle, not a violent crackle. If the skin sticks, give it another minute; it usually releases once the fat renders. Pulling too early tears the skin and leaves the best part behind on the grate.
Finishing With Sauce
Once the chicken is mostly cooked, start brushing on the glaze in thin layers. Thick layers drip, burn, and never set evenly. Keep turning and basting until the sauce looks lacquered and the internal temperature reaches 165°F in the thickest part without touching bone. Let the thighs rest a few minutes before serving so the juices settle back into the meat.
How to Adjust These Thighs for Different Grills and Diets
Oven Finish for Rainy-Day Cooking
If the grill isn’t an option, sear the thighs skin-side down in a hot oven-safe skillet, then finish them in a 425°F oven. Brush on the sauce during the last few minutes so it caramelizes without burning. You won’t get quite the same smoky edge, but the skin can still turn crisp if you start it in a dry pan.
Low-Sugar Version
Use a no-sugar-added BBQ sauce and cut the brown sugar in half. The glaze won’t get quite as sticky or dark, but it will still cling well if you reduce the sauce a little before brushing it on. Watch the heat closely, because lower-sugar sauces can still scorch if they sit over direct flames too long.
Gluten-Free Check
Most of the ingredients are naturally gluten-free, but BBQ sauce is the one label you need to check carefully. Use a sauce that’s clearly marked gluten-free, since some brands sneak in malt vinegar or soy sauce. The cooking method doesn’t change at all.
Boneless Thighs
Boneless thighs cook faster and are easier to serve, but they don’t have the same margin for error. Start checking them several minutes earlier and keep the sauce layers thinner so the outside doesn’t overcook before the center is done. The result is still juicy, just a little less dramatic than bone-in.
Storage and Reheating
- Refrigerator: Store leftovers in an airtight container for up to 4 days. The skin softens in the fridge, but the flavor holds up well.
- Freezer: These freeze well for up to 2 months. Freeze in a single layer first if you can, then transfer to a bag or container so the sauce doesn’t smear everywhere.
- Reheating: Reheat uncovered in a 350°F oven until warmed through. The biggest mistake is microwaving, which makes the skin rubbery and turns the glaze watery instead of sticky.
Answers to the Questions Worth Asking
Caramelized BBQ Chicken Thighs
Ingredients
Equipment
Method
- Season chicken thighs with salt, pepper, and olive oil until evenly coated, including the skin side.
- Mix BBQ sauce, brown sugar, vinegar, and smoked paprika until the sugar dissolves and the sauce looks smooth.
- Preheat the grill to medium heat so it’s ready for even browning when the chicken goes on.
- Grill chicken skin-side down for 8-10 minutes until the skin is visibly crisp and browned.
- Flip the thighs and grill for another 8-10 minutes, checking that the meat firms up and grill marks appear.
- Brush the thighs generously with BBQ sauce and grill for 5 more minutes per side, basting frequently as the surface darkens.
- Continue grilling until internal temperature reaches 165°F and the sauce is caramelized, glossy, and thick enough to cling to the skin.