Camping hot dogs hit the table fast, but the reason they earn repeat trips to the fire is the mix of smoky casing, blistered edges, and that little burst of char you only get from an open flame. When they’re handled right, the skin tightens, the fat renders, and the inside stays juicy instead of drying out while you wait on the coals. There’s no complicated camp cooking here. Just a small set of steps that turn an ordinary hot dog into the thing everyone reaches for first.
The trick is rotating them often and keeping them moving over the fire instead of parking them in one hot spot. That gives you even browning without splitting the casing or turning the outside leathery. Toasting the buns for a few seconds at the end matters too, because a warm bun keeps the whole sandwich from feeling flat against the smoke and toppings.
Below, I’ve included the campfire timing that keeps the hot dogs from bursting, plus the toppings and swaps that work best when you’re cooking outdoors and don’t want extra cleanup.
I kept mine over the coals and rotated them the whole time, and they came out with the best little char marks without splitting open. Even the buns got just enough toast to hold all the toppings.
Save these campfire hot dogs for the nights when you want a fast dinner with smoky char and toasted buns over the fire.
The Small Fire Mistake That Makes Hot Dogs Split
The biggest problem with campfire hot dogs is heat control. If you hold them in the flame and leave them there, the casing bursts before the inside is hot. If you hover them too far from the heat, they dry out before they pick up any color. The sweet spot is active rotation over flames or hot coals, with enough movement that no side stays in one place long enough to scorch.
You want a hot dog that’s fully heated through, lightly blistered, and still juicy when you bite in. That balance happens faster than people think, which is why these are easy to overdo if everyone else is still getting their plate together. Pull them once the skin is taut and spotted with char, then get them into buns right away.
What the Hot Dogs, Buns, and Toppings Each Bring
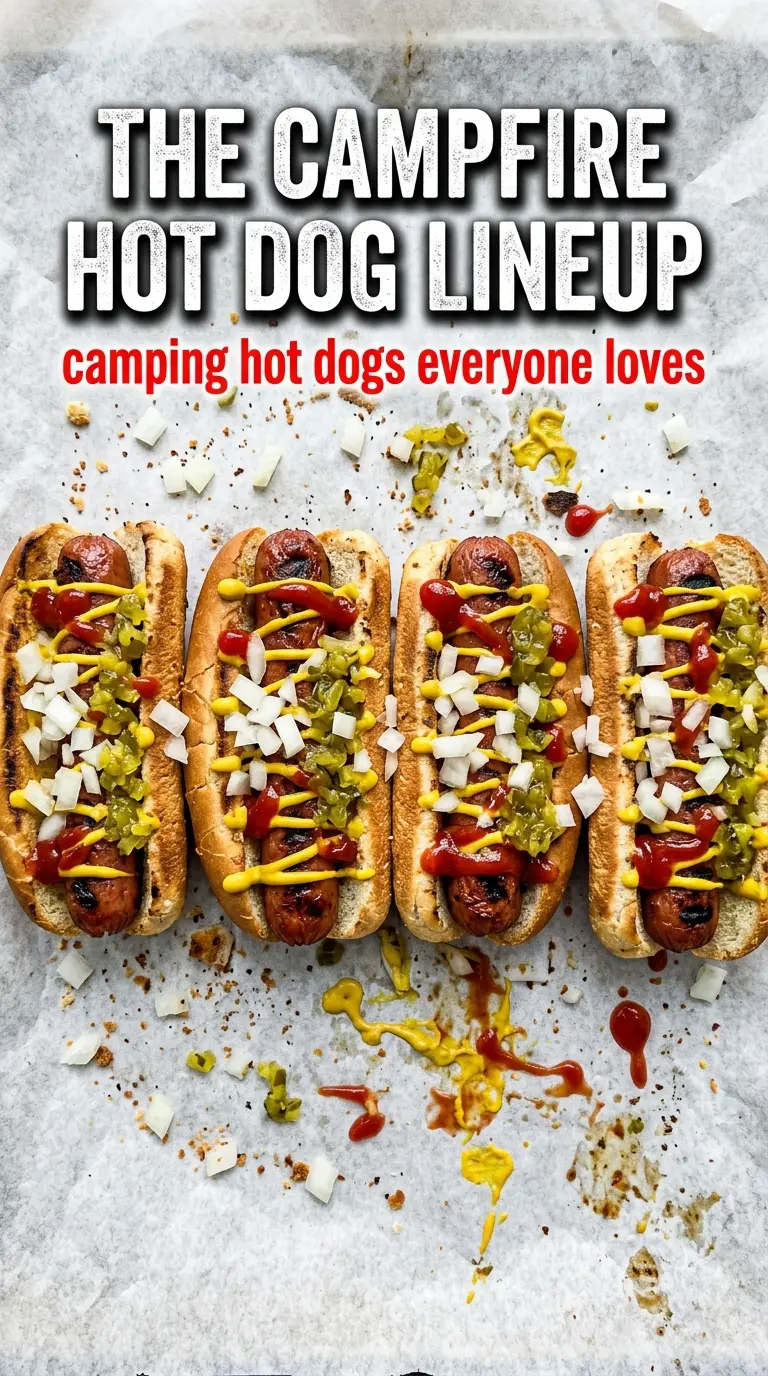
- Hot dogs — Use your favorite full-size hot dogs here. A natural-casing dog gives the best snap over the fire, but standard franks work fine. If you use a leaner chicken or turkey dog, pull it sooner because it dries out faster than beef.
- Hot dog buns — Soft buns are fine, but sturdier buns hold up better once they pick up a little toast and warm steam from the sausage. Split-top buns are easier to fill without tearing.
- Condiments — Ketchup, mustard, and relish do the basic work, especially when the hot dog itself has good char. Keep them close to the fire in a covered container so you’re not juggling a messy table and a cold sausage.
- Optional toppings — Cheese, onions, chili, sauerkraut, and jalapeños turn this from a quick camp snack into a loaded dinner. Add hot toppings after the dog goes in the bun so the bread doesn’t collapse before serving.
How to Roast Them Without Burning the Outside Before the Center Catches Up
Skewering for Control
Run each hot dog lengthwise on a roasting stick or long fork so it sits steady over the fire. A centered skewer keeps the dog from spinning away when the casing tightens. If the hot dog feels loose on the stick, it’s harder to rotate evenly and one side will char too fast. Give yourself a firm grip before you bring it anywhere near the flame.
Working the Heat
Hold the hot dogs over flames or coals and turn them frequently for 8 to 10 minutes. Move them around the fire instead of camping over one hot spot, because direct flame can blacken the outside before the center heats. You’re looking for browned spots, a taut skin, and a hot dog that gives a little when pressed, not one that has split open and dried out. If the fire is running hot, back up a few inches and rotate more often.
Finishing in the Bun
Toast the buns briefly over the fire if you want a little extra texture. A few seconds is enough; buns go from warm and lightly crisp to brittle fast. Slip the hot dog in while it’s still steaming, then add condiments and toppings right away. That timing keeps the bread from getting soggy under the heat of chili or wet condiments.
Make It Chili Cheese Style
Spoon warm chili over the hot dog, then finish with shredded cheese and onions. The extra topping weight makes this more filling, but it also softens the bun faster, so serve these as soon as they’re assembled.
Dairy-Free and Gluten-Free Adjustments
Use dairy-free toppings or skip cheese entirely, and choose gluten-free buns if needed. The hot dog itself is naturally the main event here, so the swap doesn’t change the campfire method at all. Watch the buns closely when toasting, since gluten-free buns can go from warm to crumbly quickly.
Sauerkraut and Mustard for a Tangier Bite
Pile on sauerkraut and mustard if you want something sharper and less sweet than the classic ketchup route. The acidity cuts through the smoky fat, which is great if you’re using a richer beef dog. Drain the sauerkraut well so it doesn’t soak the bun.
Storage and Reheating
- Refrigerator: Store cooked hot dogs and buns separately for up to 3 days. The buns will soften once wrapped with toppings, so keep everything in separate containers if you want the best texture.
- Freezer: The cooked hot dogs can be frozen, but the buns and fresh toppings don’t freeze well. Wrap the dogs tightly and freeze for up to 2 months.
- Reheating: Warm the hot dogs gently in a skillet, over low campfire heat, or in the microwave just until heated through. High heat splits the casing and dries them out, which is the fastest way to ruin the leftover texture.
Answers to the Questions Worth Asking
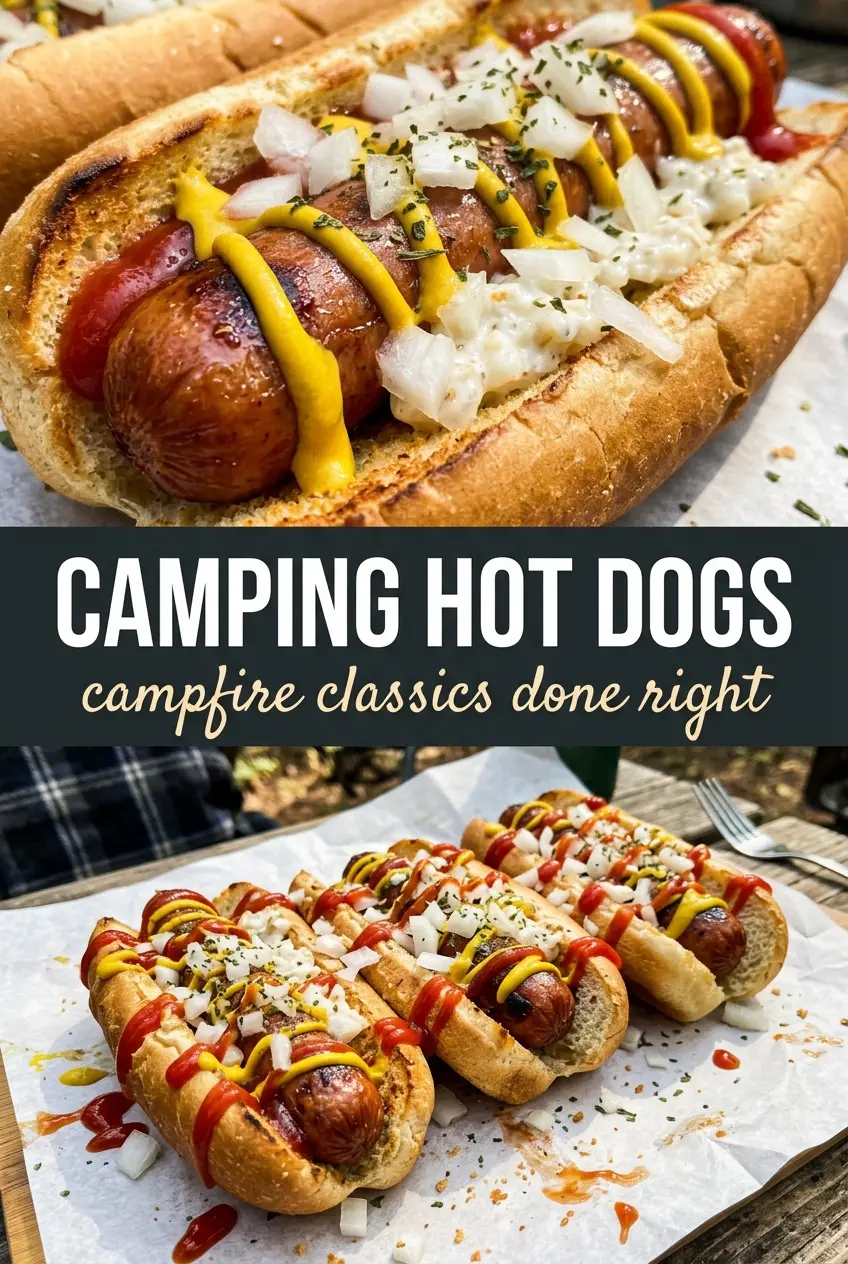
Camping Hot Dogs
Ingredients
Method
- Skewer each hot dog lengthwise on a roasting stick or long fork. Keep them spaced so they roast evenly over the fire.
- Hold the hot dogs over campfire flames or coals, rotating frequently, for 8-10 minutes until heated through and slightly charred. Look for visible charred spots along the surface as a visual cue.
- Toast the hot dog buns briefly over the fire if desired. Remove when warmed and lightly toasted to avoid burning.
- Place each hot dog in a bun and add your desired condiments and toppings. Include ketchup, mustard, and relish plus any optional toppings you want.
- Serve immediately while hot. Use the roasting stick or fork to keep everything hot through the last bites.


