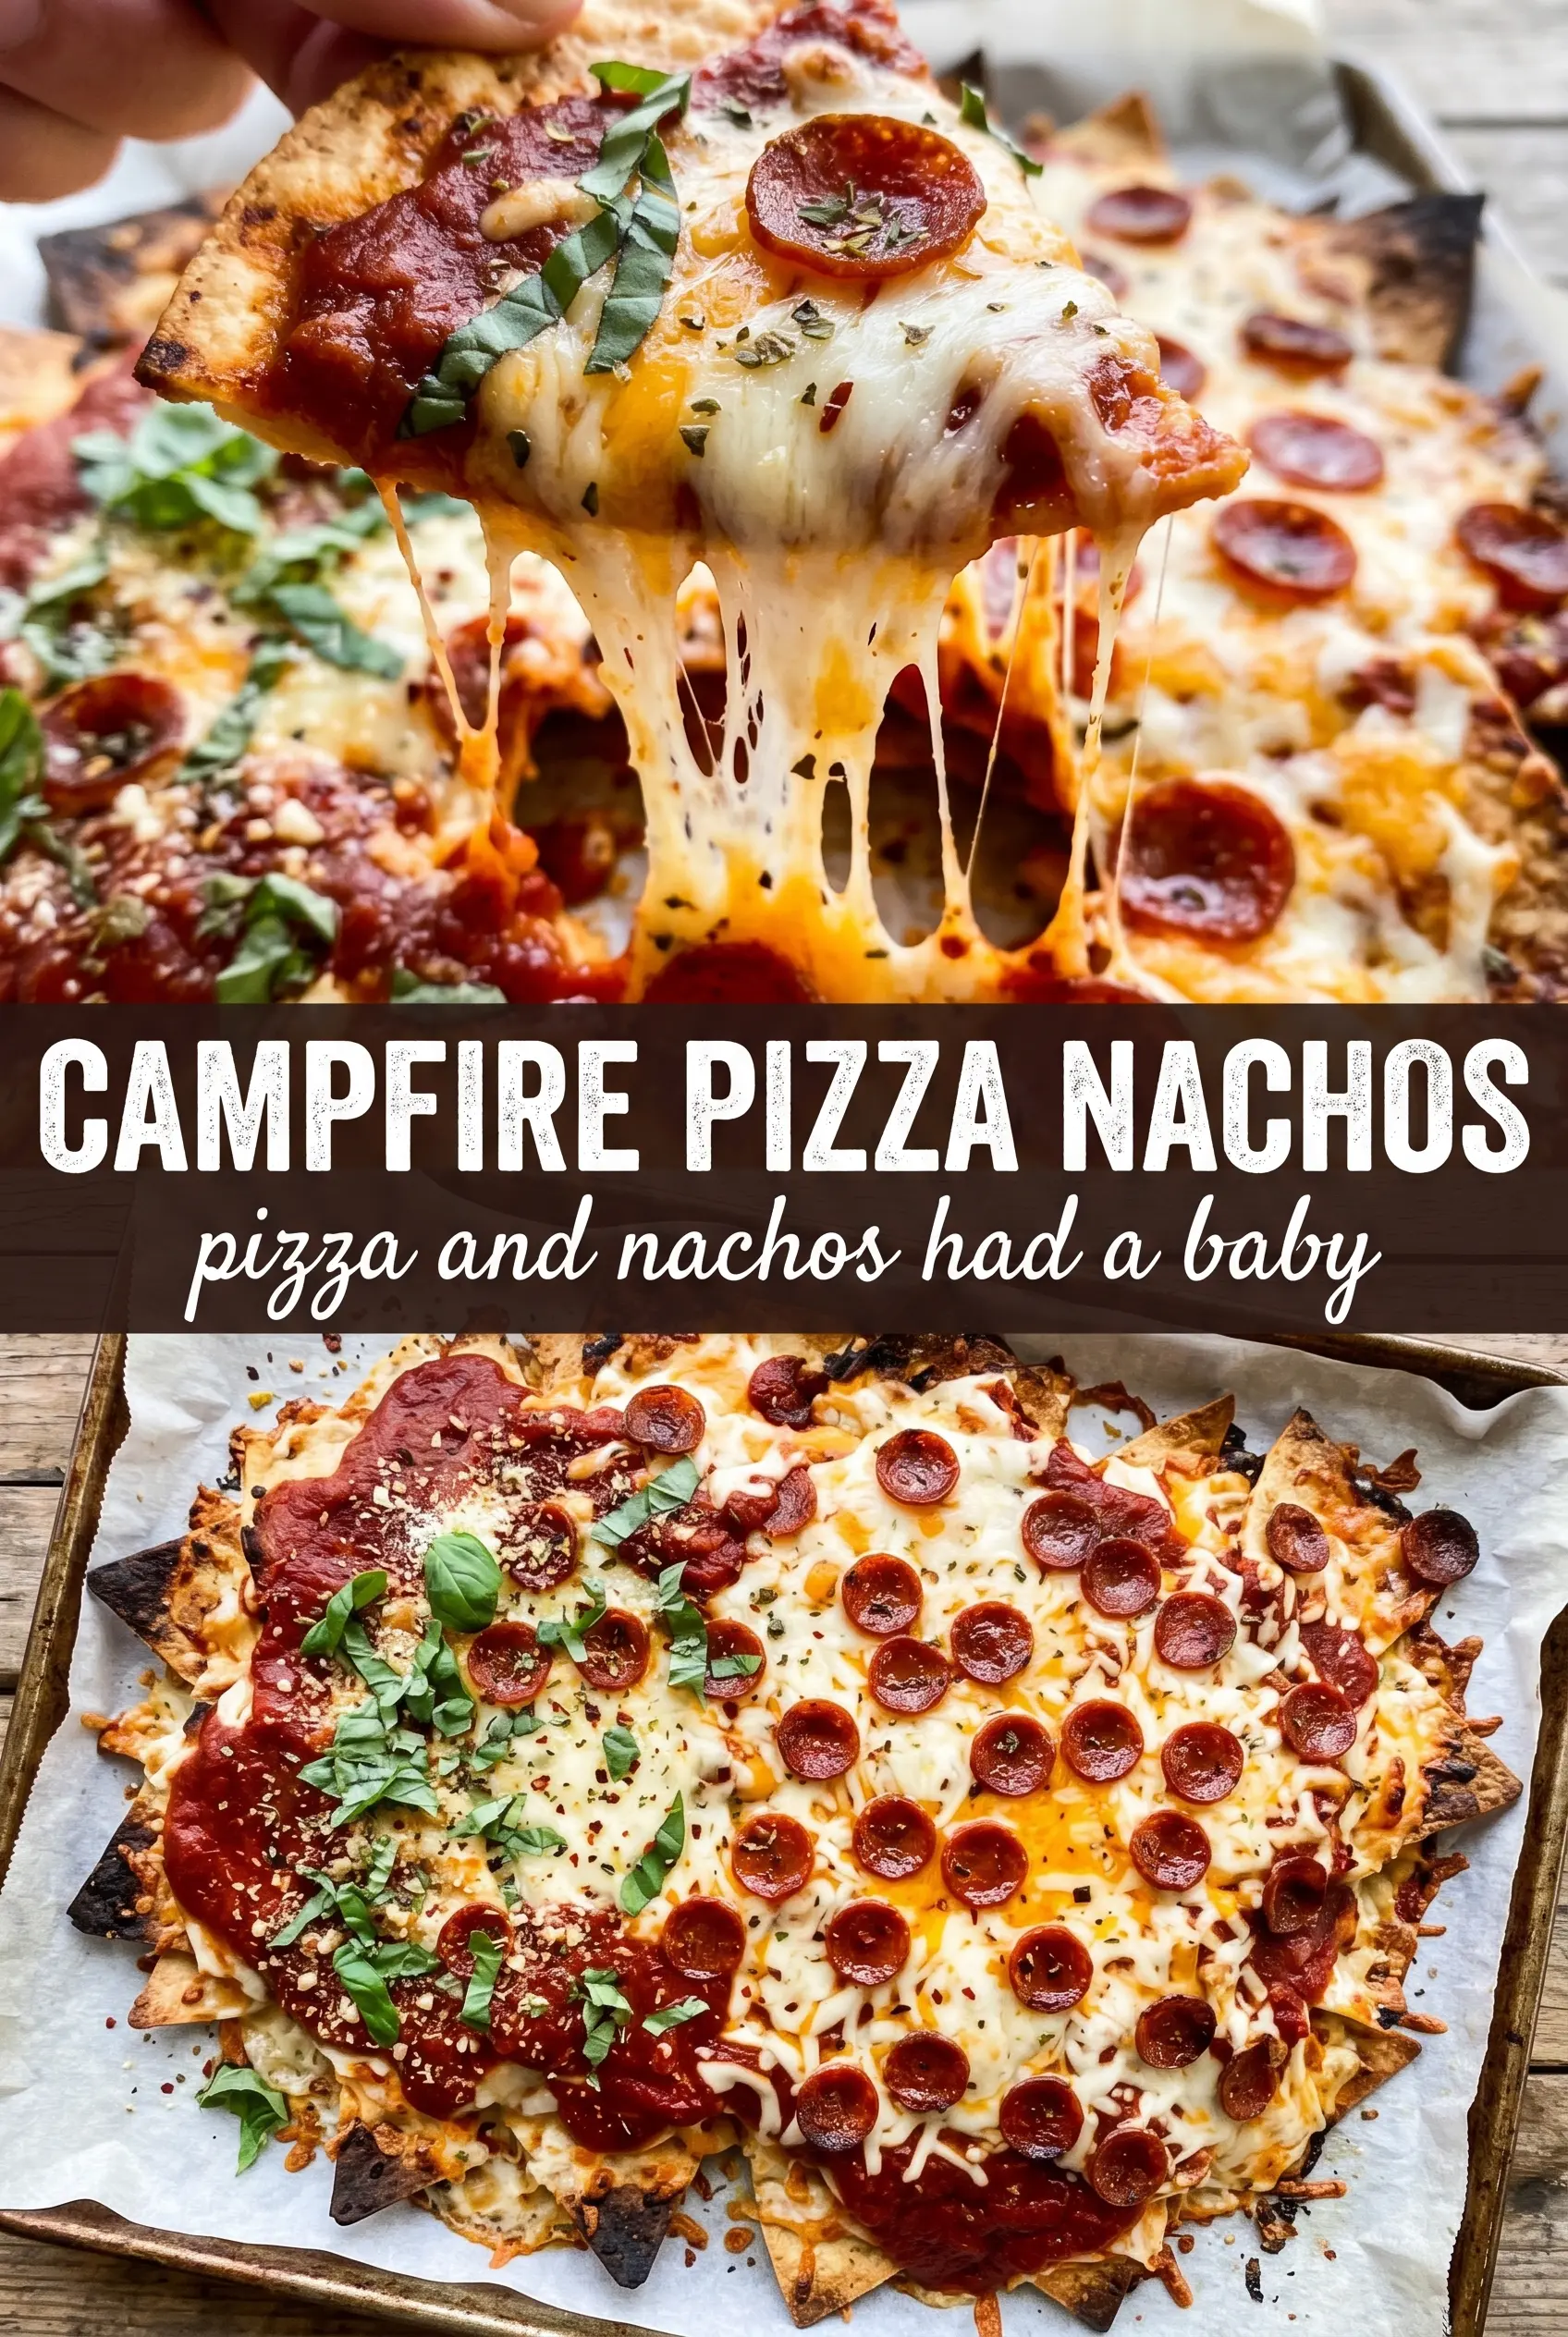
Tortilla chips loaded with melted mozzarella, pepperoni, sausage, and a handful of classic pizza toppings are the kind of campfire food that disappears fast. The chips at the edges stay crisp, the middle turns saucy and gooey, and every scoop gets a little bit of everything. It’s messy in the best way, and that’s exactly why it keeps showing up when I want something easy that still feels like a proper meal around the fire.
What makes this version work is the layering. If you dump everything on top of one layer of chips, the bottom goes soggy before the cheese has time to melt. Spreading the toppings in two rounds gives you more even coverage and protects the chips from the sauce and heat. The disposable pan matters too, since you want something sturdy enough to sit over the grate without collapsing when the cheese starts bubbling.
Below you’ll find the timing that keeps the chips from burning, the one topping swap that changes the texture the most, and a few ways to adapt these nachos for a meatless crowd or a backyard version at home.
The cheese melted into all the gaps and the bottom chips stayed crisp longer than I expected. I used a foil pan over the fire and the pepperoni got those little curled edges everyone fights over.
Save these campfire pizza nachos for the nights when you want melty cheese, crispy chips, and zero cleanup stress.
The Trick to Keeping the Chips Crisp Over the Fire
Campfire nachos fail when the heat works too fast on the bottom layer. Once tortilla chips sit under sauce, cheese, and toppings for too long, they turn soft before the top has even melted. The answer is less about piling and more about controlling contact: two lighter layers in a wide pan give the cheese enough space to melt without trapping steam under a heavy mound.
The other mistake is placing the pan over flames that are too aggressive. You want medium campfire heat or a settled grill grate, not licking fire that scorches the edges before the center loosens. If the chips at the rim darken too fast, pull the pan to a cooler part of the grate and let the residual heat finish the job. The cheese should look fully melted and glossy, with just a little browning at the edges.
- Disposable aluminum pan — This keeps the nachos easy to move and easy to serve. A thin pan is enough here, but if yours is flimsy, set it on a grill grate or sheet pan so it doesn’t buckle when the cheese gets heavy.
- Tortilla chips — Sturdy chips matter more than fancy chips. Thin chips break under the toppings and go soft faster, while thicker restaurant-style chips hold up through the melt.
- Mozzarella — Low-moisture shredded mozzarella gives you the stretch and melt you want. Fresh mozzarella releases too much water for this setup and can leave the chips soggy.
- Pizza sauce — Keep it on the side for dipping instead of pouring it over the pan. That’s the cleanest way to get pizza flavor without drowning the chips.
Layering the Toppings So Everything Melts at the Same Pace
Building the First Layer
Start with half the chips and half the toppings, then repeat. That double layer isn’t just for looks — it keeps the cheese from forming one thick cap that slips off the chips in one heavy sheet. The first layer picks up the heat from the pan, so the toppings begin melting from the bottom up instead of steaming on top.
Adding the Cheese and Meats
Scatter the mozzarella evenly so every section gets coverage, then tuck the pepperoni and sausage into the cheese instead of leaving them all on top. The pepperoni curls as it heats, which is exactly what you want, but it needs some cheese around it so it doesn’t dry out. If the sausage is still warm when it goes on, the whole pan will melt faster and more evenly.
Cooking Over the Campfire
Set the pan on the grate over medium heat and leave it alone for about 8 to 10 minutes. You’re looking for fully melted cheese with a few bubbling spots and chips that still hold their shape when you scoop. If the bottom starts darkening before the cheese softens, the fire is too hot. Slide the pan farther from the coals and let it finish gently.
Serving Before the Chips Give Up
Take the pan off the heat as soon as the cheese is melted and the toppings look heated through. Nachos keep cooking in the hot pan, so waiting until they look “done” on the fire usually means they’ll be soft by the time they hit the table. Serve the pizza sauce warm on the side and move fast while the chips are still crisp at the edges.
How to Adapt These Nachos for a Fire Pit, a Grill, or a Meatless Crowd
Meatless Pizza Nachos
Skip the sausage and add more peppers, olives, or mushrooms cooked first so they don’t dump moisture into the chips. You’ll still get the pizza feel, but the topping pile will be lighter and the chips will stay crisper.
Gluten-Free Campfire Nachos
Use chips labeled gluten-free and check the sausage and pizza sauce labels for hidden wheat-based fillers or thickeners. The method doesn’t change at all, and the melted cheese still gives you that same pizza-night payoff.
Backyard Grill Version
If you’re making these at home, set the pan on a grill over medium heat instead of over open flames. The result is a little more controlled, which helps the cheese melt evenly and keeps the chips from catching at the edges.
Storage and Reheating
- Refrigerator: Store leftovers in an airtight container for up to 2 days. The chips will soften, but the flavor holds up.
- Freezer: Don’t freeze assembled nachos. The chips lose their texture completely and the toppings turn watery when thawed.
- Reheating: Reheat leftovers on a sheet pan in a 375°F oven for a few minutes, just until the cheese loosens again. Microwaving makes the chips leathery and pushes them past the point of salvage.
Answers to the Questions Worth Asking
Campfire Pizza Nachos
Ingredients
Equipment
Method
- Spread half the tortilla chips in a disposable aluminum pan so they form an even base layer.
- Layer with half the mozzarella, pepperoni, Italian sausage, black olives, and bell peppers, distributing the toppings to the edges.
- Add remaining chips and repeat toppings for a second, fully covered layer.
- Sprinkle with Parmesan and Italian seasoning to create an even top layer of flavor.
- Place the pan on the grill grate over medium campfire and cook for 8-10 minutes until the cheese fully melts and starts to stretch.
- Remove from heat and serve immediately with warm pizza sauce for dipping.