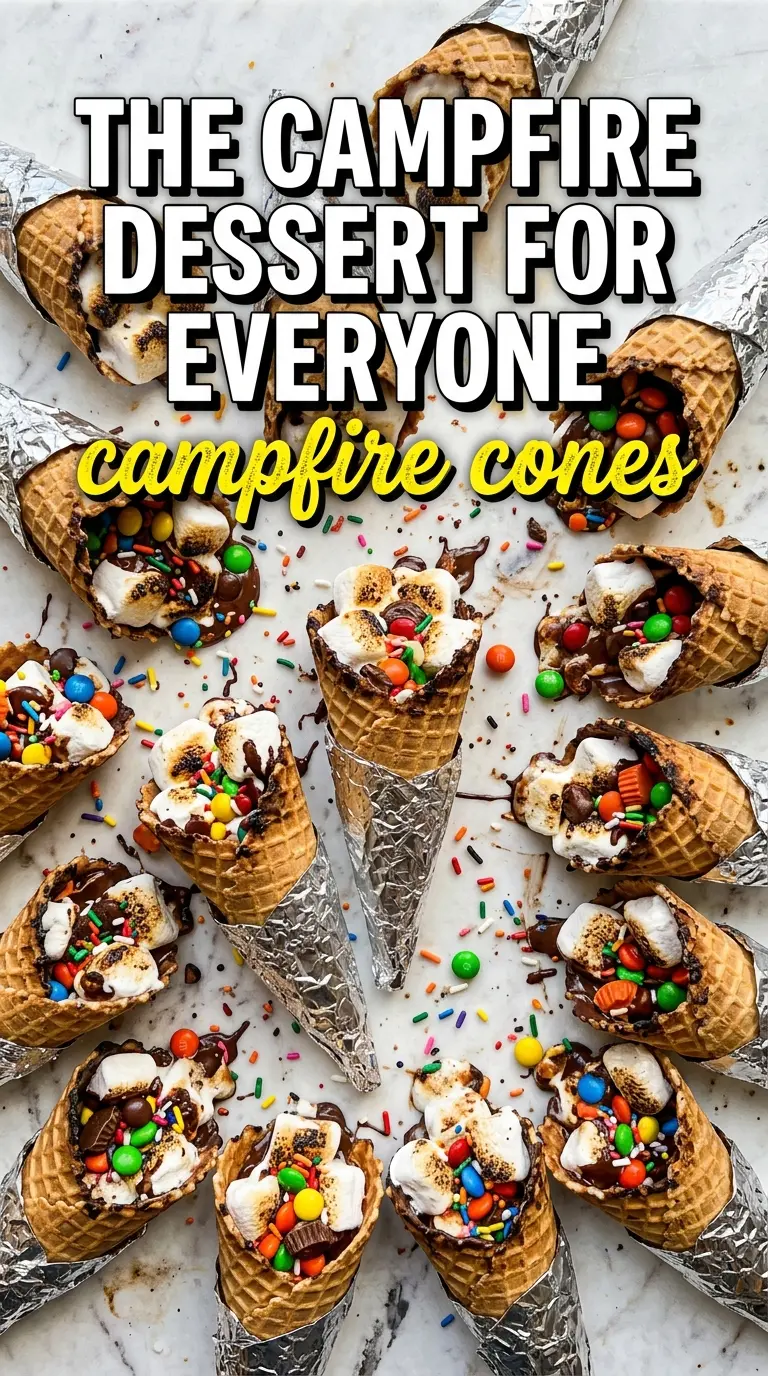
Melted marshmallows, warm chocolate, and juicy fruit tucked inside a crisp waffle cone turn into the kind of campfire dessert people remember. The outside stays just sturdy enough to hold everything together while the center softens into a spoonable, gooey filling that tastes like a s’more with a fruit-forward upgrade.
What makes these work is the layering. Chocolate chips on the bottom catch the heat first, marshmallows puff and melt into the gaps, and the fruit adds moisture and brightness without turning the cone soggy if you use it in smaller pieces. Wrapping each cone tightly in foil traps the heat so the filling melts evenly instead of scorching the cone before the center is ready.
Below you’ll find the exact layering order that keeps the cones from collapsing, plus a few smart swaps if you want to lean more classic s’mores or make these with what you already have packed for the fire.
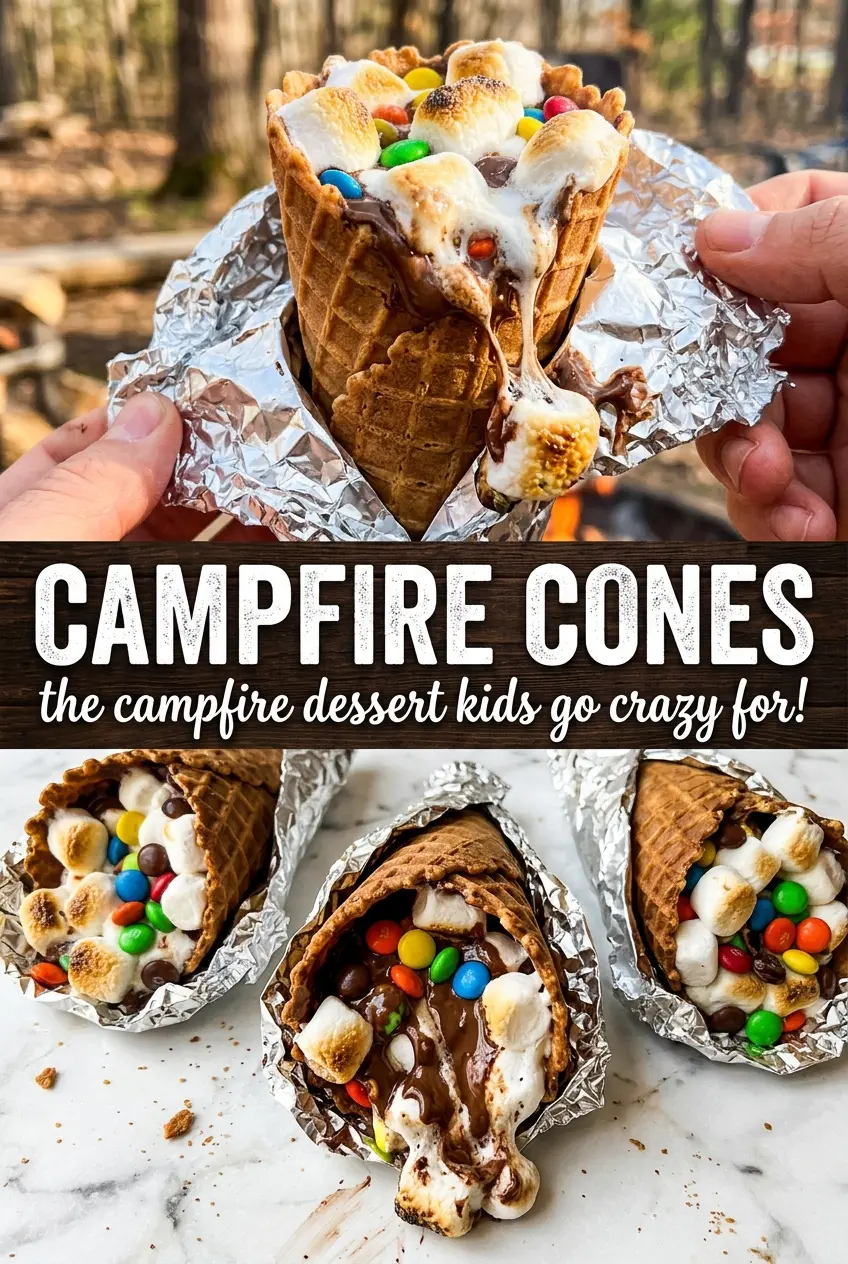
The chocolate melted right into the marshmallows and the banana stayed soft instead of turning mushy. We made these at the campsite and everyone kept asking for “just one more spoonful.”
Like this gooey campfire dessert? Save Campfire Cones for the nights when you want a hands-on s’mores-style treat with melty chocolate and fruit.
The Trick to Melting the Filling Before the Cone Burns
Campfire cones fail when the heat hits the waffle cone too directly. The filling needs time to soften, and foil is what gives you that buffer. It holds in the heat long enough for the marshmallows to collapse, the chocolate to melt, and the fruit to warm through without drying out the cone.
The other mistake is overpacking. A stuffed-to-the-brim cone looks generous, but it tears as soon as the marshmallows expand. Leave a little space at the top so the filling has room to settle as it heats, and keep the pieces small enough that a spoon can scoop through the cone easily once it’s opened.
- Foil — Use a full sheet and wrap the cone tightly so steam stays trapped inside. Loose foil gives you uneven melting and a browned cone before the center is ready.
- Mini marshmallows — These melt faster and more evenly than big marshmallows. Large ones take longer and can leave cold pockets in the middle.
- Banana and strawberries — Keep the pieces small. Bigger chunks dump extra juice into the cone and make the waffle shell soften too fast.
- Graham cracker pieces — These add the classic s’mores crunch and help absorb a little moisture. Crush them just enough to scatter through the layers, not into dust.
What Each Layer Is Doing Inside the Cone
- Waffle ice cream cones — These hold up better than sugar cones because they’re sturdier and a little thicker. If all you have are sugar cones, use them, but pack them less tightly and expect a more delicate shell.
- Chocolate chips — Chips melt into pockets of chocolate that bind the fruit and marshmallow together. A chopped chocolate bar works too and melts a bit silkier, but chips are the easiest option for camping.
- Mini marshmallows — They turn sticky and plush fast, which gives the filling its classic campfire texture. If you skip them, the cones taste flatter and less like a true s’more.
- Banana slices — Bananas bring sweetness and a soft, custardy texture once warmed. Use ripe but firm bananas so they hold their shape.
- Strawberries — Diced strawberries add brightness and keep the filling from tasting one-note. Frozen berries aren’t a good swap here because they release too much water as they thaw.
- Graham cracker pieces — These give you the familiar s’mores finish and a little crunch after the heat softens everything else. Add them near the top and middle so they stay noticeable in each bite.
Building the Cone So It Stays Together Over the Fire
Layering the Filling
Start with a small layer of chocolate chips, then add marshmallows, banana, strawberries, and graham cracker pieces. That order helps the chocolate melt into the bottom of the cone instead of running straight through the softer fruit. Keep the layers loose rather than tamped down; a packed cone is more likely to split when the marshmallows expand.
Wrapping for Even Heat
Wrap each cone completely in foil, sealing the edges well enough that steam can’t escape. You want the cone surrounded by hot air, not exposed flames. If the foil is thin or torn, the cone can burn on one side while the filling stays half-cold in the center.
Heating Until Soft and Spoonable
Set the wrapped cones on the grate over medium heat for 4 to 5 minutes, turning them occasionally. You’re listening for a quiet sizzle and looking for the cone to feel warm all the way through. If you smell scorching, pull them off immediately; campfire heat climbs fast, and a few extra seconds can turn the cone bitter.
The Short Rest That Saves the Filling
Let the cones cool for about 2 minutes before opening the foil. The filling is molten when it comes off the fire, and that short rest helps it settle so it doesn’t spill out the second you unwrap it. Open the foil slowly and serve with a spoon while the center is still warm and stretchy.
How to Change the Filling Without Losing the Campfire Feel
Make It More Like a Classic S’more
Leave out the fruit and add a little more graham cracker with extra marshmallows. You’ll get a richer, more traditional campfire dessert with a firmer, sweeter center and less juice in the cone.
Dairy-Free Version
Use dairy-free chocolate chips and check the marshmallows, since not every brand is dairy-free. The texture stays the same, and the fruit still gives you plenty of sweetness so nothing feels missing.
More Fruit, Less Sweetness
Increase the strawberries and bananas slightly and cut back on the chocolate chips. The result is lighter and juicier, but the cone will soften a little faster, so serve it right after unwrapping.
How to Prep Ahead for a Group
Assemble the cones up to an hour ahead, wrap them in foil, and keep them in a cooler until it’s time to cook. Don’t add them too far in advance or the fruit will start softening the cone before you ever reach the fire.
Storage and Reheating
- Refrigerator: Best eaten right away. If you do have leftovers, refrigerate them for up to 1 day, knowing the cone will soften.
- Freezer: Not a good freezer dessert. The fruit turns icy and the waffle cone loses its texture after thawing.
- Reheating: Reheat only if needed, and do it briefly in foil over low fire heat. Too much heat will burn the cone before the filling loosens again.
Questions I Get Asked About This Recipe
Campfire Cones
Ingredients
Equipment
Method
- Fill each waffle ice cream cone with layers of mini marshmallows, chocolate chips, banana slices, strawberries, and graham cracker pieces.
- Wrap each filled cone completely in aluminum foil, sealing it so the filling stays inside while it heats.
- Place the wrapped cones on a campfire grate over medium heat and cook for 4-5 minutes, rotating occasionally until the filling looks melted.
- Remove the cones from the fire and let them cool for 2 minutes so the foil-wrapped filling settles slightly.
- Carefully unwrap the foil and serve immediately, eating with a spoon.