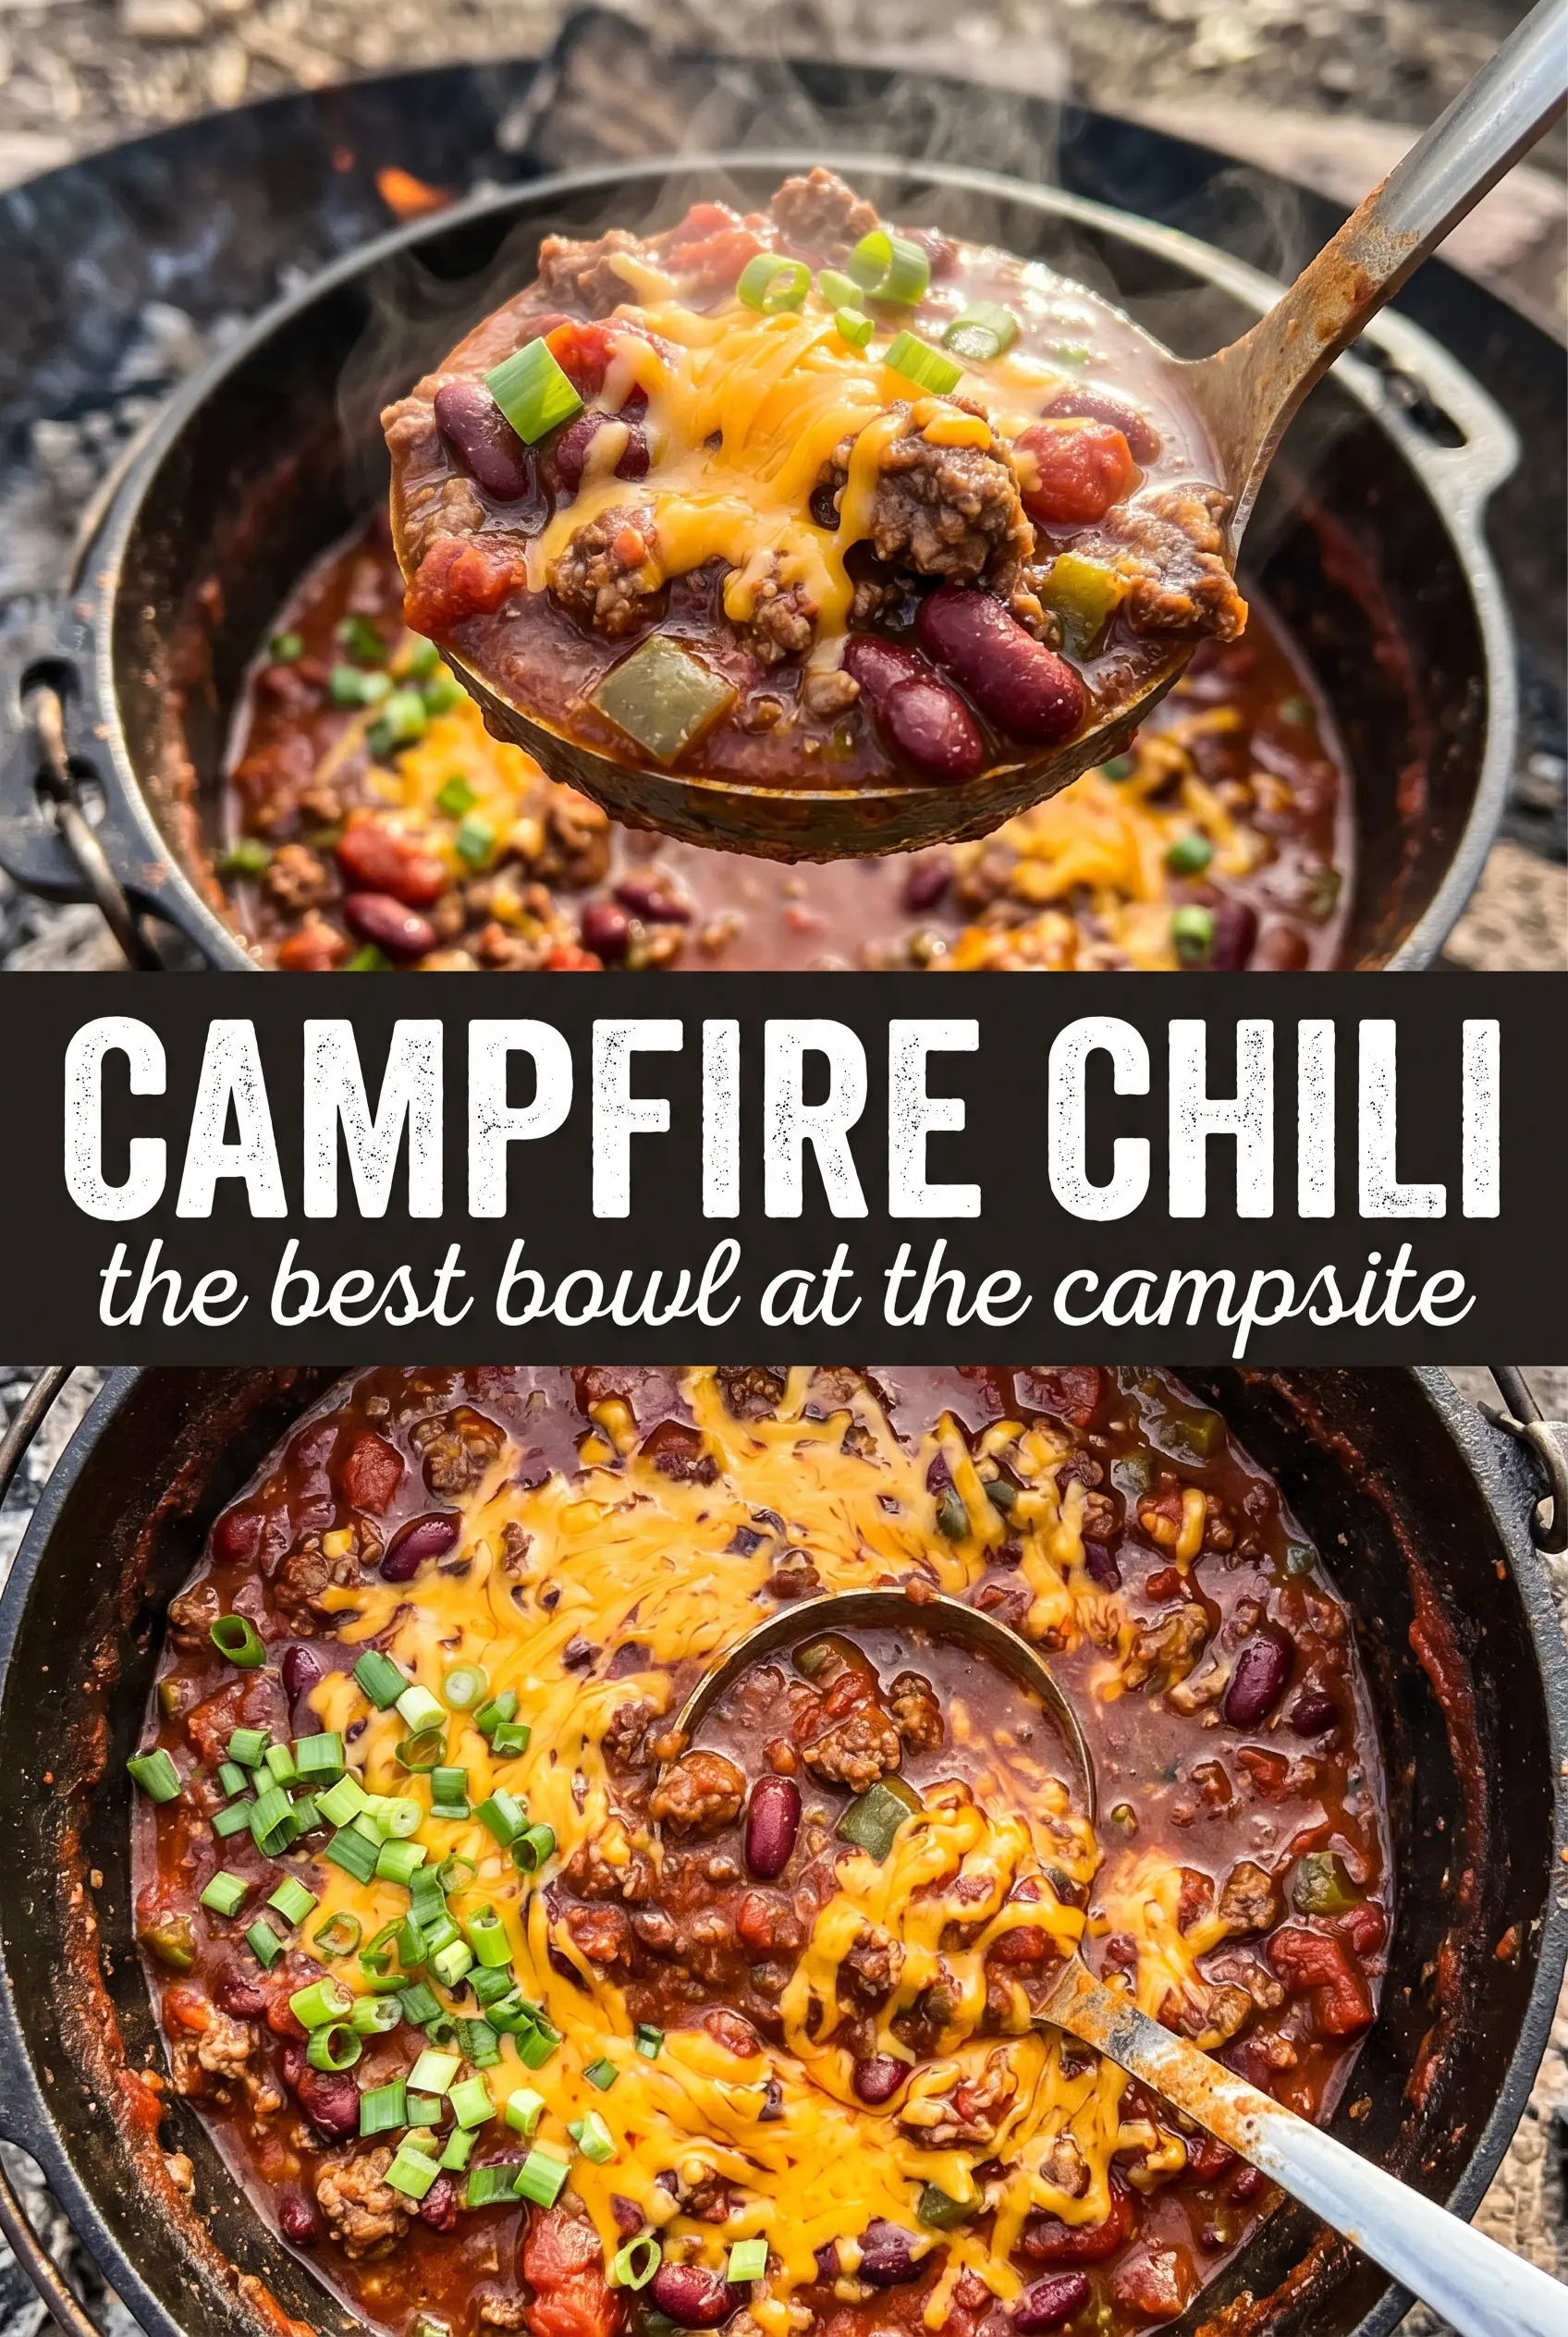
Bubbling campfire chili has a way of tasting bigger than the ingredient list suggests. The beef turns rich and savory, the tomatoes cook down into a thick, spoon-coating base, and the beans hold their shape instead of disappearing into mush. When it comes off the fire hot and smoky, it feels like the kind of meal people hover around the pot for, waiting for the next ladleful.
This version works because it starts with browning the beef properly in the Dutch oven before anything else goes in. That first step builds the base flavor, and it gives you enough fat and fond in the pot to carry the chili powder and cumin. The simmer matters just as much. Too little time and the tomato paste tastes sharp; enough time and everything settles into a deep, hearty chili that tastes like it cooked all afternoon, even though it doesn’t need that long.
Below you’ll find the small details that make campfire chili cooperate on an open flame, plus a few smart ways to adapt it if you’re cooking for a crowd or packing ingredients for a camping trip.
The chili simmered down into this thick, smoky pot of comfort, and the beans held their shape instead of turning soft. I added extra crackers on top and it disappeared fast.
Save this campfire chili for your next Dutch oven dinner when you want a smoky, thick chili that holds up over the fire.
The Browning Step That Gives Campfire Chili Its Depth
Most campfire chili problems start before the beans ever hit the pot. If the beef goes in and turns pale-gray in a crowded Dutch oven, you’re missing the deep browned bits that give the chili its backbone. Work in a hot pot and let the meat sit undisturbed long enough to pick up color before stirring. That fond on the bottom is what keeps the finished chili from tasting flat.
The other common mistake is rushing the simmer because the chili already smells done. It isn’t. The tomato paste needs time to lose its raw edge, and the beans need a gentle simmer so they stay intact. Overly aggressive boiling turns the edges muddy and makes the whole pot taste harsher than it should.
What Each Ingredient Is Actually Doing in the Pot

- Ground beef — This is the main source of richness and body. An 80/20 blend gives you enough fat to carry the spices without making the chili greasy. Leaner beef works, but the chili tastes a little less round unless you add a splash of oil.
- Onion and bell pepper — These soften into the beef and give the chili some sweetness and structure. Dice them small so they melt into the pot instead of staying chunky and crunchy after the simmer.
- Kidney beans — They add bulk and a creamy bite that stands up to fire-cooked chili. Black beans can substitute, but they bring a softer texture and a darker, earthier flavor.
- Diced tomatoes and tomato paste — The diced tomatoes give you moisture, while the tomato paste is what thickens the pot and deepens the color. Don’t skip the paste; that’s what keeps this from tasting like thin beef soup.
- Chili powder and cumin — Chili powder brings the classic warm chili flavor, and cumin adds that smoky, savory edge. Fresh spices matter here, especially if your pantry jar has been open for a long time.
Building the Pot So the Chili Stays Thick and Smoky
Brown the beef first
Set the Dutch oven over steady heat and cook the beef until it loses its pink color and picks up browned spots. If there is a lot of liquid pooling in the pot, keep cooking until it evaporates and the meat starts to sizzle again. That browning step gives the chili its meaty flavor and keeps the finished pot from tasting one-note. Once the beef is cooked, spoon off excess fat if the pot looks greasy.
Soften the vegetables in the drippings
Add the onion and bell pepper right into the same pot and cook them for about 5 minutes. They should soften and smell sweet, not brown hard or char on the edges. If your fire is running hot, move the pot to a cooler part of the grate or the vegetables will scorch before they soften. Stir often enough to keep them moving, but not constantly.
Let the simmer do the heavy lifting
Stir in the beans, tomatoes, tomato paste, chili powder, cumin, salt, and pepper, then bring everything to a gentle simmer. Cover the pot and cook for 35 to 40 minutes, stirring every so often so the bottom doesn’t catch. The chili is ready when the tomatoes have cooked down, the broth has thickened, and the whole pot looks cohesive instead of soupy. If it still seems loose, uncover it for the last 10 minutes to reduce a little more.
Finish with the toppings people actually want
Ladle the chili into bowls while it’s still bubbling hot and top it with shredded cheese, sour cream, and crackers. The dairy cools the heat just enough and gives each bite a creamy finish. Crackers add crunch, but add them right before serving so they don’t collapse into the chili. If you’re serving a crowd, keep the toppings separate and let people build their own bowls.
How to Adapt This for a Campsite, a Crowd, or a Different Diet
Dairy-Free Bowls That Still Feel Finished
Skip the cheese and sour cream and top each bowl with diced avocado, chopped green onion, or a squeeze of lime. You keep the creamy contrast without changing the base chili. This is the easiest way to serve a dairy-free version without altering the cooking method at all.
Make It Heartier with a Second Bean
Swap one can of kidney beans for pinto beans if you want a softer, creamier texture. Pintos break down a little more, which thickens the chili naturally. The flavor stays mild, so the chili powder and cumin still lead.
Cooking Over a Fire Without Burning the Bottom
Campfire heat moves around more than stovetop heat, so keep the Dutch oven over medium coals rather than direct flame. Stir from the bottom every few minutes and rotate the pot if one side is running hotter than the other. That keeps the tomatoes from scorching before the chili has time to thicken.
Storage and Reheating
- Refrigerator: Store leftovers in an airtight container for up to 4 days. The chili thickens as it chills, so expect a denser texture the next day.
- Freezer: This freezes well for up to 3 months. Cool it completely first and leave a little space in the container because the liquid expands as it freezes.
- Reheating: Reheat gently on the stove over low to medium-low heat with a splash of water if needed. High heat can make the beans split and the bottom scorch before the center is hot.
Answers to the Questions Worth Asking
Campfire Chili
Ingredients
Equipment
Method
- Heat a Dutch oven over the campfire and brown the ground beef until browned, then add the onion and bell pepper and cook for 5 minutes, stirring so the vegetables soften and the beef develops flavor.
- Keep the pot moving occasionally so the bottom doesn’t stick and you see a light browning on the beef and edges of the onion and pepper.
- Add the kidney beans, diced tomatoes, tomato paste, chili powder, cumin, salt, and pepper to the Dutch oven and stir to combine until the paste breaks up and the chili looks evenly colored.
- Bring the mixture to a simmer over the campfire; you should see steady bubbling across the surface and around the edges.
- Cover the Dutch oven and cook for 35-40 minutes over a steady simmer, stirring occasionally so the chili thickens and cooks through.
- Check the texture near the end—beans should be tender and the chili should look thick enough to cling to a ladle.
- Ladle the hot chili into bowls and top with shredded cheese, sour cream, and crackers right before eating for the best crunch.