Cold, creamy vanilla ice cream layered over a crunchy Oreo crust and finished with a ribbon of hot fudge and salted peanuts makes this Buster Bar Ice Cream Cake taste like the classic Dairy Queen treat in sliceable form. The contrast is the whole point: firm enough to cut cleanly, soft enough to eat with a fork, and rich enough that one small slice feels like plenty. It’s the kind of dessert that disappears fast at birthdays because it looks like a special occasion cake but eats like your favorite ice cream bar.
What makes this version work is the order. The crust gets frozen first so the butter holds the crumbs together, then the ice cream goes on before the fudge layer so the topping stays distinct instead of sinking through. Warming the fudge just enough to pour and stirring in some of the peanuts before it goes on top gives you that familiar Buster Bar crunch in every bite. Let it freeze long enough between layers and you’ll get neat squares instead of a soft, messy slab.
Below you’ll find the small details that keep the layers clean, plus a few smart swaps and storage tips for making it ahead without losing that classic ice cream parlor texture.
The fudge layer stayed right where it should and the peanuts added that perfect salty crunch. I let it freeze overnight and the slices came out clean like a bakery cake.
Love the Oreo crust, fudge-peanut layer, and vanilla ice cream combo? Save this Buster Bar Ice Cream Cake for the next birthday or cookout.
The Freeze Times That Keep the Layers Separate
If the crust goes soft or the fudge sinks, it’s usually because the layers didn’t chill long enough between steps. This cake relies on cold, firm layers so each one sits on top of the last instead of blending into a single soft mess. The first 15-minute freeze locks in the Oreo base, and the longer freezes after the ice cream and fudge layers are what give you those clean slices.
The other mistake is rushing the topping. Hot fudge should be warm and pourable, not steaming hot, or it can melt a trench into the ice cream and blur the edge of the layer. Let the ice cream soften just enough to spread smoothly, then freeze it until firm before adding the fudge mixture. That gives the cake its distinct stripes when you cut into it.
What Each Ingredient Is Doing in This Ice Cream Cake
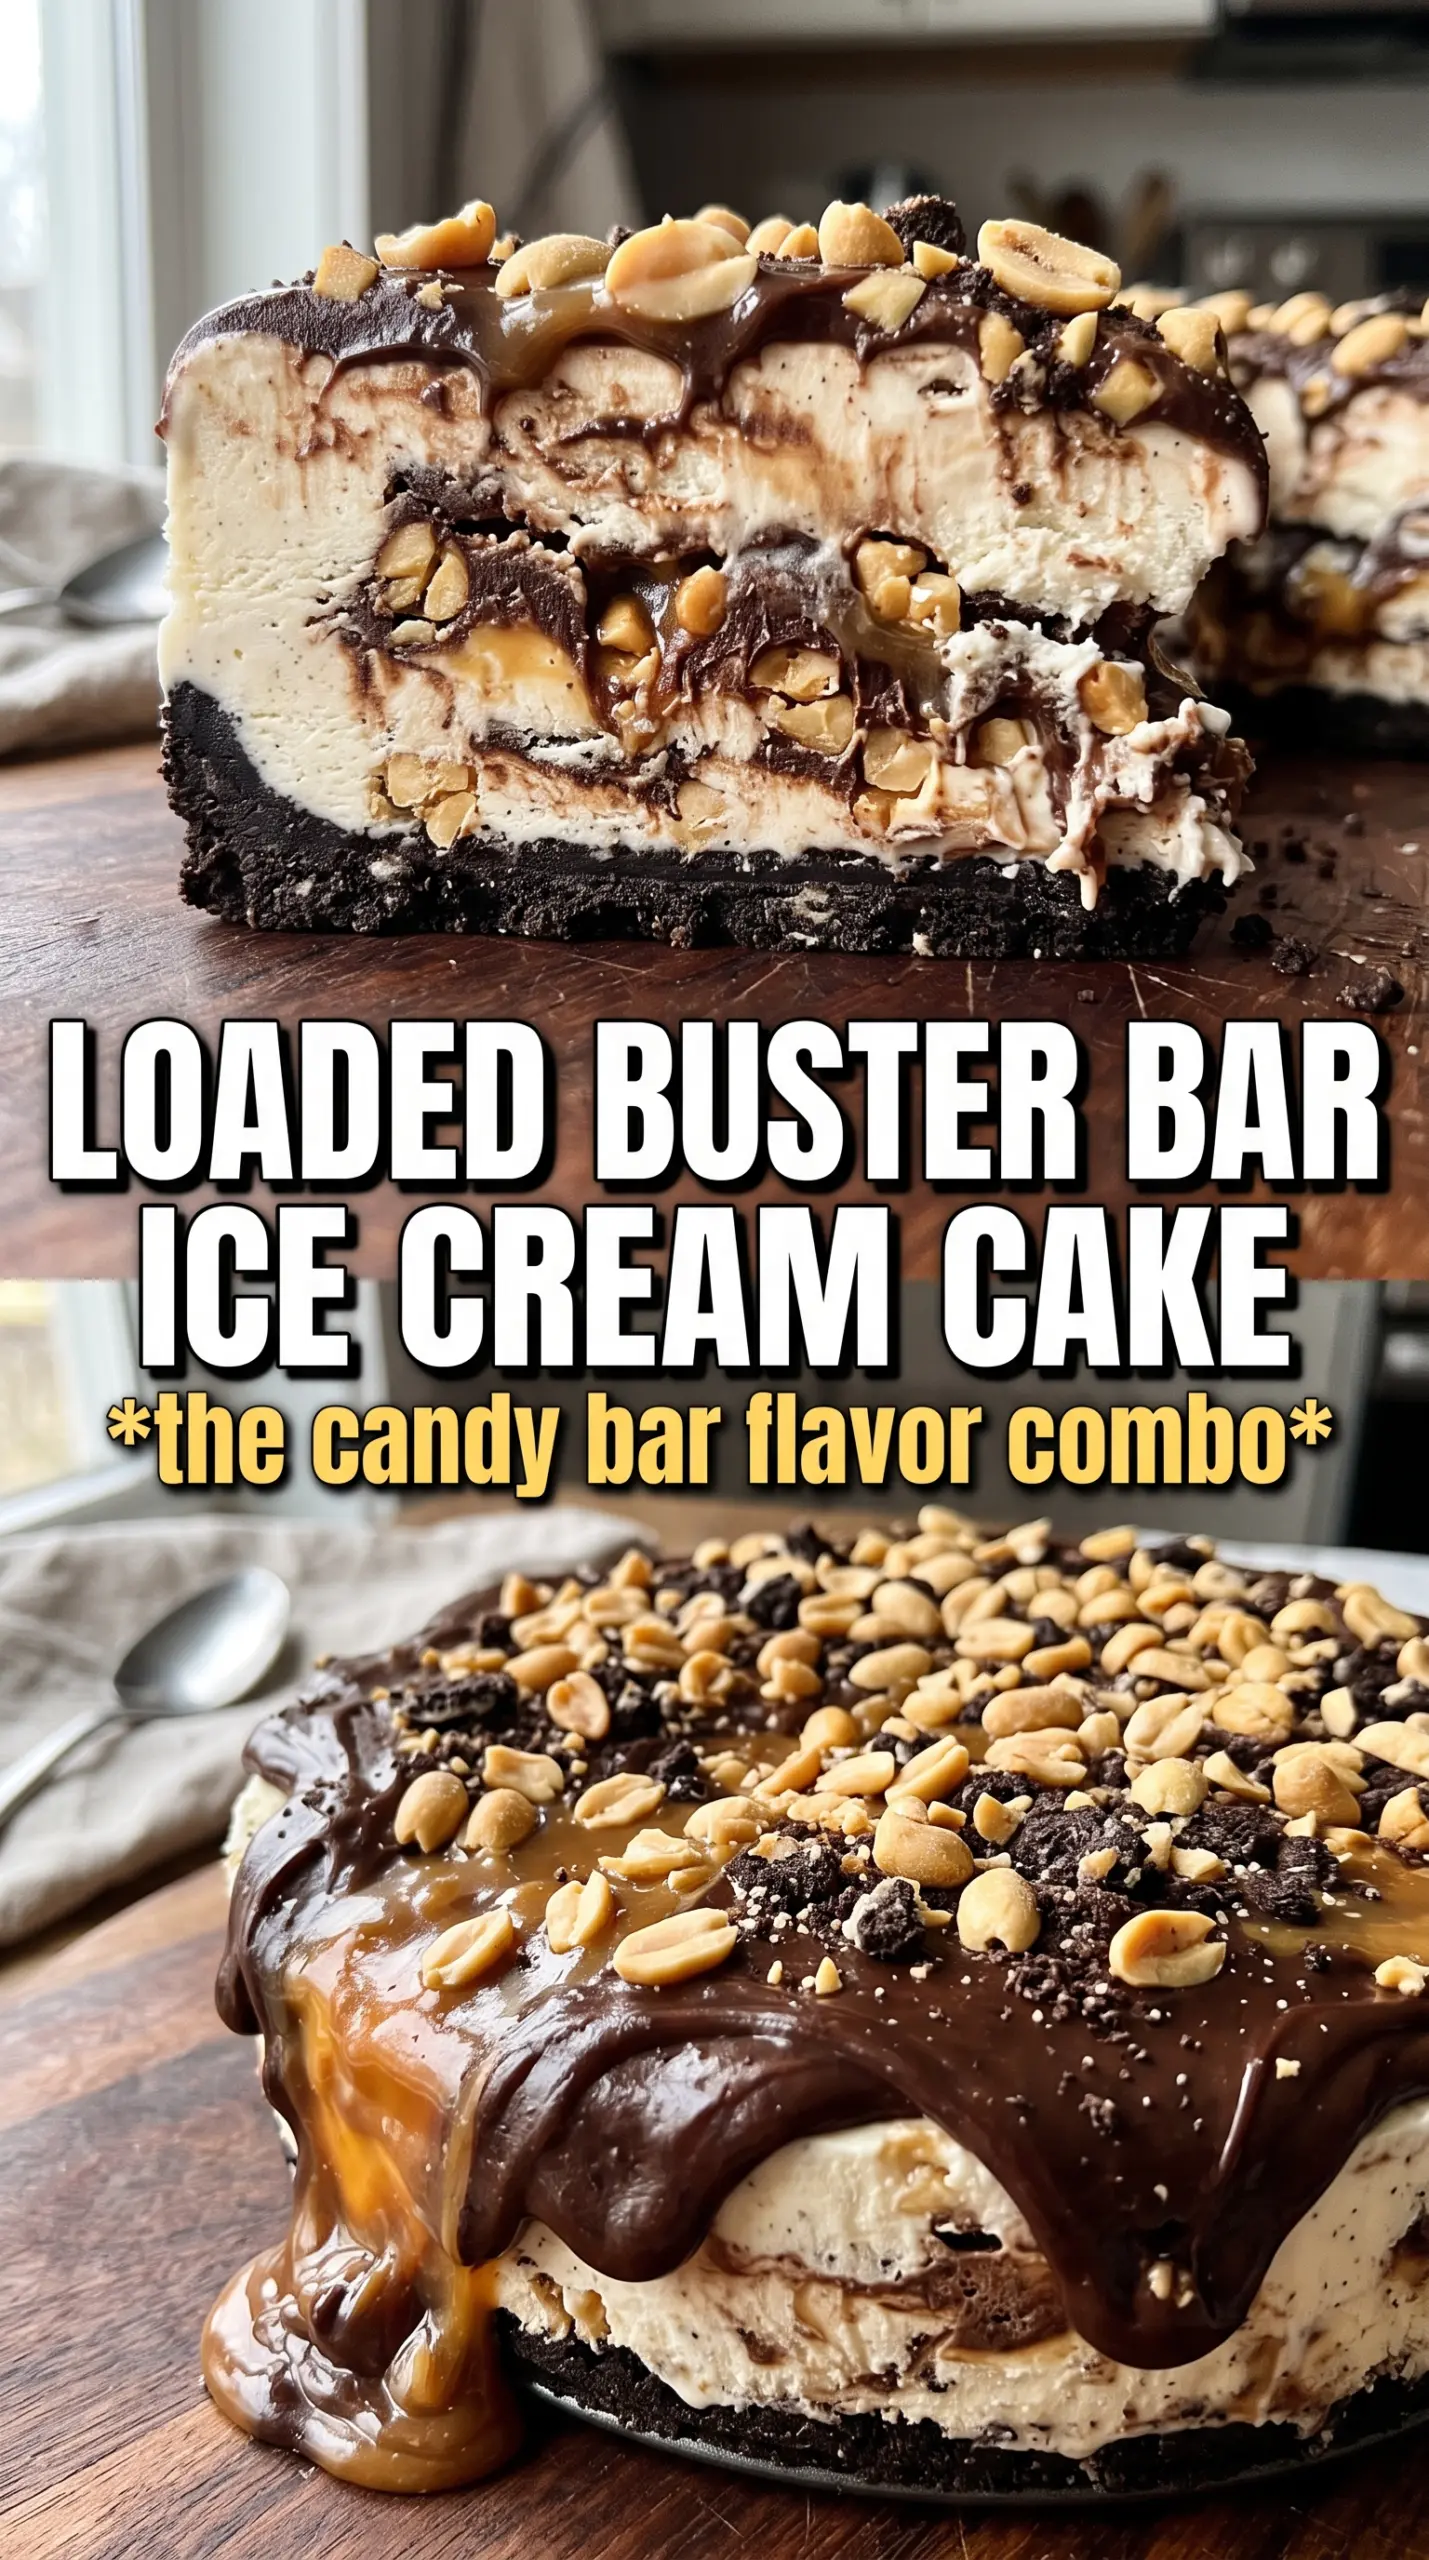
- Oreo cookies — These make the crust without any extra sugar or fuss. The cream filling helps the crumbs bind, so you don’t need a separate sweetener. Regular Oreos work best here because the flavor reads like a classic ice cream shop crust.
- Unsalted butter — Butter holds the crumbs together once it chills. Salted butter can work in a pinch, but unsalted gives you better control because the peanuts and Oreos already bring plenty of salt.
- Vanilla ice cream — Use a full-fat ice cream with a clean vanilla flavor. Softer, lower-fat ice cream gets icier and doesn’t slice as neatly. Let it soften on the counter just until spreadable; if it melts, the layer turns loose after freezing.
- Hot fudge sauce — This is the layer that gives the cake its Buster Bar identity. A thicker sauce clings better to the ice cream, while thin syrup tends to soak in. Warm it just enough to pour smoothly.
- Salted peanuts — The salt is important here; it cuts the sweetness and makes the fudge taste deeper. Chop them roughly so you get crunch in every bite without turning the top into peanut dust.
- Whipped topping — This gives the cake that finished, cloudlike top you expect from a freezer dessert. Homemade whipped cream can be used, but it softens faster and isn’t quite as stable for long freezing.
Building the Fudge Layer So It Stays Crunchy
Pressing the crust firmly
Mix the crushed Oreos with melted butter until every crumb looks evenly damp, then press the mixture into the pan with the bottom of a measuring cup. You want a packed layer that holds together when sliced, not a loose crumb bed that falls apart. Give it that first short freeze so the butter can set before the ice cream goes on.
Smoothing the ice cream base
Spoon the softened vanilla ice cream over the chilled crust and spread it into an even layer. Work quickly, but don’t rush the smoothing; thin spots freeze hard and make the fudge layer dip unevenly. If the ice cream is too melty, it will mix with the crust and you’ll lose the clean separation that makes this cake look sharp when cut.
Adding the peanut fudge top
Warm the fudge until it’s pourable, then stir in 1 cup of the chopped peanuts. Spread that mixture over the frozen ice cream layer while it’s still cold and firm underneath. The peanuts embedded in the fudge are what give you that classic candy-bar bite, and the short freeze after this step keeps the layer glossy instead of smeared.
Finishing with whipped topping
Spread the whipped topping over the set fudge layer and scatter the remaining peanuts across the surface. Use a light hand so you don’t drag the fudge up into the topping. Freeze it one last time before serving so the top firms enough to cut cleanly and the layers hold their shape on the plate.
How to Adapt This for Different Pans, Diets, and Crowds
Gluten-Free Version
Use certified gluten-free sandwich cookies for the crust. The texture stays close to the original, and the butter still binds it the same way. Just check that your hot fudge and whipped topping are gluten-free too, since those can vary by brand.
Dairy-Free Swap
Use dairy-free vanilla ice cream, plant-based butter, and a dairy-free whipped topping. The cake will still slice well, but the texture is usually a little softer once it warms at the table. Choose a dairy-free fudge sauce that’s meant to stay thick when cold.
Making It in a Springform Pan
A 10-inch springform gives you cleaner sides and a more finished cake look. Line the base with parchment if you want to lift it off the bottom cleanly. This shape is especially useful if you plan to serve neat wedges instead of square pieces.
Storage and Reheating
- Refrigerator: Don’t store this in the refrigerator; it will melt into a puddle within minutes.
- Freezer: Keeps well for up to 2 weeks if covered tightly with plastic wrap and foil. After that, the crust can pick up freezer flavor and the ice cream texture starts to get icy.
- Reheating: There’s no reheating here. Let it sit at room temperature for 8 to 12 minutes before slicing so the knife can cut through the fudge layer without cracking the top.
Questions I Get Asked About This Cake
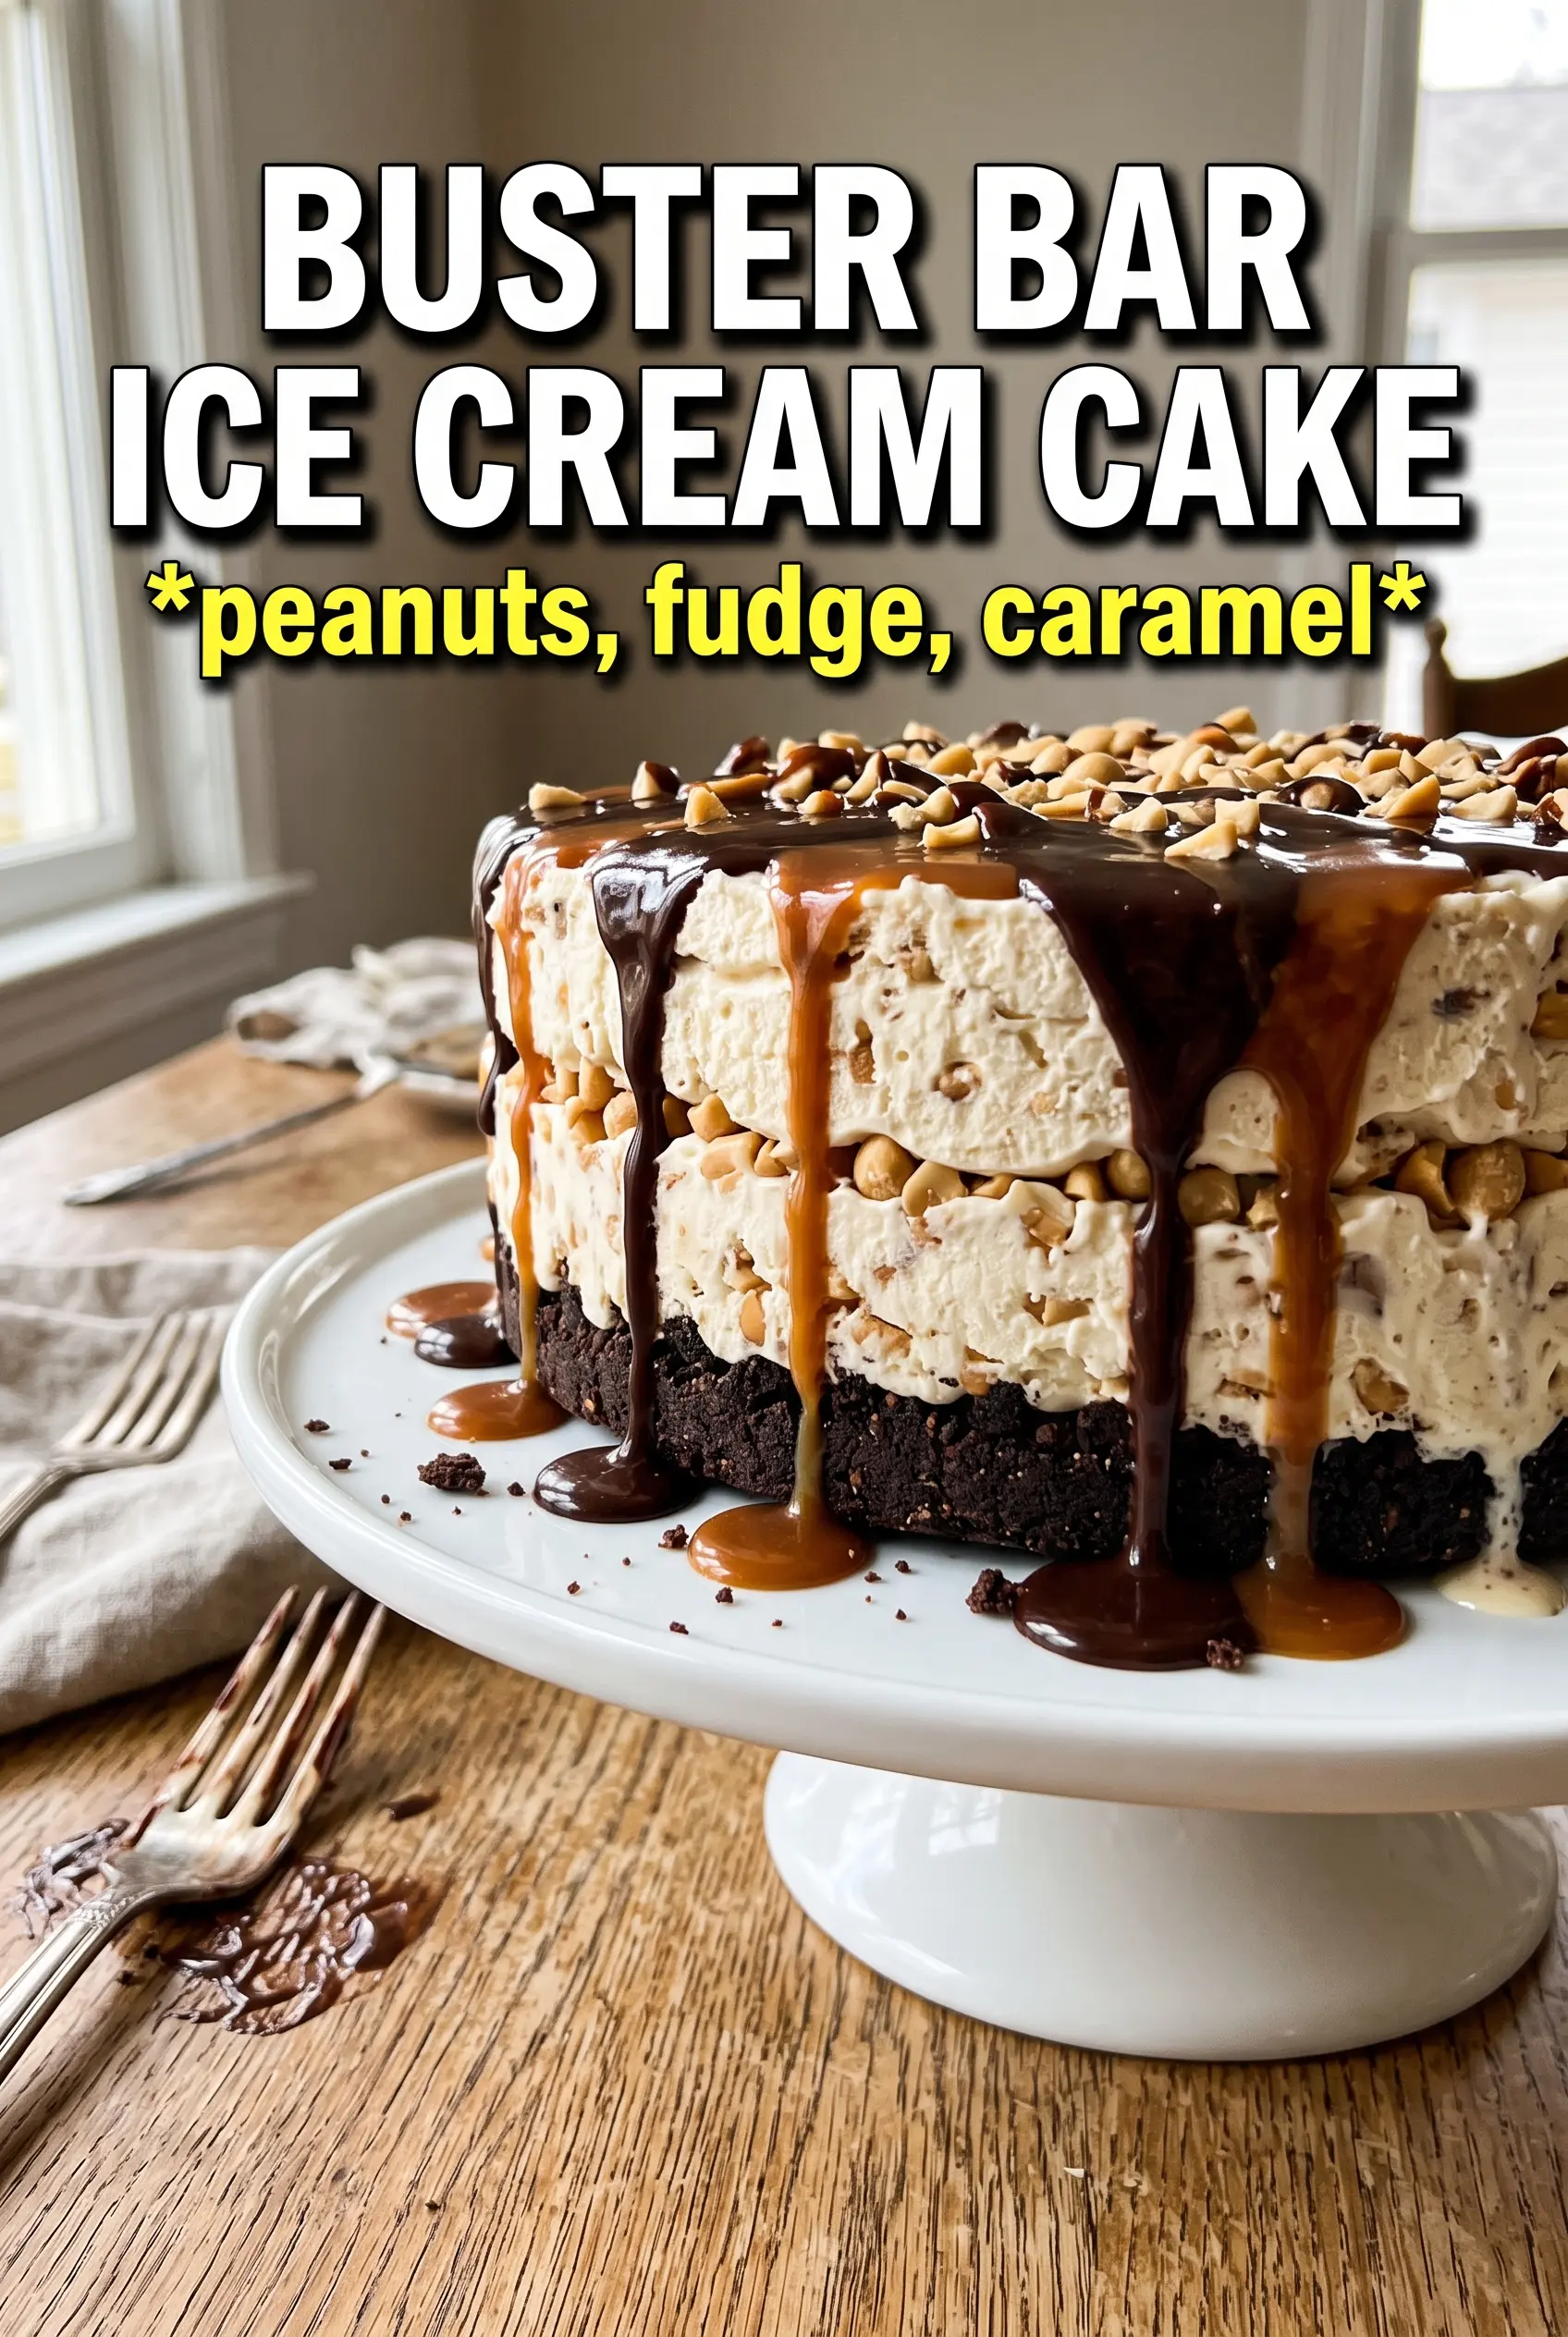
Buster Bar Ice Cream Cake
Ingredients
Equipment
Method
- Press the crushed Oreo cookies and melted butter into a 9x13 pan or 10-inch springform, packing it into an even layer. Freeze for 15 minutes.
- Spread the softened vanilla ice cream over the crust and smooth the top. Freeze for 3 hours.
- Warm the hot fudge sauce until pourable, then stir in 1 cup of the salted peanuts. Pour the fudge-peanut mixture over the frozen ice cream and spread evenly.
- Freeze for 2 hours, until the fudge layer is firm.
- Top with the whipped topping and scatter the remaining peanuts over the surface.
- Freeze for 1 hour before serving to firm up the top layer for clean slices.


