Fudgy brownie, cold ice cream, and a glossy chocolate ganache make this brownie ice cream cake hit every dessert note that matters. The brownie stays dense enough to slice cleanly, the ice cream softens into a thick creamy layer without turning icy, and the ganache sets into a smooth shell that cracks just a little under a fork.
What makes this version work is the contrast in texture and the order of the layers. The brownies have to be completely cool before the ice cream goes on, or the bottom layer turns slushy and loses its clean edges. The ganache also needs to cool slightly before pouring so it coats the ice cream instead of melting straight through it.
Below, I’m breaking down the small details that keep this cake neat and sliceable, plus a few swaps if you want to change the ice cream flavor or make it ahead for a birthday crowd.
The brownie layer stayed chewy even after freezing, and the ganache poured on smoothly without melting the ice cream. I made it the night before and the slices held their shape perfectly.
Save this brownie ice cream cake for birthdays when you want a fudgy base, thick ice cream layer, and glossy chocolate ganache in one frozen dessert.
The Reason This Cake Slices Clean Instead of Melting Into a Mess
The trick with a brownie ice cream cake is treating it like a layered frozen dessert, not just brownies with something cold on top. The brownie base needs to be fully baked and completely cooled before the ice cream goes on, because any warmth left in the pan will soften the ice cream at the edges first and make the whole middle uneven. A pan lined with parchment also helps a lot when it’s time to lift or slice, especially if you want those sharp clean squares.
The other place people run into trouble is the ganache. If you pour it on while it’s still hot, it melts channels into the ice cream instead of sitting in a neat top layer. Let it cool until it’s thick but still pourable, and it will spread into that dark glossy finish that makes the cake look finished instead of homemade in a rushed way.
What Each Ingredient Is Actually Doing In This Frozen Cake
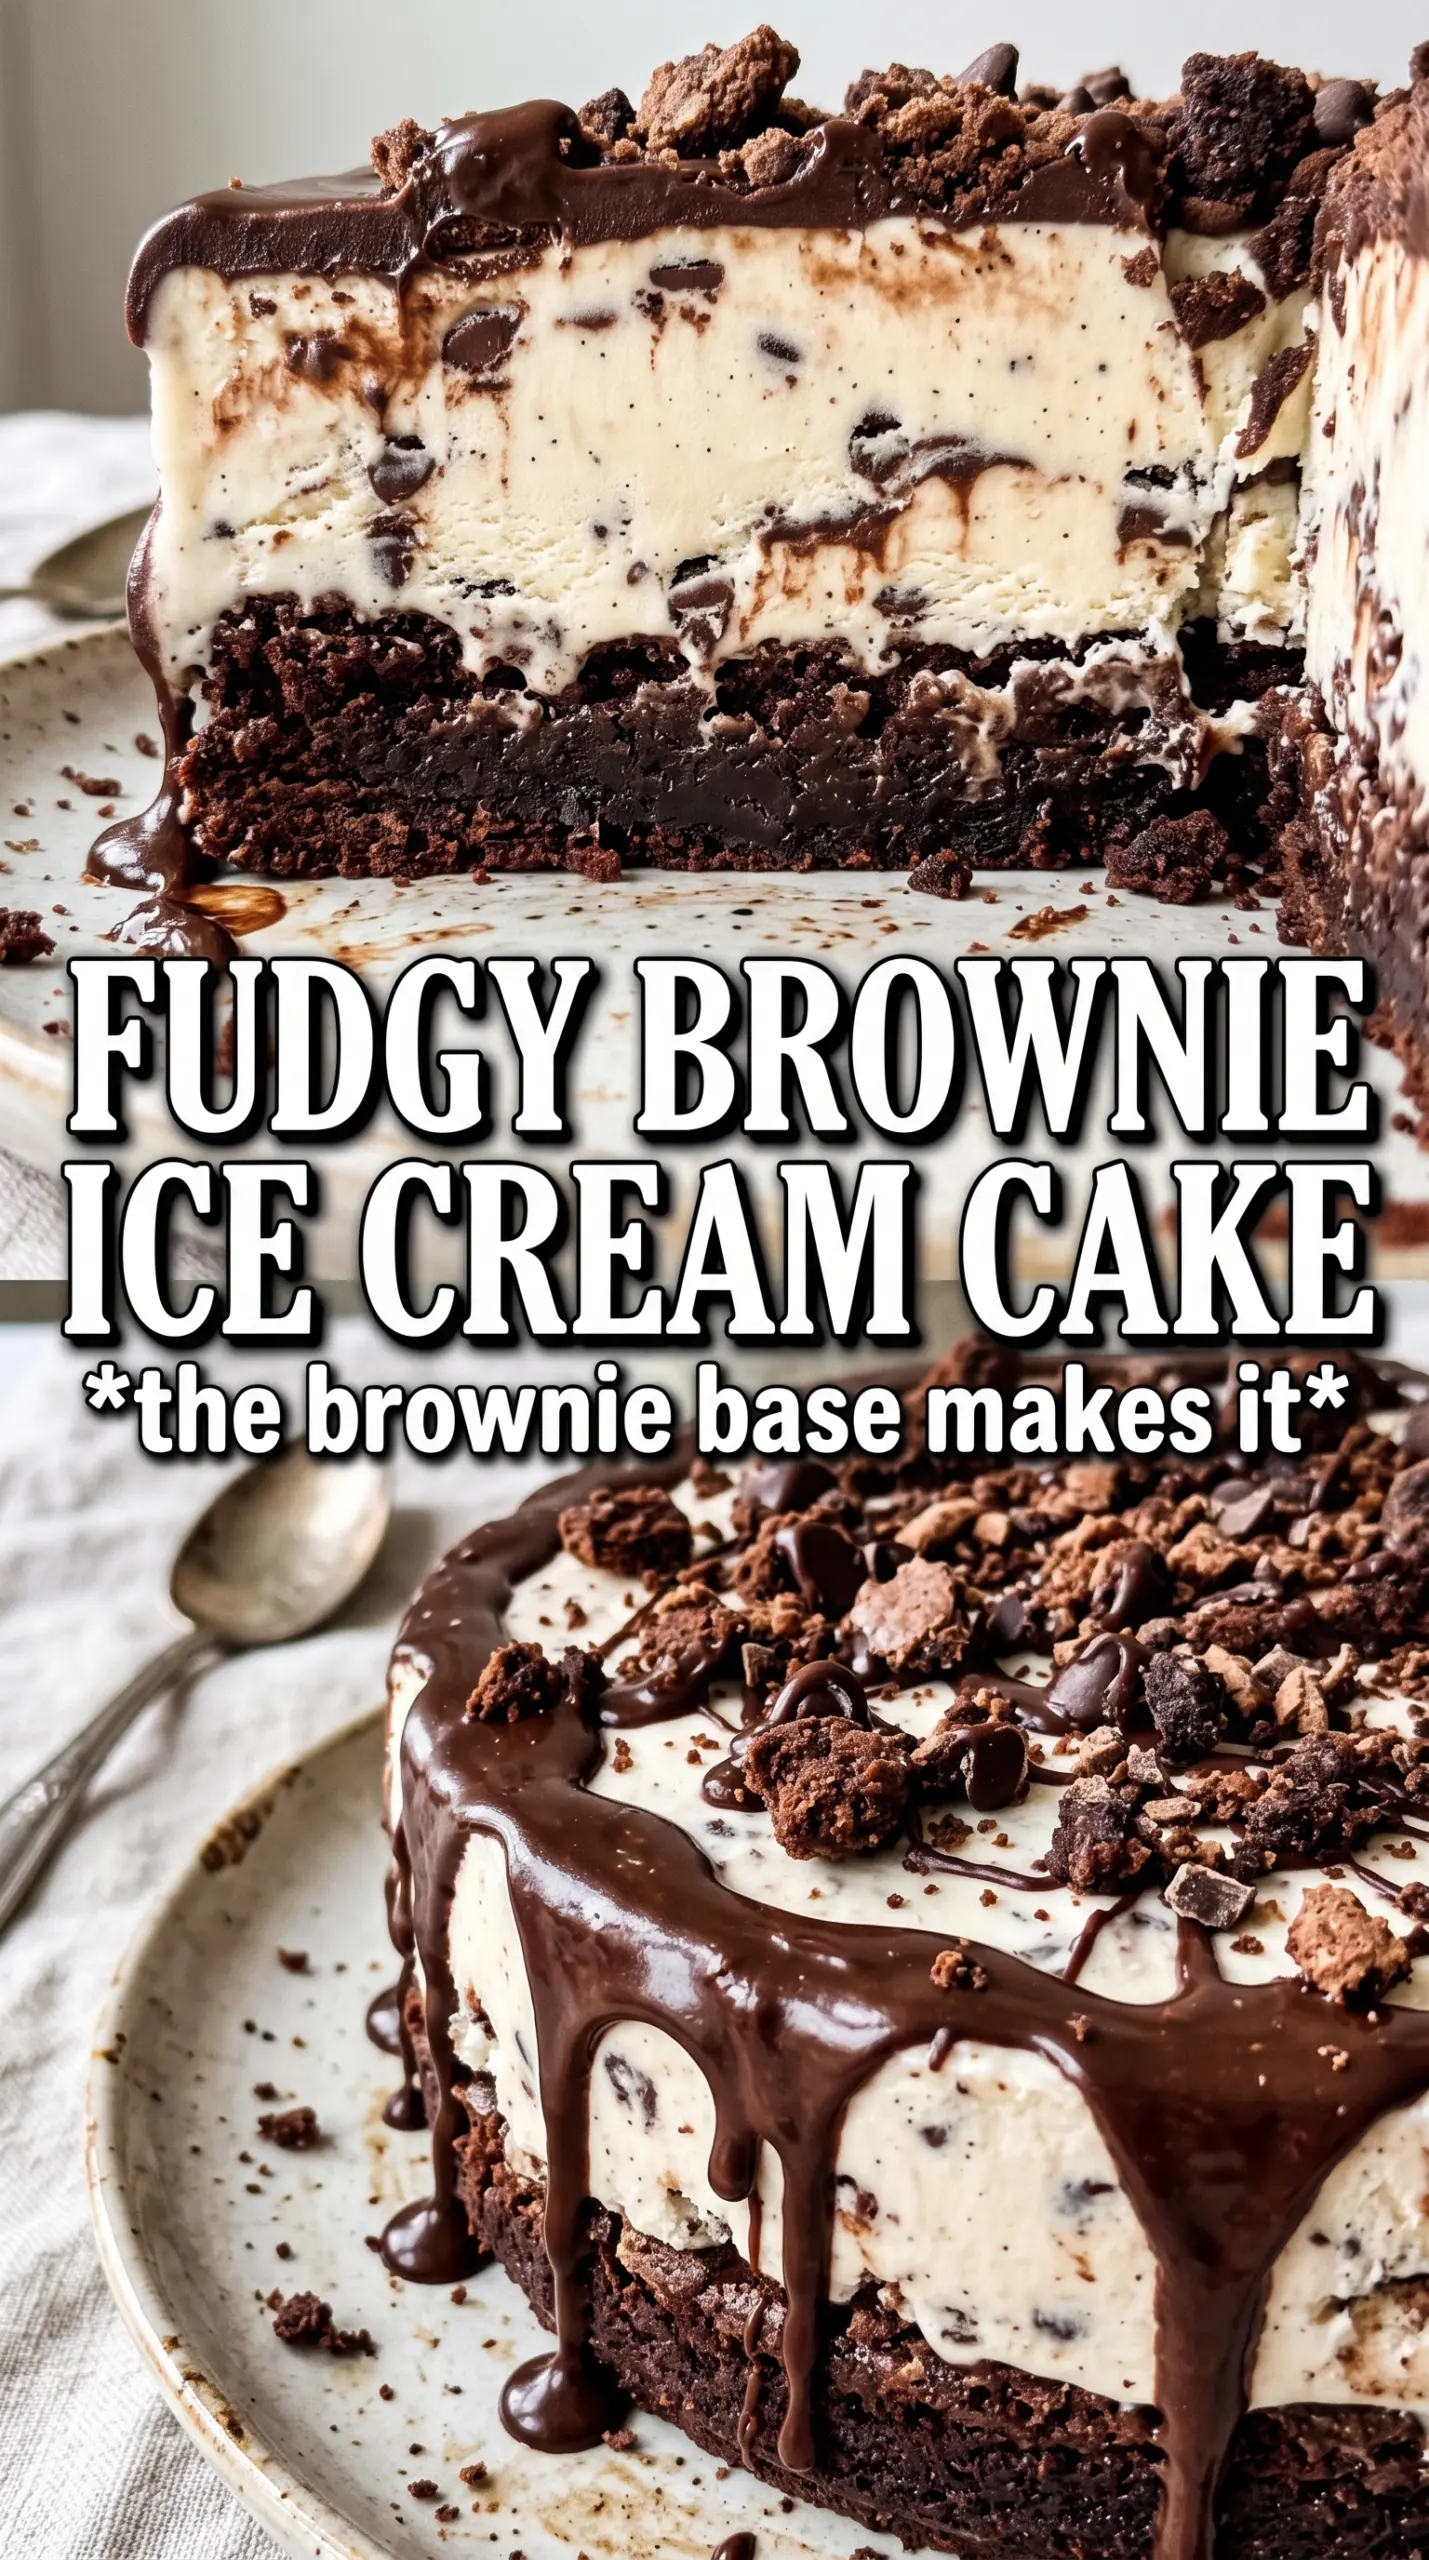
- Brownie mix or homemade brownies — This is your structure. You want a fudgy brownie, not a cakey one, because it needs to stay chewy after freezing and cut without crumbling. If you use a box mix, choose one that bakes up dense and follow the package directions exactly so the base doesn’t dry out.
- Vanilla or chocolate ice cream — Slightly softened ice cream spreads in an even layer without tearing the brownie underneath. Vanilla gives the cleanest contrast with the chocolate layers, while chocolate makes the whole cake deeper and richer. Let it sit just until spreadable; if it gets too soft, the cake won’t set with a firm middle.
- Heavy cream — This turns into the ganache base. You need the fat in heavy cream here because it melts the chocolate into a smooth pour, and lower-fat milk won’t give the same sheen or texture.
- Dark chocolate — Dark chocolate keeps the topping from tasting cloying after freezing. Use a bar or good-quality chopped chocolate if you can, because it melts more smoothly than many chocolate chips.
- Butter — Just a little butter gives the ganache a softer slice and a glossier finish. It’s not mandatory, but it helps the top stay a little more luxurious instead of hard and brittle straight from the freezer.
- Whipped cream and chocolate shavings — These go on at serving time, not before freezing. If you add them too early, the whipped cream loses its lift and the shavings disappear into the ganache.
Building the Layers So the Ice Cream Stays Firm
Baking the Brownie Base
Bake the brownies in a 9×13-inch pan until the center is set and a toothpick comes out with moist crumbs, not wet batter. Underbaking here gives you a gooey layer that turns messy once frozen, while overbaking makes the base dry and brittle. Cool the pan all the way to room temperature before you even think about adding ice cream. If the pan still feels warm at the bottom, the next layer will soften too fast.
Spreading the Ice Cream
Scoop the softened ice cream over the cooled brownie and work quickly with an offset spatula or the back of a spoon. Press it into the corners and smooth the top in one even layer so the cake freezes into a clean block. If the ice cream is too hard, it will rip the brownie; if it’s too soft, it will sink and freeze unevenly. The texture you want is spreadable, not soupy.
Making and Pouring the Ganache
Heat the cream until it just starts steaming, then pour it over the chopped chocolate and butter and leave it alone for a minute before stirring. That pause helps the chocolate soften evenly, which gives you a smoother ganache with less chance of graininess. Let it cool until it pours like thick syrup, then spread it over the frozen ice cream layer. If the cake isn’t fully frozen first, the ganache will melt its way through the top instead of sitting on it.
Freezing Before Serving
Freeze the finished cake long enough that the top is set and the center feels firm when you press it gently through the pan. Two more hours is the minimum after the ganache goes on, but longer is even better if you want crisp slices. For the cleanest cuts, use a sharp knife dipped in hot water and wiped dry between slices. That keeps the ganache from cracking raggedly and the ice cream from dragging.
Three Ways to Change the Flavor Without Losing the Structure
Use peanut butter ice cream for a richer brownie-and-candy-bar feel
Swap the vanilla for peanut butter ice cream and keep the rest the same. The cake turns a little denser and saltier in the best way, and it pairs especially well with the dark chocolate ganache. Since peanut butter ice cream can soften fast, keep the freezer time exact so the layers stay defined.
Make it gluten-free with a certified gluten-free brownie mix
The frozen layers are already naturally gluten-free, so the brownie base is the only part you need to swap. Use a gluten-free brownie mix that bakes fudgy, not cakey, because crumbly brownies won’t hold up under the ice cream. Let it cool completely before layering, since GF brownies can be more delicate while warm.
Turn it into a birthday cake with sprinkles on top
Add rainbow sprinkles over the whipped cream right before serving, not before freezing. Sprinkles bleed into the ganache if they sit in the freezer too long, and they lose their bright color. This keeps the cake festive without changing the texture that makes it work.
Use dairy-free ice cream and coconut cream in place of the dairy
A rich dairy-free ice cream works well here, and coconut cream can stand in for the heavy cream in the ganache. The flavor will be a little more noticeable, especially if you use coconut-based substitutes, but the cake still freezes and slices well. Use a dairy-free chocolate you like on its own, since the ganache flavor won’t be hidden by the dairy.
Storage and Reheating
- Refrigerator: Don’t store this cake in the fridge; it softens too quickly and loses the frozen layers.
- Freezer: Wrap the pan tightly and keep it frozen for up to 1 week for the best texture. After that, the brownies can start tasting a little dry from freezer time.
- Reheating: No reheating needed. For the cleanest slices, let the cake sit at room temperature for 5 to 10 minutes before cutting so the knife can glide through the ganache instead of cracking it.
Answers to the Questions Worth Asking
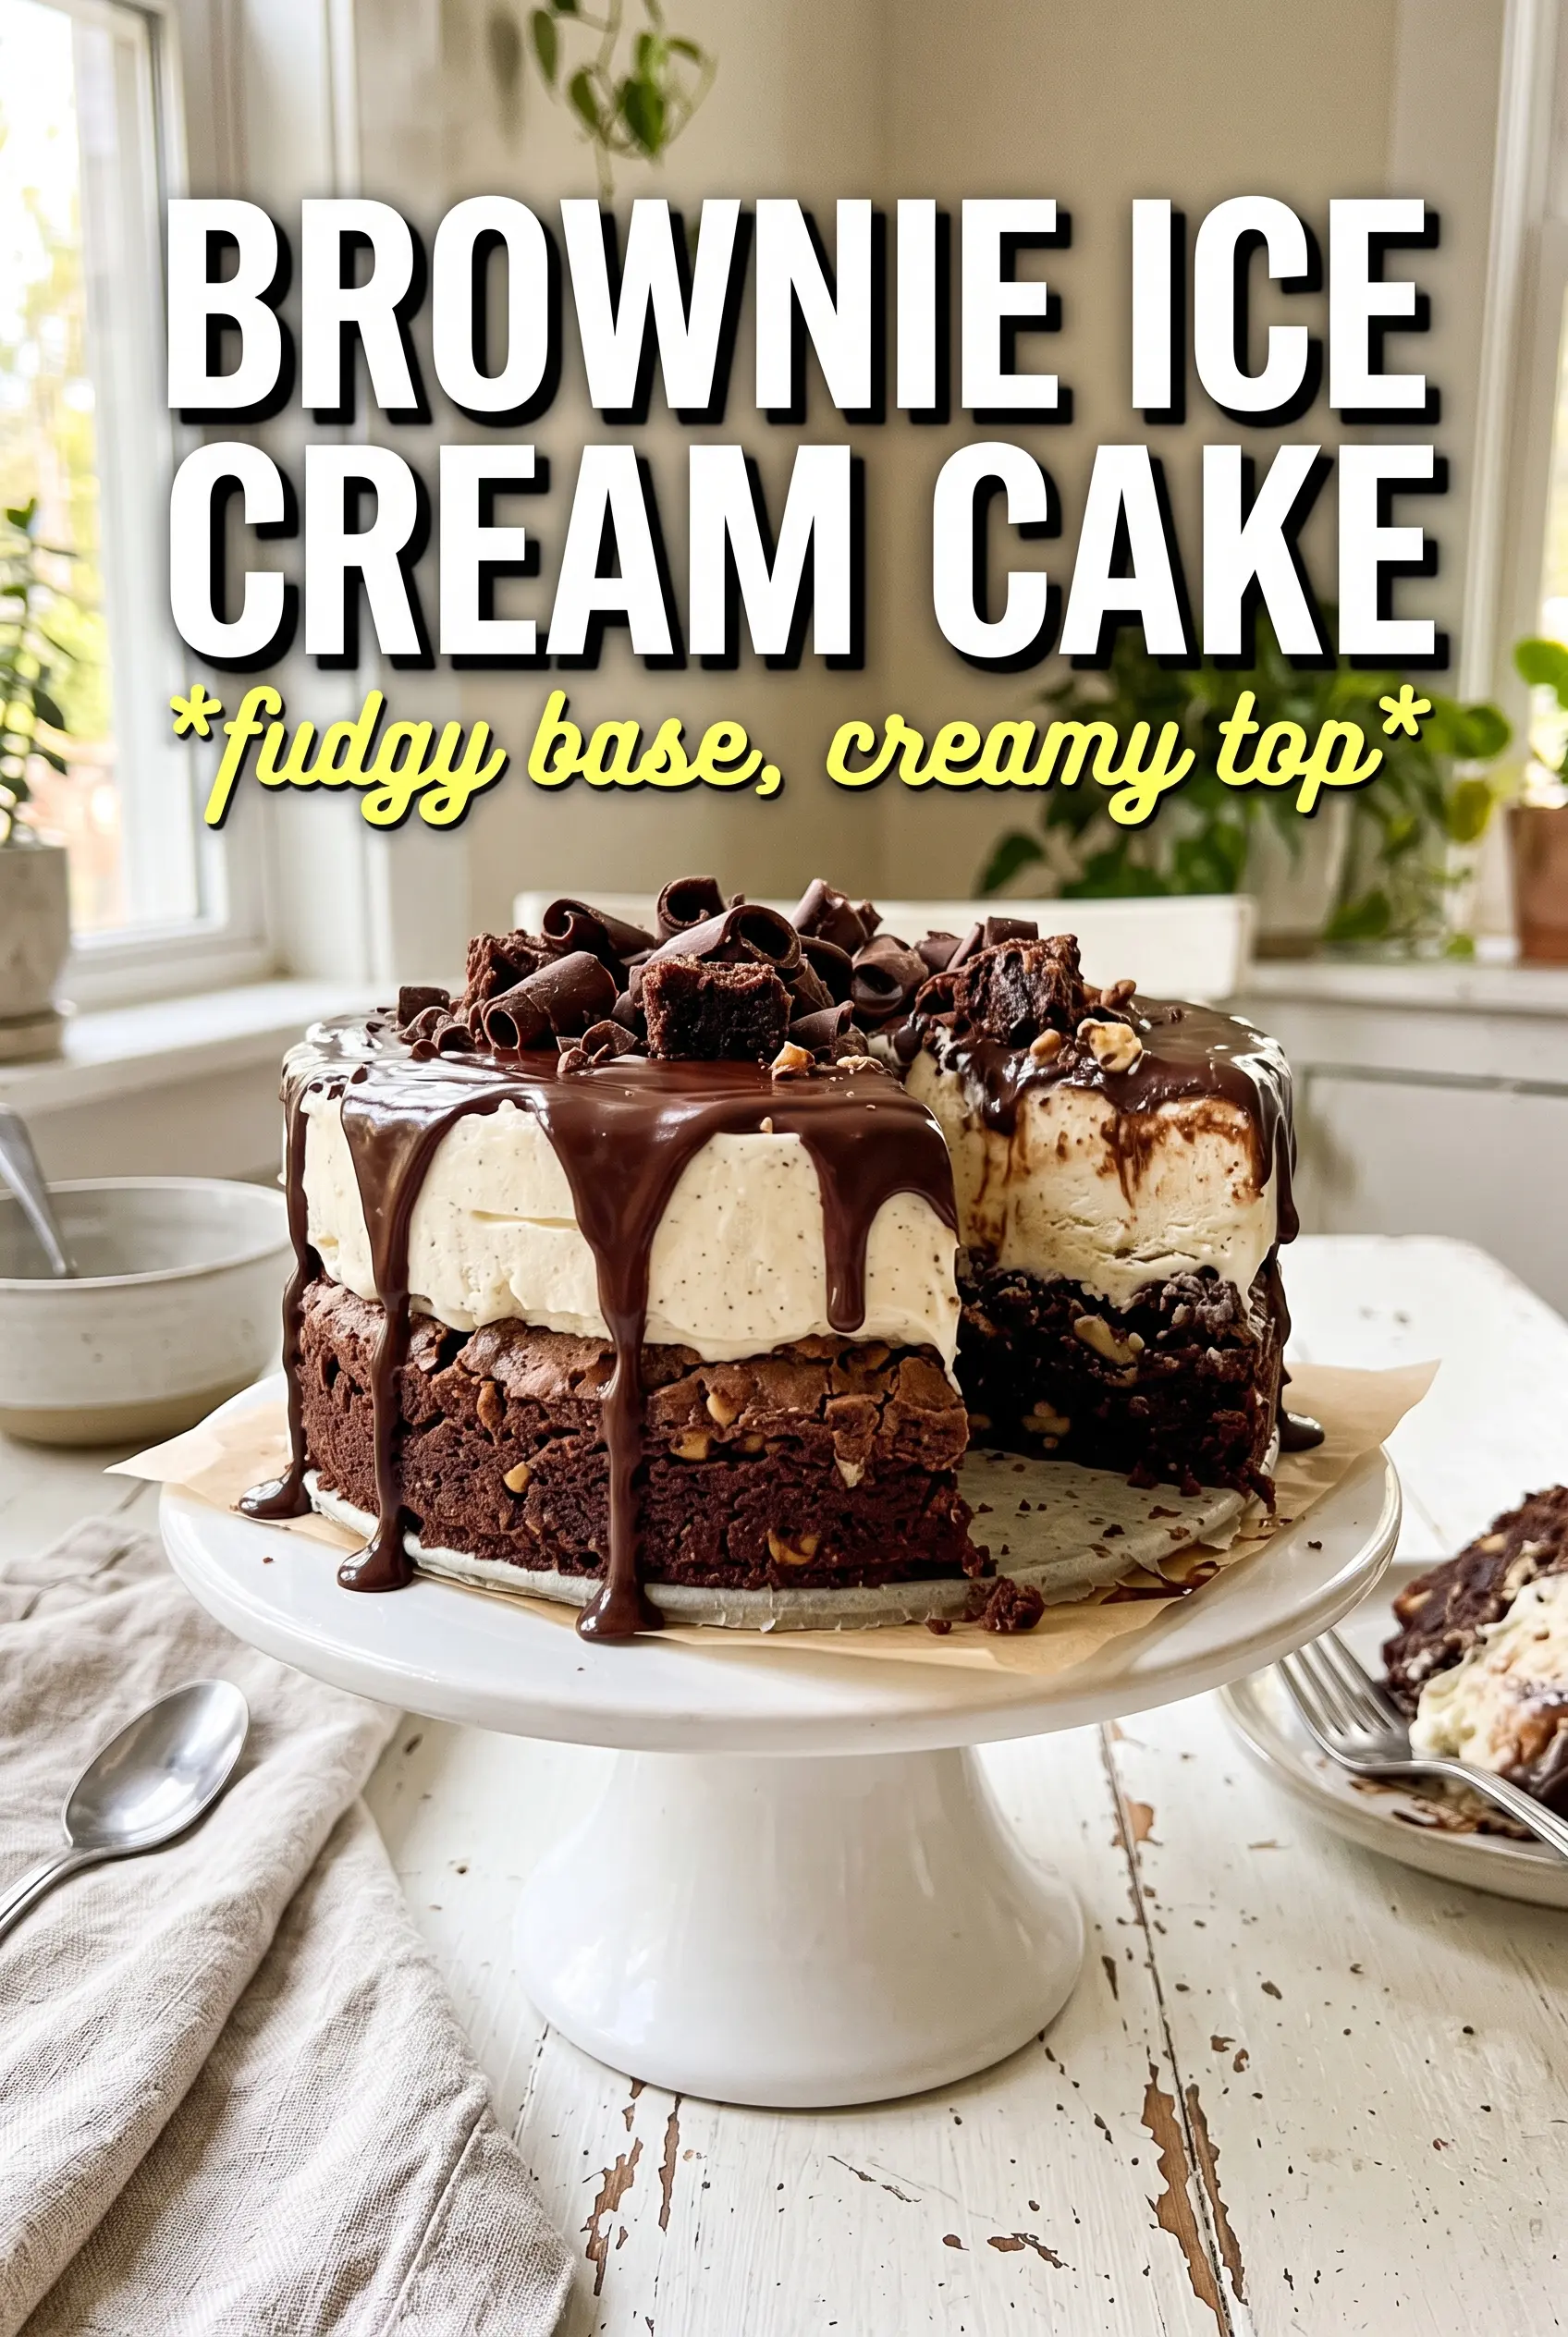
Brownie Ice Cream Cake
Ingredients
Equipment
Method
- Heat oven to the temperature on the brownie mix package and bake brownies in a 9x13 pan according to package instructions. Bake until set and fragrant, then cool completely so the ice cream won’t melt.
- Spread the softened ice cream in an even thick layer over the cooled brownies. Use steady pressure so the surface is flat and the layers stay distinct.
- Freeze for 4 hours until completely firm. The top should feel hard with no give when gently pressed.
- Heat heavy cream until steaming, then pour over chopped dark chocolate and butter. Stir until smooth and glossy, then cool until pourable so it coats without running.
- Pour ganache over the frozen ice cream layer and tilt the pan to cover evenly. Aim for full coverage at the edges for a tidy slice line.
- Freeze for at least 2 more hours until the ganache is set. This helps the cake slice cleanly instead of smearing.
- Top with whipped cream and chocolate shavings when serving. Add right before cutting for the best texture contrast.


