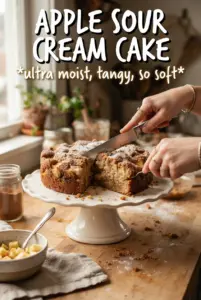
Apple cider cake has a soft, plush crumb with a deep apple-spice flavor that tastes like it took all afternoon, even though the work is straightforward. The cider gets reduced first, which pulls the flavor forward instead of leaving the cake vaguely sweet and flat. Paired with cream cheese frosting, the layers stay tender, the spices stay warm, and the whole cake slices cleanly without feeling heavy.
The part that makes this version stand out is the reduced cider mixed into the batter and frosting. That extra step concentrates the apple flavor before it ever hits the bowl, so you don’t have to rely on extracts or extra sugar to make it taste like cider cake. Sour cream keeps the crumb moist and gives the batter a little acidity, which plays nicely with the baking soda and helps the layers stay soft for days.
Below you’ll find the one technique that keeps the cake from baking up dry, plus a few simple swaps and storage notes if you want to plan ahead. It’s the kind of cake that works for a casual Sunday dessert or a birthday when you want something familiar but a little more interesting than vanilla.
The cider flavor came through in every bite, and the frosting set up smooth without sliding off the layers. I loved that the crumb stayed soft even on day two.
Save this apple cider cake for the days when you want tender spiced layers, cream cheese frosting, and that deep cider flavor in every bite.
The Secret to Apple Cider Flavor That Doesn’t Bake Out
Reducing the cider before it goes into the batter is what gives this cake its actual apple presence. If you pour in straight cider, most of that flavor disappears into the oven and you’re left with a cake that tastes more like spice than apple. A half cup of reduced cider brings enough concentration to show up after baking without making the batter wet or loose.
The other thing that matters here is the balance between butter, sour cream, and the egg-heavy batter. Butter gives the cake structure and richness, sour cream keeps it tender, and the eggs hold the layers together so they can stand up to frosting. If your cake turns dense, it’s usually because the butter and sugar weren’t beaten until pale and fluffy, or because the flour went in all at once and got overmixed.
- Apple cider — Reduce it until you’re left with 1/2 cup, then cool it completely. Warm cider can melt the butter mixture and throw off the batter texture.
- Sour cream — This keeps the crumb moist and gives the cake a soft, almost velvety finish. Plain Greek yogurt works in a pinch, but it brings a sharper tang and a slightly firmer crumb.
- Brown sugar — This adds moisture and a deeper caramel note that fits the cider. Light brown sugar works fine; dark brown sugar makes the cake a touch richer and more molasses-forward.
- Cream cheese frosting — The tang cuts through the spice and keeps the cake from feeling too sweet. Use full-fat cream cheese for the best texture; low-fat frosting tends to get loose.
What Each Ingredient Is Actually Doing in This Recipe
- Primary ingredient (the star) — Quality matters most. Choose the best you can find.
- Cooking medium (oil, butter, or broth) — This carries flavors and prevents dryness.
- Seasonings (salt, pepper, spices, herbs) — Layer flavors so nothing overpowers. Build depth gradually.
- Aromatics (garlic, onion, herbs) — Cook with fat to bloom flavors. Become the foundation.
- Supporting ingredients — Complement the main ingredient without overpowering it.
- Sauce or liquid (if applicable) — Brings flavors together. Balance richness with acid.
- Acid (lemon, vinegar, wine, or other) — Brightens and prevents flat-tasting results.
- Final finish (garnish, glaze, or sauce) — Prevents one-dimensional taste and adds visual appeal.
Building the Batter Without Losing the Tender Crumb
Reducing the Cider
Start this first so it has time to cool completely before you make the batter. Simmer it over medium heat until it measures 1/2 cup, which usually takes a little less time than you think because the reduction speeds up near the end. If you add it while it’s still warm, the butter base softens too much and the batter can look greasy.
Whipping the Butter and Sugar
Beat the softened butter and brown sugar until the mixture turns noticeably lighter and fluffy, not just combined. That step traps air, which helps the cake rise and gives the layers a finer crumb. If the mixture still looks sandy and dark after a minute or two, keep going; rushing this part makes the cake heavier.
Alternating the Dry Ingredients and Sour Cream
Add the flour mixture in batches, alternating with the sour cream, and stop mixing as soon as the batter comes together. That keeps the gluten from tightening up and turning the cake tough. The finished batter should look thick and smooth, not glossy and overworked. A few streaks at the end are fine; they disappear when you scrape the bowl and finish folding.
Baking to the Right Doneness
Divide the batter evenly between the pans so the layers bake at the same pace. The cakes are done when the tops spring back lightly and a toothpick comes out clean or with a few moist crumbs. If the centers still look wet, give them a few more minutes; pulling them too early leaves the middle gummy and hard to frost neatly.
How to Adapt This Apple Cider Cake for Different Situations
Dairy-Free Version
Use a plant-based butter that works for baking, swap the sour cream for a thick dairy-free yogurt, and frost with a dairy-free cream cheese alternative. The cake will still be tender, but the frosting may be a little softer, so chill it before slicing.
Single-Layer Cake or Sheet Cake
Bake the batter in a 9-by-13-inch pan for a simpler presentation and shave a few minutes off the bake time. You’ll get a slightly thicker, less dramatic slice, but the flavor stays the same and it travels better for potlucks.
Gluten-Free Swap
Use a good 1:1 gluten-free baking flour with xanthan gum already included. The crumb may be a little more delicate, so let the layers cool completely before moving them; warm gluten-free cakes can break more easily than the original.
Storage and Reheating
- Refrigerator: Keep the frosted cake covered for up to 5 days. The crumb stays moist, and the frosting firms up slightly, which actually makes slicing easier.
- Freezer: Freeze unfrosted layers tightly wrapped for up to 2 months. Thaw them in the fridge still wrapped so condensation doesn’t make the surface sticky.
- Reheating: Bring slices to room temperature before serving. If you want a softer frosting texture, let the slice sit out for 20 to 30 minutes instead of microwaving it, which can make the frosting weep and the cake oily.
Questions I Get Asked About This Apple Cider Cake
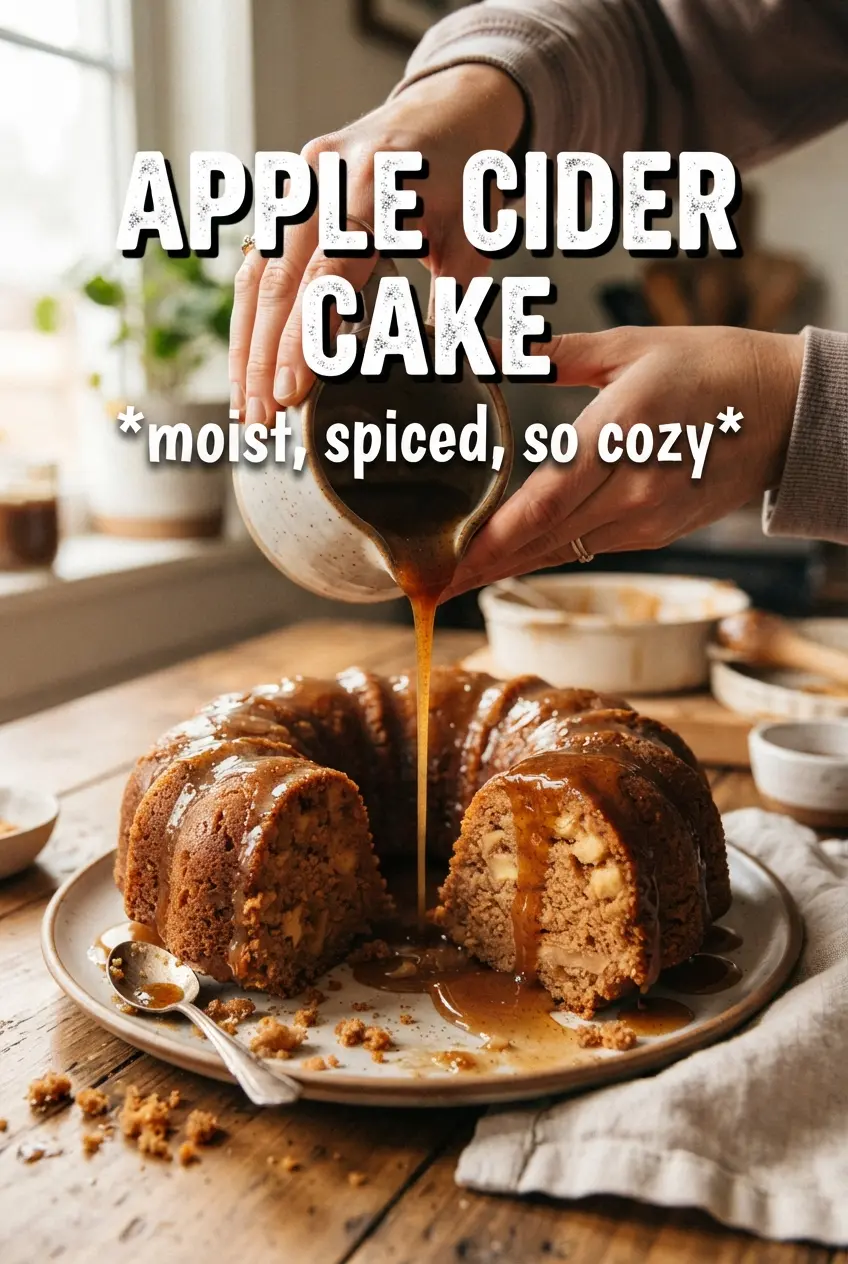
Apple Cider Cake
Ingredients
Equipment
Method
- Reduce apple cider to 1/2 cup over medium heat, then cool completely until no steam rises when you stir. Visual cue: it thickens slightly and becomes syrupy.
- Preheat oven to 350F, then grease two 9-inch round cake pans. Visual cue: coating should be even with no dry patches.
- Whisk all-purpose flour, baking powder, baking soda, salt, and spices in a bowl. Visual cue: the mixture looks uniformly speckled.
- Beat softened butter and packed brown sugar until very fluffy, scraping down the bowl as needed. Visual cue: it turns lighter and aerated.
- Add eggs one at a time, beating well after each addition. Visual cue: the batter looks smooth and glossy.
- Mix in vanilla extract and the reduced apple cider. Visual cue: streaks disappear and the color looks even.
- Alternate adding the flour mixture and sour cream to the batter, beginning and ending with flour. Visual cue: batter becomes thick but pourable and fully combined.
- Divide batter between the two prepared pans. Visual cue: tops are level and batter reaches similar heights.
- Bake at 350F for 35-40 minutes until a toothpick inserted in the center comes out clean. Visual cue: the edges pull slightly away from the pan.
- Cool the cakes completely before frosting. Visual cue: centers are fully set and no warmth remains when touched lightly.
- Beat cream cheese and butter until smooth, then gradually mix in powdered sugar. Visual cue: frosting becomes thick and creamy without lumps.
- Mix in vanilla and the reduced cider until the frosting is spreadable. Visual cue: it looks glossy and cohesive.
- Frost with cream cheese frosting between the layers and over the top. Visual cue: sides are evenly coated with clean coverage.