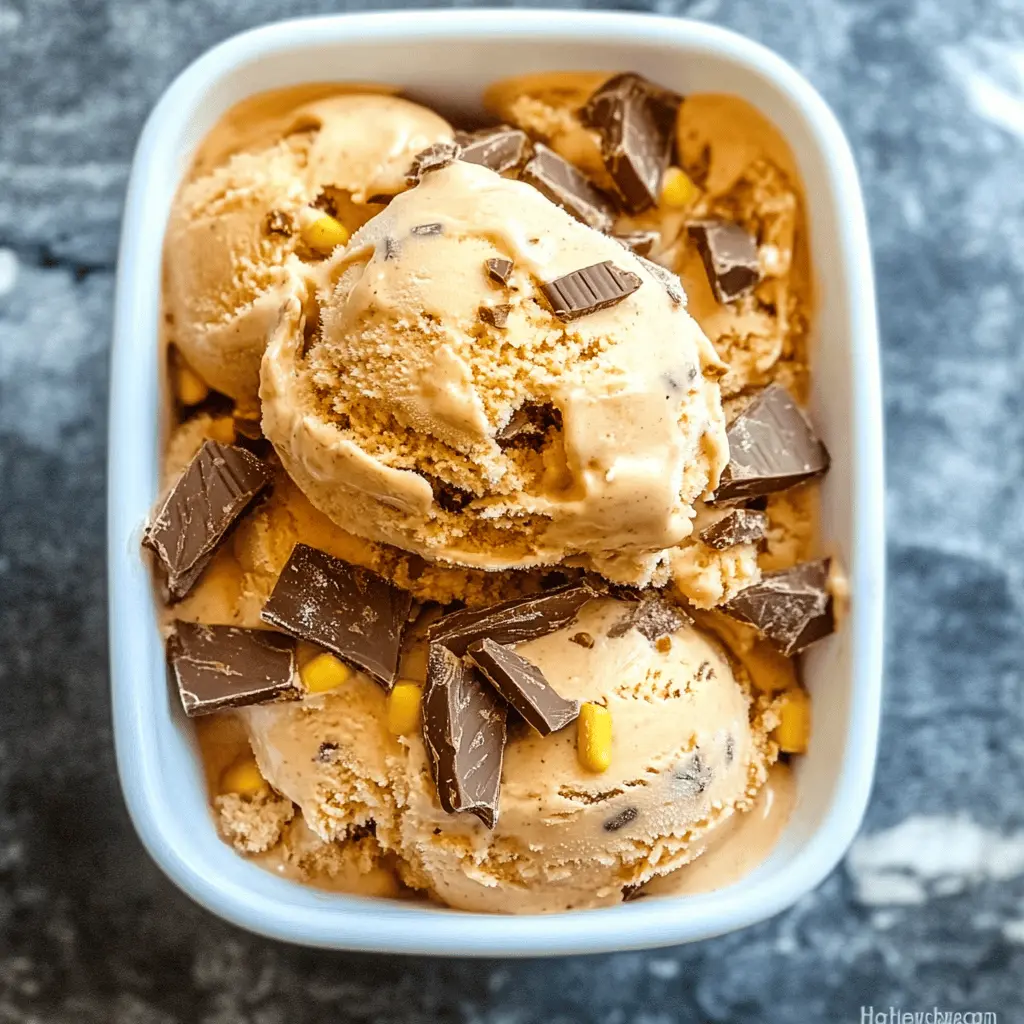
This Easy Homemade Butterfinger Ice Cream is a creamy treat loaded with crunchy Butterfinger candy bits. It’s perfect for hot days or anytime you need a sweet pick-me-up!
I love how simple it is to whip this up, just mix and freeze. Plus, it’s always a hit at parties. Who can resist that chocolatey goodness? 🍦
Key Ingredients & Substitutions
Heavy Whipping Cream: This is crucial for a rich, creamy texture. If you’re looking for a lighter option, you can use whole milk, but the ice cream will be less creamy.
Sweetened Condensed Milk: It adds sweetness and creaminess without needing to cook anything. If you want a dairy-free alternative, look for coconut condensed milk, which works surprisingly well!
Butterfinger Candy Bars: The star of the show! You can replace them with any crunchy candy bar, like Reese’s or Snickers, if you need a change. Homemade butterscotch pieces also give a nice twist.
Why is It Important to Whip Cream to Stiff Peaks?
Whipping the cream is essential for achieving that light and airy ice cream texture. Stiff peaks mean the cream holds its shape, which helps create a fluffy base for the ice cream.
- Use a chilled bowl and beaters to help the cream whip faster.
- Mix on medium speed until you see trails forming, then increase to high speed until you get stiff peaks.
How Do You Get the Butterfingers Evenly Mixed In?
Folding in the Butterfinger pieces gently is key to keeping the whipped cream fluffy. This ensures that you don’t deflate the airy mixture while blending them in.
- Use a spatula to scoop from the bottom and fold over, rotating the bowl as you go.
- Do this a few times; it’s okay if some pieces are larger or smaller.
Enjoy making this fun and easy Butterfinger ice cream! It’s sure to be a favorite for everyone. 🍦
How to Make Easy Homemade Butterfinger Ice Cream
Ingredients You’ll Need:
- 2 cups heavy whipping cream
- 1 cup sweetened condensed milk
- 1 teaspoon vanilla extract
- 4 Butterfinger candy bars (standard size), chopped into small pieces
How Much Time Will You Need?
This delicious homemade Butterfinger ice cream will take about 15 minutes to prepare. You’ll need to freeze it for 4-6 hours until it’s nice and firm, so factoring in freezing time, you’ll be enjoying your ice cream in about 4-6 hours, or you can make it ahead and enjoy it later!
Step-by-Step Instructions:
1. Whipping the Cream:
In a large mixing bowl, use an electric mixer to whip the heavy whipping cream. Beat it on medium-high speed until stiff peaks form. This should take about 3-5 minutes. Stiff peaks mean that the cream holds its shape and will give your ice cream a deliciously light texture.
2. Mixing the Condensed Milk:
In another bowl, mix together the sweetened condensed milk and vanilla extract. Stir until well combined. This sweet mix will enhance the flavor of your ice cream.
3. Combine the Mixtures:
Gently fold the sweetened condensed milk mixture into the whipped cream. Use a spatula and be careful not to deflate the whipped cream too much. You want to keep that light and airy texture!
4. Adding the Butterfinger:
Next, fold in the chopped Butterfinger pieces. Make sure they are evenly distributed throughout the mixture for a crunchy bite in every scoop.
5. Freezing the Ice Cream:
Transfer the mixture into a freezer-safe container. Smooth the top with a spatula, making sure it’s evenly spread out. Cover the container with a lid or plastic wrap.
6. Let It Freeze:
Put the container in the freezer and let it freeze for at least 4-6 hours, or until the ice cream is firm. This is the hardest part—waiting!
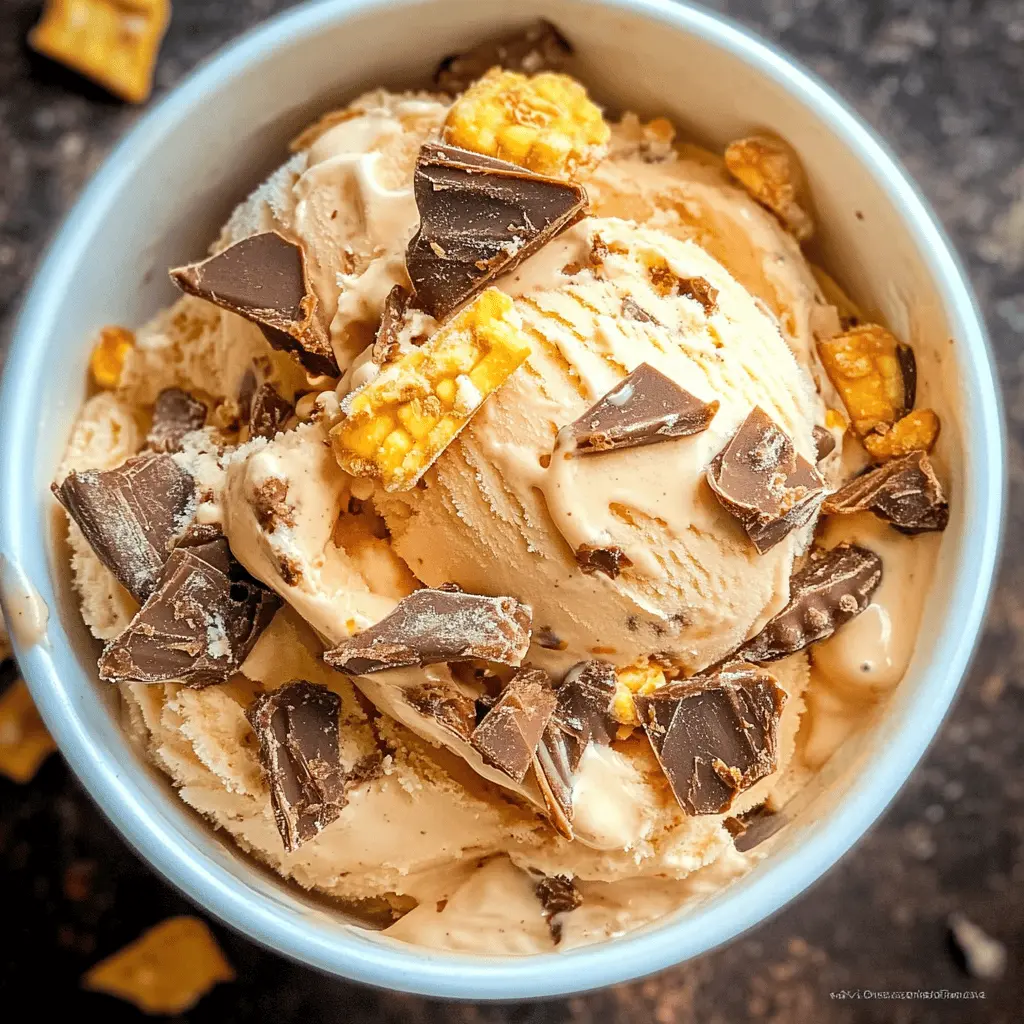
7. Serving the Ice Cream:
When you’re ready to enjoy, scoop the ice cream into bowls, making sure each serving has some Butterfinger pieces. You can even top it off with extra choppings if you like!
8. Enjoy!
Dig into your creamy, crunchy Butterfinger ice cream and enjoy the sweet rewards of your hard work!
FAQ for Easy Homemade Butterfinger Ice Cream
Can I Use a Different Type of Cream?
While heavy whipping cream is recommended for its richness and texture, you can substitute it with heavy cream or even coconut cream for a dairy-free option. Keep in mind that the texture may vary slightly.
How Do I Store Leftover Ice Cream?
Store any leftover ice cream in an airtight container in the freezer. It’s best to consume it within 1-2 weeks for optimal flavor and texture. If it becomes too hard, let it sit at room temperature for a few minutes before scooping.
Can I Add More Candy to the Ice Cream?
Absolutely! Feel free to mix in more Butterfinger pieces or other crunchy candies like Reese’s or Snickers for added flavor and texture. Just be sure to maintain a good balance to keep the ice cream creamy!
How Can I Soften Hard Ice Cream Quickly?
If your ice cream is too hard to scoop, let it sit at room temperature for about 5-10 minutes to soften slightly. You can also run warm water over the outside of the container if you’re really in a hurry, but be careful not to let water get into the ice cream!