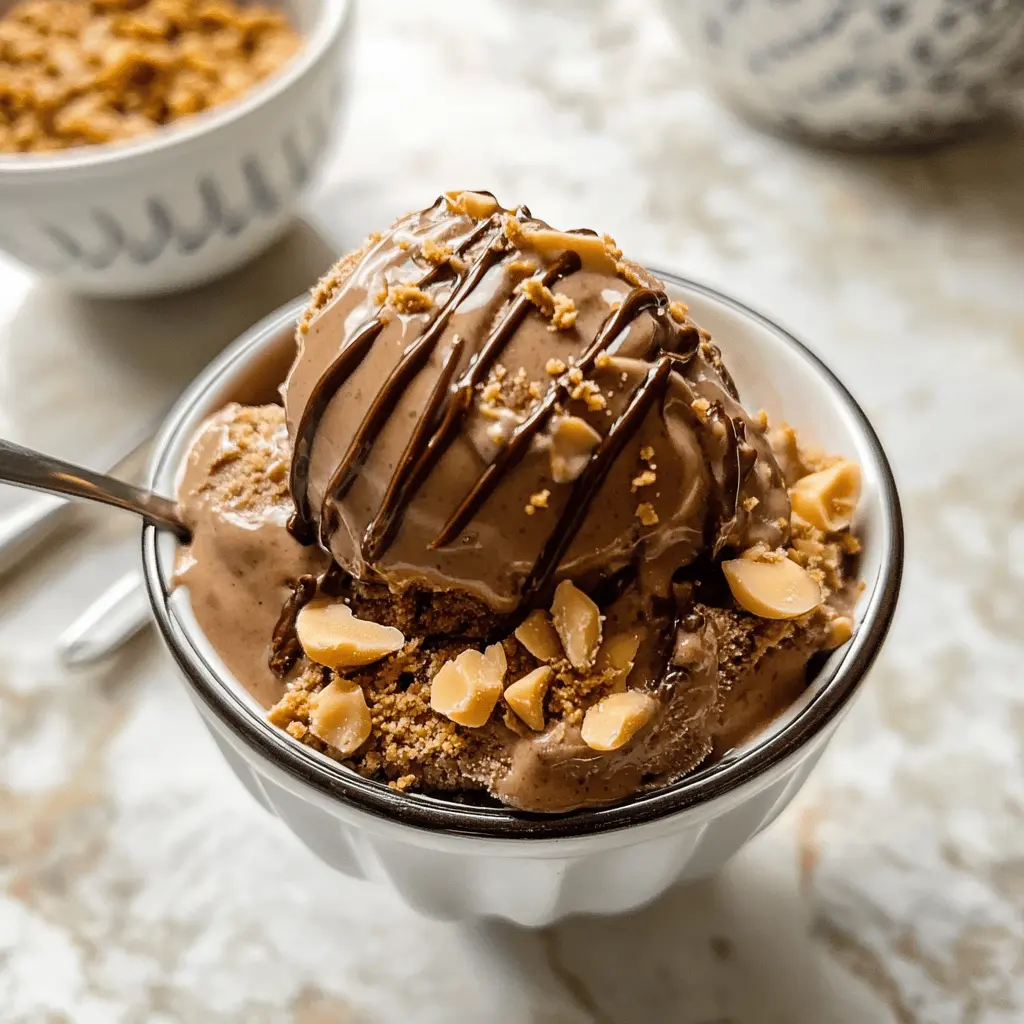
This creamy chocolate peanut butter ice cream is a treat you can whip up easily with your Ninja Creami. Rich chocolate mingles with smooth peanut butter for a tasty dessert.
I love how this ice cream feels like a big hug in a bowl! Plus, making it is a breeze—just mix, freeze, and let the Ninja do its magic. Who needs store-bought, right?
Key Ingredients & Substitutions
Whole Milk: Whole milk gives the ice cream a creamy texture. If you’re looking for a lower-fat option, consider using 2% milk. However, avoid using skim milk as it may not create the right creaminess.
Heavy Cream: This is essential for a rich texture. You can substitute it with coconut cream for a dairy-free version or use half-and-half for a lighter ice cream, but it won’t be quite as creamy.
Granulated Sugar: Standard granulated sugar works best for sweetness. If you’re watching your sugar intake, you can swap it for a sugar substitute, such as stevia or erythritol, but adjust to taste.
Unsweetened Cocoa Powder: This gives the ice cream its chocolatey flavor. If you want a darker chocolate taste, use Dutch-process cocoa. For a different flavor, swap it with carob powder.
Creamy Peanut Butter: I love using a good quality creamy peanut butter for its smooth texture. Natural peanut butter is a great alternative too, just stir it well before using as it can separate.
How Do I Ensure a Smooth Ice Cream Texture?
Getting the perfect texture in ice cream is key! After you make your mixture and freeze it, you might be worried it’ll be icy or crumbly. Here’s how to get it nice and creamy:
- Make sure your mixture is well combined and smooth before freezing—this aids creaminess!
- Once frozen, put the pint in the Ninja Creami and let it do its magic on the “Ice Cream” setting.
- If it turns out crumbly, don’t fret! Just use the “Re-spin” function. It really helps to break up any ice crystals and make your ice cream silky.
By following these tips, you’ll get a delightful chocolate peanut butter ice cream every time!
Easy Ninja Creami Chocolate Peanut Butter Ice Cream
Ingredients You’ll Need:
- 2 cups whole milk
- 1 cup heavy cream
- 3/4 cup granulated sugar
- 1/2 cup unsweetened cocoa powder
- 1/2 teaspoon salt
- 1 teaspoon vanilla extract
- 1/2 cup creamy peanut butter (plus extra for drizzling)
How Much Time Will You Need?
This delicious ice cream takes about 15 minutes of prep time, plus at least 24 hours to freeze for optimal texture. Simply prepare the mix, let it chill in your Ninja Creami, and you’ll have a delightful dessert ready to enjoy!
Step-by-Step Instructions:
1. Combine the Base Ingredients:
In a medium saucepan, whisk together the whole milk, heavy cream, granulated sugar, unsweetened cocoa powder, and salt over medium heat. Keep stirring until the sugar and cocoa powder dissolve completely and the mixture becomes smooth. Remember, don’t let it boil!
2. Add the Vanilla:
Once your mixture is smooth, remove the saucepan from the heat. Stir in the vanilla extract to give it a lovely aroma and flavor.
3. Cool it Down:
Let the mixture cool down to room temperature. This is important to ensure the peanut butter blends in well.
4. Mix in Peanut Butter:
After cooling, add the creamy peanut butter to the mixture. Whisk it well until fully incorporated and smooth. This is where the magic happens!
5. Freeze the Mixture:
Pour the mixture into the Ninja Creami pint container. Secure the lid and freeze the container upright in the freezer for at least 24 hours. Patience is key!
6. Blend in the Ninja Creami:
Once frozen, take the pint out of the freezer and insert it into your Ninja Creami machine. Use the “Ice Cream” setting to process the mixture.
7. Check the Texture:
If your ice cream looks crumbly after the first spin, don’t worry! Just use the “Re-spin” function once or twice until you achieve that perfect creamy consistency.
8. Serve and Enjoy:
Scoop the ice cream into bowls or cones, and don’t forget to drizzle some extra peanut butter on top for that added touch of deliciousness!
9. Savor the Flavor:
Your homemade chocolate peanut butter ice cream is ready to be enjoyed! With every spoonful, you’ll love the rich and creamy goodness.
Enjoy your delightful treat that’s easy to make with the Ninja Creami, and don’t hesitate to share it with family and friends!

Frequently Asked Questions (FAQ)
Can I Use Low-Fat Milk Instead of Whole Milk?
Yes, you can use low-fat milk, like 2% milk, but keep in mind that the ice cream might not be as creamy. Whole milk gives the best texture, so it’s worth using if you can!
What If I Don’t Have Heavy Cream?
No problem! You can substitute heavy cream with half-and-half for a lighter version. Just note that the ice cream might be slightly less rich. For a dairy-free option, consider using coconut cream.
How to Store Leftover Ice Cream?
Store any leftover ice cream in an airtight container in the freezer. It’s best enjoyed within about 2 weeks for optimal freshness. Let it sit at room temperature for a few minutes before scooping, as it may harden over time.
Can I Add Mix-Ins to the Ice Cream?
Absolutely! Feel free to add chocolate chips, crushed peanuts, or even swirls of caramel throughout the mixture before freezing! Just fold them in gently before pouring the mixture into the Ninja Creami container.